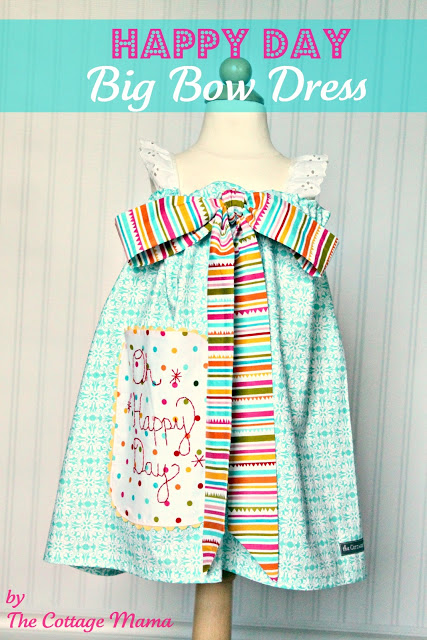
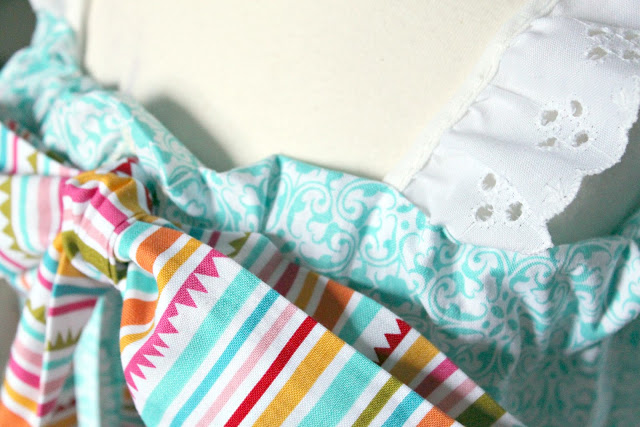
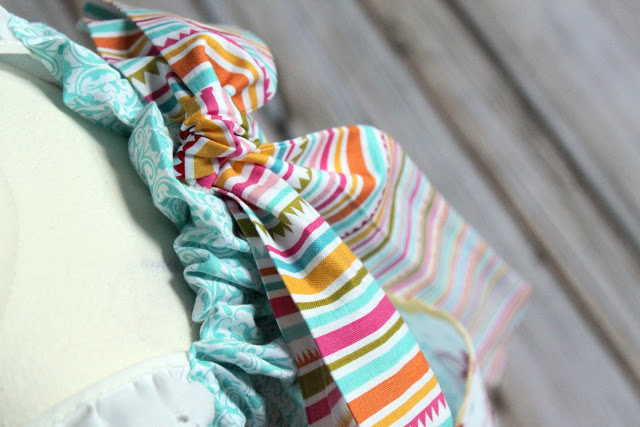
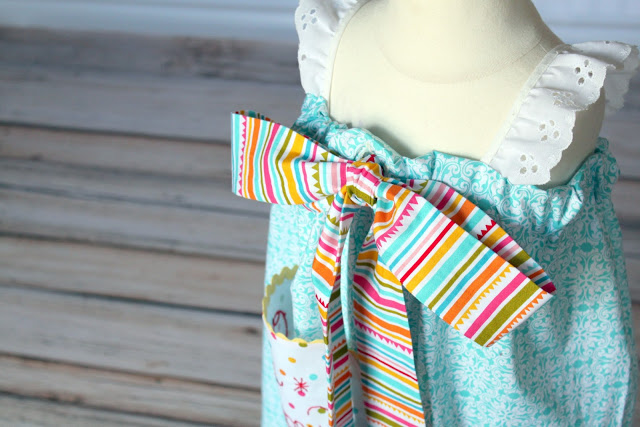
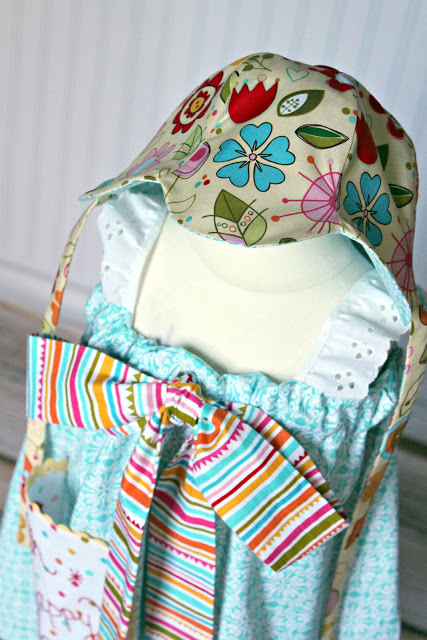
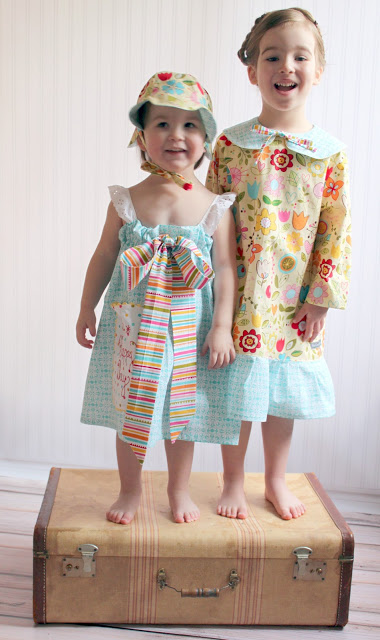
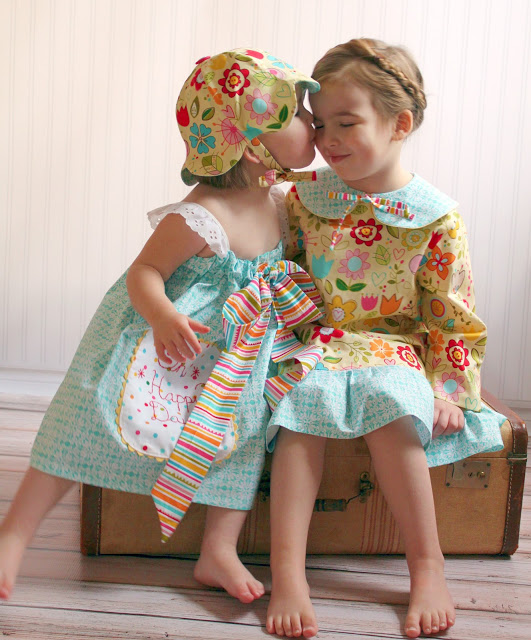
Today I’m excited to share my tutorial for the ‘Happy Day Big Bow Dress’ with all of you. I created two coordinating sister looks from this gorgeous fabric (see previous post here) – ‘Sunny Happy Skies’ by Riley Blake Designs. The big bow dress is an easy, beginner sewing project that makes a big statement with the over-sized pocket and bow. Yes, there are two button holes, but trust me, you can handle it!
Make this dress for any holiday by changing up the fabric. The dress can also be layered with long-sleeves and tights for the colder weather months. Let’s get started…….
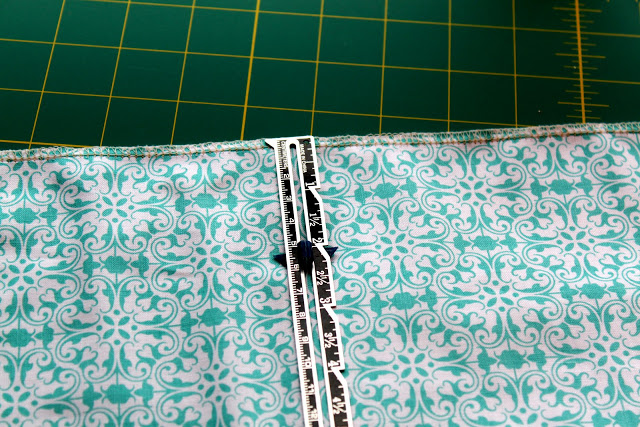
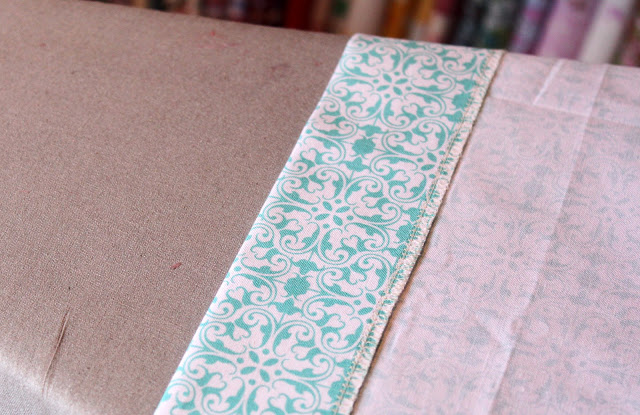
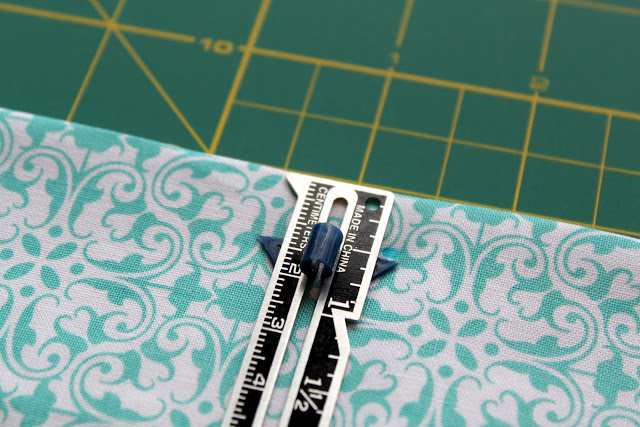
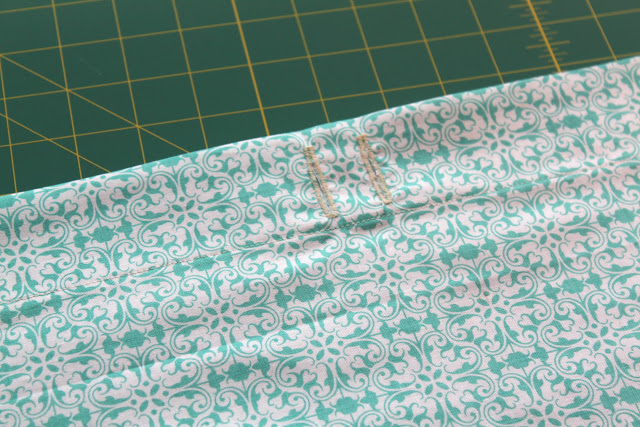
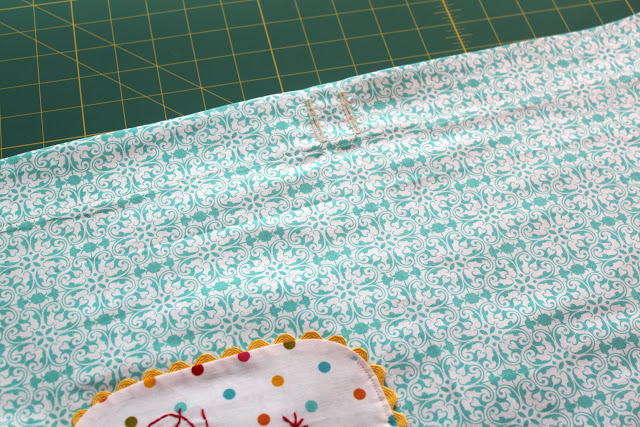
Measure down from the top of the dress by 1/2″ on the right side of the fabric. I made my button holes 1″ long, though you could probably make them 3/4″ if you would prefer. I also set mine about 1″ apart from each other. Before making the button holes, turn the 2″ of fabric that you pressed in the prior step back up (you don’t want to catch the other side when we make the button holes). We just wanted to press it down so we could mark our button holes appropriately.
I’m going to assume everyone does button holes a little different depending on what kind of machine you have. I have a button hole foot on mine, so that’s what I use. If you need a button hole tutorial, you can check out this one from Sew Mama Sew. Do not be afraid of the button hole – they really aren’t as hard as they look!
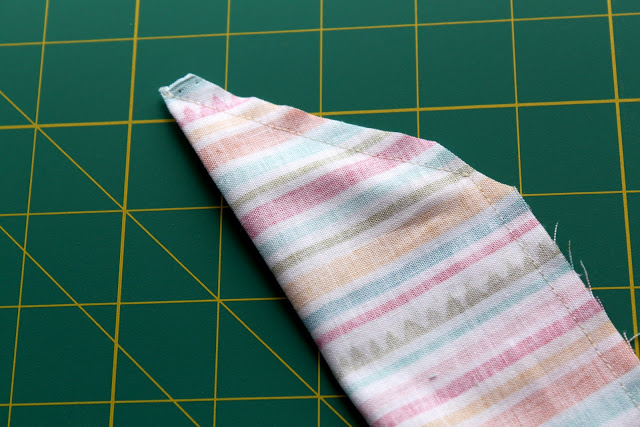
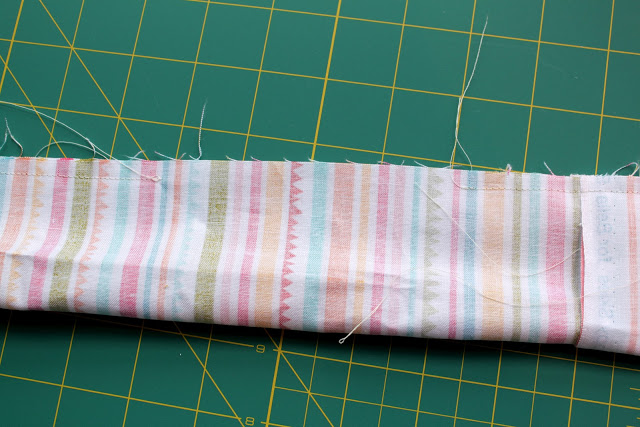
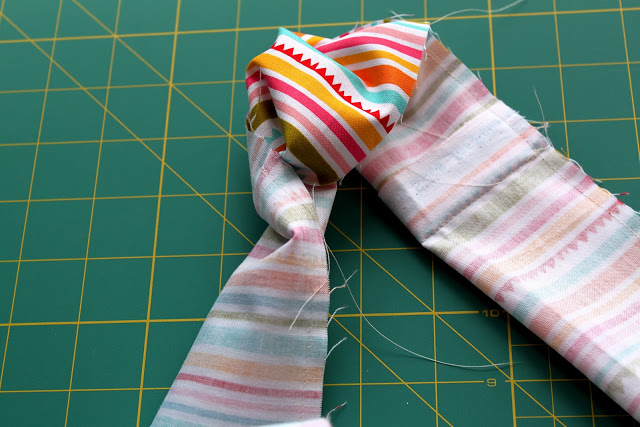
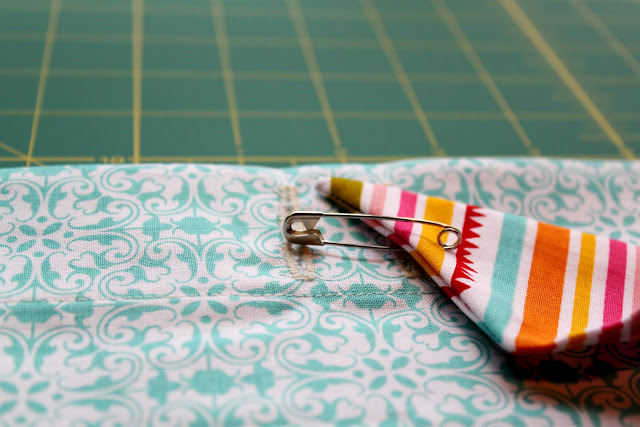
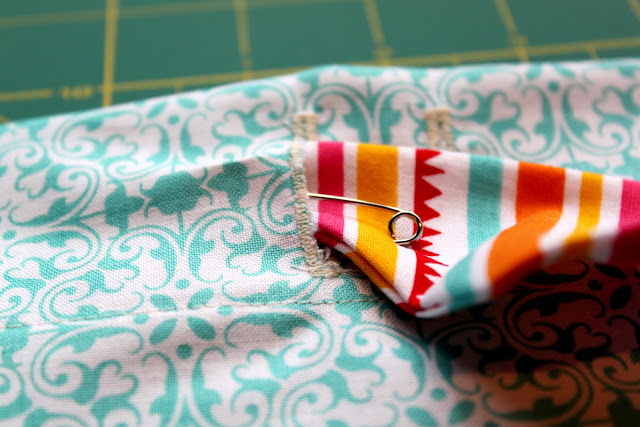
Sorry I don’t have better pictures for this part. I got a little excited to be finishing the dress and forgot to snap them. I’m going to recommend measuring your child for the strap length. The straps for the 2/3 dress for Matilda were cut at 10.5″ each. If you would prefer to just make a guess, you can add an additional 1/2″ – 1″ for each additional size up from the 2/3.
Remember when deciding on your strap length that you will be losing about 2″ based on sewing the straps in line with the casing stitching (in the step below). So make sure to add 2″ to your desired strap length when cutting. Logic would tell you that you’d be losing 2″ on EACH side, but the way the bow gathers the top of the dress, you really only end up losing 1″ on each side for a total of 2″.

 Lindsay Wilkes is the owner and designer behind The Cottage Mama. She creates timeless, vintage inspired sewing patterns for children’s clothes. She is also a fabric designer for Riley Black Designers / Penny Rose Fabrics, author of the book ‘Sew Classic Clothes for Girls’ and can be seen teaching nationwide and online in her video series ‘Lessons with Lindsay’ sponsored by Baby Lock Sewing and Embroidery machines.


It’s very pretty! I would make the shoulder straps higher though.
Thanks, Tammy! Yep, that’s the beauty of this tutorial……you can adjust the dress to make it any way you see fit.
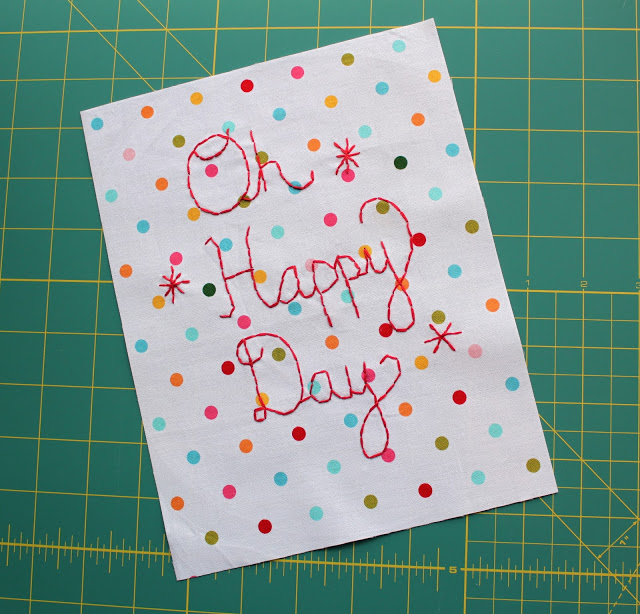
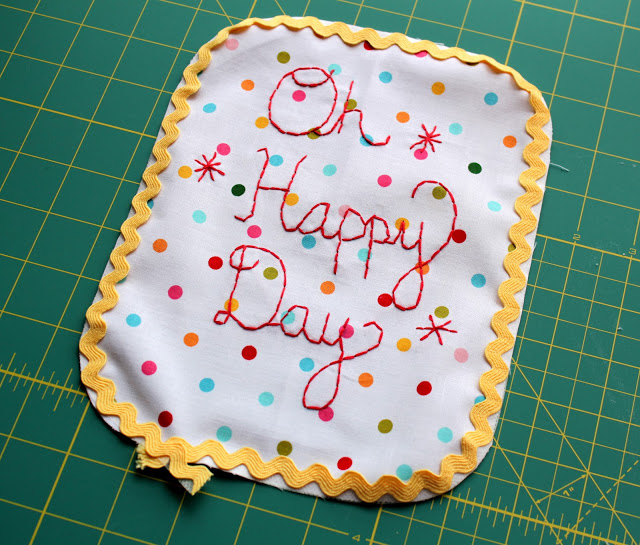
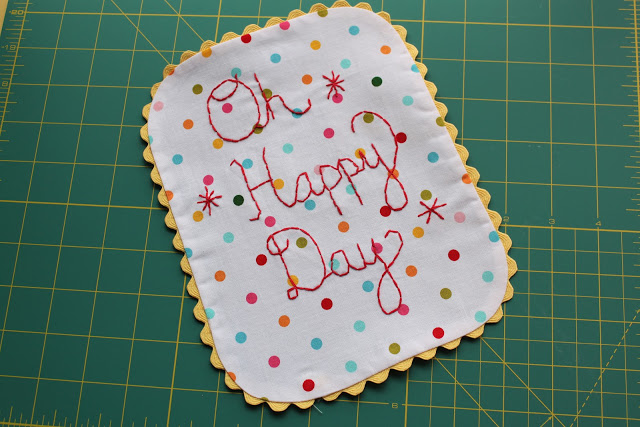
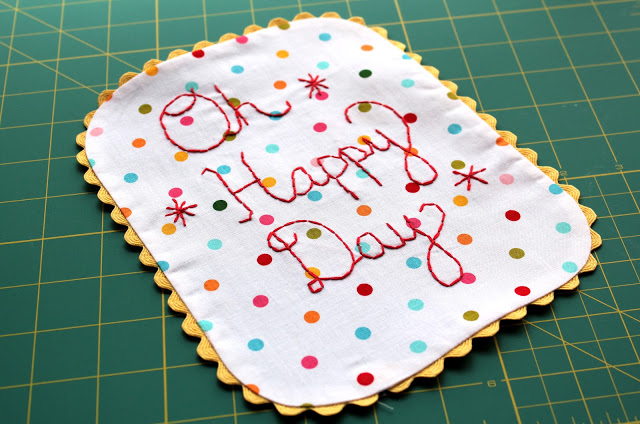
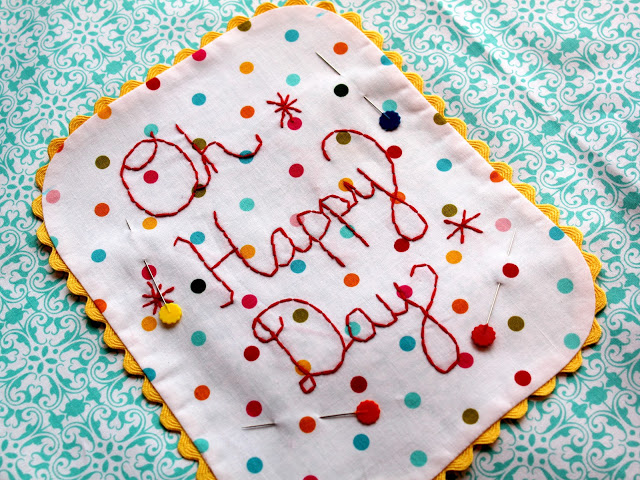
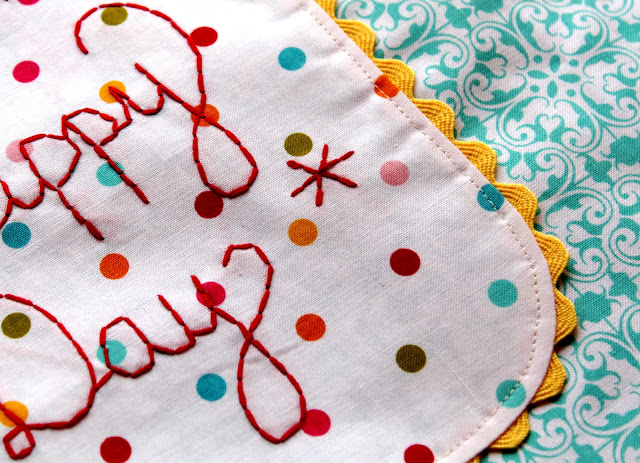
oh my goodness, this is so stinking cute! That Oh Happy Day embroidery, and the big bow – I LOVE IT!!!
So adorable! Thank you for the tutorial, love!!
Thank you so much for this tutorial! I love everything about this dress!!!
very adorable
This is so cute, I really think I am going to try this. I am a super beginner sewer, I have only had my machine for 3 weeks. Where do you get your fabric?
Thanks, I’m glad you like it!! Well, this fabric was sent to me directly from the manufacturer…..Riley Blake Designs. But I love all my fabric shop sponsors, so click on any of them in the right side bar of the blog and you should find some fabulous prints!!
Don’t worry about being a beginner……..we all had to start where you are at one point or another. Sometimes you just have to dive in and start learning. You can do it!
This is just adorable. Thank you SO much for taking the time to do this for us.
I love this and may have to give this a try. Maybe a cute idea for my daughter’s Easter dress! Thanks.
Linsday,
Thanks for such a great pattern/tutorial. I love reading your blog and I have one of your patterns that I have used several times for dresses for my girls. Thanks for all the hard work you put into your blog, it is one of my favorite reads every day.
Erin
emstone28@gmail.com
Such lovely dress… I hope I could sew it one day with this great pattern and tutorial.
Beautiful dress and gorgeous fabrics!
I LOVE this dress! I actually just made it, and it’s so easy. I have a quick question about the straps. How did you decide where to put them? There’s so much bunching once the bow is in, that I’m not sure where to put the straps so that the bunching is even. Does that make sense? Should I just go about 1/3 of the way in on both sides of the dress?
Hello. I love this dress. I have been considering making it for some time now! However, I am embarressed to admit that I am not getting the part where we know what the width of the dress should be? I am probably just having a brain cramp ;P. As always, love your creations!
Thank you SO MUCH for this tutorial! I used it to make my daughter’s second birthday dress. I love how it turned out. So perfect for a little girl!!!
http://i1095.photobucket.com/albums/i466/Midnight_Stitches/gifts/Boos2ndBdayDress.jpg
Cute dress! Are you using the whole 45″ width of the fabric for the width of the dress?
Thanks for the lovely pattern. Have made one for my Grand Daughter…have posted pics on my blog, plus a link to you.
http://simmots.blogspot.com.au/2012/10/fairy-princess-dress.html
I just love this dress. I used the tutorial to make one for my daughter Lily. Still have to try it on her, and will have to do a redo. I didn’t do such a great job on the pocket placement and didn’t try to do the embroidery yet. Thank you so much for this tutorial! http://wethreemothers.blogspot.com/2013/05/a-big-bow-dress.html
I bought my first ever sewing machine yesterday second hand and made my first project tonight which was this dress. I have always wanted to be able to sew other than by hand and I am so excited for how the dress turned out. THANK YOU for your inspiring blog and how you encourage us absolute novices to just give it a go even if you don’t feel you have the skills. Can’t wait to try it on my friends daughter tomorrow. It’s super cute!
Fastidious replies in return of this query with firm arguments and describing all regarding
that.
Help! I am trying to see the straps and have no idea where to put them! This is a baby gift so I don’t have a little one to try it on. Thanks for your help!