Archives for June 2011

Pattern Remix: Little Apples Fat Quarter Pillowcase Dress

 Jessica, from the blog, “Me Sew Crazy” invited me over to participate in her Pattern Remix Series.  If you haven’t gotten a chance to check it out, you must.  Basically she asked a bunch of bloggers to take ready-made patterns (paper, PDF, blog tutorials, ect….) and make them their own.  There has been a month of totally inspirational posts!
Click HERE to check out the series!

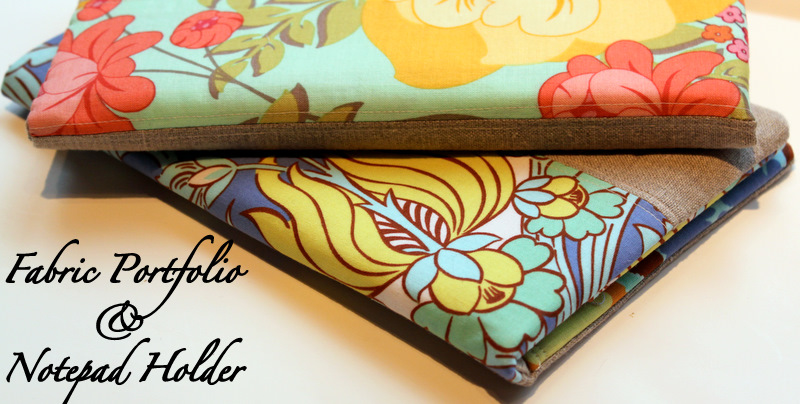
I love sewing with patterns, I think the fit you can achieve is superb, but I very rarely follow any pattern exactly.  It’s kind of like myself and cooking, I can’t stick to a recipe to save my life, I always have to make it my own.  I guess it’s my own way of using my creativity with the help of inspiration.  That doesn’t work so well with baking, but it ends up being pretty fun with cooking and sewing!

Pillowcase dresses are great for little girls.  They are perfect for summer, they can be layered in fall/winter, they become a top once they outgrow them as a dress, they take no time to make and the possibilities are endless.  I thought it would be fun to change up your basic pillowcase dress.  There are a gazillion tutorials online for pillowcase dresses (such as here, here, and here) and they are the perfect beginner sewing project.  The pillowcase dress is a wonderful pattern to make your own and is great to experiment with because the fit is so forgiving.

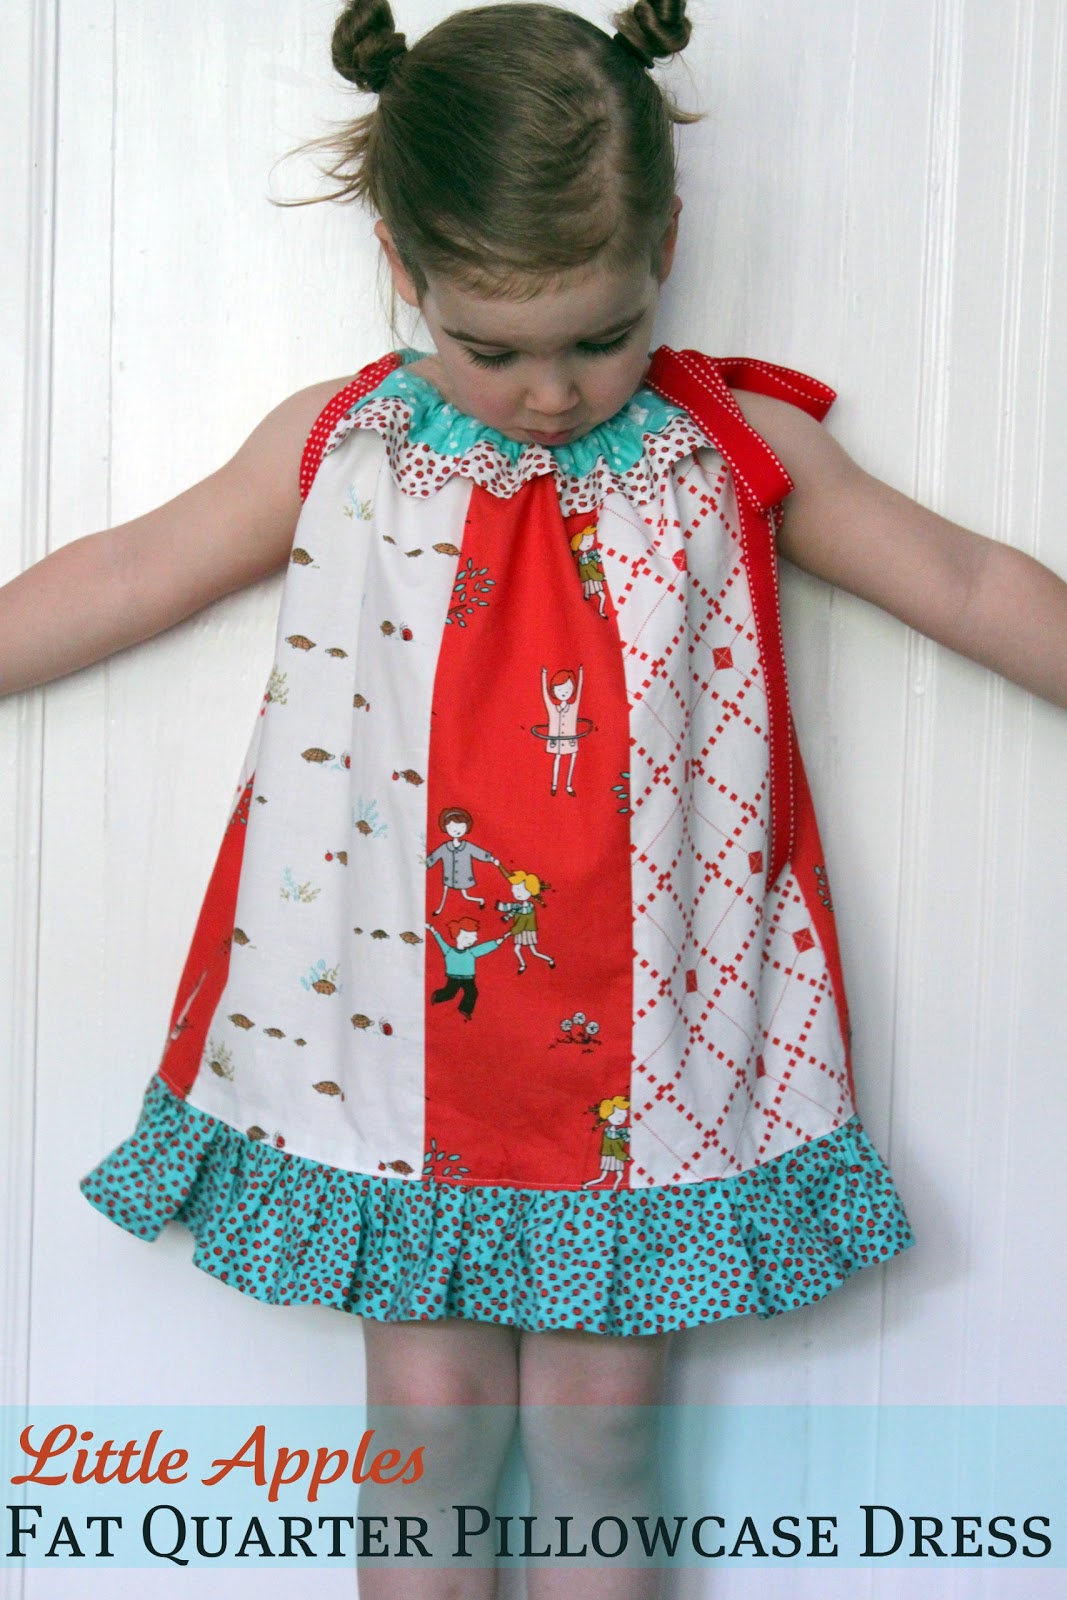
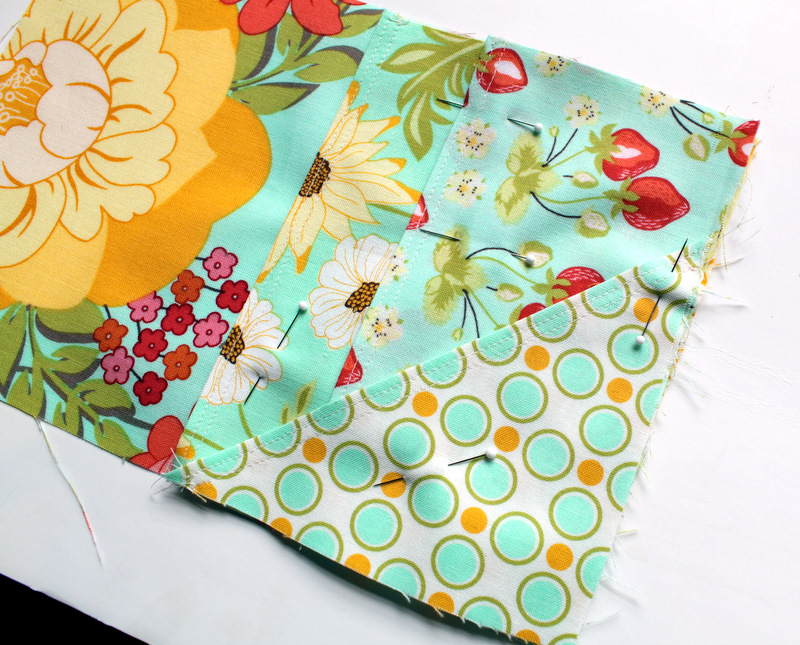
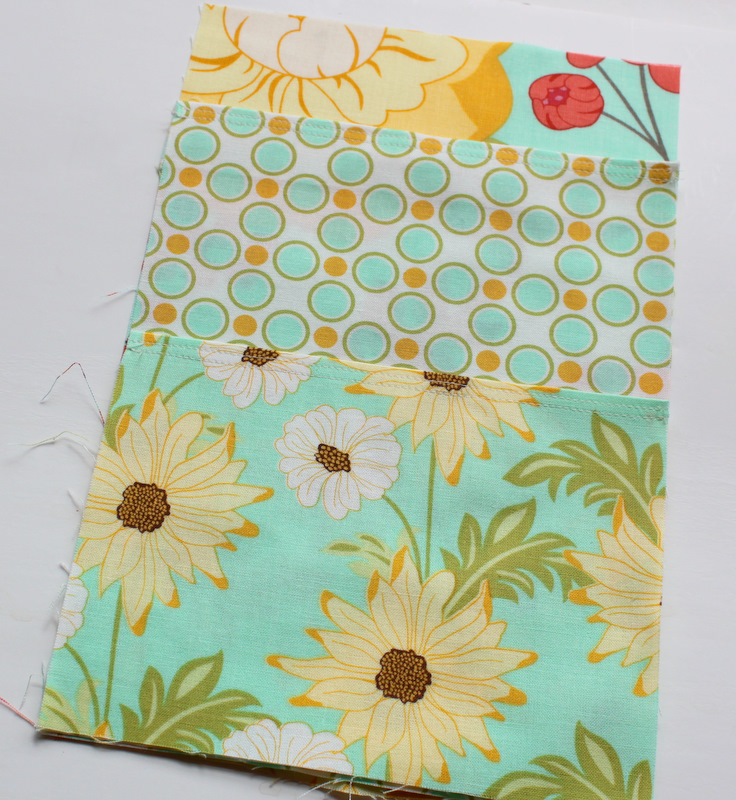
For this pillowcase dress, I used only fat quarters of six different fabrics.  These are some fat quarters that I picked up at quilt market – “Little Apples” by Aneela Hoey (this fabric will be released in September 2011).  I decided to piece together the main part of the dress with three different prints.  I did this by simply sewing strips of fat quarters together so that the piece was large enough to accommodate the pattern.  Once large enough, I cut my pattern out.

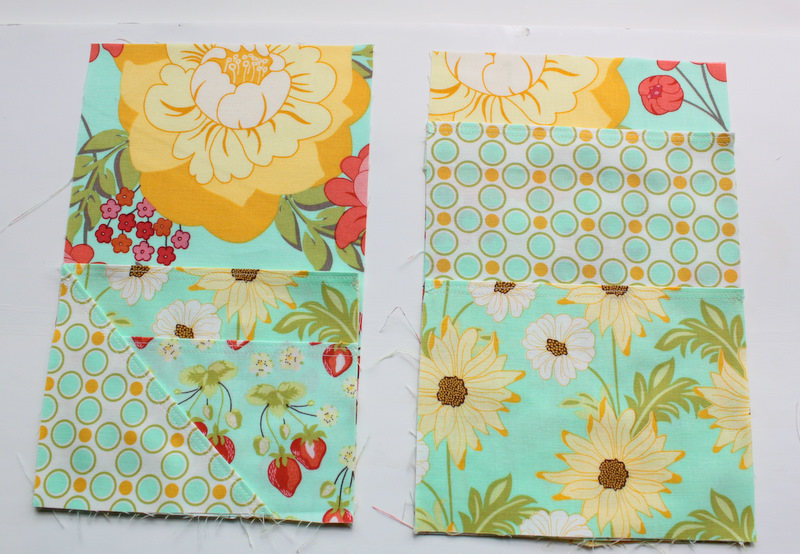
I added two layered pieces of fabric to the top of the dress in the front and the back.  These pieces were cut 5″ and 4″, but were both the same width as the top of the dress.  I stitched them to the top of the main dress pattern piece before folding it over to make the casing.  They actually aren’t ruffled, they just look that way because of the way the neck-line is gathered.  Pretty cute, huh?

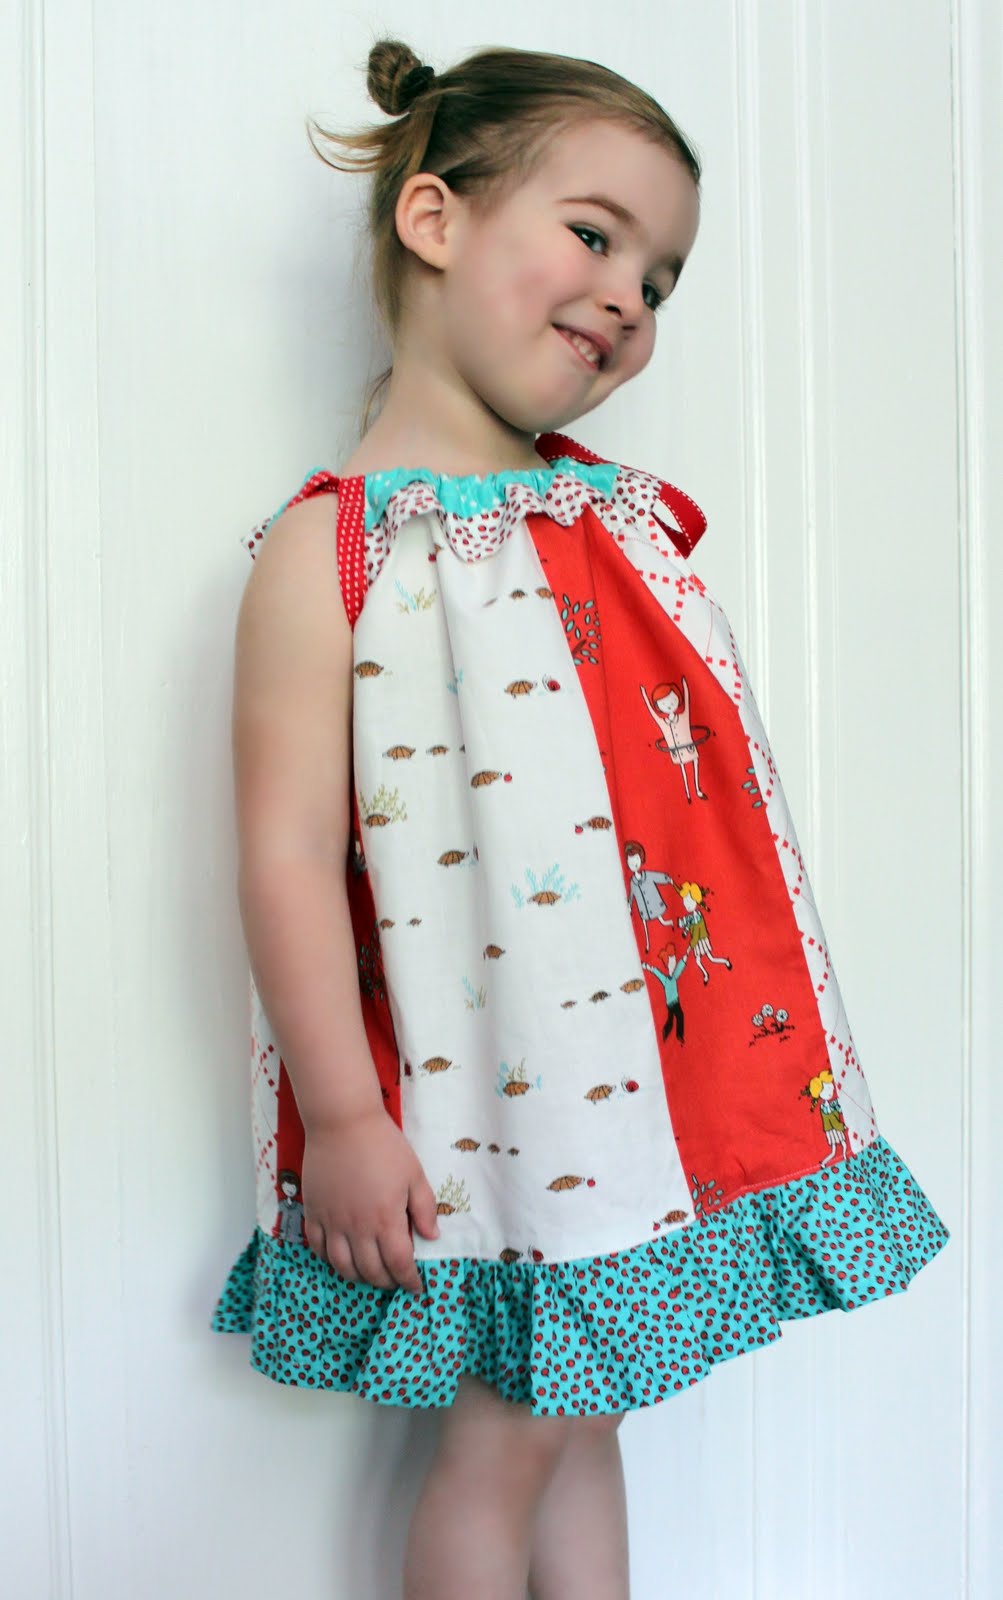
Fat quarters are only so long, so to extend the dress, I cut a fat quarter into four equal parts, sewed it in a long strip and made it into a ruffle at the bottom of the dress.  If you wanted to make it even longer, you could do several tiered ruffles which would be really fun.

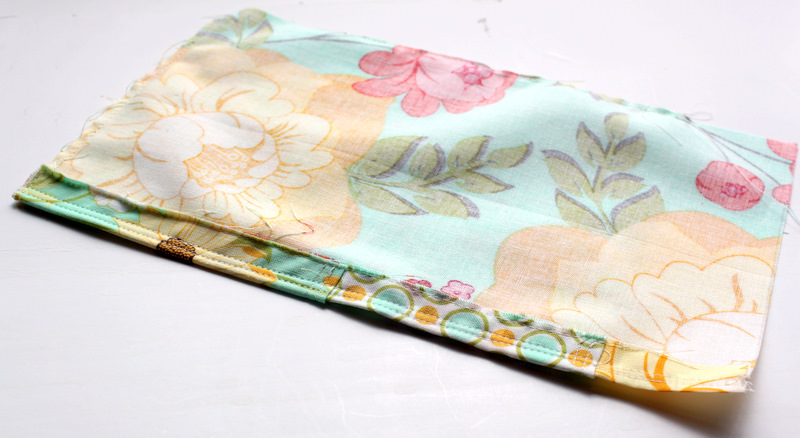
I used polka dot bias tape to trim the arm holes and threaded a red (with white stitching) ribbon through the neckline.  You could also thread two ribbons and have the dress tie at both shoulders.
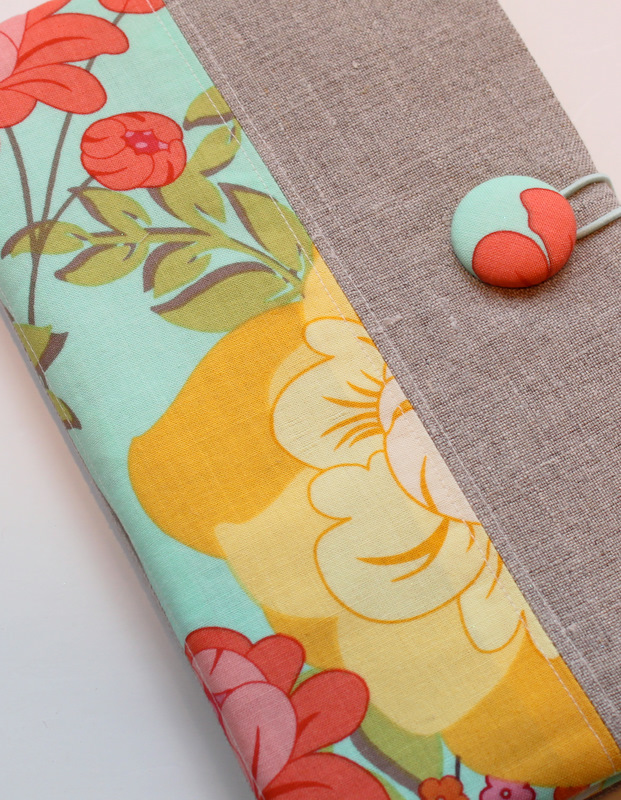
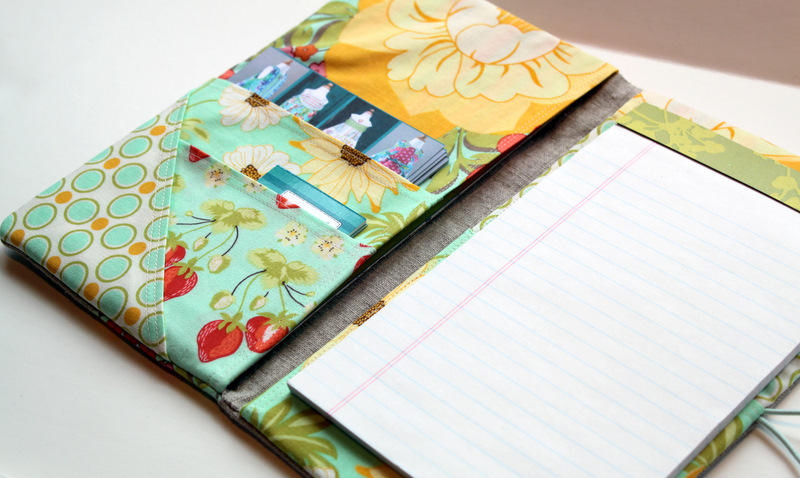
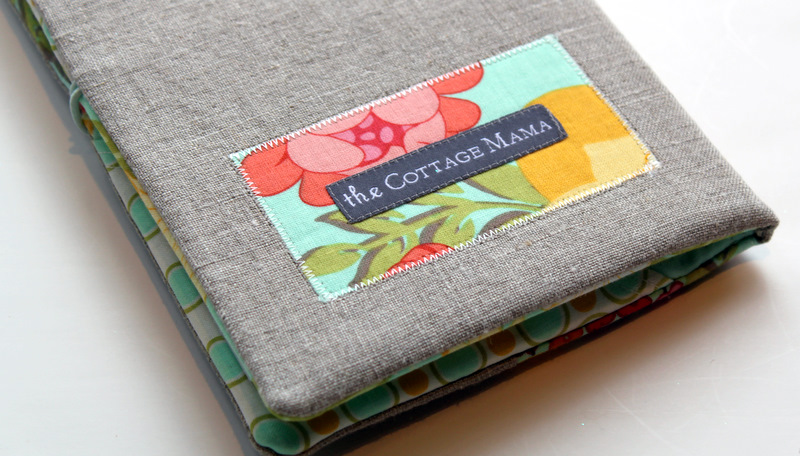
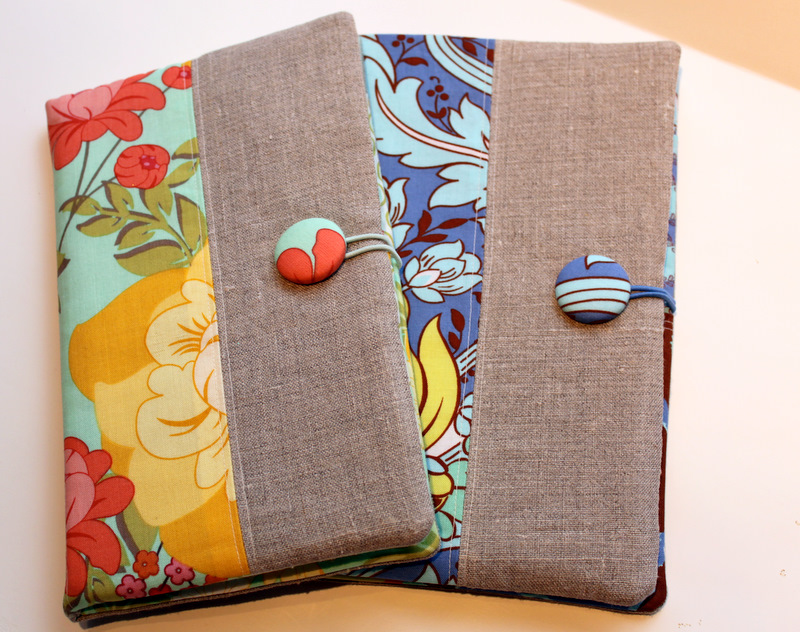
Here’s my little model, Savannah Rose, being silly for the camera……

I hope you all enjoyed my pattern remix!  What patterns are you going to remix?  Have any ideas?  Any fat quarters you might use up for this project?  A big thanks to Jessica for inviting me over to her lovely blog, Me Sew Crazy.  Thanks girl!!
 
Happy Sewing!

Sodderbug Custom Photo Charm Necklace Winner

And the winner of the Sodderbug Custom Photo Charm Necklace is……..
Congratulations, Shawna!  Please email me –  thecottagemama[at]gmail[dot]com with your address and contact information and we will get this custom order necklace order placed for you.  Thank you to everyone who entered!

Sew Along: The Details

So 345 of you voted for our first “Sew Along” pattern here on the blog, and the winner (by only 4 votes) was Carina Gardner’s “Playdate Outfit”!

I’m really excited to sew from this pattern because I think this outfit is very versatile and will be great for just running around outside this summer.  You can choose to sew a dress, blouse, capri pants or shorts.

So here are some of the details that may interest you in regards to the “Sew Along“:

1.  Start Date: Sew Along starts Monday, June 27th, 2011.  By then you should make sure that you have your pattern and whatever fabric and notions you plan on using.  We will sew along each day and have our looks finished by the end of the week.

2.  Pattern Purchasing: Terri, from Fairytale Frocks and Lollipops is offering a 15% discount on your total purchase from her shop through Sunday, June 19, 2011.  Right now you can pre-order the pattern and Terri will make sure to have it to you before the sew along begins on June 27th.  You can also use the 15% off on anything else in her shop such as fabric, notions, trims, ect. that you may want to purchase to create your “Playdate Outfit” look.  Use the code: SEWALONG to receive your exclusive discount.

Click HERE to pre-order your Carina Gardner “Playdate Outfit” pattern.

3.  Contest: Also we have decided to turn this sew along into a fun little contest if any of you are interested.  When you have completed your look after the sew along, I would ask that you upload a picture of your look to The Cottage Home Flickr Group.  Feel free to get creative with the pattern whether that be the fabrics you choose or altering the design.  From there Terri and I will narrow the field down to the finalists and then you all will be able to vote on your favorite look.  The winner will receive a $50 gift certificate to Fairytale Frocks and Lollipops.
4.  The Cottage Mama Sewing Kit: Finally, for those of you not sure about what fabrics and trims you would like to use. I will be creating my own look for the “Playdate Outfit” and putting together a “kit” you can purchase through my etsy shop.  The kit will include all of the different fabrics and trims that I used so you can recreate one of my looks exactly.  I know finding the right designer fabrics and trims can be tricky so I am going start offering these “kits” to make life a little easier for those of you wanting to sew a boutique look for your child, grandchild, niece, nephew, ect.  I will hopefully have this “kit” ready for you all in the next week or so.
So, those are the details.  I can’t wait to receive my pattern and get started, how about you?  I know many of your were interested in sewing the Pink Fig and the Oliver + S patterns, so if this Sew Along goes well, perhaps we will have to sew those patterns together in the future!
I hope you will all join me in this Sew Along.  Head on over to Fairytale Frocks and Lollipops and pick up your pattern!  Anyone going to be interested in purchasing a “kit”?  If you have any questions, feel free to email me or just leave a comment!  Have a wonderful weekend!

Fabric Portfolio and Notepad Holder Tutorial

So I’ve been meaning to post this tutorial for the last several weeks, but just haven’t had the time to get it written up.  I made these Fabric Portfolios for my mom and I to take to quilt market.  I actually sent my mom hers for mother’s day with the business cards I had printed up for her.  I wanted us to have something to carry around our business cards, postcards, credentials and a notepad.  These turned out to be just perfect!

I designed these portfolios to fit easily inside of a purse, but big enough to hold a good amount of notes and documents.  Make one of these to tote around while you run errands, to carry your coupons, grocery list, or make one for a gift (perhaps for a recent graduate).  I think just about anyone you know could probably find a use for the Fabric Portfolio and Notepad Holder.

Supplies:
Fabric – Fat Quarters (I used 4 different designs as well as linen)
Medium-weight fusible interfacing
1 hair elastic
1 button
Two pieces of cardboard
Basic sewing supplies
1 notepad

Directions:
Cut your fabric pieces.

Exterior:
Cut 1 – 10″ x 3.5″ (Linen)
Cut 1 – 10″ x 4″ (Fabric A)
Cut 1 – 10″ x 6.5″ (Linen)

Interfacing:
Cut 1 – 10″ x 13″

Interior:
Cut 1 – 10″ x 13″ (Linen)
Cut 2 – 10″ x 6.5″  (Fabric A)
Cut 1 – 10″ x 6.5″ (Fabric B) – Hem top down 1″ – this is the piece that will hold notepad
Cut 2 – 10″ x 6.5″ (Fabric C) – Fold in half, top down (one goes on each side)
Cut 1 – 6.5″ x 5″ (Fabric D) – Fold in half, top down
Cut 1 – 5″ x 5″ (Fabric B) – Fold in half on the diagonal

Sew the outer pieces together.  Place one piece of printed fabric on top of one piece of plain fabric (right sides together).  Stitch a straight line – 1/4″ seam allowance.  Do the same on the other side of the printed fabric. Press both seams open.  You will now have a plain piece of fabric on either side of the printed fabric for your exterior.

Top-stitch on both sides of the seam.  1/8″-1/4″ on either or both sides.  See picture above.  I top-stitched on both sides.

This is what the back side of the exterior piece will look like when you have pressed your seams open.  Press your interfacing to the back side of the exterior piece of fabric.

Now construct the inner pockets.  I’ve given you the measurements and pieces I used, but you can customize this to fit your needs.  Add more or less pockets, whatever works for you.

I double-stitched the hem on all of the pocket pieces.  You don’t have to do this, but I think it looks nice and adds extra durability.  When I said above to fold in half, I stitched the hem by the fold.  You could just fold and not stitch, but I don’t think it would hold up as nicely.

Place all of your pockets on top of each other and run a stitch all the way around the edge of the whole pocket piece.  Stitch as close to the edge as possible.  This will hold your pockets all together.

Now construct the pockets for the other side.  I made one tall pocket to hold the back of my notepad and then another pocket underneath for extra storage.  Put pockets in place and stitch around the entire rectangle to keep them from moving around.

Here are your pocket pieces once you have run a stitch around each rectangle just to hold them in place.

Next you want to hem one long side of each rectangle.  You are going to do a 1/2″ hem.  Again, I double stitched here, but you certainly could just do one row of stitching.  Do one side on each of the two pocket pieces.  The hem should be on the side that you plan to have towards the middle of your portfolio, the other side is left raw for now.

Here is what the hemmed edge will look like on the pocket pieces.

Now place your pocket pieces on top of another solid piece of fabric (linen, in my case).  Pin in place.  Run a stitch around the entire large rectangle to secure the pocket pieces to your solid piece of fabric. The stitching might seem a little excessive, but it’s just always best to have everything nicely secured when sewing.

Now figure out where you would like your button placed on the exterior fabric.  Mark with a fabric marking pen.  Then stitch in place.  You can use any button and button size that you would like.
 

Next grab a hair elastic to make the band that will close the portfolio.

How long you leave your elastic will depend on the size of your button.  My button was fairly large, so I left a longer piece of elastic.  I also didn’t want it to be too tight because I wanted there to be room to load up my portfolio with documents and notes.  Stitch your elastic together by machine stitching back and forth several times.

Now place your exterior fabric piece and your interior fabric piece (the one with the pockets), right sides together.  On the side where you would like your elastic closure, point the elastic loop inward.

Stitch all the way around the rectangle, but leave a 3″-5″ opening for turning right side out – 1/2″ seam allowance.  You will catch your elastic in this seam.  I stitched back and forth over the elastic piece just to make sure it was secure in place.

Clip the corners to remove excess fabric bulk.  You can also trim off the additional elastic since it has now been caught in the last seam we just sewed.  Turn right side out and press with a hot iron.

Hand-sew the opening closed with coordinating thread.

I cut two pieces of cardboard to make my portfolio a little more sturdy.  Cut two pieces approximately 9″ x 5.5″ (give or take)  I also decided to cover the cardboard with coordinating paper, just in case it were to ever show.  I’m all about the details and I just like knowing the interior looks as pretty as the exterior.

Slide your cardboard pieces underneath each pocket piece.  Slide one in on the right side and one in on the left.

Now your Fabric Portfolio and Notepad Holder is complete!

If you would like to add your own label, make sure you do this before you sew the interior and exterior pieces together.  I wanted to add a pop of color to the back as well, so I backed my labels with matching fabric.

My portfolio is on the left and Mom’s is on the right.

The above portfolio is the one I made for my mom.  I also added some decorative paper to the top of the notepad.  I wasn’t too fond of the big “Office Max” label on the notepad, the paper looks much prettier.  I simply cut the scrapbook paper to size and glued it down.

The fabric used in Mom’s portfolio is Amy Butler’s “Soul Blossoms” and the fabric for mine is Sandi Henderson’s “Meadowsweet 2”.  The plain fabric is a neutral colored linen. 
Whew, that was a long post!  
So do you think you’ll make one?  
I’ve already gotten a ton of use out of mine and plan to make a few of these as gifts for some other special ladies in my life.

Sodderbug Custom Photo Necklace Giveaway

I’ve got a wonderful giveaway for you all today from Janelle of “Sodderbug – Beautifully Made Photo Charms and More“.  Janelle is giving away one custom photo charm necklace to a lucky The Cottage Home blog reader.

Anytime I do a giveaway, I always prefer to have the product in my hand before offering it to you.  That way I can make sure that you are going to be receiving high-quality goods every time you enter a giveaway.  So Janelle was so sweet and sent me my own photo charm necklace to personally review prior to this giveaway.  I just have to tell you that I am in LOVE!  This necklace is just beautiful and the quality is top-notch!

Sodderbug works like this, you send them one or two images and they turns them into a gorgeous photo charm necklace.  You can choose to have one image with any text you would like on the back or you can have two images.  I opted for two images, a picture of each of my girls.  And let me tell you, my girls just love seeing me wear this necklace.  I think it makes them feel very special to know that mommy is wearing their picture around her neck.

The metal on these necklaces feels so nice and the chain is a nice weight as well.  These charm necklaces are the perfect gifts for mothers, especially new mothers.  Who doesn’t love to see their little cutie around their neck?

I also think this is a wonderful anniversary or wedding gift for any loving couple you may know.  Sodderbug packages these necklaces in the most adorable little boxes.  They feel like a very special present when you receive your order in the mail.

The options are endless with these custom photo charm necklaces and I am so excited that Sodderbug is going to be giving one of you your very own!

To enter the Sodderbug Custom Photo Charm Necklace giveaway, please do one or all of the following (leave a comment for each entry):

1) Leave a comment and let us know what you would have put on your custom photo charm. (1 entry)
2) Become a fan of Sodderbug on Facebook. (1 entry)
3) Become a follower of The Cottage Home Blog. (1 entry)
4) Become a fan of The Cottage Mama on Facebook. (1 entry)

There are four chances to enter to win.  Giveaway will be open until Sunday, June 5, 2011 at Midnight (CST).