My mother-in-law has a great art studio in her home. It is large, gets lots of natural light and she has so many neat supplies such as buttons, vintage linens, lace, fabrics, glitter, glues, pens, paints and the list goes on and on.
For this past Christmas I wanted to make her a few things for her studio. Most of these items were for storing her large collection of different trinkets that she uses on her Art Dolls. I found these great vintage labels HERE and had fun turning these into pretty organizational supplies.
With the new year upon us, I bet a lot of us are in an organizational mood, so why not make it fun with vintage inspired craft room organization!?!
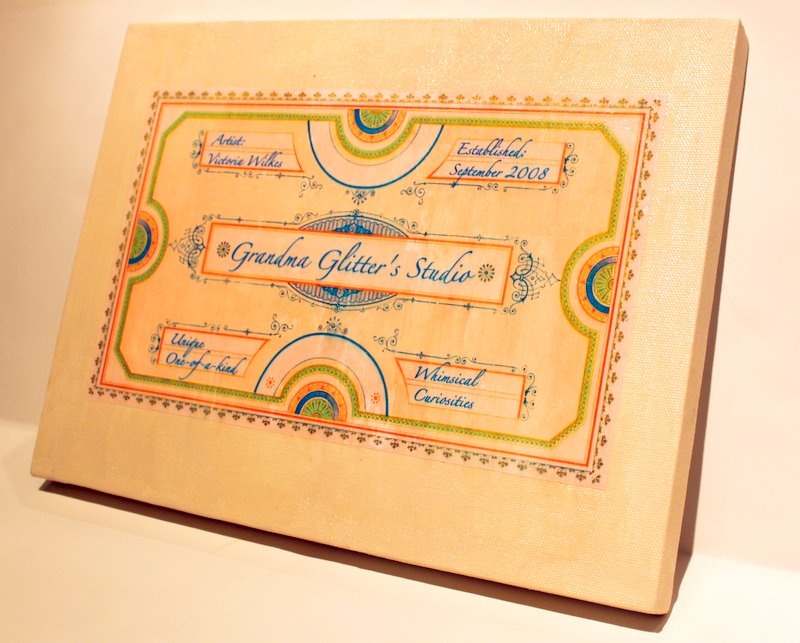

I made my mother-in-law a canvas sign for her craft room. My girls call her “GiGi” which stands for Grandma Glitter. My mother-in-law has a serious thing for all things glittery!
I painted the canvas a bone-white. Then I altered this (click here) graphic to customize it with her information using Picasa. I fit the image to page, printed it on my home computer, cut it out and mod podged it to the canvas.
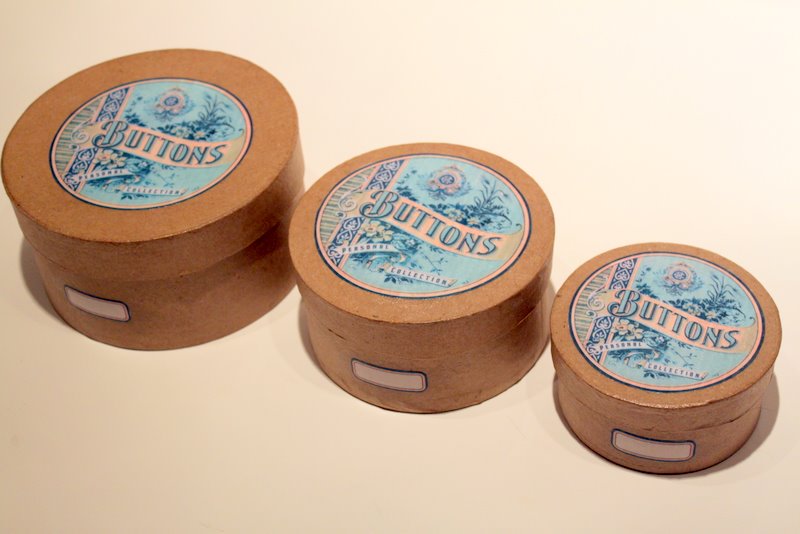

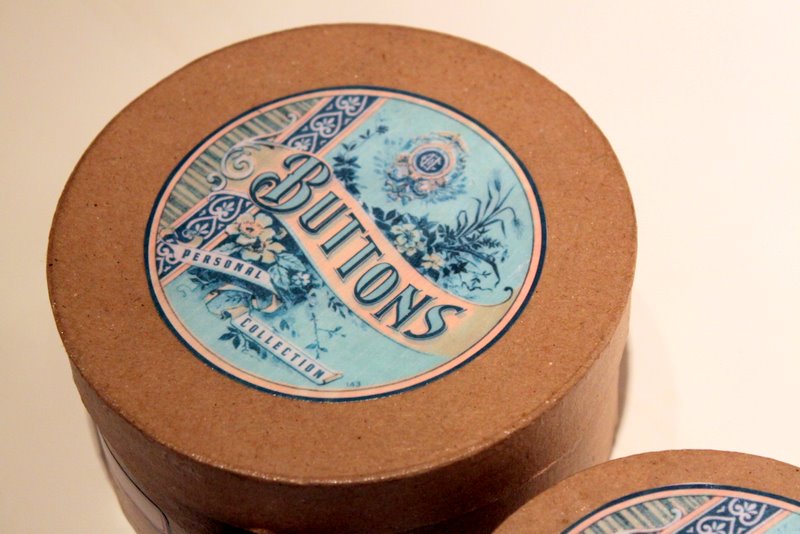
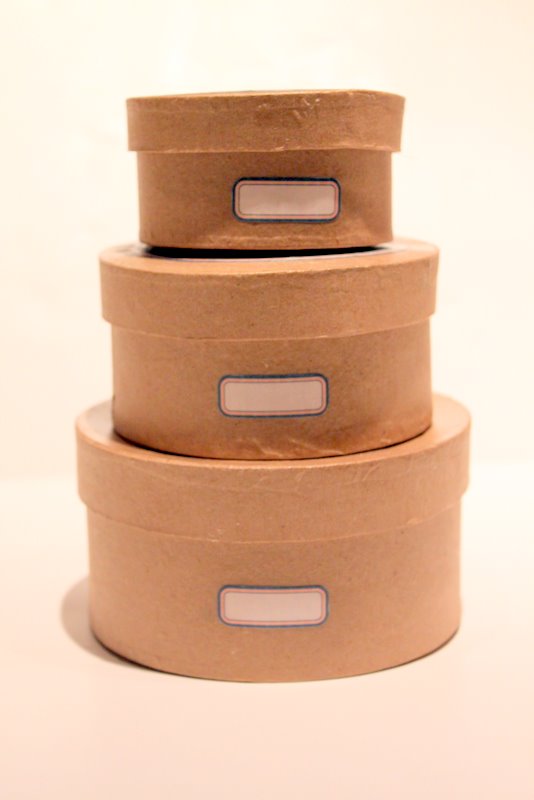
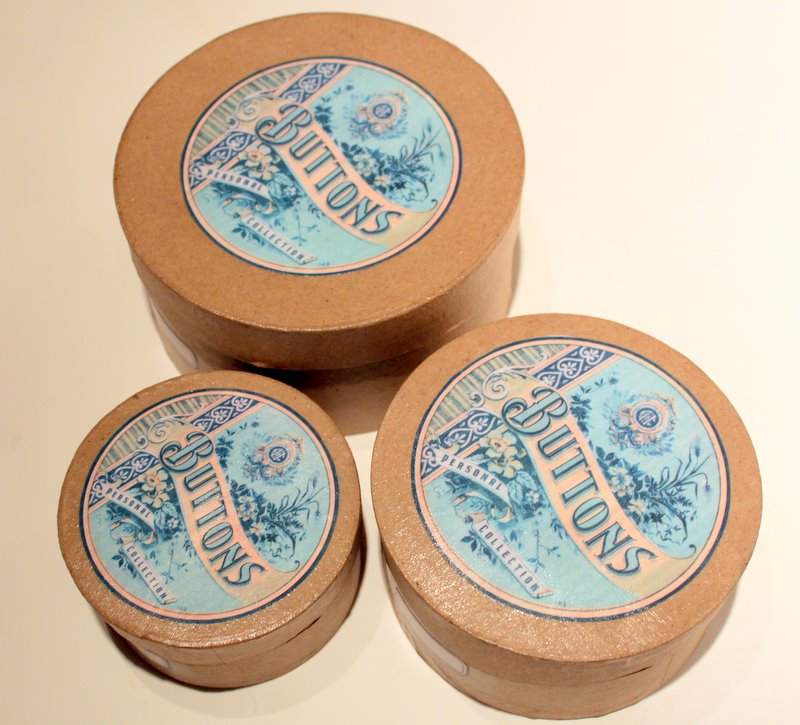
These are store-bought heavy cardboard boxes that I found at Joann’s. I mod podged the circle graphics to the top and then mod podged a blank label on the side. I chose to leave the label blank so she can label them as she wishes. Click here to get the free graphics.
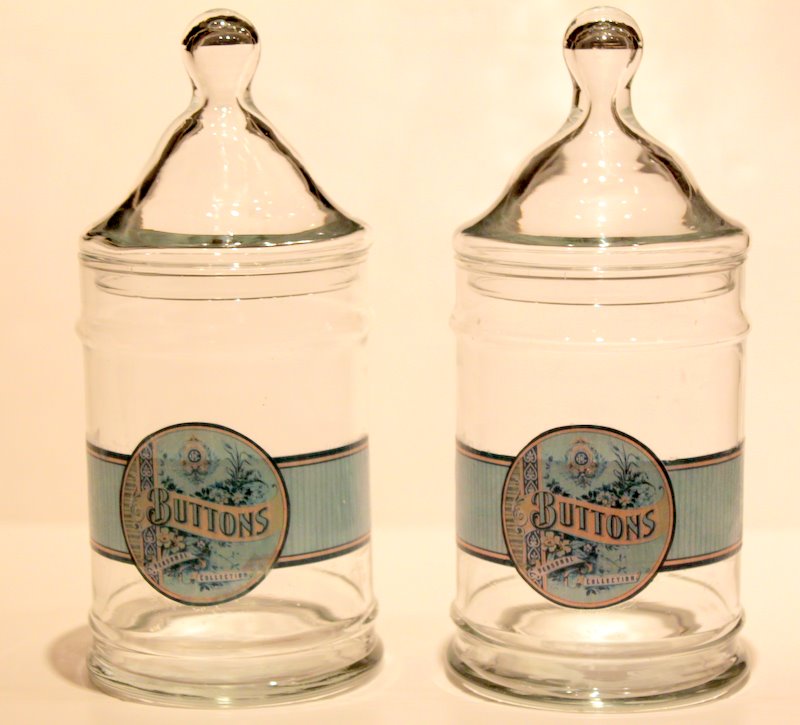

These are some fun apothecary jars that I simply mod podged labels onto as well. I thought she could use these to display some of her most treasured buttons. Click here to get the free graphics.

So here’s Gigi’s craft room organization set. I think she really liked it and I can’t wait to see that sign hanging in her studio. Happy organizing!


 Lindsay Wilkes is the owner and designer behind The Cottage Mama. She creates timeless, vintage inspired sewing patterns for children’s clothes. She is also a fabric designer for Riley Black Designers / Penny Rose Fabrics, author of the book ‘Sew Classic Clothes for Girls’ and can be seen teaching nationwide and online in her video series ‘Lessons with Lindsay’ sponsored by Baby Lock Sewing and Embroidery machines.


