Back in October, I made my good friend Marlene’s son, Ben, a superhero cape and crown for his 2nd birthday (here’s the post). I just loved this gift and it was a huge hit with some of my other “Mommy” friends as well.
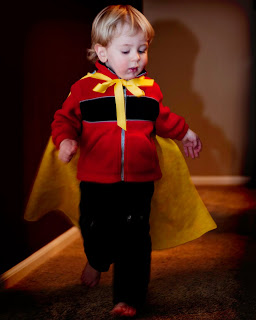
So, my friend Dancia (www.floradanicaphotography.com) asked if I would help her make a cape for her little guy, Roaran. Roaran LOVES Curious George and they were planning on attending “Curious George Live” at a local area arena. She thought it would be SO fun for him to have a special “George” cape to wear to the show and asked if I would help her make one.
I just wanted to share some pictures of our cape making experience with you. I think super-hero capes are one of the BEST gifts to promote pretend play in small children. So if you have any little ones in your life, I highly recommend making them their own special cape – it’s quick and easy and will be well worth the time!
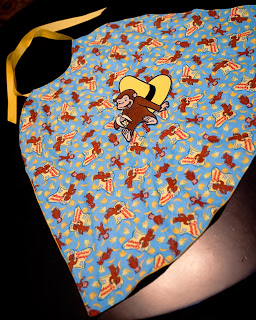
I used a VERY basic cape pattern piece that I had lying around from my daughters, Little Red Riding Hood costume. I cut an exterior piece out of Curious George fabric and an interior piece from yellow flannel.
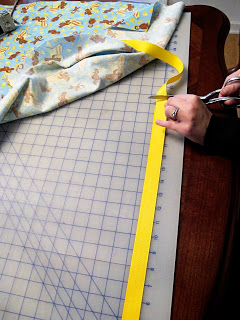
I cut two pieces of yellow ribbon, each approximately 20 inches long for the tie around the neck.
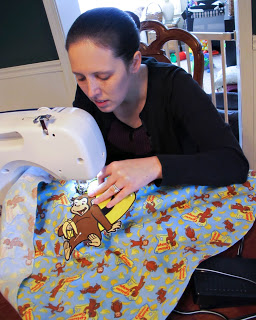
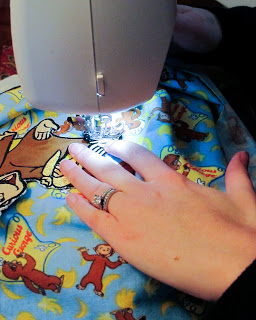
I then stitched the store-bought “George” applique piece to the exterior Curious George fabric.
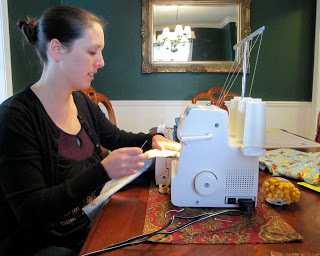
I place the wrong-sides of the cape together and used my serger to sew most of the cape, but you could just as easily use a regular sewing machine (the serger just makes a faster job of things).
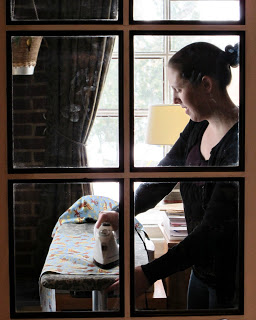
I then turned the cape pieces right-side out and pressed the seams. I have to say that ironing is my favorite part of sewing. I feel like that is where you start to see things really come together. With each sewing project I probably spend more time ironing than I do stitching.
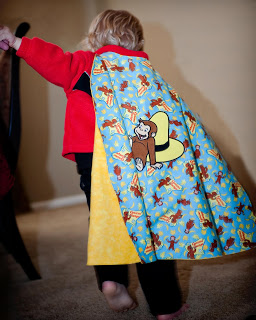
Then I simply stitched the opening of the cape closed & sewed on the two pieces of ribbon (I finished each edge of ribbon with fray-check). And here’s the finished cape!

 Lindsay Wilkes is the owner and designer behind The Cottage Mama. She creates timeless, vintage inspired sewing patterns for children’s clothes. She is also a fabric designer for Riley Black Designers / Penny Rose Fabrics, author of the book ‘Sew Classic Clothes for Girls’ and can be seen teaching nationwide and online in her video series ‘Lessons with Lindsay’ sponsored by Baby Lock Sewing and Embroidery machines.


