Instructions:
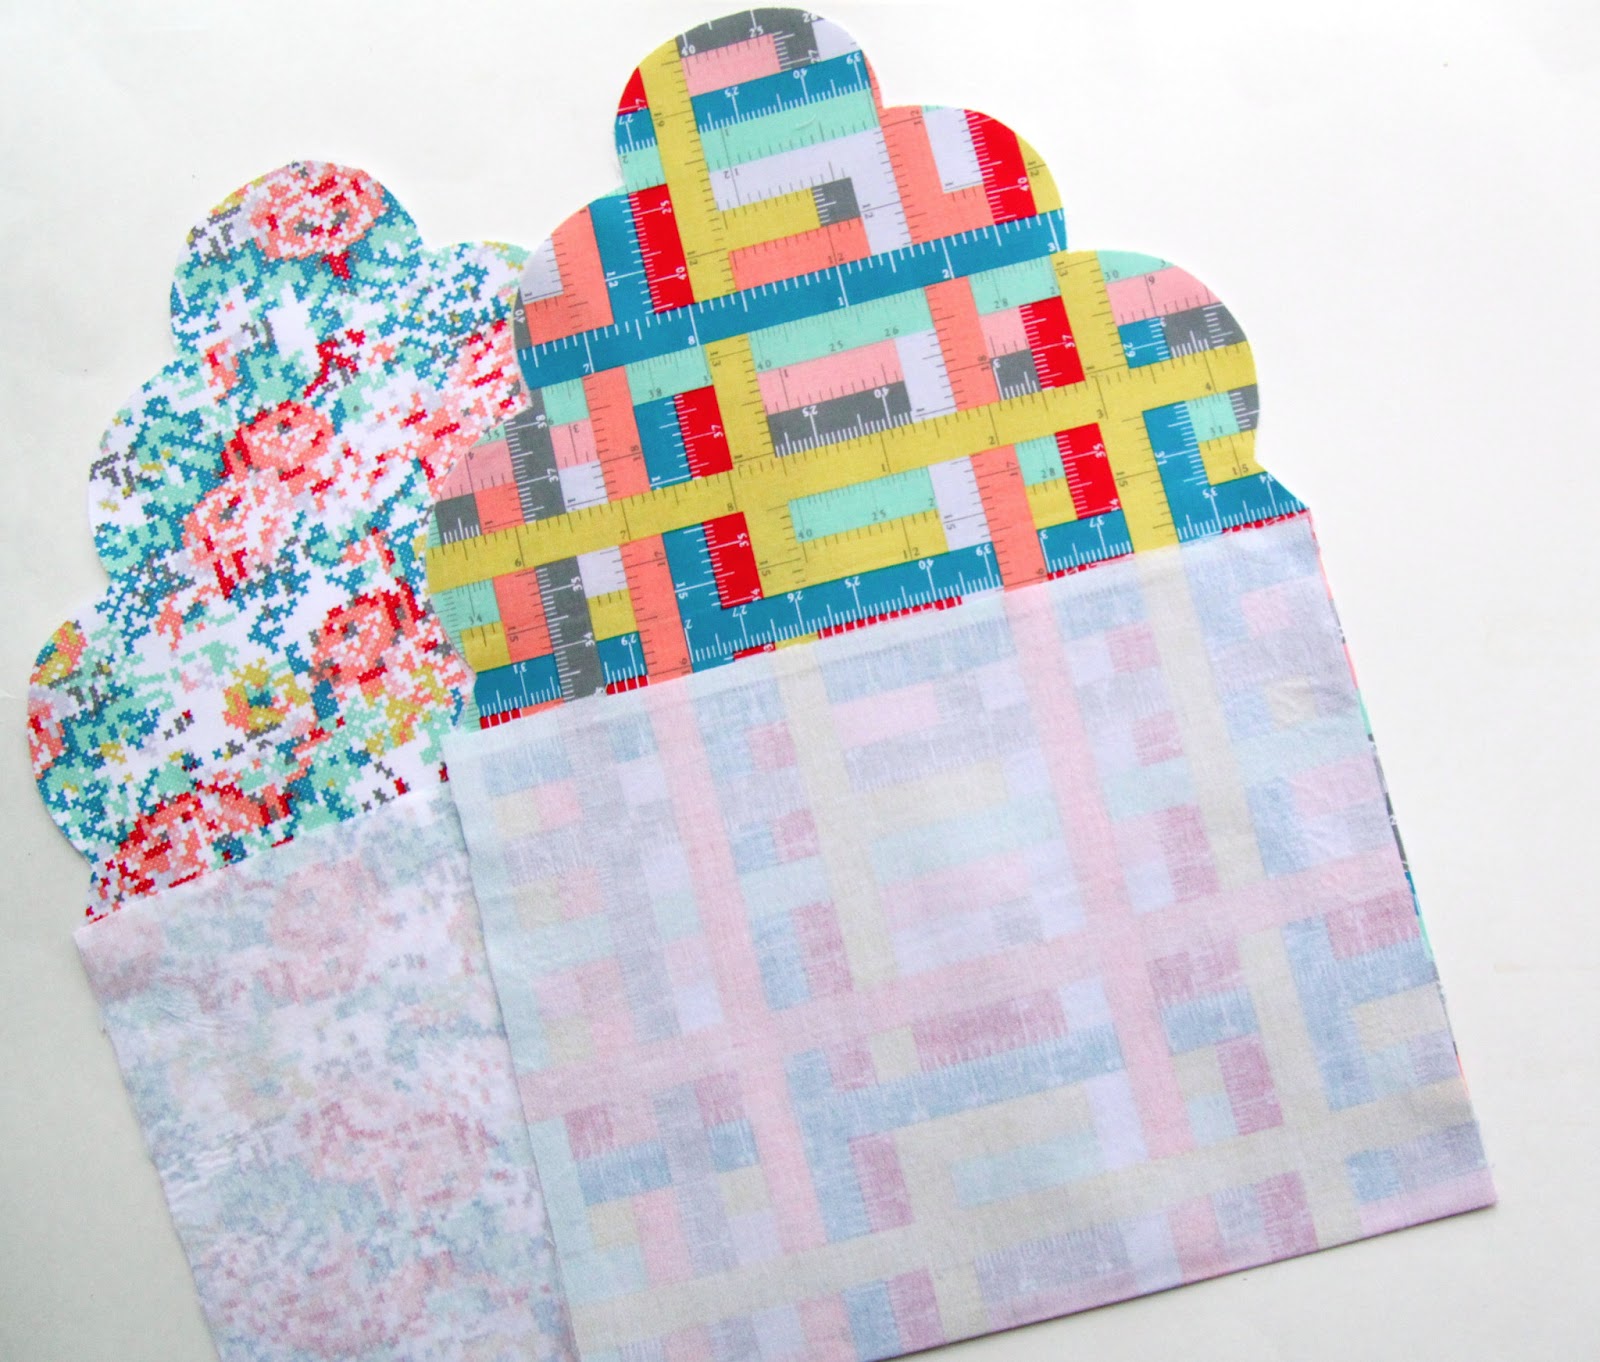
Step 4: Sew along both straight sides. Do this for the lining and exterior pieces. Clip the corners at an angle to remove bulk.
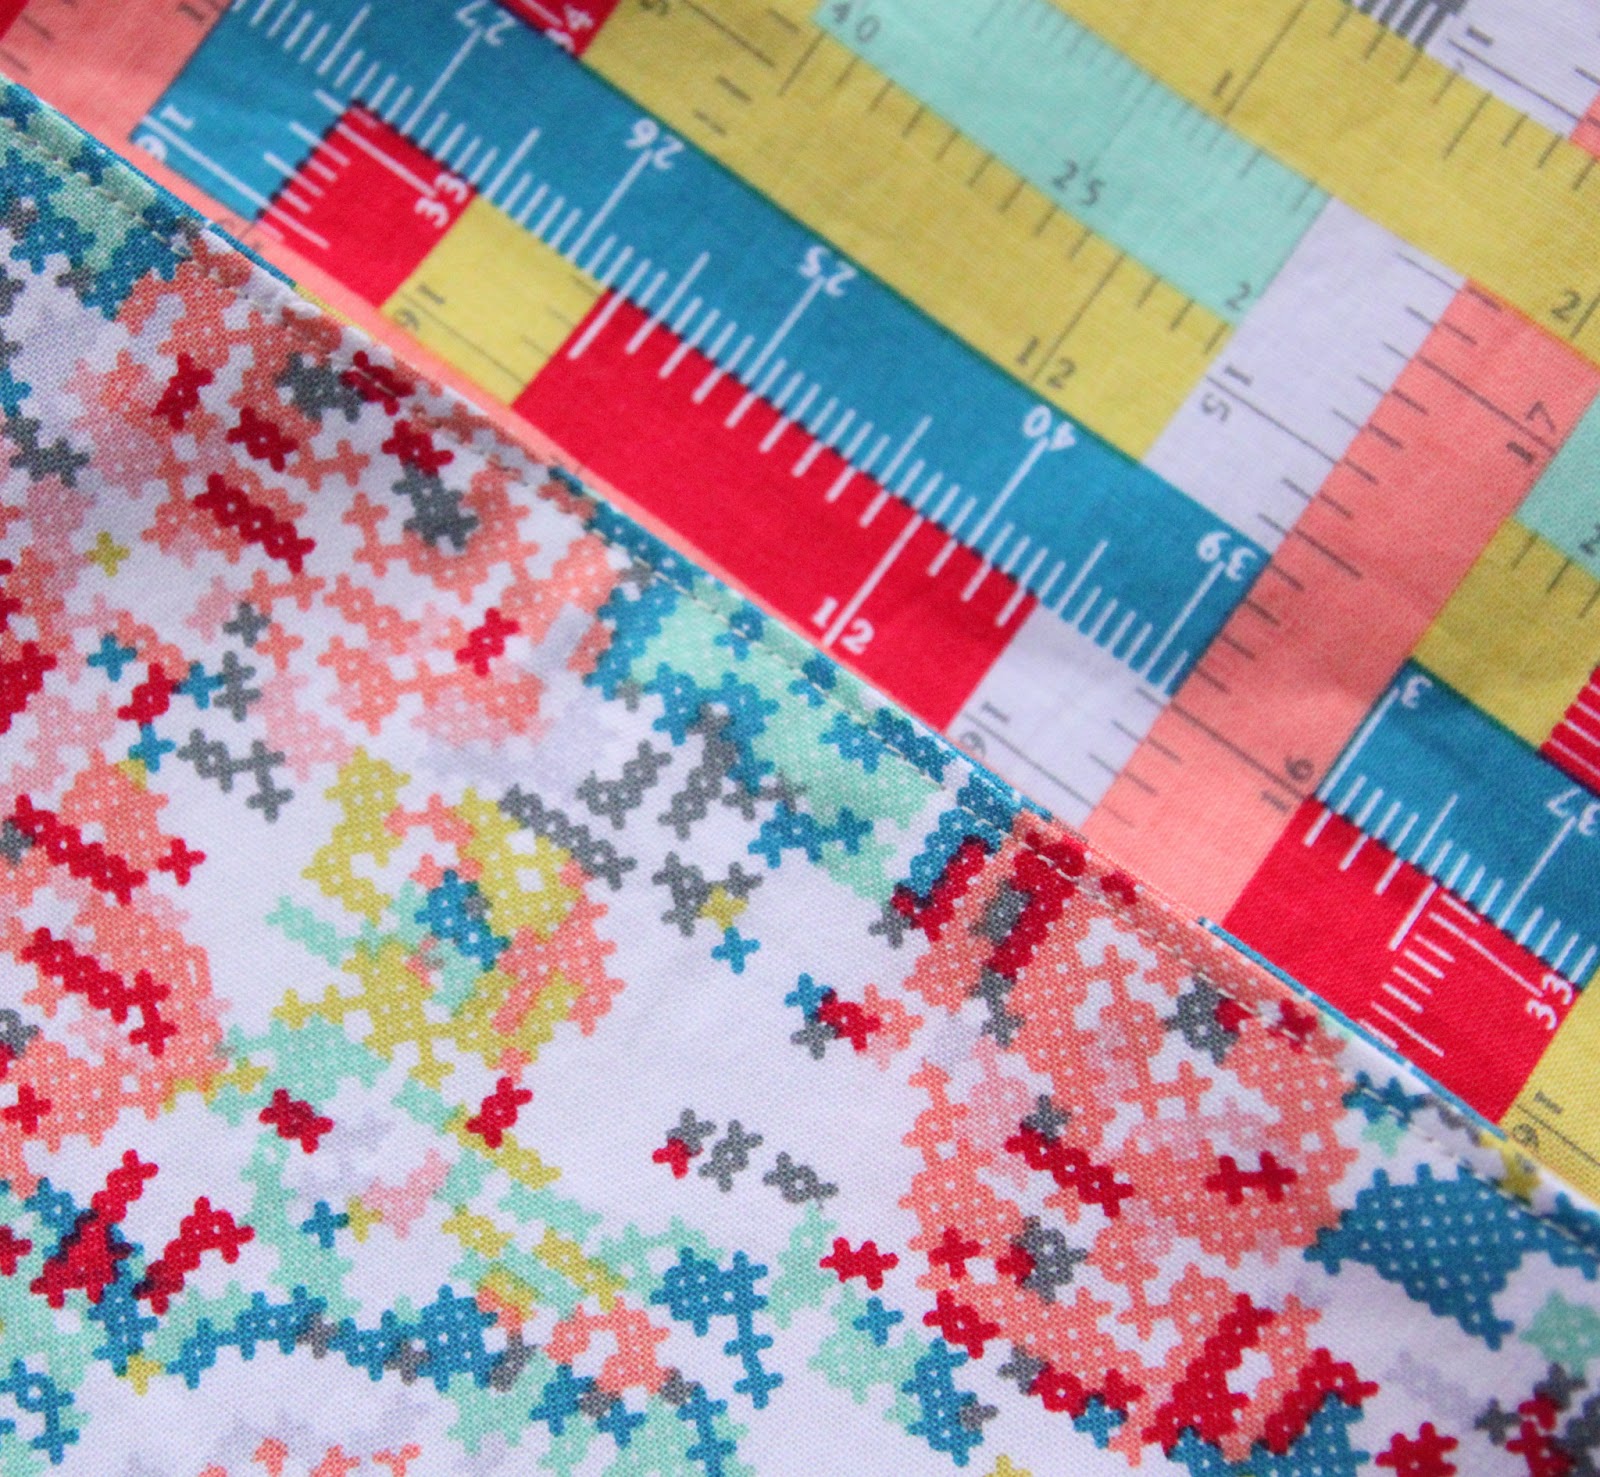
Step 5: Turn the interior lining piece right side out and press.
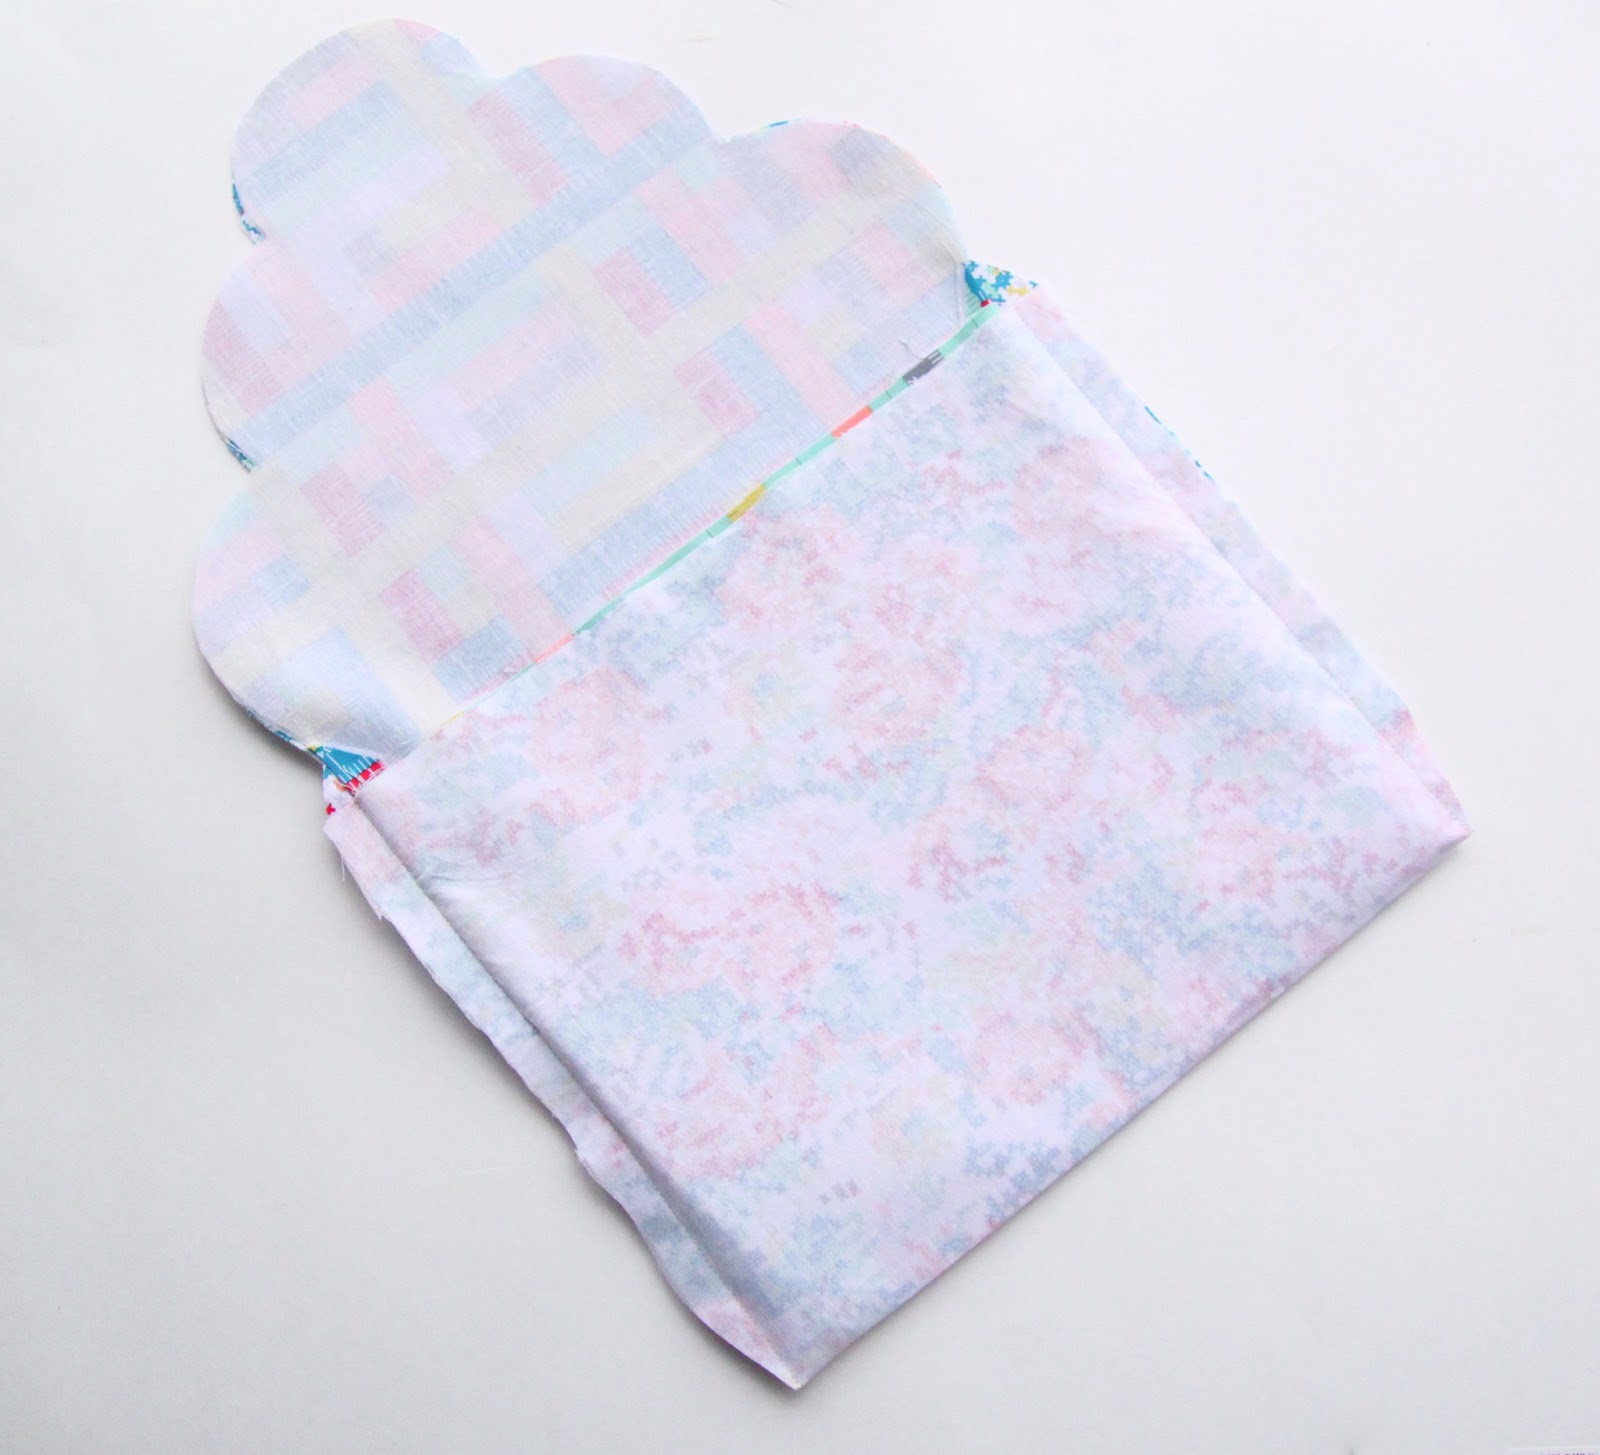
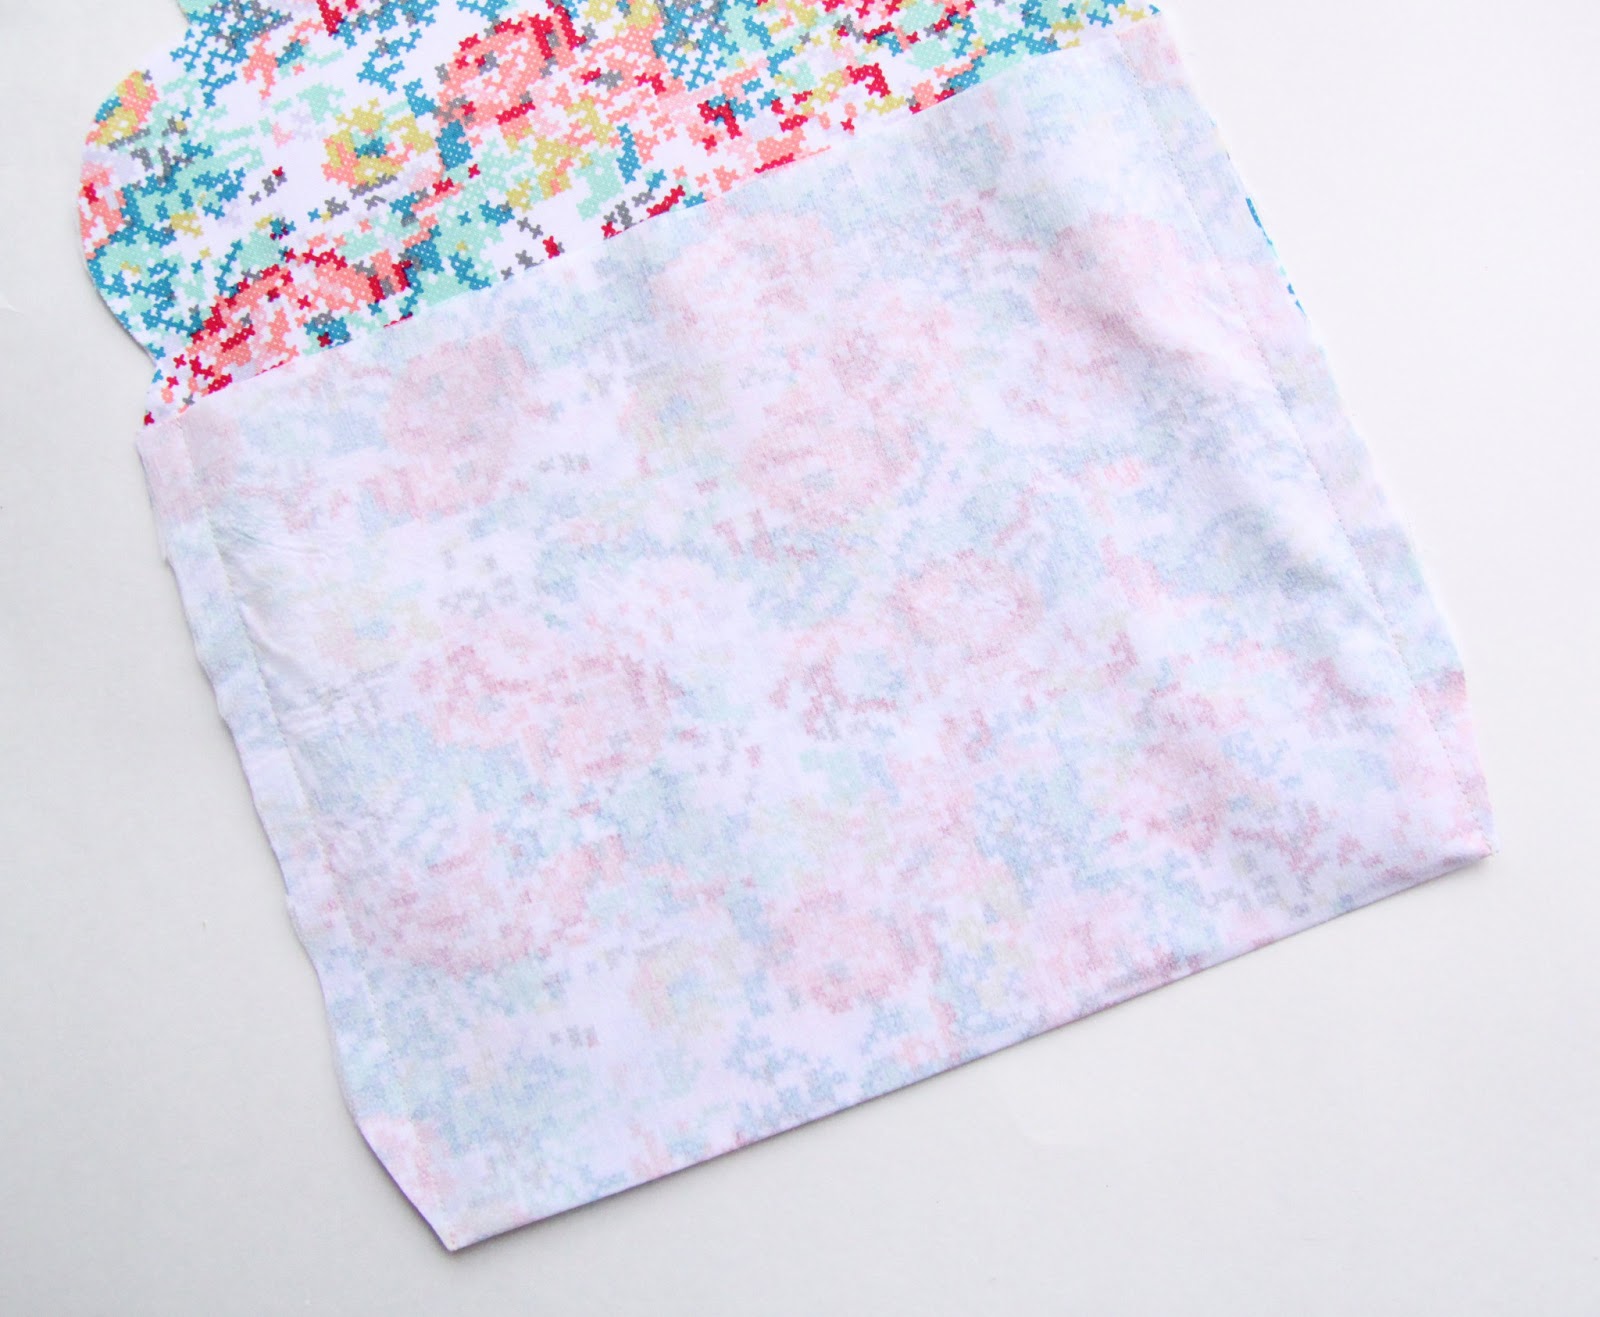
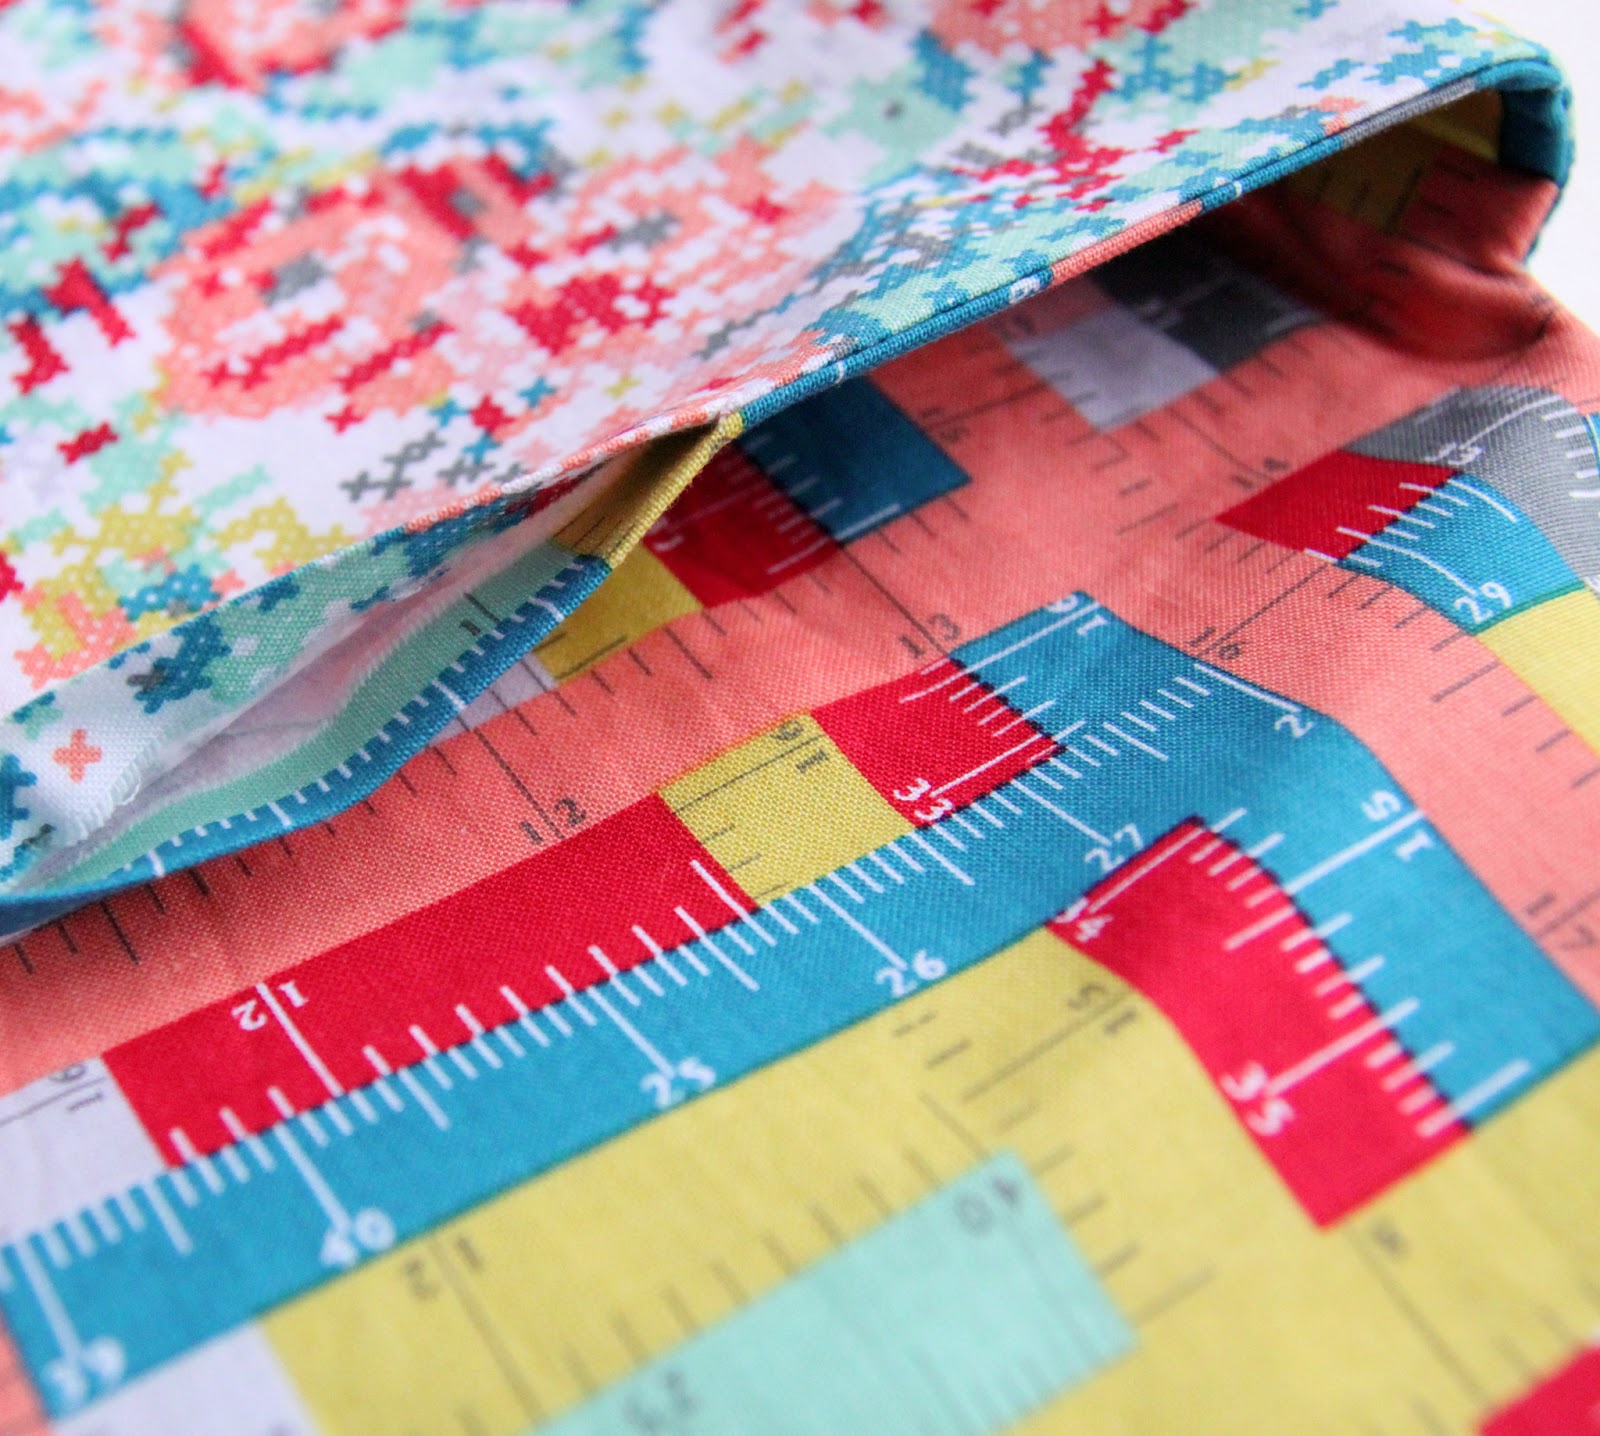
Step 6: At this point the exterior piece is still wrong side out. Take the lining piece and tuck it down inside the exterior piece. This will make it so that the right sides are together.
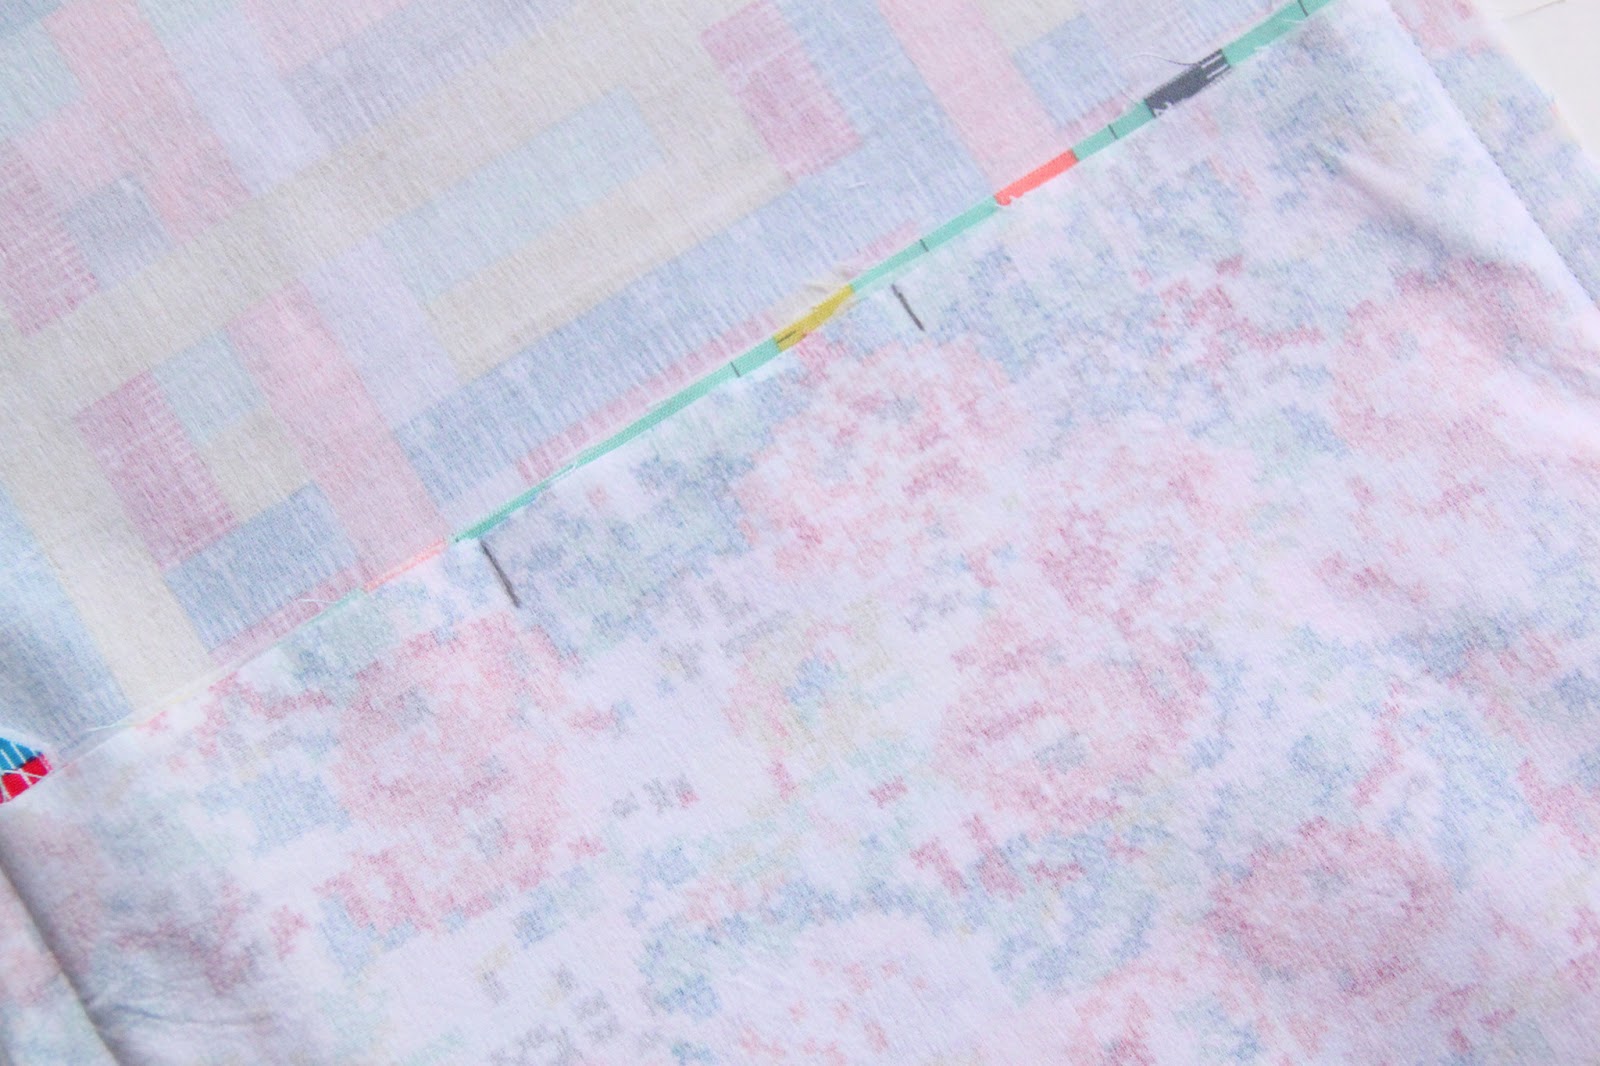
Step 7: You’ll need to leave a little part open across the front of the clutch so go ahead and mark this with your fabric marking pen so you won’t forget.
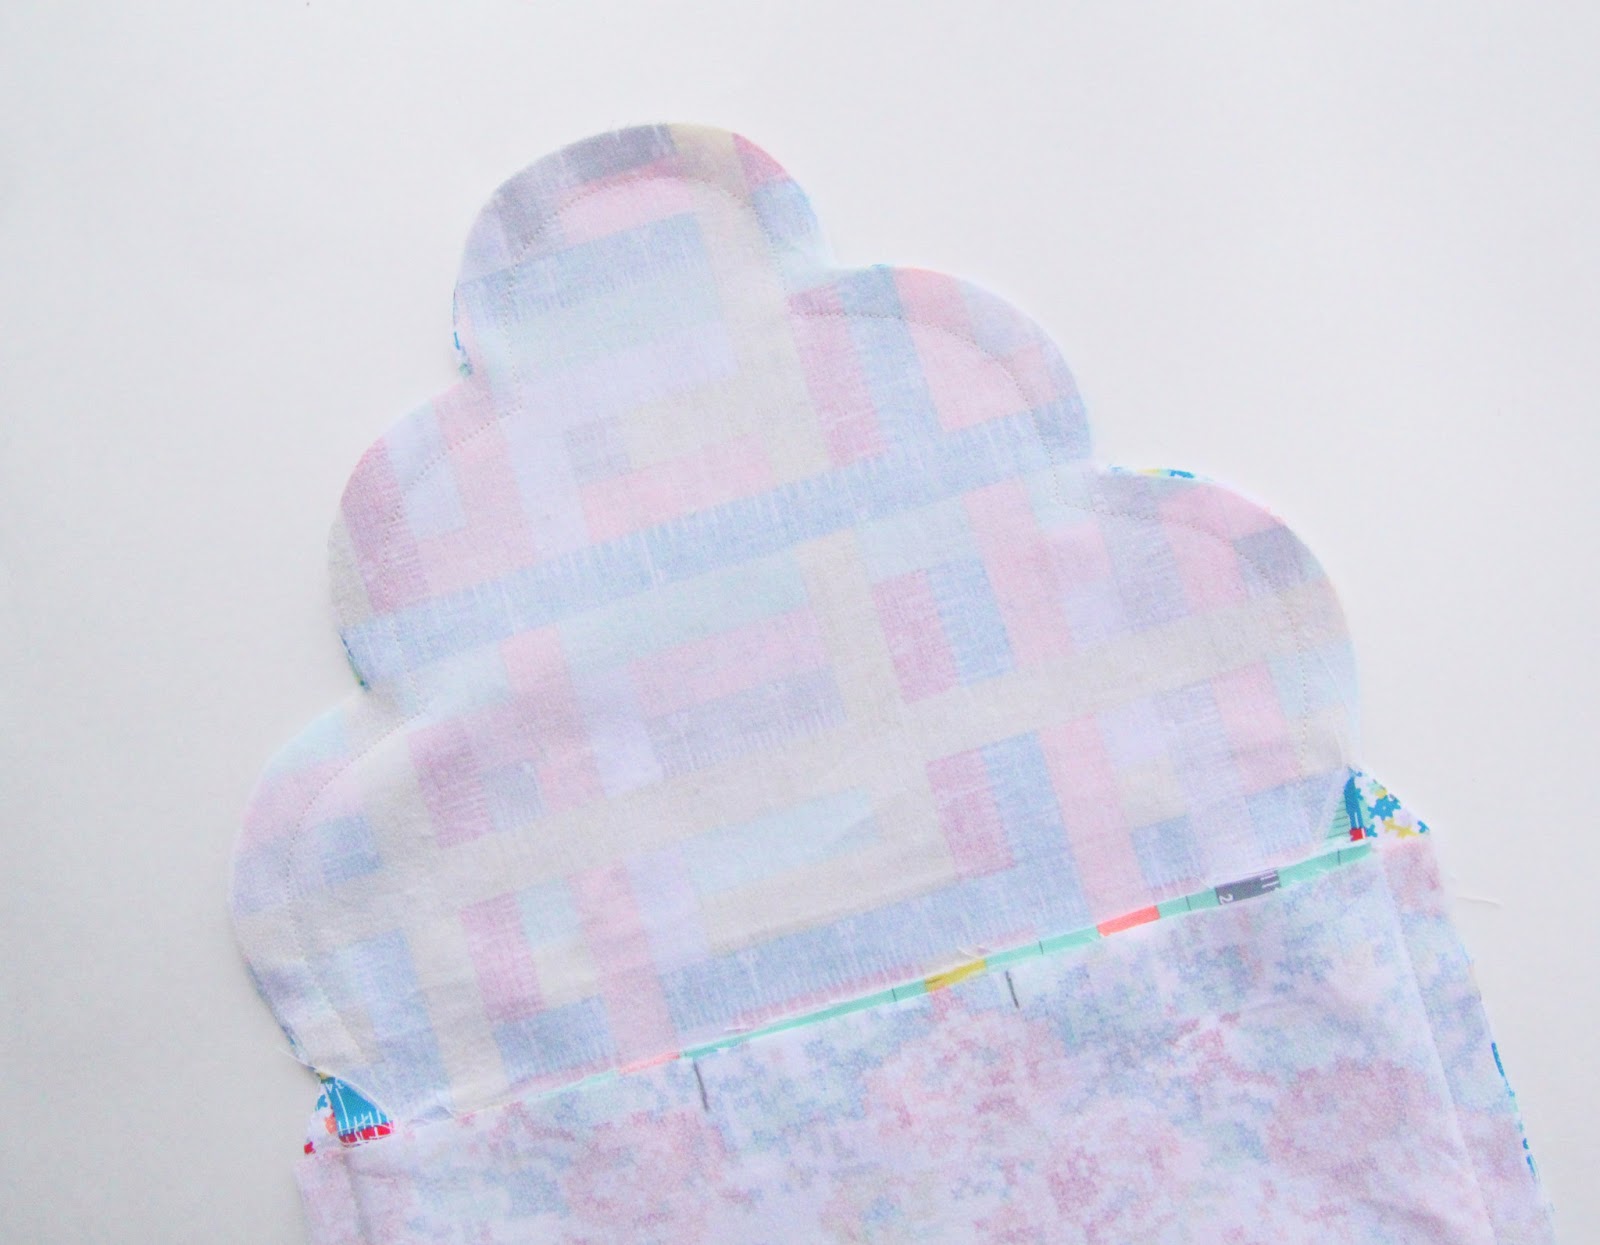
Step 8: Sew the exterior and the lining together all the way around the scallops. Start where the side seams end and go all the way up, around and back down to the other side seam.
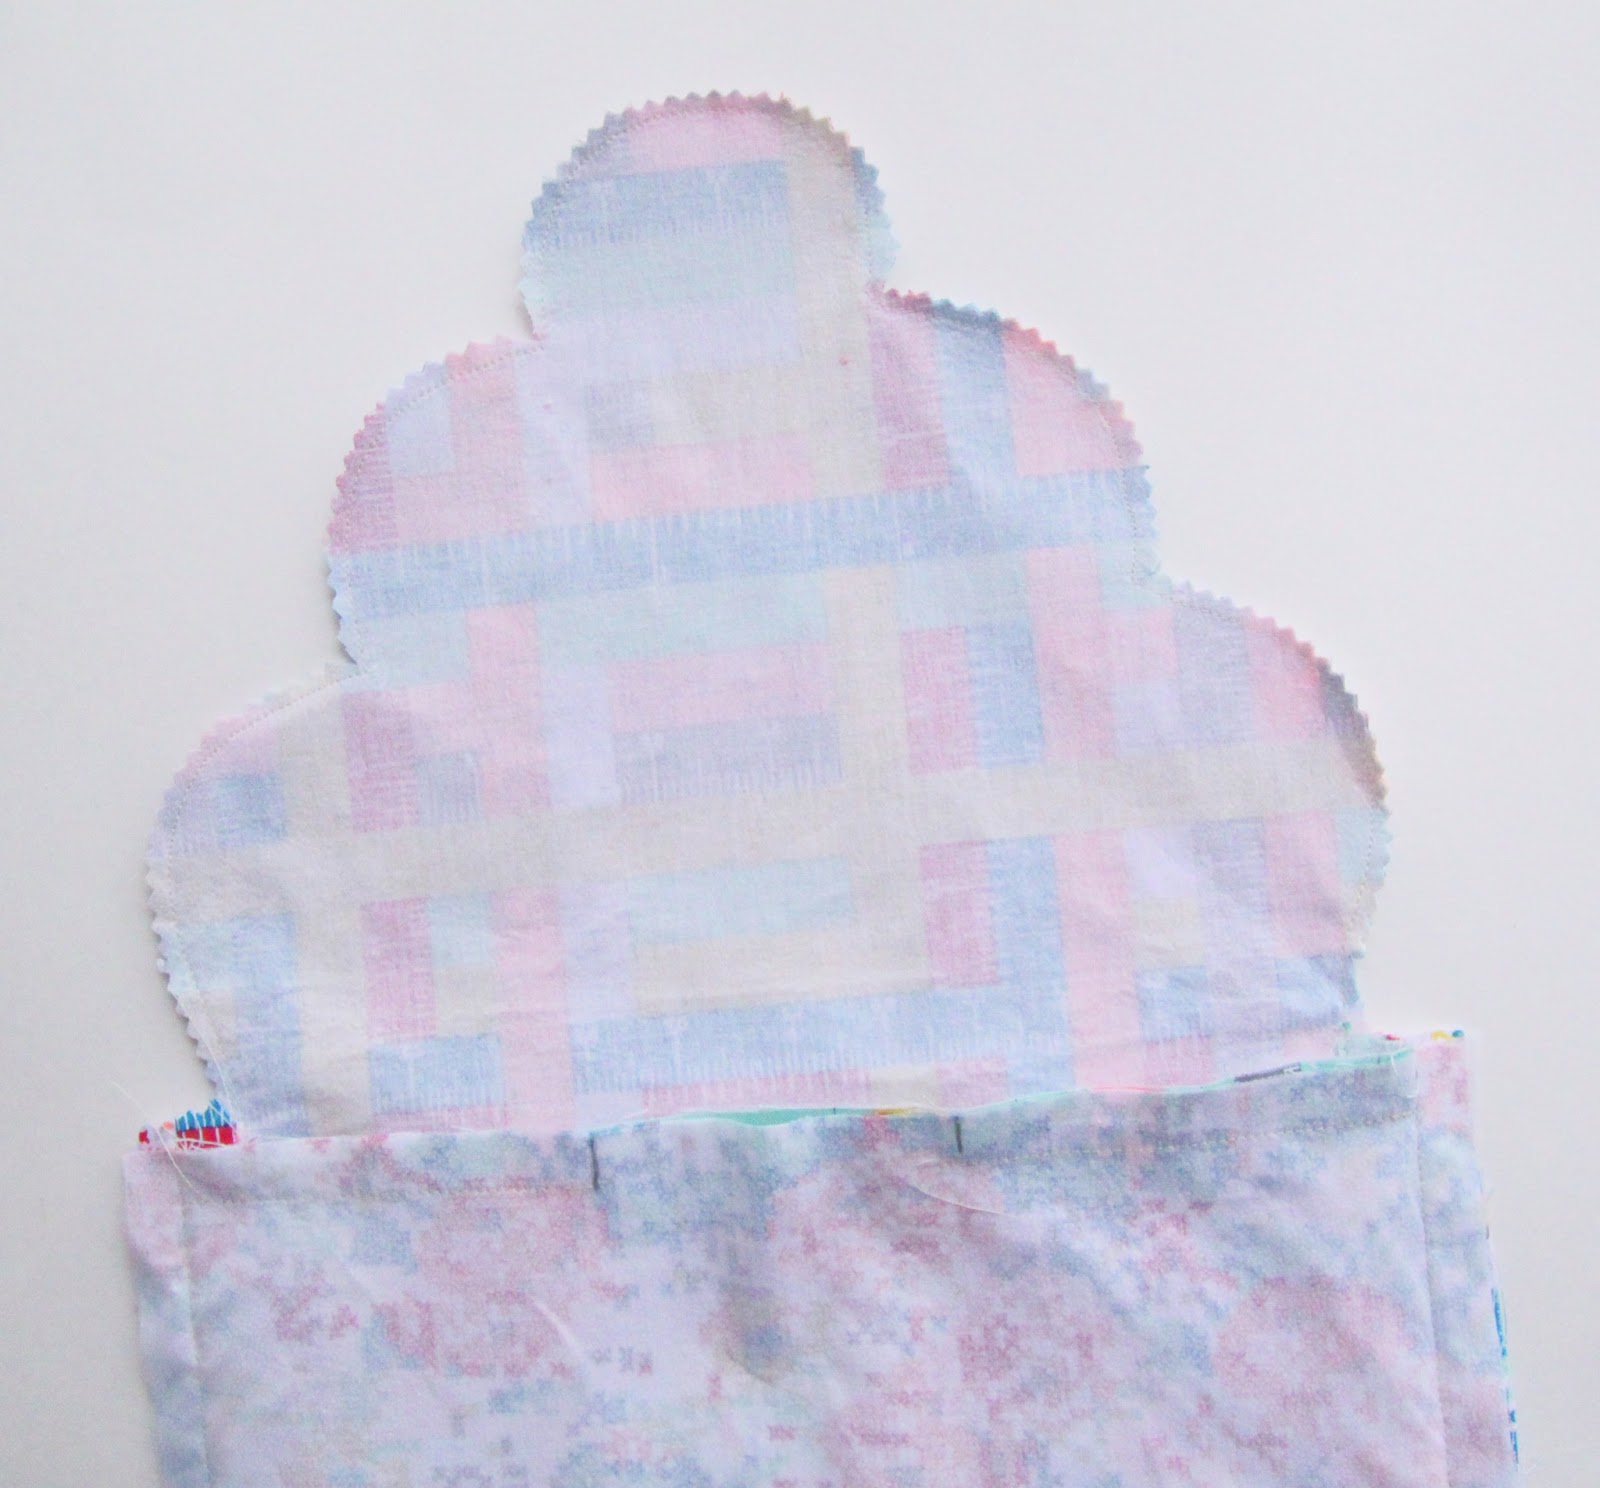
Step 9: Clip around the scallops. Use pinking shears or scissors and clip the seam allowance down and cut each dip in the scallop. You need to cut almost to the stitching at the dips of the scallops, otherwise they will not turn out nicely. If they aren’t laying flat when you turn your clutch right side out, that is probably the problem.

Step 10: Sew across the front of the clutch, making sure to leave that one section open that we already marked. Your stitches across the front should meet up with the stitches you did for the scallops. Clip out the extra fabric in the corner so that it turns out nicely. Cut down to the stitches, but making sure not to go through them. Make sure to move the back of the clutch out of the way so you don’t catch it in your seam.

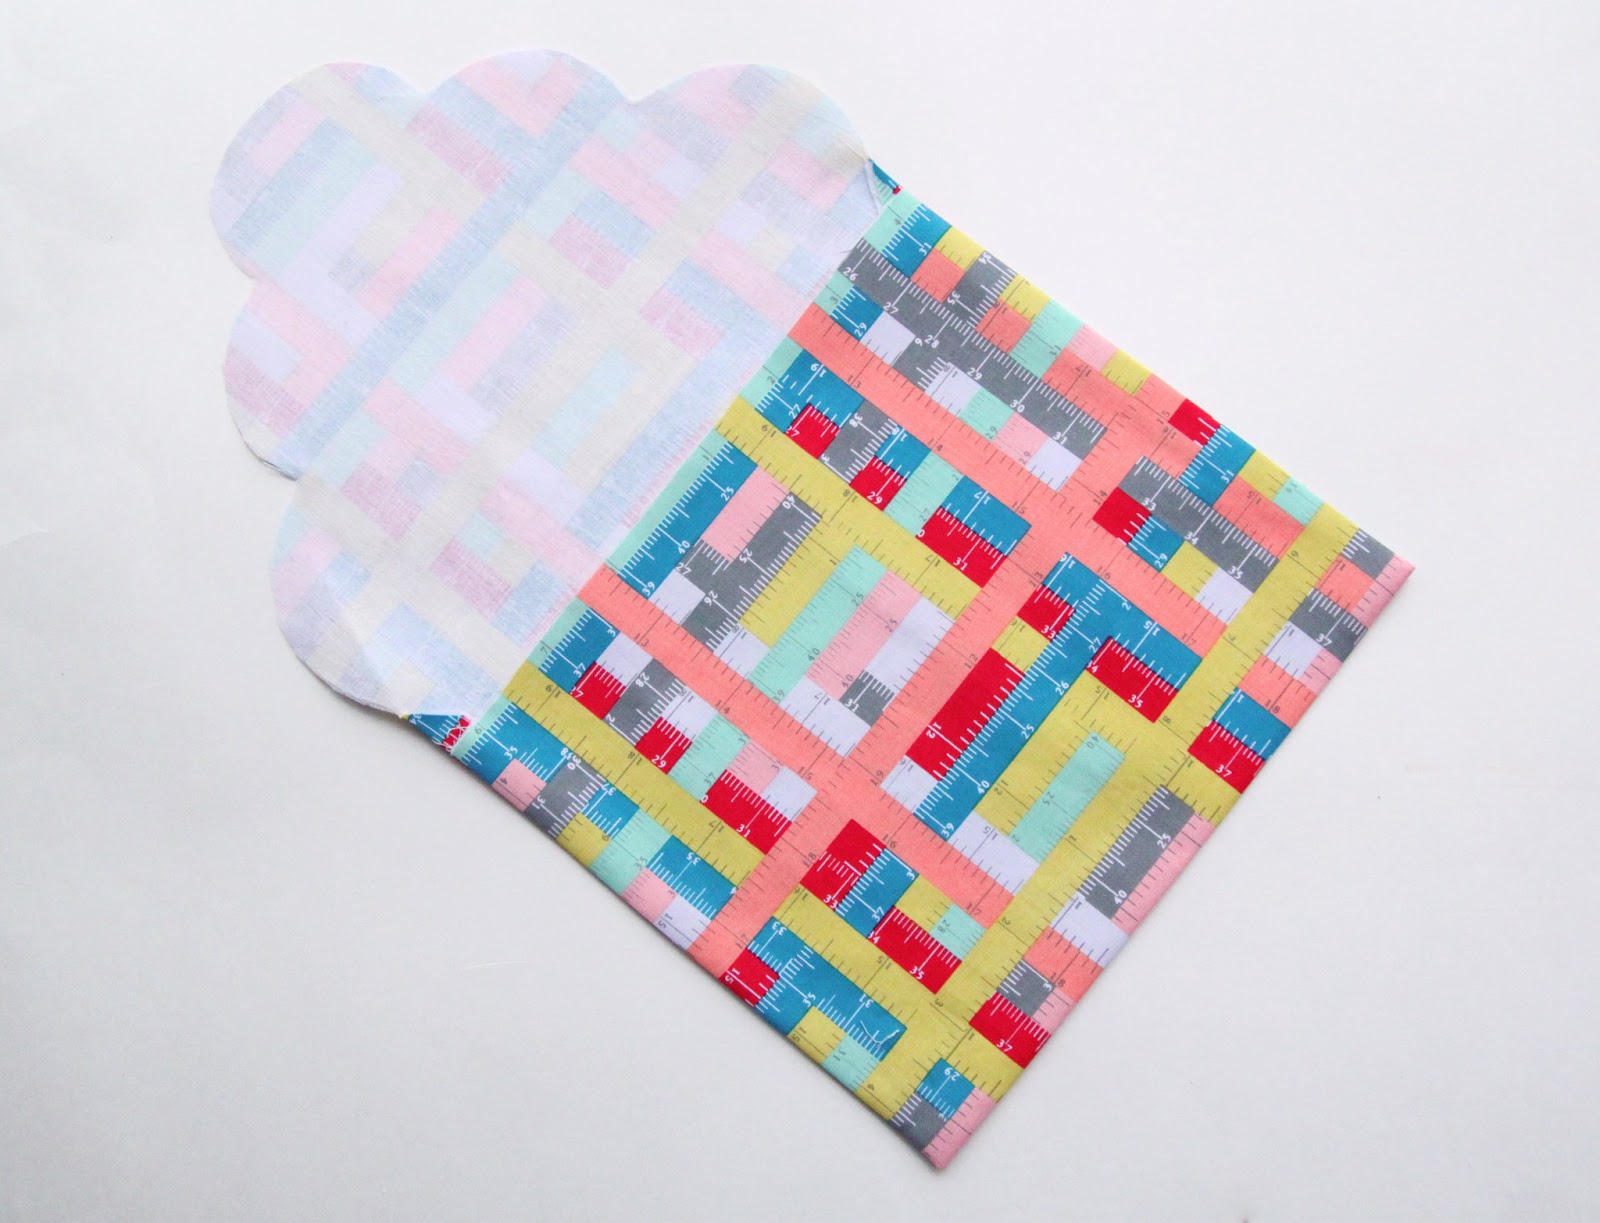
Step 11: Turn the clutch right side out by pulling the fabric through the opening. Tuck the lining down into the exterior, making sure to neatly tuck in the corners.

Step 12: Press out the scallops. Sometimes you really have to ‘work out’ the scallops with your iron to make them look nice. Try rolling the seams out with your fingers……that always works well for me. And press, press, press!
Step 13: Press under the little section you left open so that it is in line with the center front of the clutch.
Step 14: Run a row of topstitching across the front of the clutch to close the opening. You could also topstitch around the scallops as well, but make sure you go slowly because if those stitch lines don’t look good, they will definitely show on the front side of the clutch.
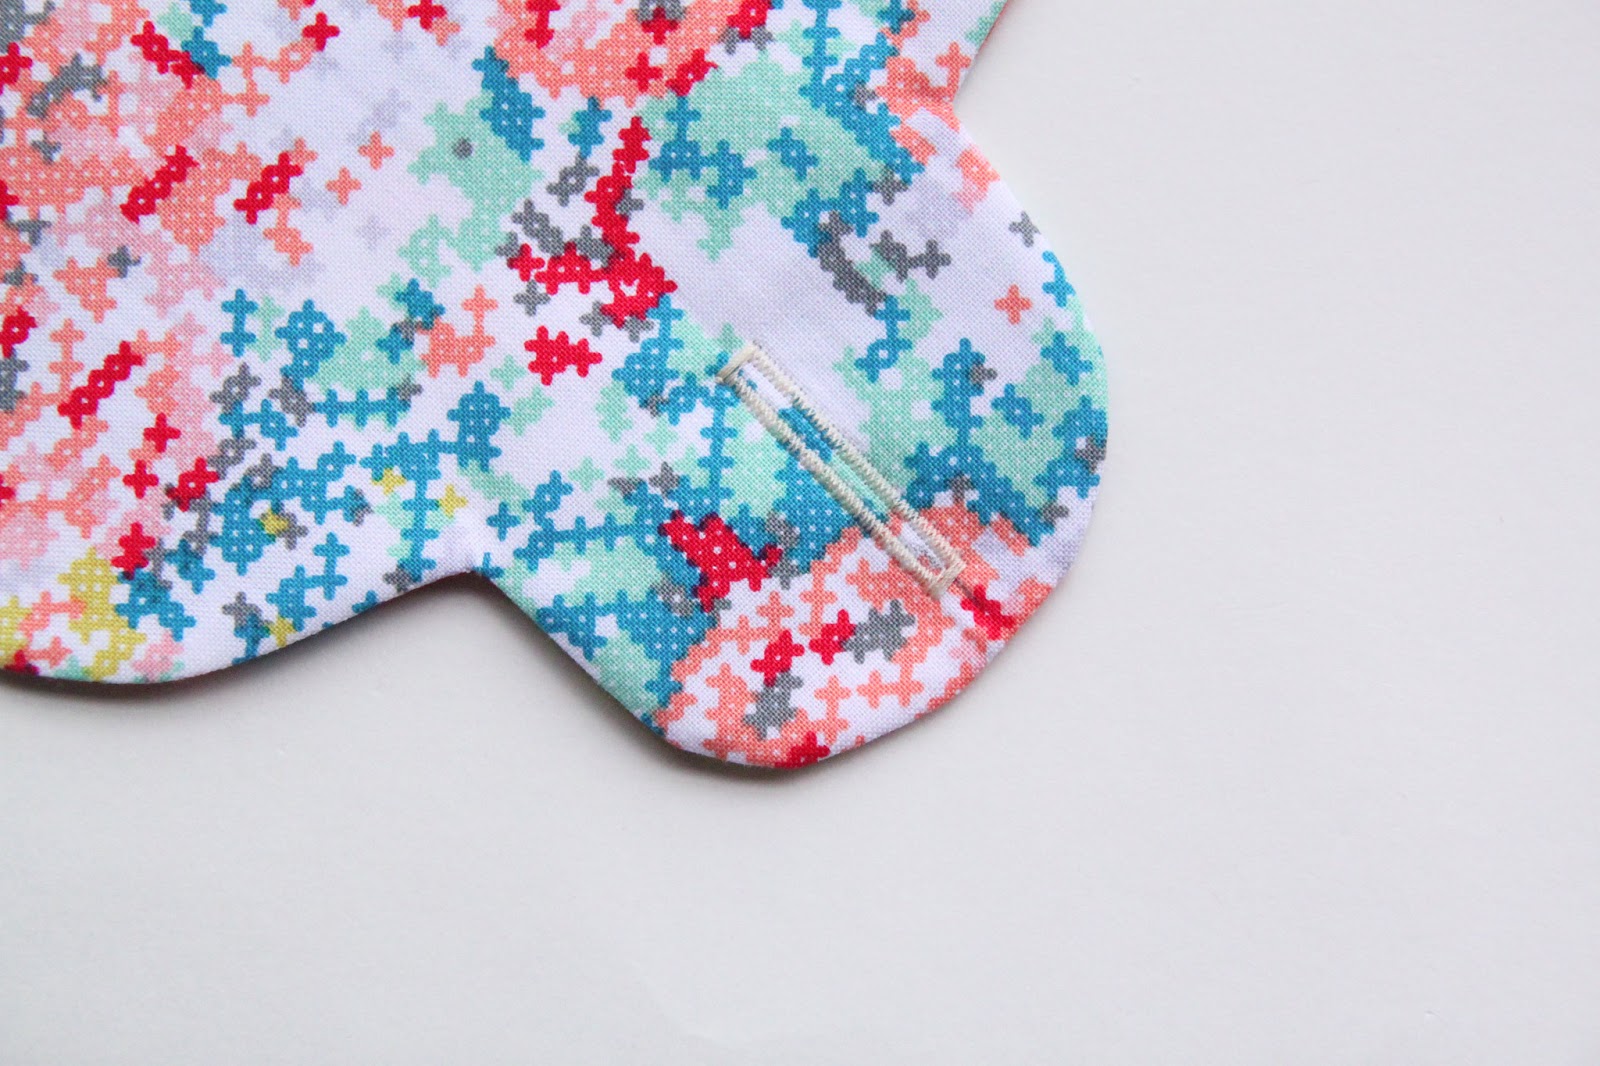
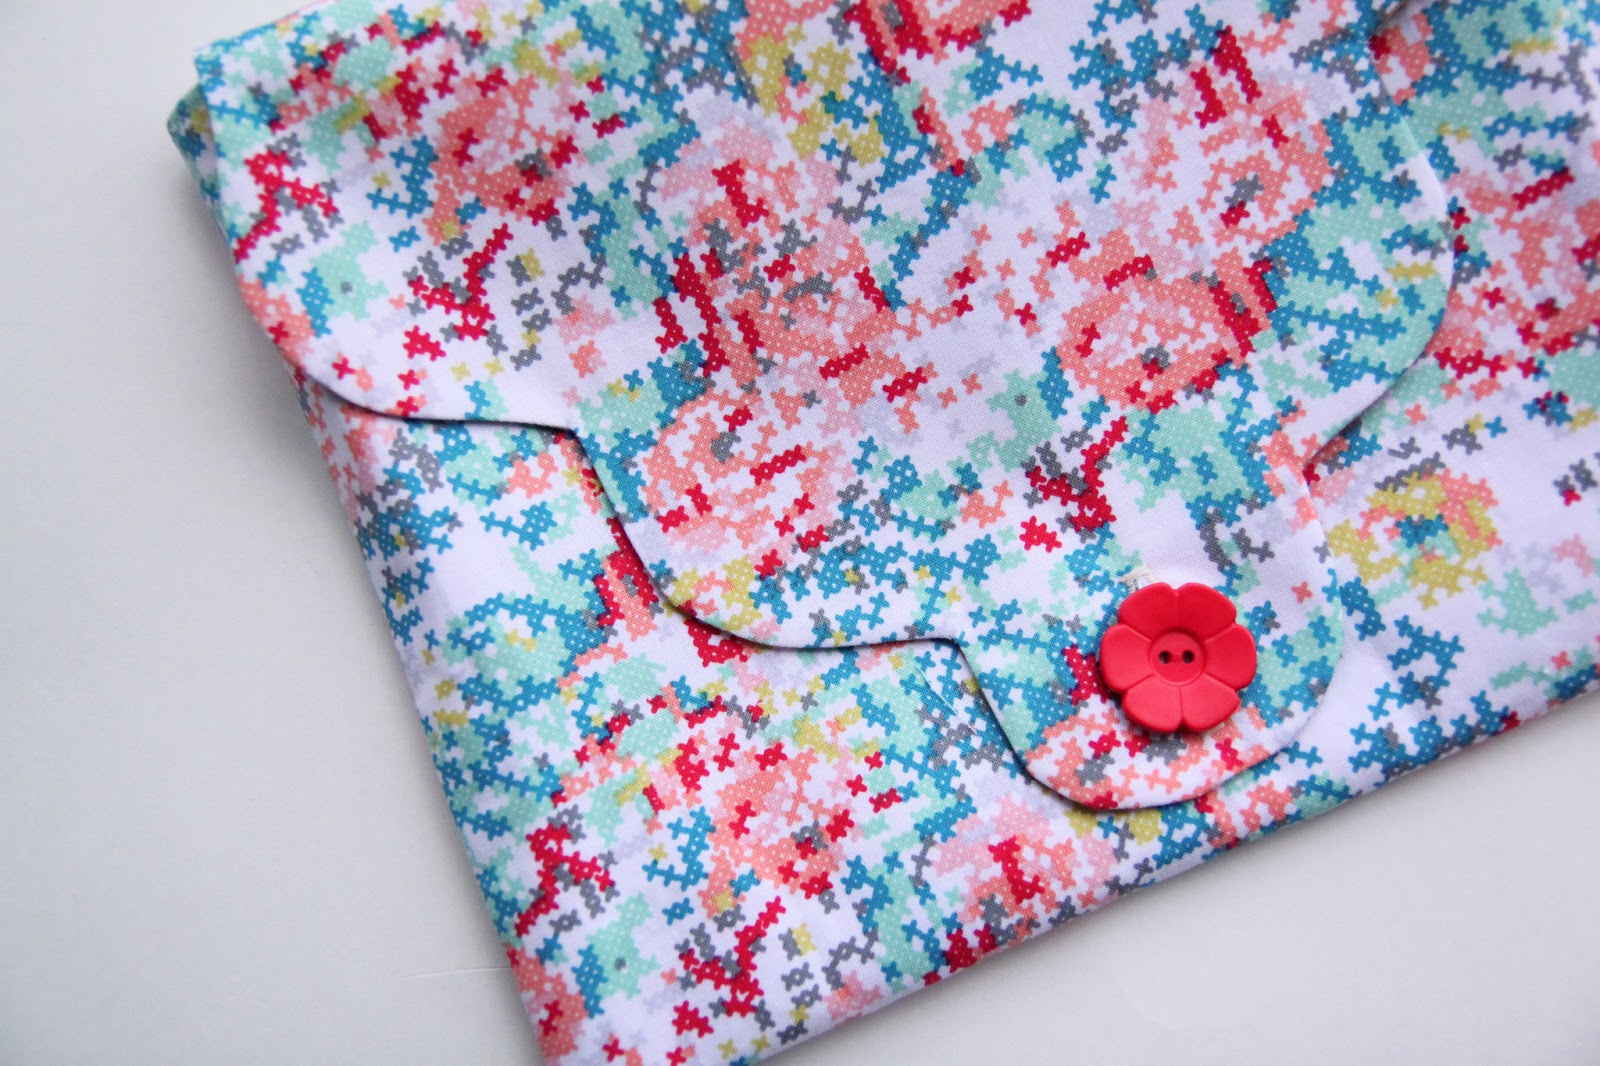
Step 15: Make a buttonhole on the center scallop based on the size of your button and according to your machines instructions. Open the buttonhole.
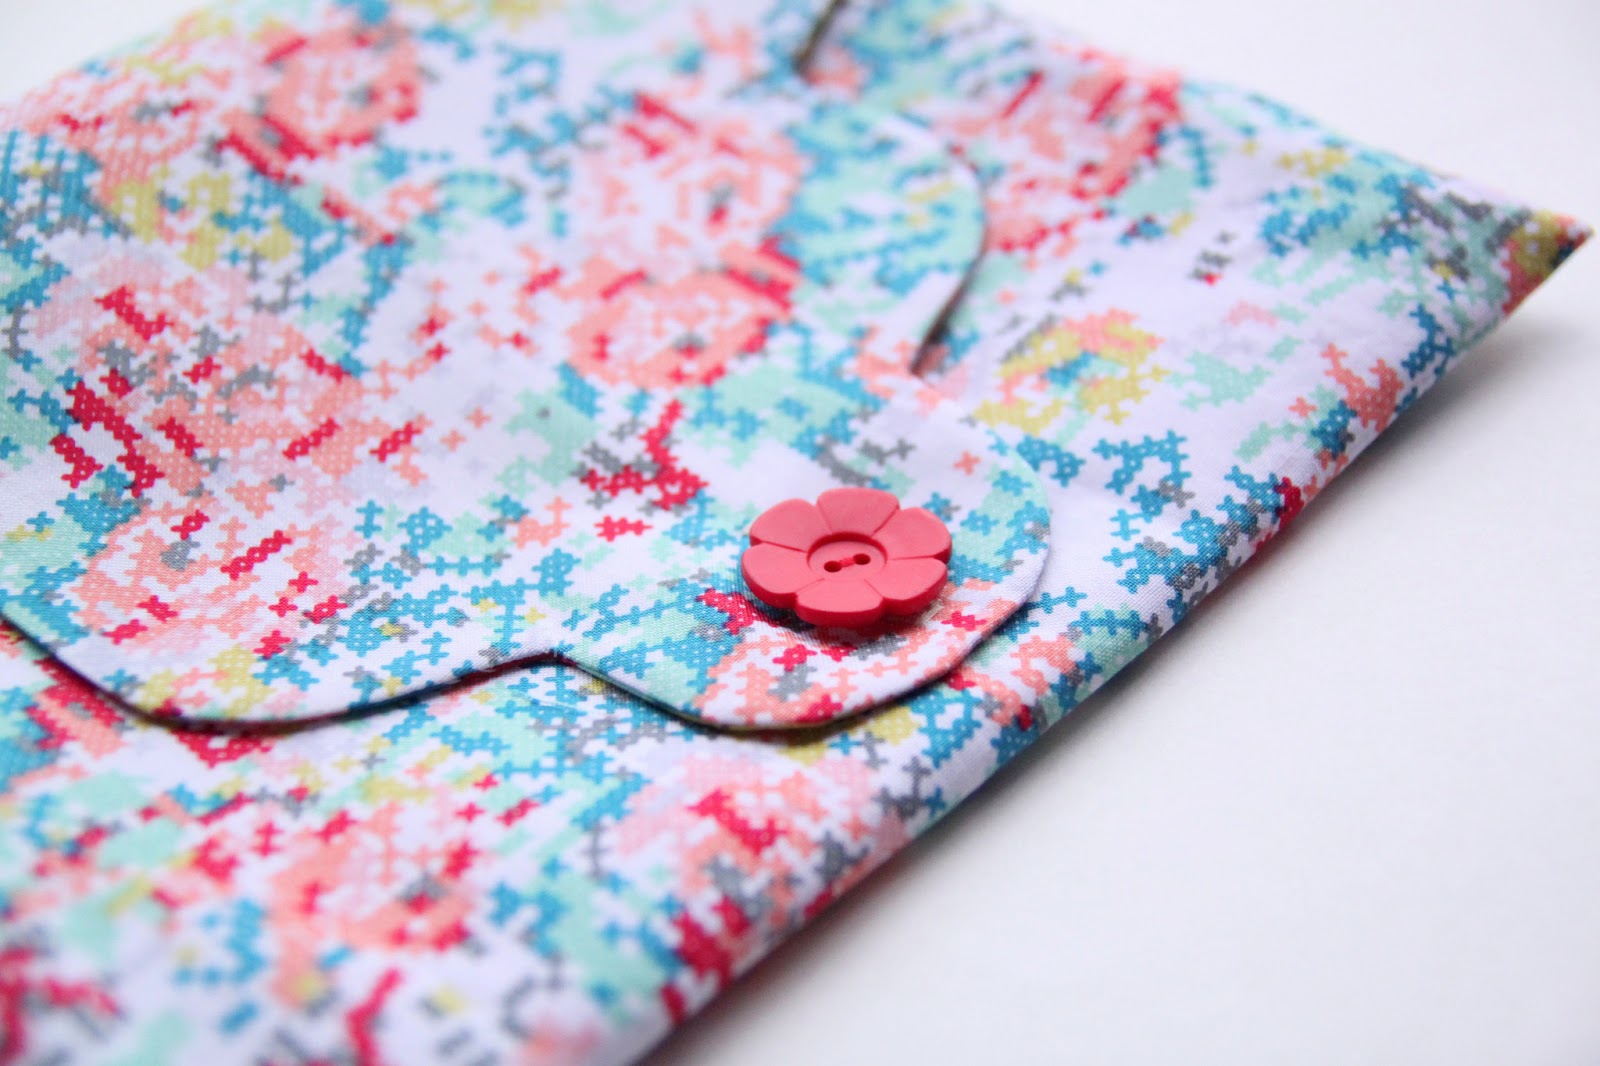
Step 16: Close the top scallop piece and mark for your button placement. Hand or machine sew your button in place.

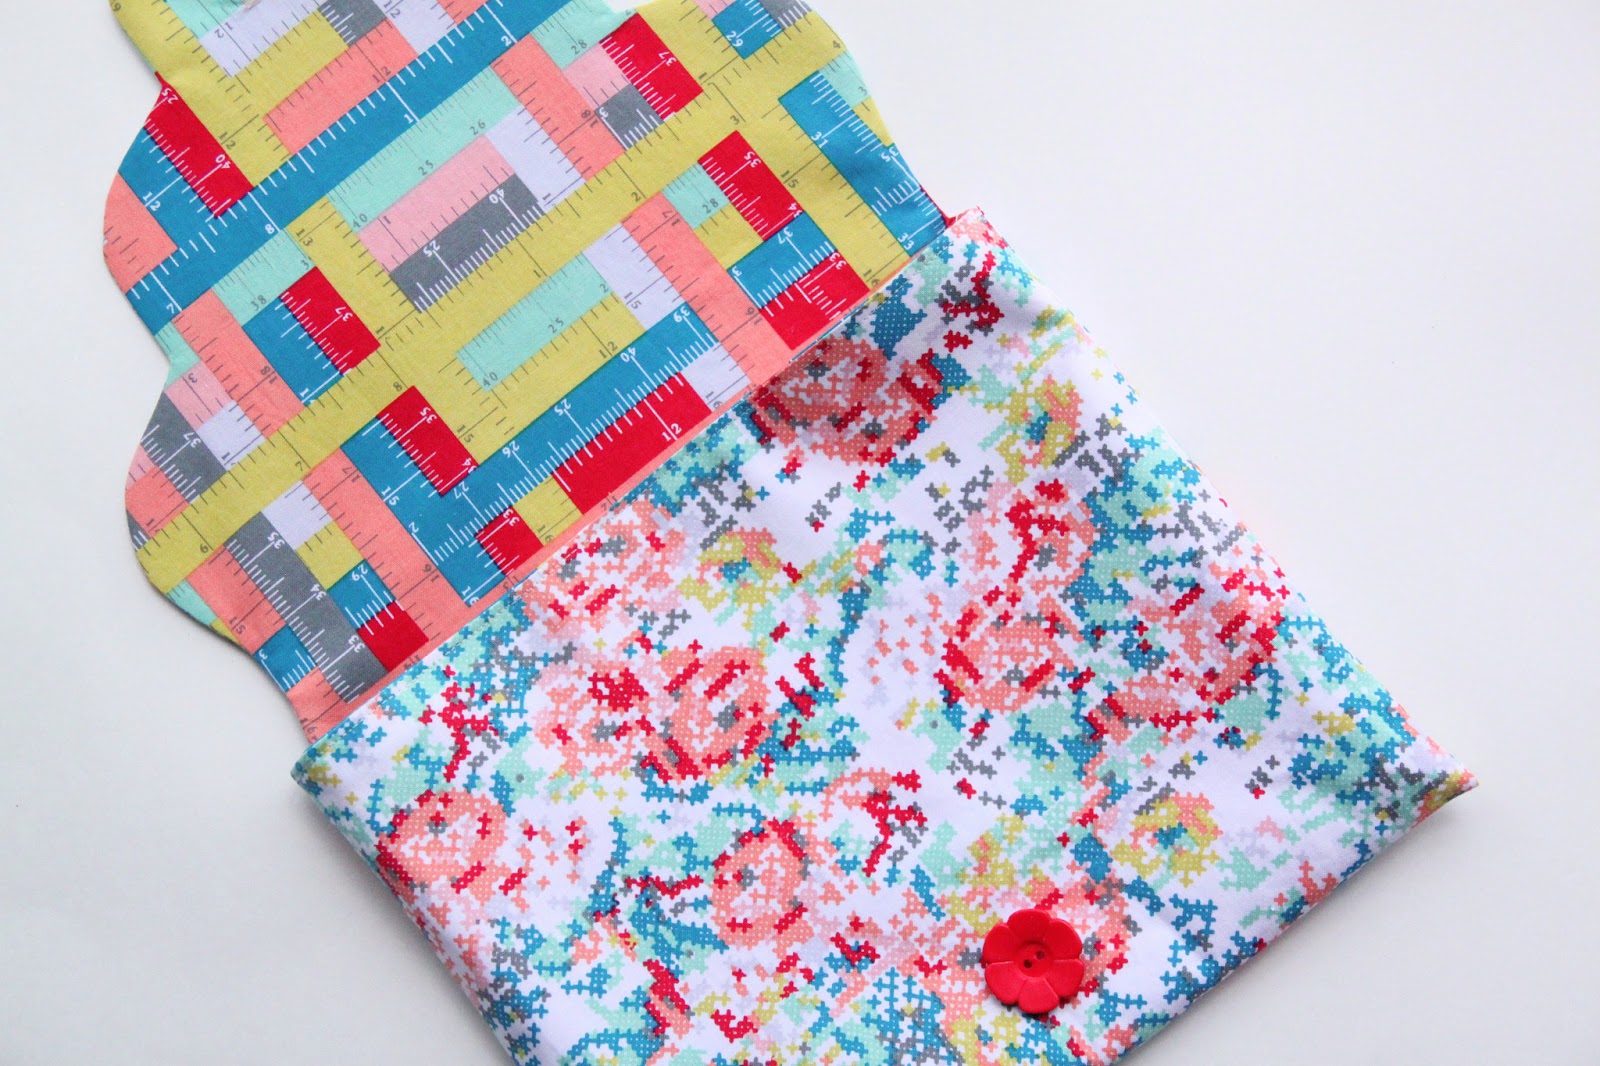
And now look……you have a completed Scalloped Envelope Clutch!


 Lindsay Wilkes is the owner and designer behind The Cottage Mama. She creates timeless, vintage inspired sewing patterns for children’s clothes. She is also a fabric designer for Riley Black Designers / Penny Rose Fabrics, author of the book ‘Sew Classic Clothes for Girls’ and can be seen teaching nationwide and online in her video series ‘Lessons with Lindsay’ sponsored by Baby Lock Sewing and Embroidery machines.


Really cute, love that fabric line.
This is adorable! Thank you for sharing the pattern & tutorial.
Oh my gosh, I absolutely love this! The scalloped edges really make the whole design. So sweet! And love the fabric. Thanks for the pattern–now if I can only pull off making it myself!
xoxo
Michelle @ Ya Gotta Have a Hobby
Very cute! you did a great job on the curves too!