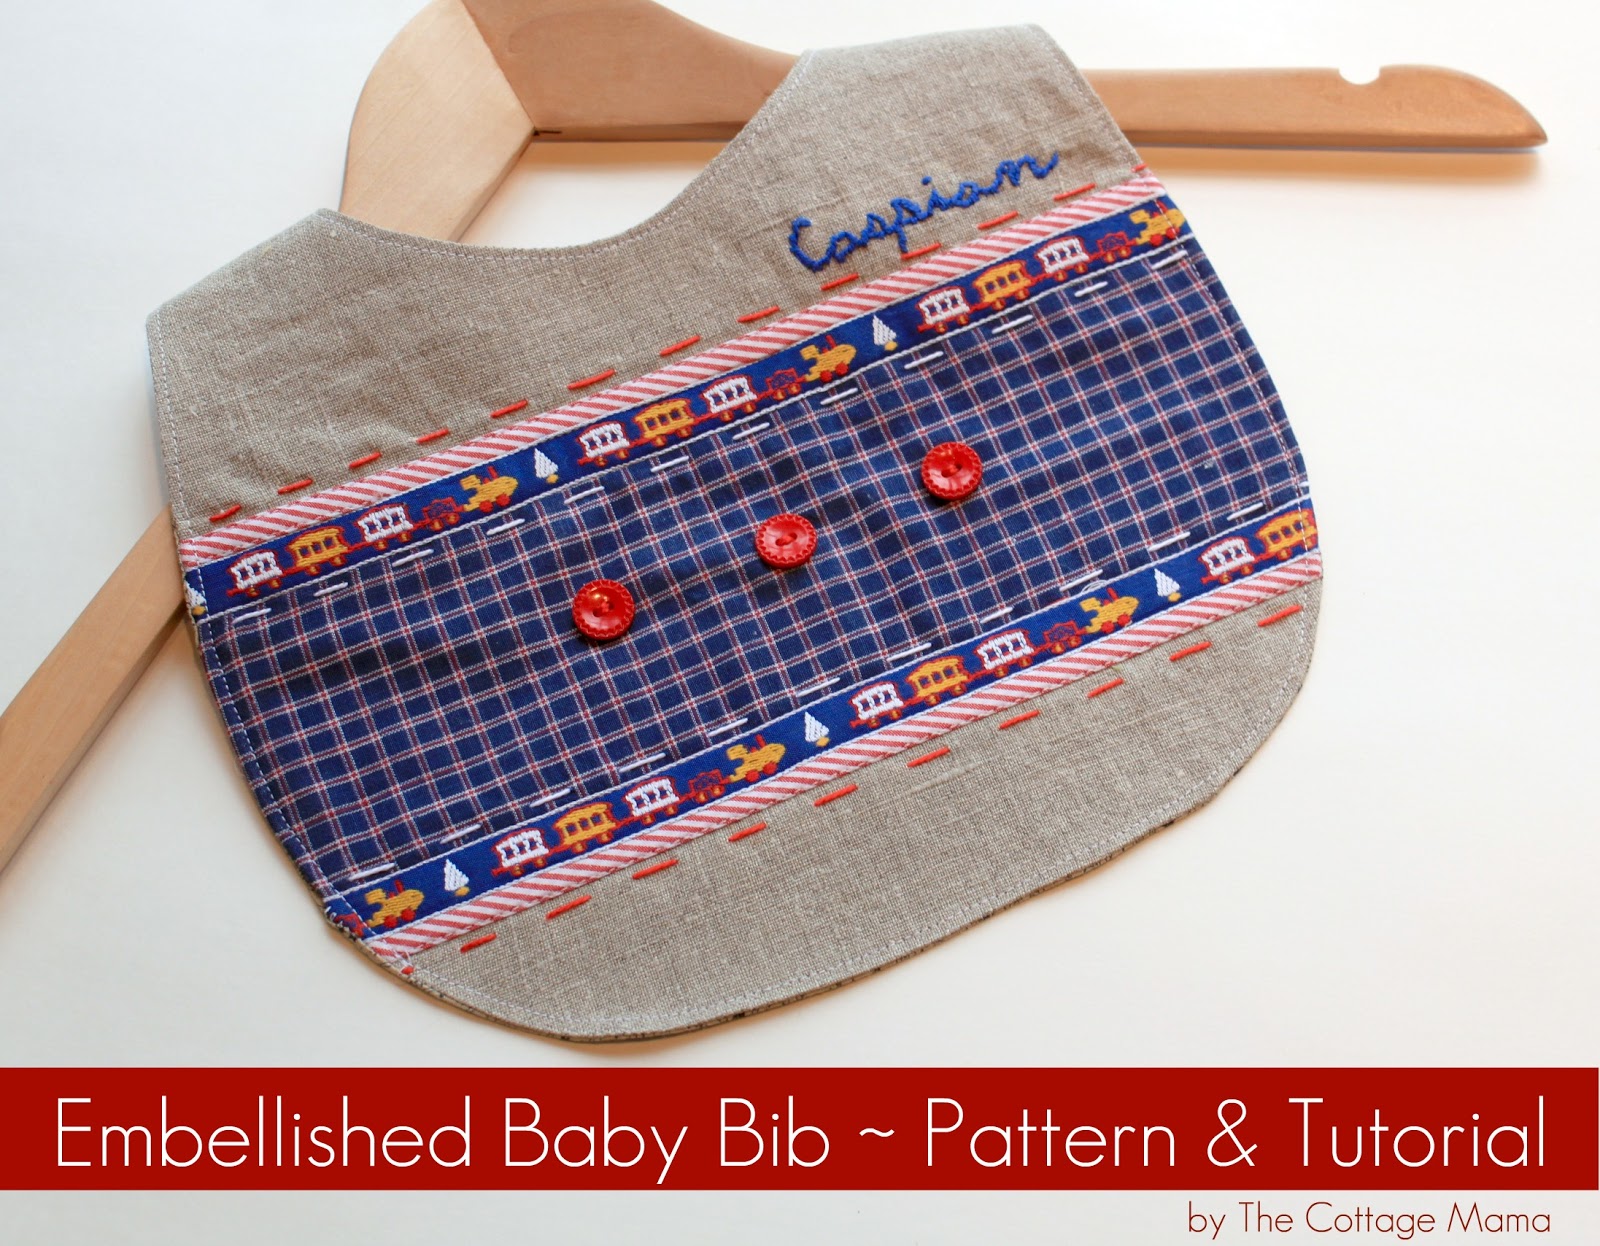
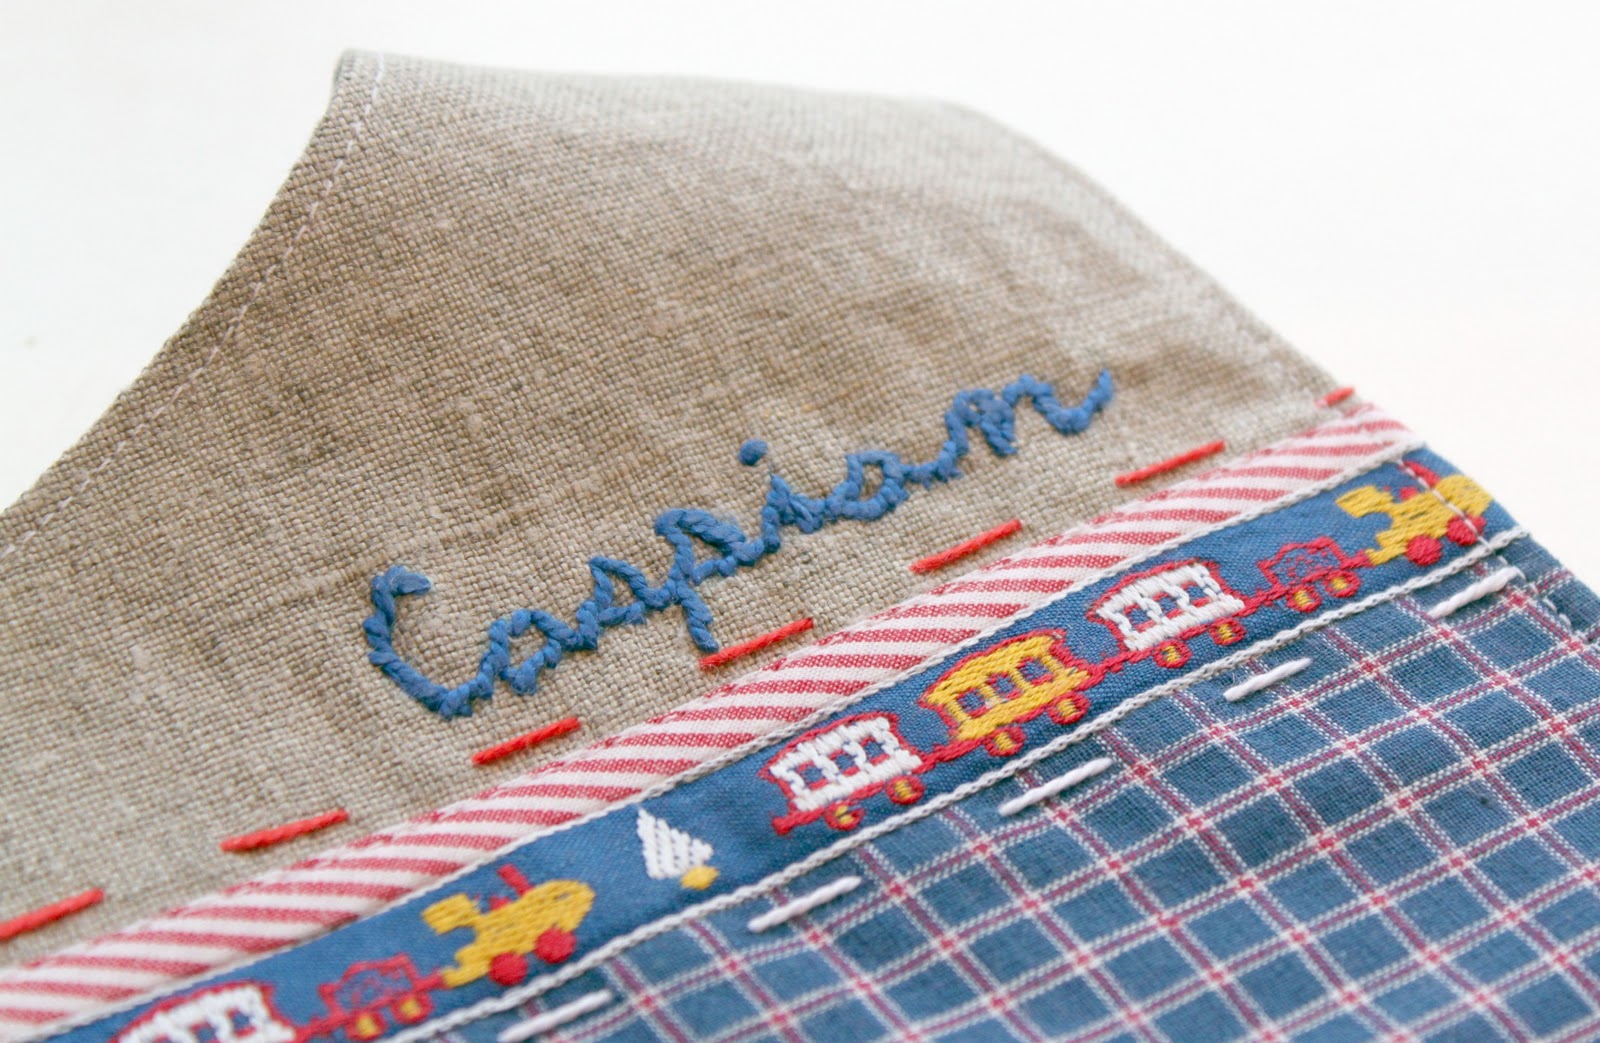
Christmas sewing is in full swing here at The Cottage Home. I’ve got a million and one projects on my to-do list and am slowly getting through them. This will be my baby boy, Caspian Finn’s, first Christmas so I wanted to sew something for him. Yes, I know he won’t know whether or not Mama sewed anything for him this year, but I want to make sure that everyone gets an equal amount of handmade gifts.

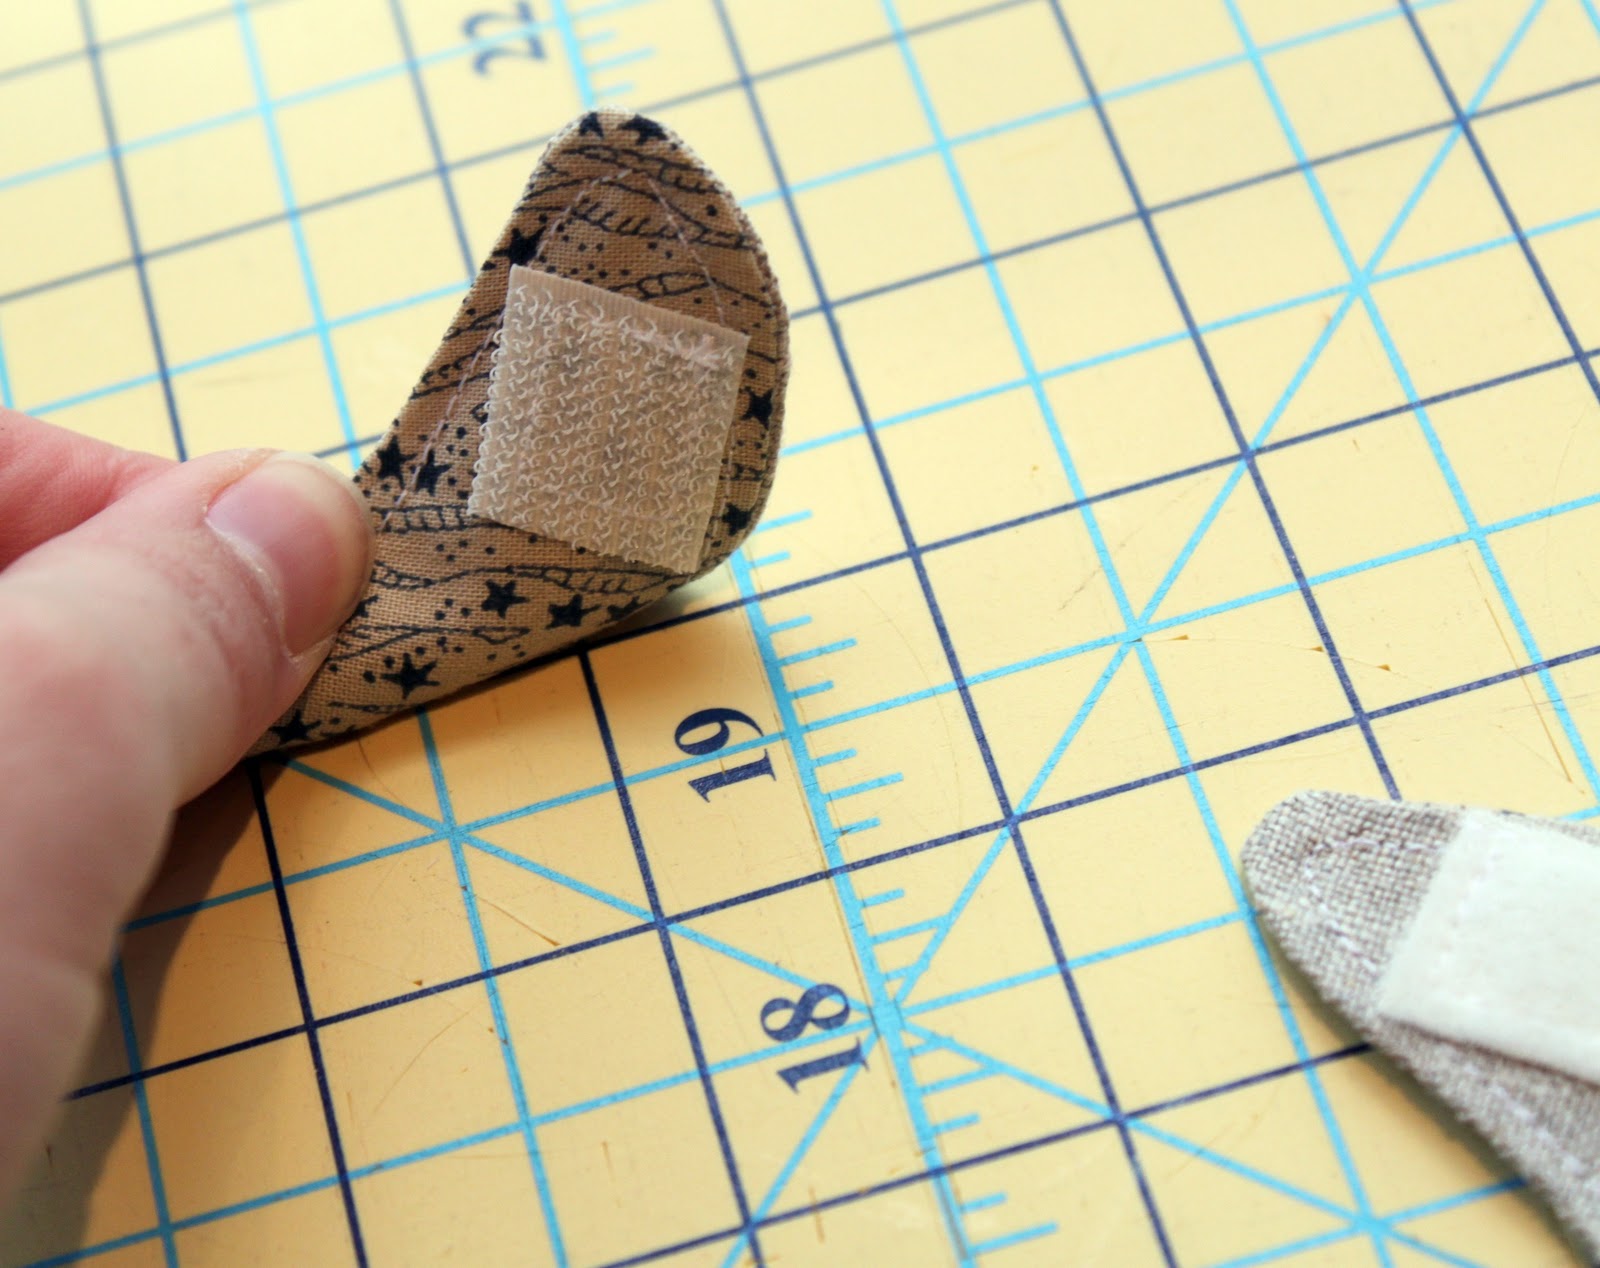
I picked up this woven trim somewhere…..not quite sure exactly. I’m always on the hunt for unique items for embellishing. It’s been in my collection of trims for some time and now that I have a baby boy, I can finally use it!
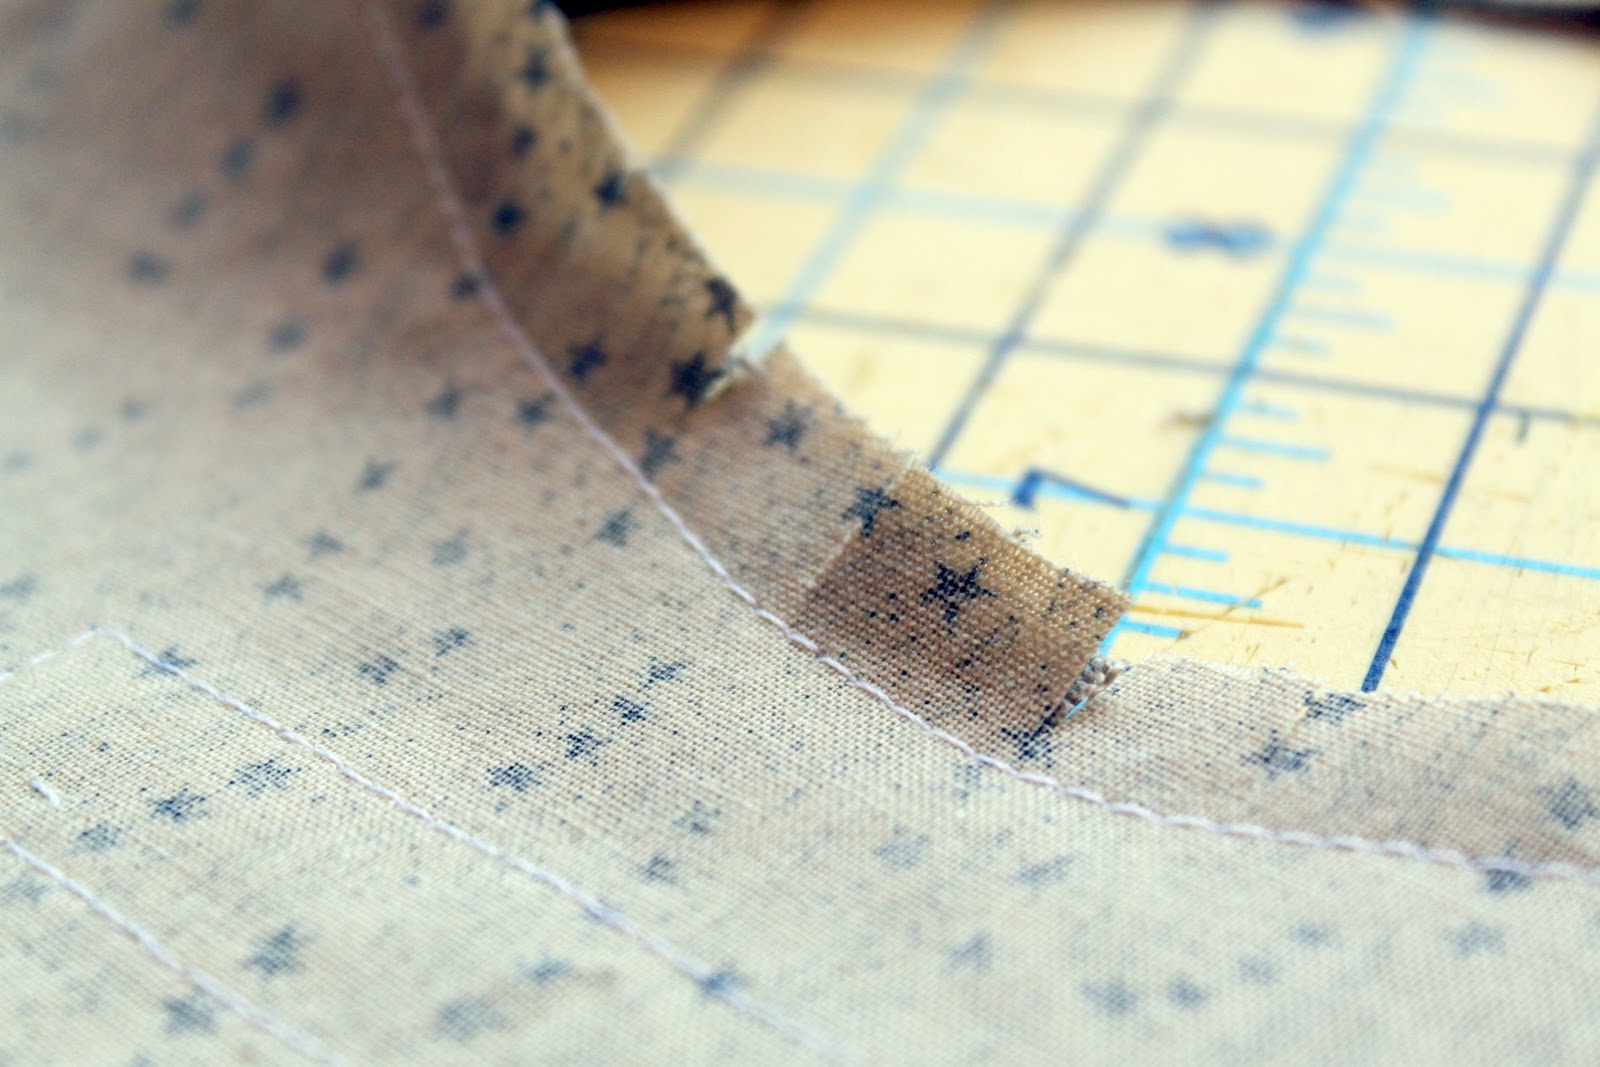
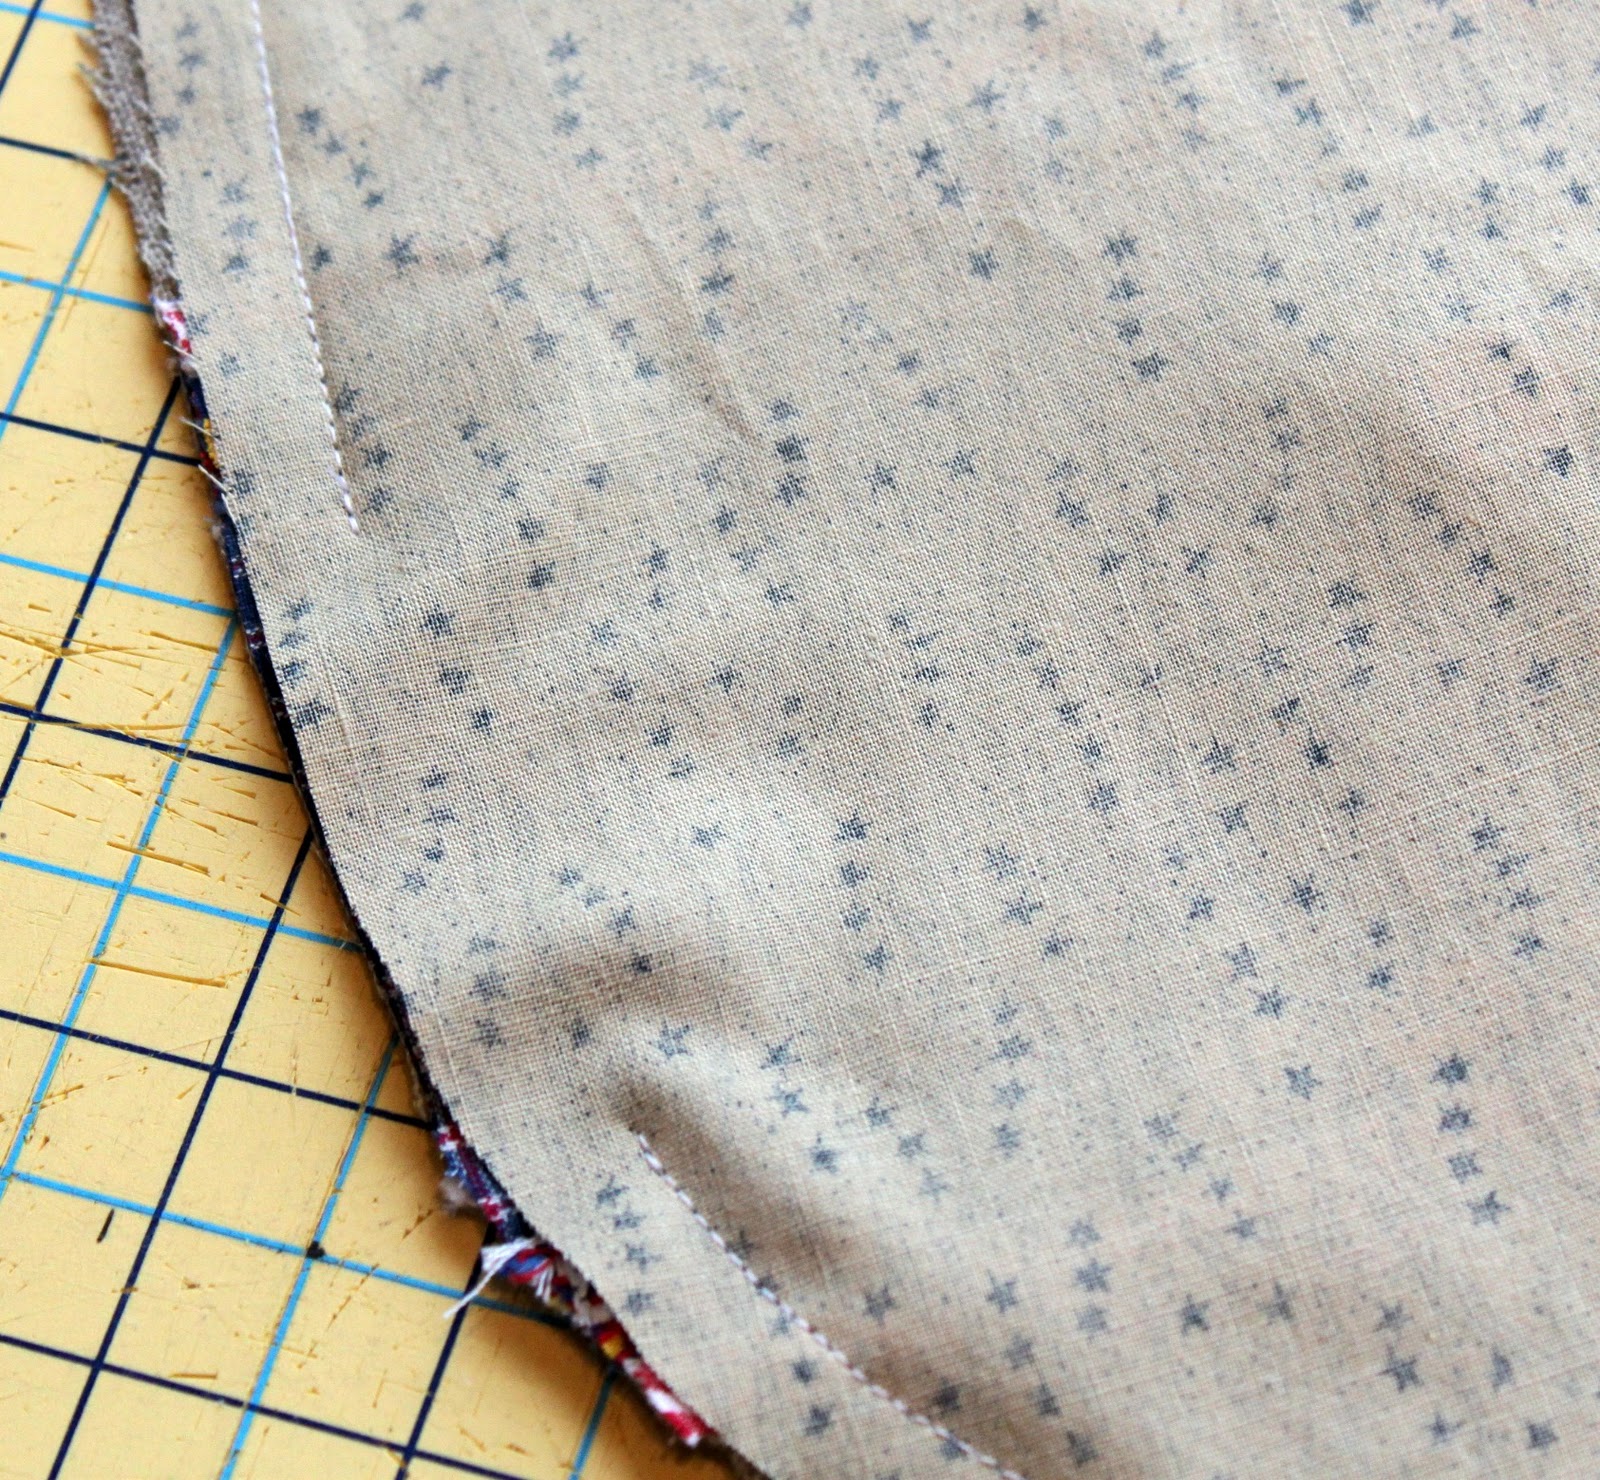
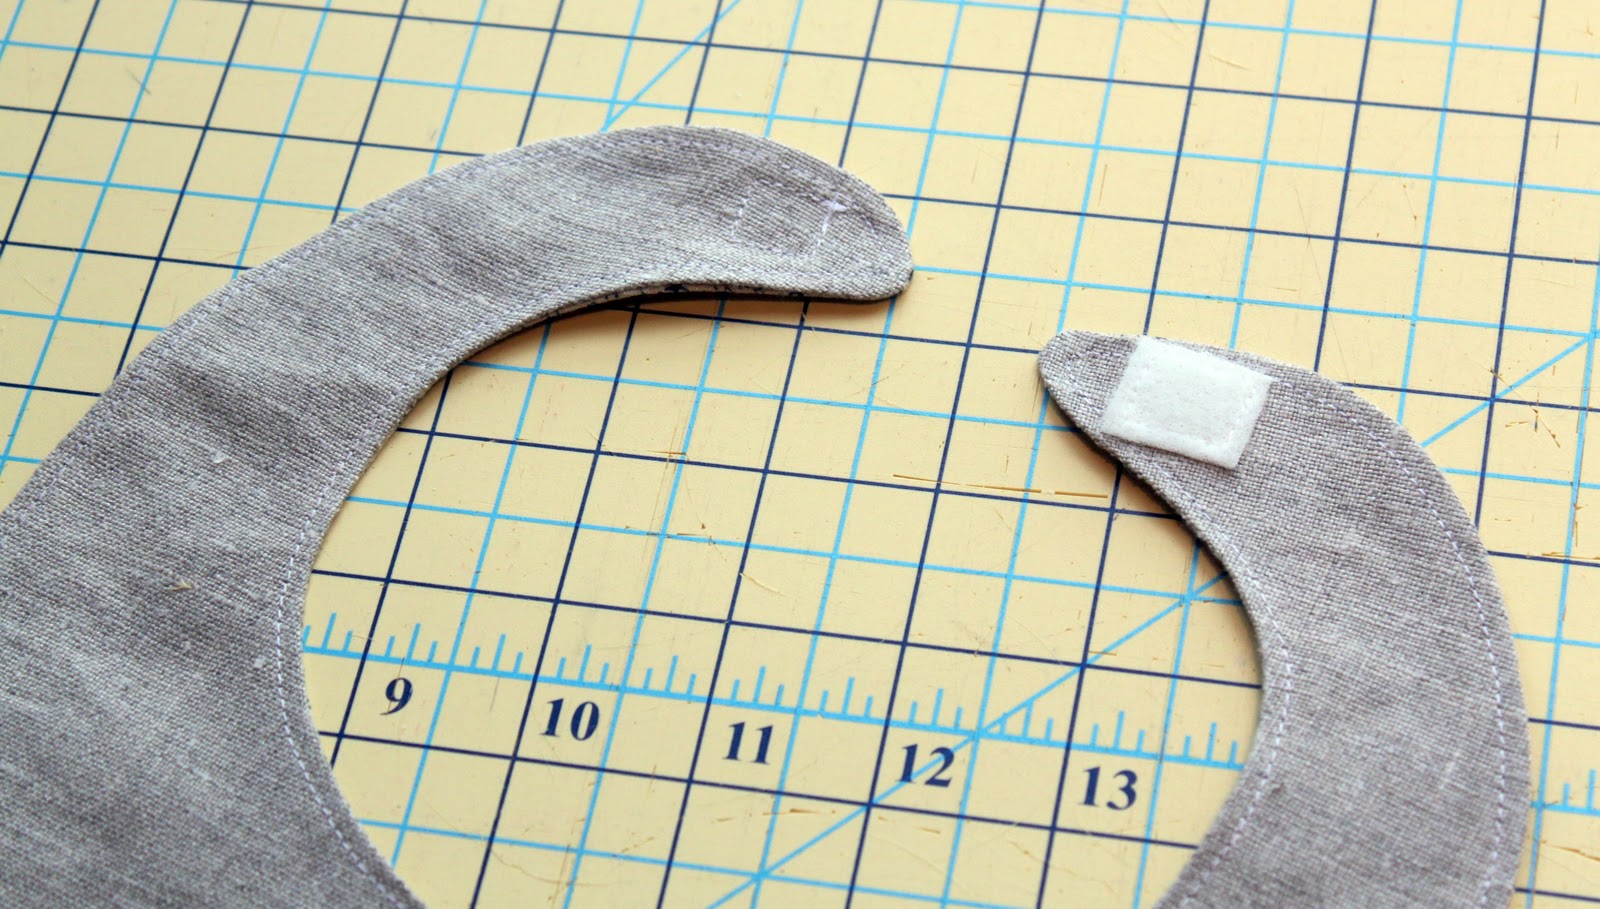
I’m going to give you the basic bib pattern and a few instructions on constructing it, but the embellishing is up to you. I know some people like to be given exact instructions for each project, but I want to inspire others to use their own creativity to come up with something beautifully and uniquely their own. Use what you have, use what you love, but spend some time planning out your exact embellishments. Think about using unique buttons, ribbons, trims, ric-rac, piping, embroidery floss, appliques, ect……


 Lindsay Wilkes is the owner and designer behind The Cottage Mama. She creates timeless, vintage inspired sewing patterns for children’s clothes. She is also a fabric designer for Riley Black Designers / Penny Rose Fabrics, author of the book ‘Sew Classic Clothes for Girls’ and can be seen teaching nationwide and online in her video series ‘Lessons with Lindsay’ sponsored by Baby Lock Sewing and Embroidery machines.


Such a lovely idea. Thanks for sharing! I will use the template and make it for a friend as a present for christmas.:O)))
Oh my! That is, by far, the cutest little boy bib I have seen! Thank you for sharing this!
Beautiful bib! So special. Thank you (as always) for sharing your projects!
Love this! Pinned 🙂
P.s. Come check out the blog today 😛
Aww, very cute, he’ll look great on Christmas day :o)
This is such an heirloom quality bib! You’re so talented.
Oh wow. You did such an amazing job on that bib. It is just beautiful.
Beautiful bib… Your work is always inspiring. Tell me about the linen you used…. I’m looking to buy a bolt of this type/color to have on hand for all sorts of projects. Is it a Robert Kaufman or other?
Beautiful!!!Love this!
very, very nice. My best friend’s daughter had a baby boy today, and this will make a lovely gift. I don’t have any of that cute train trim, but I’m sure I have something that would work. Thanks for sharing this! Linda L.
Love this!! I followed your tutorial and created a bib for a little baby girl I know. The bib is all wrapped up now and in the post as a little gift. I did a little blog about it. I may even make another one for christmas !! 😀