
Sometimes I realize that I just have WAY to much fabric! I always like to over-buy because I would much rather have too much than too little. But sometimes, enough is enough and it’s time to clear out the shelves for new fabric shipments. I just finished doing my second fabric destash over on facebook at near wholesale pricing for The Cottage Mama fans. I love The Cottage Mama fans!!!
Have you joined The Cottage Mama facebook page? If not, you should come join us – we have lots of fun. Click HERE to visit the facebook fan page – all you have to do is “like” the page to join in the fun!
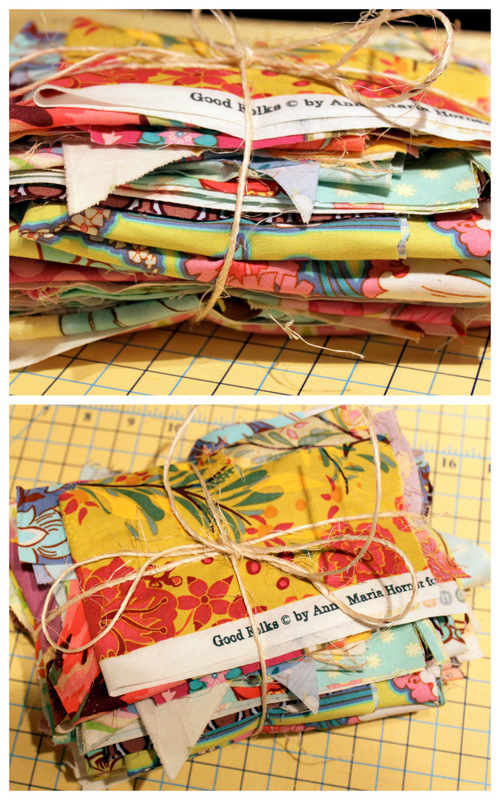
Here are all the lovely bundles of fabric waiting to go to their new homes…………
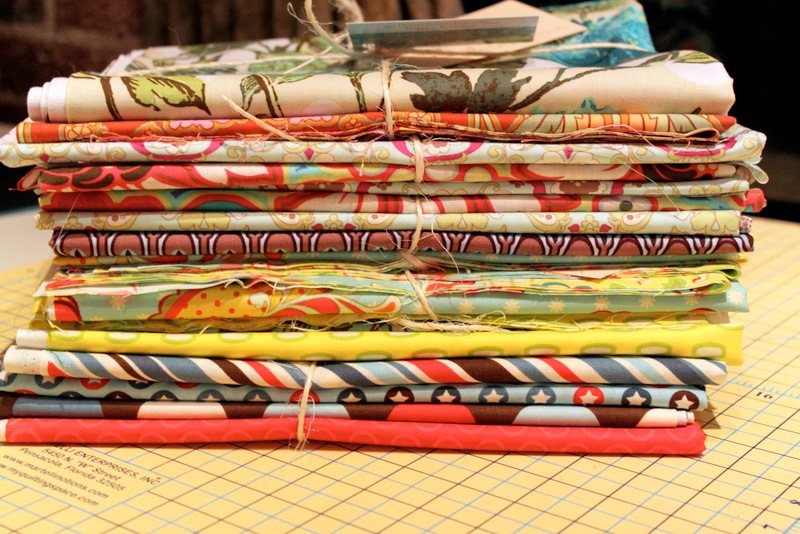
I’d much rather see these fabric put to some good use than sitting on my shelves just waiting for me to get around to using it. I can’t wait to see what these talented ladies create with these different fabrics. There is a bunch of Amy Butler’s new line “Soul Blossoms”, Heather Bailey’s “Pop Garden”, Art Gallery’s “Paradise” and Riley Blake’s “All Star”.
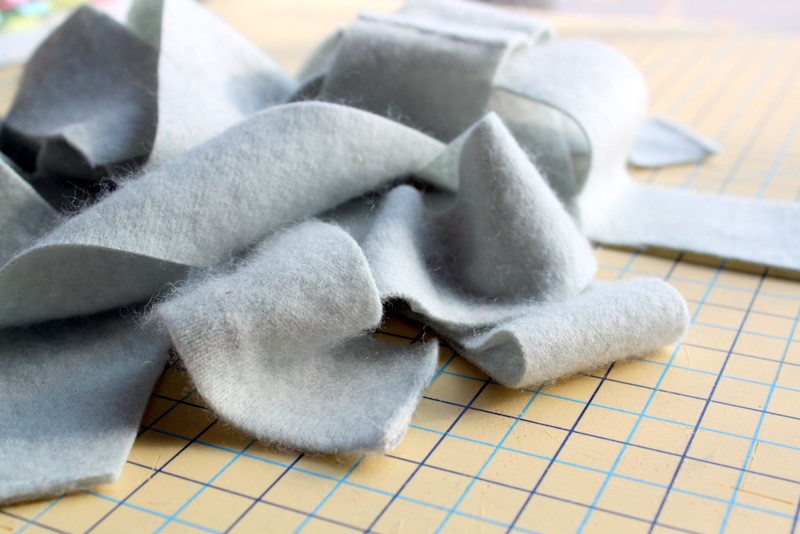
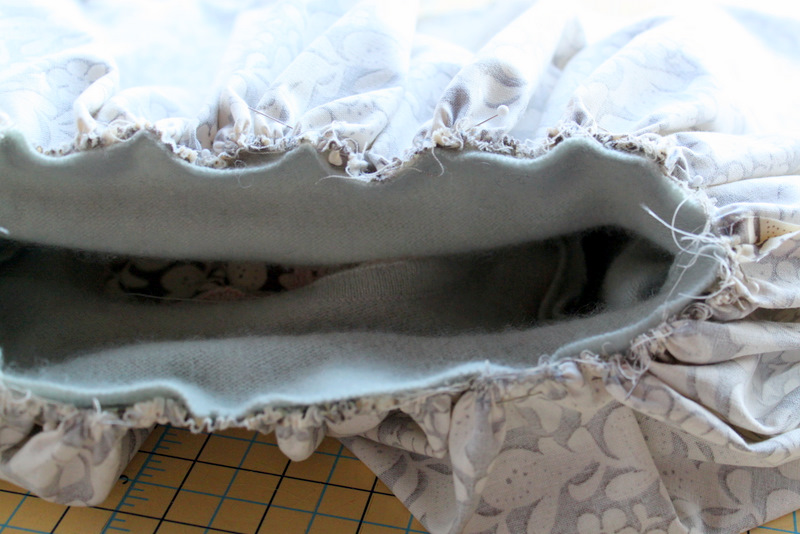
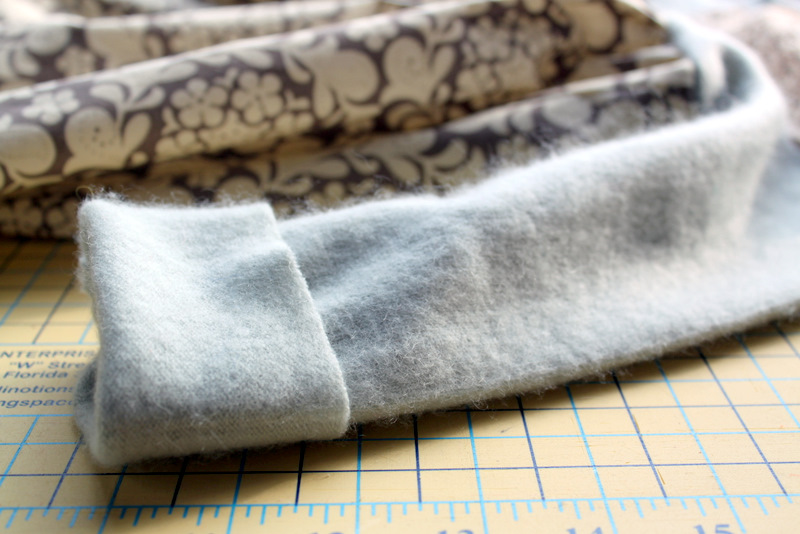
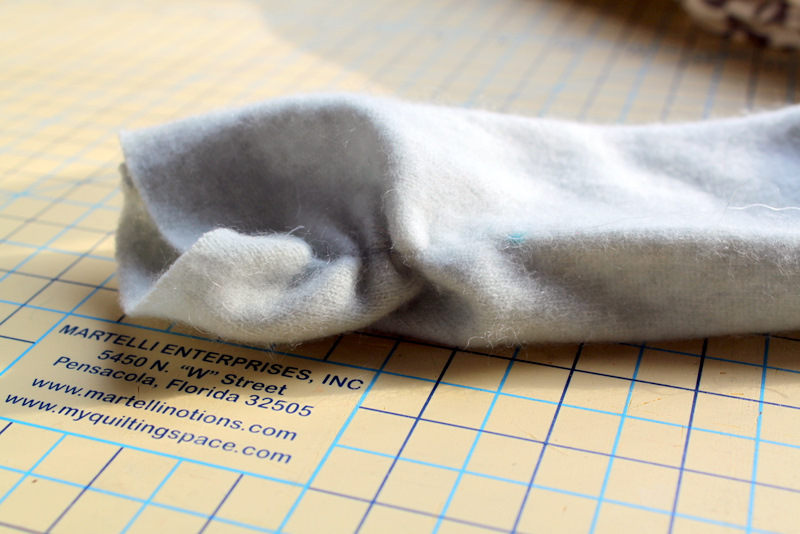
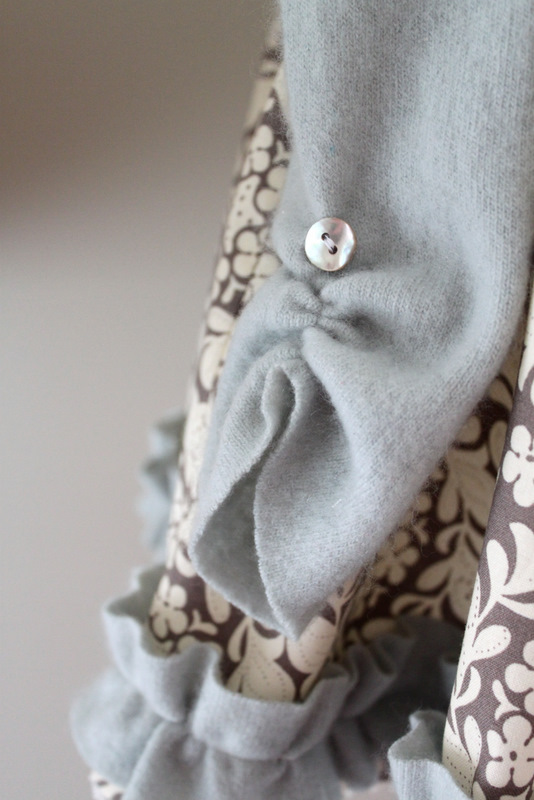
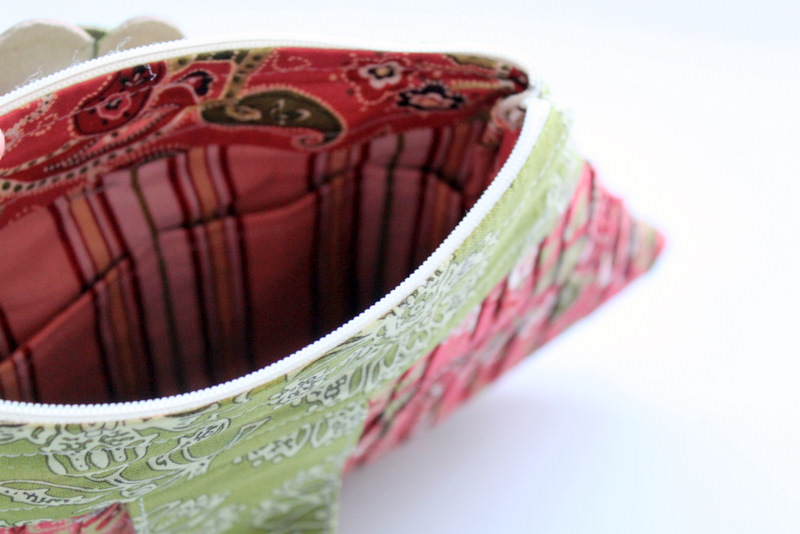
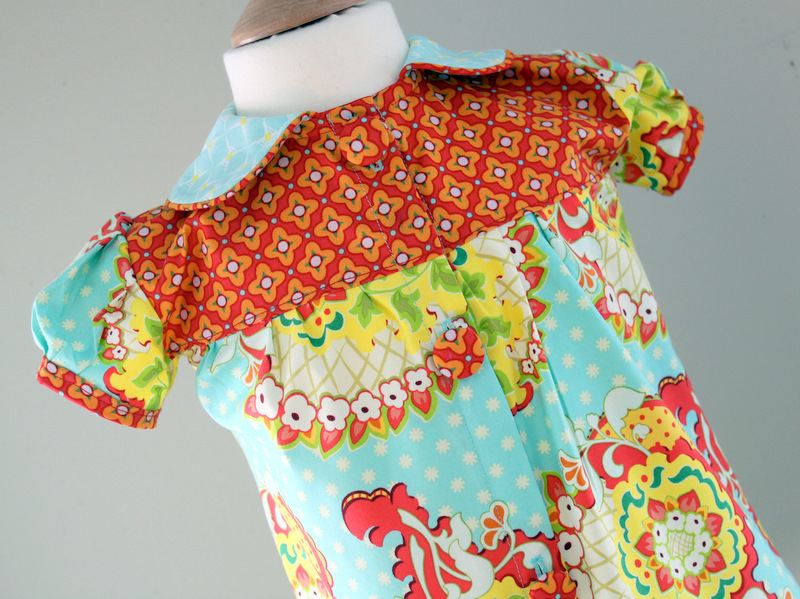
As most of you know, the majority of my sewing is children’s clothing, so that means A LOT of scraps. And yes, I’m starting to do a little quilting, but it would take me forever to use up all my scraps. I did some destashing of scraps on facebook as well. The pictures above are the 1 lb. scrap bundles that sell for $15. Some pieces are larger quarter yards, some are smaller, but none are teeny tiny. These are great for cutting bodices for dresses, using as pockets, quilting or for fabric hair pieces. The scrap packs are 100% designer quilting weight cotton and include a variety of designers – Anna Maria Horner, Amy Butler, Heather Bailey, Sandi Henderson, Art Gallery, Riley Blake…..just to name a few.
So we are done with this weeks destash, but if you are interested in further fabric buying opportunities, join us over on facebook. You never know when I’m going to be in a purging mood!!


 Lindsay Wilkes is the owner and designer behind The Cottage Mama. She creates timeless, vintage inspired sewing patterns for children’s clothes. She is also a fabric designer for Riley Black Designers / Penny Rose Fabrics, author of the book ‘Sew Classic Clothes for Girls’ and can be seen teaching nationwide and online in her video series ‘Lessons with Lindsay’ sponsored by Baby Lock Sewing and Embroidery machines.


