Archives for May 2010

A Day at the Market

I hope you all are enjoying this wonderful holiday weekend – we sure are!  I just wanted to share some pictures from our trip to our local farmer’s market.

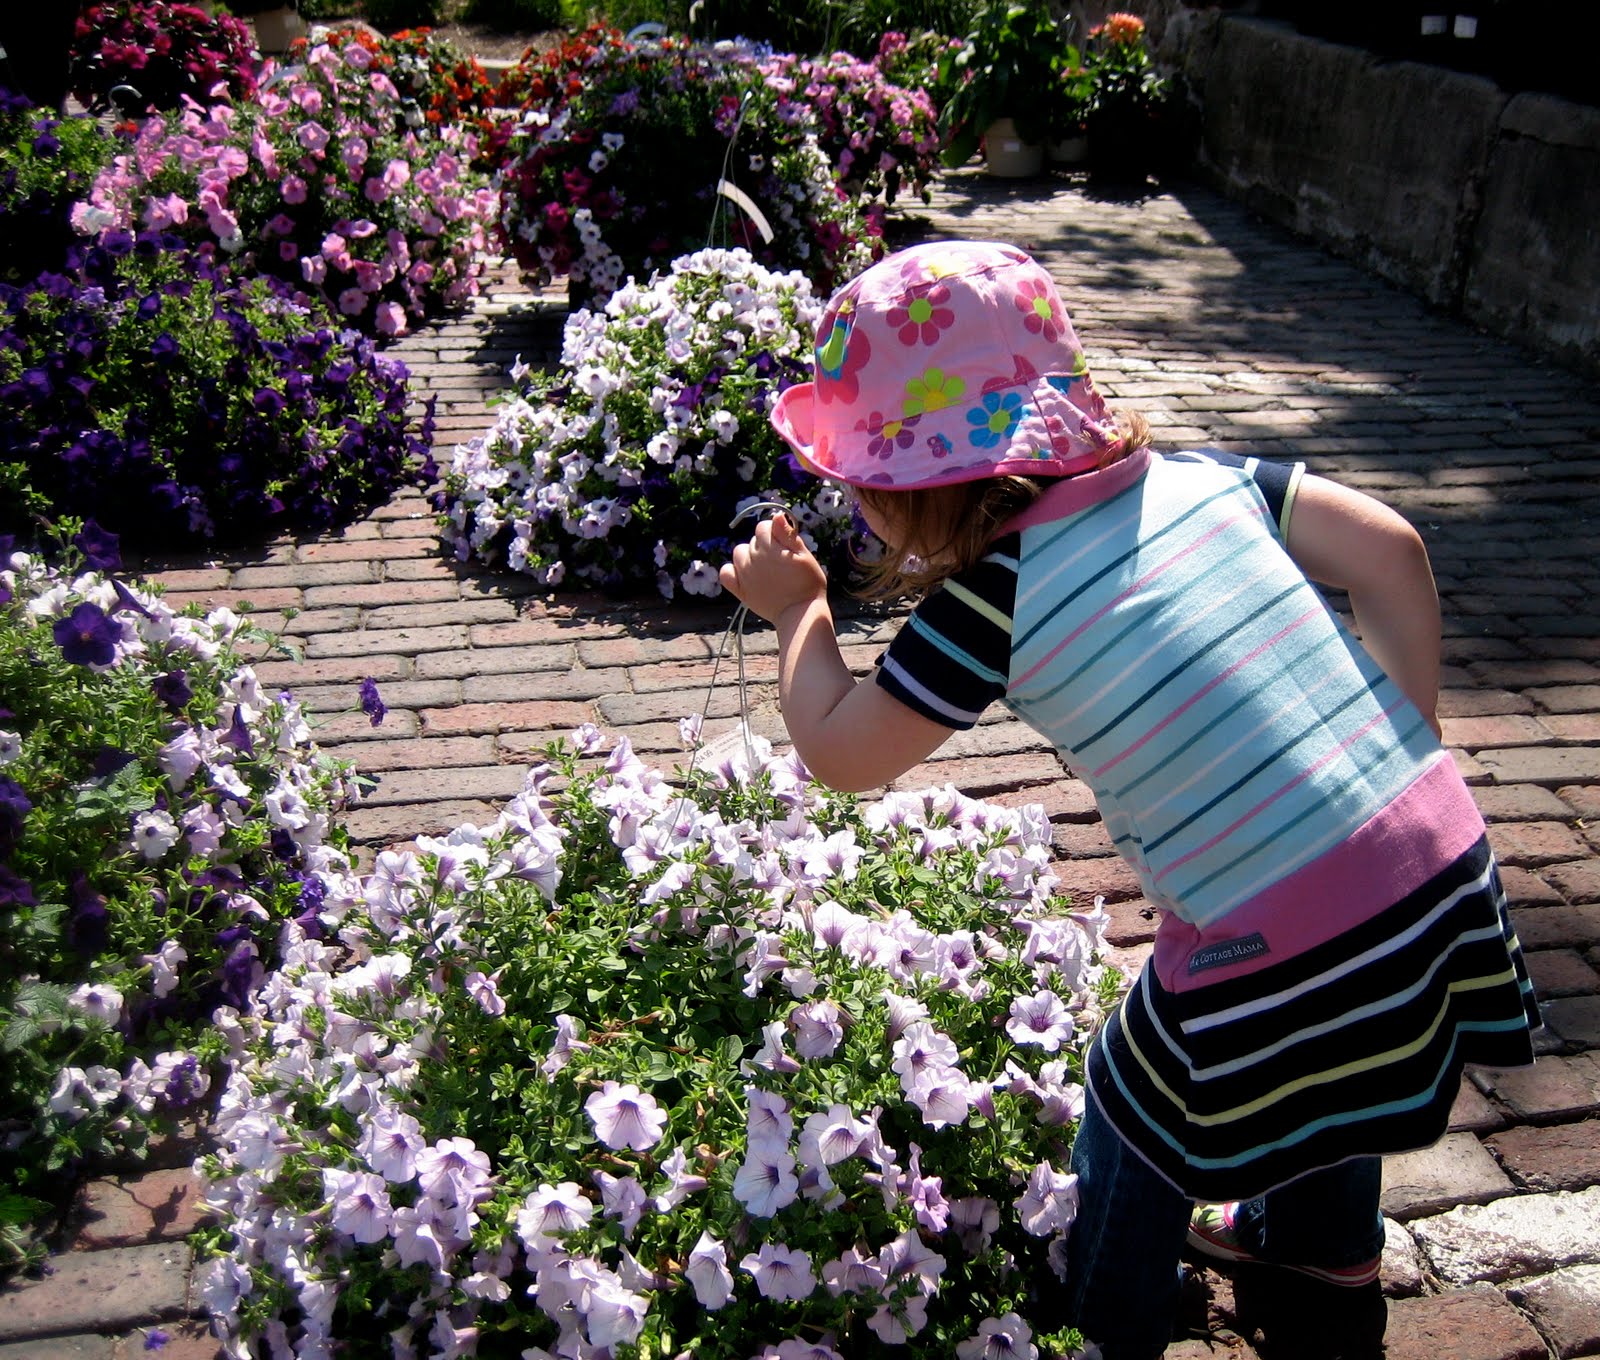
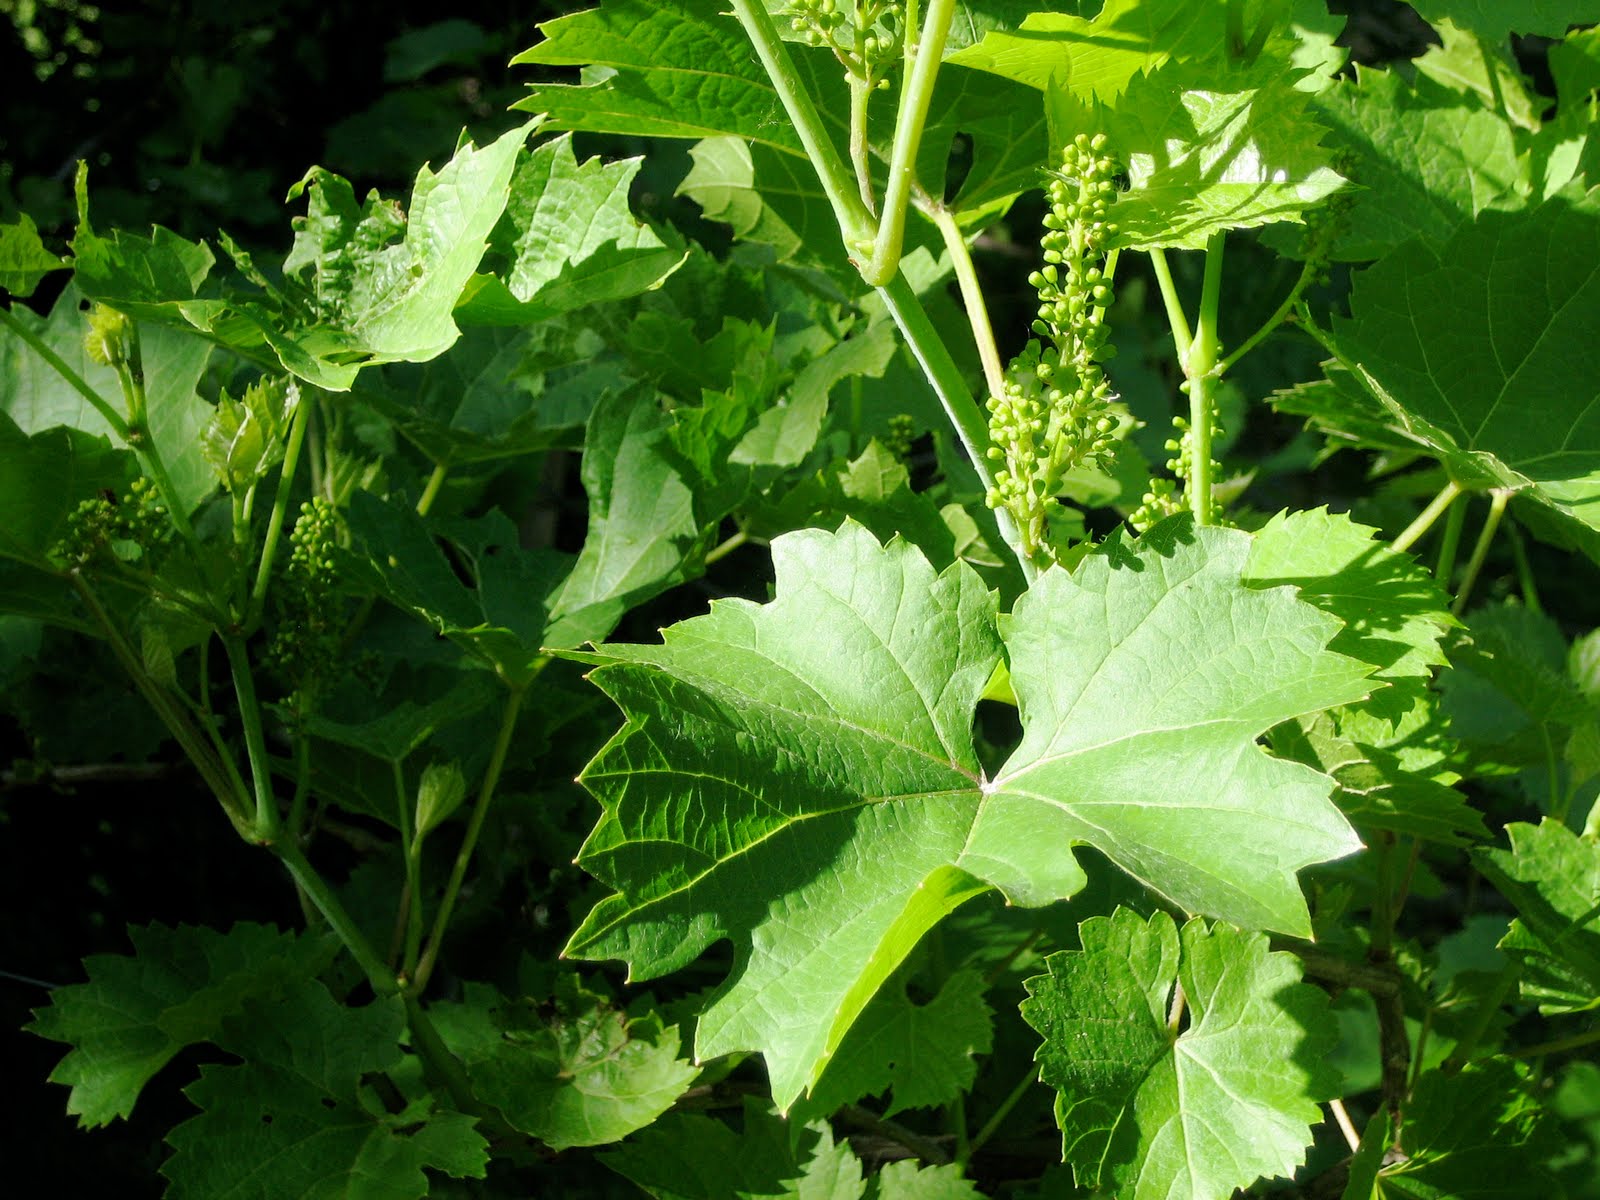
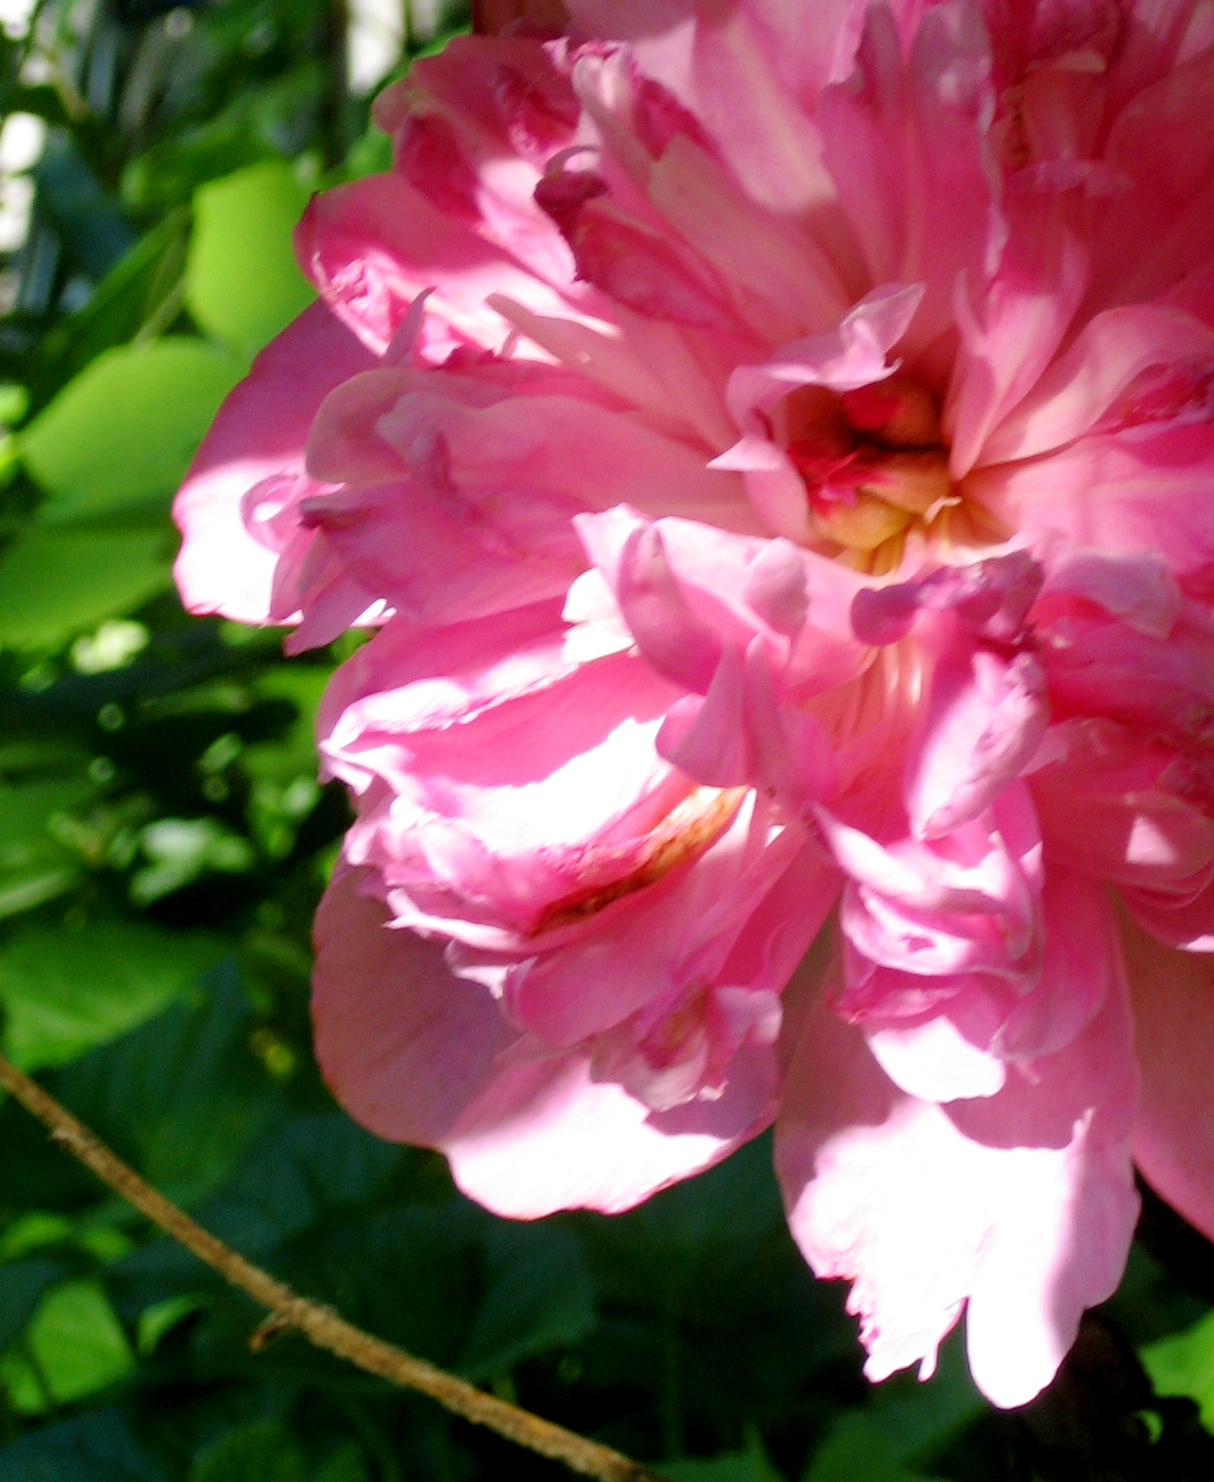
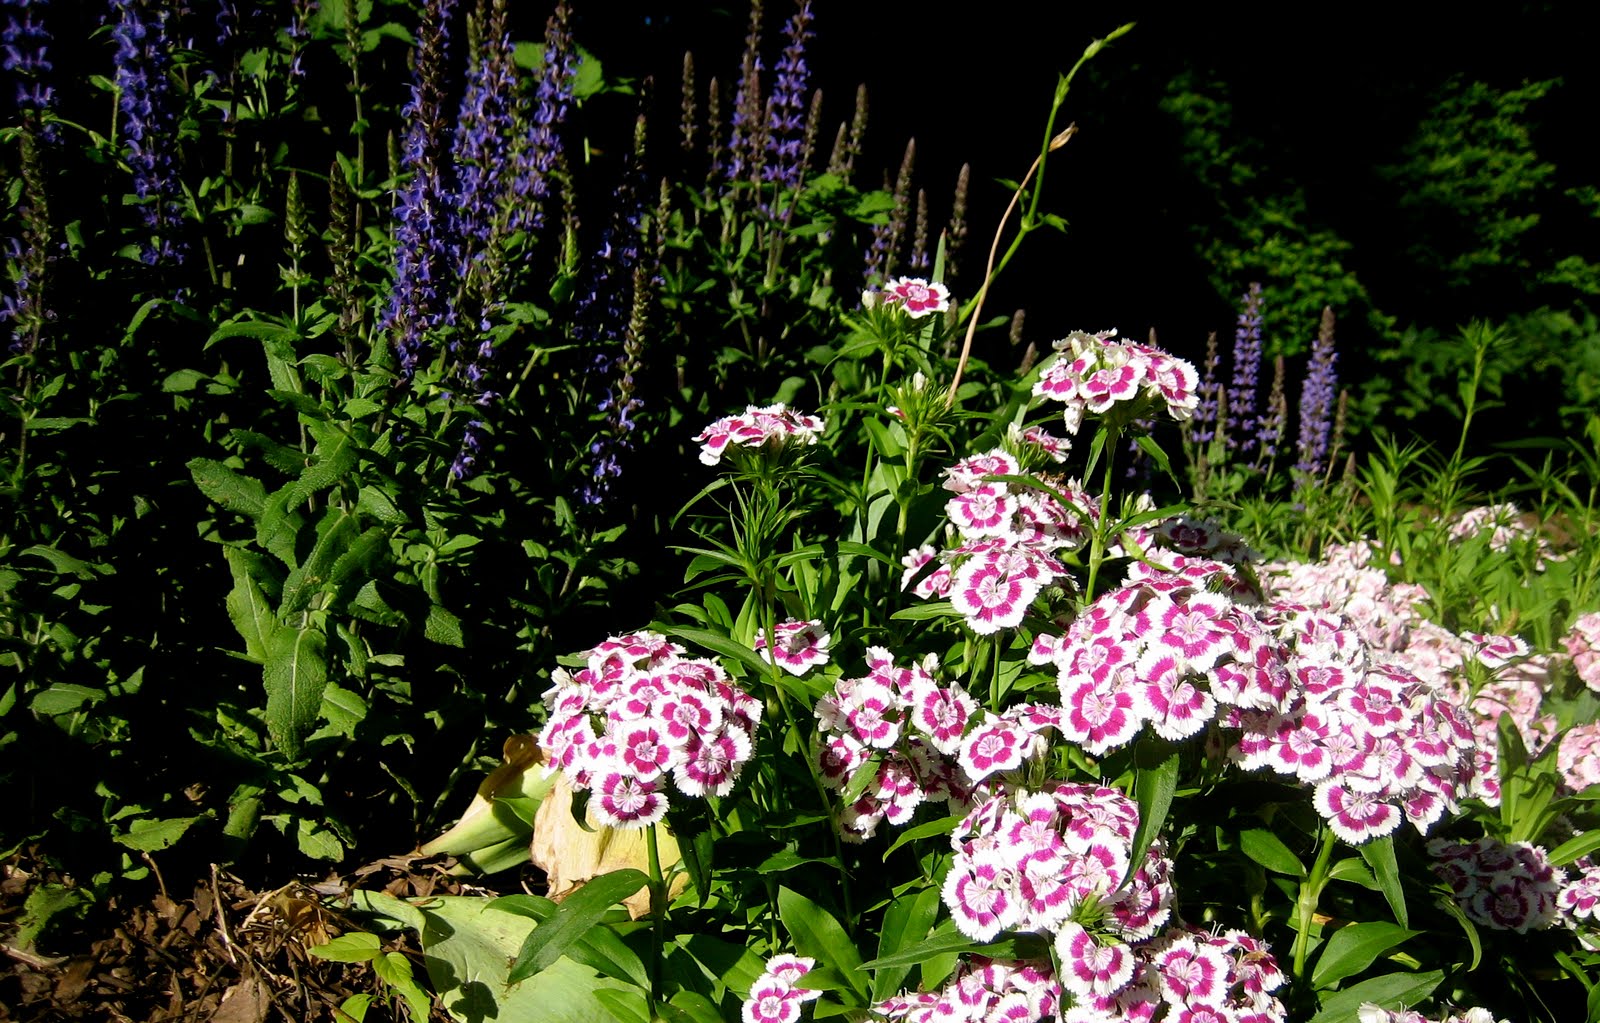
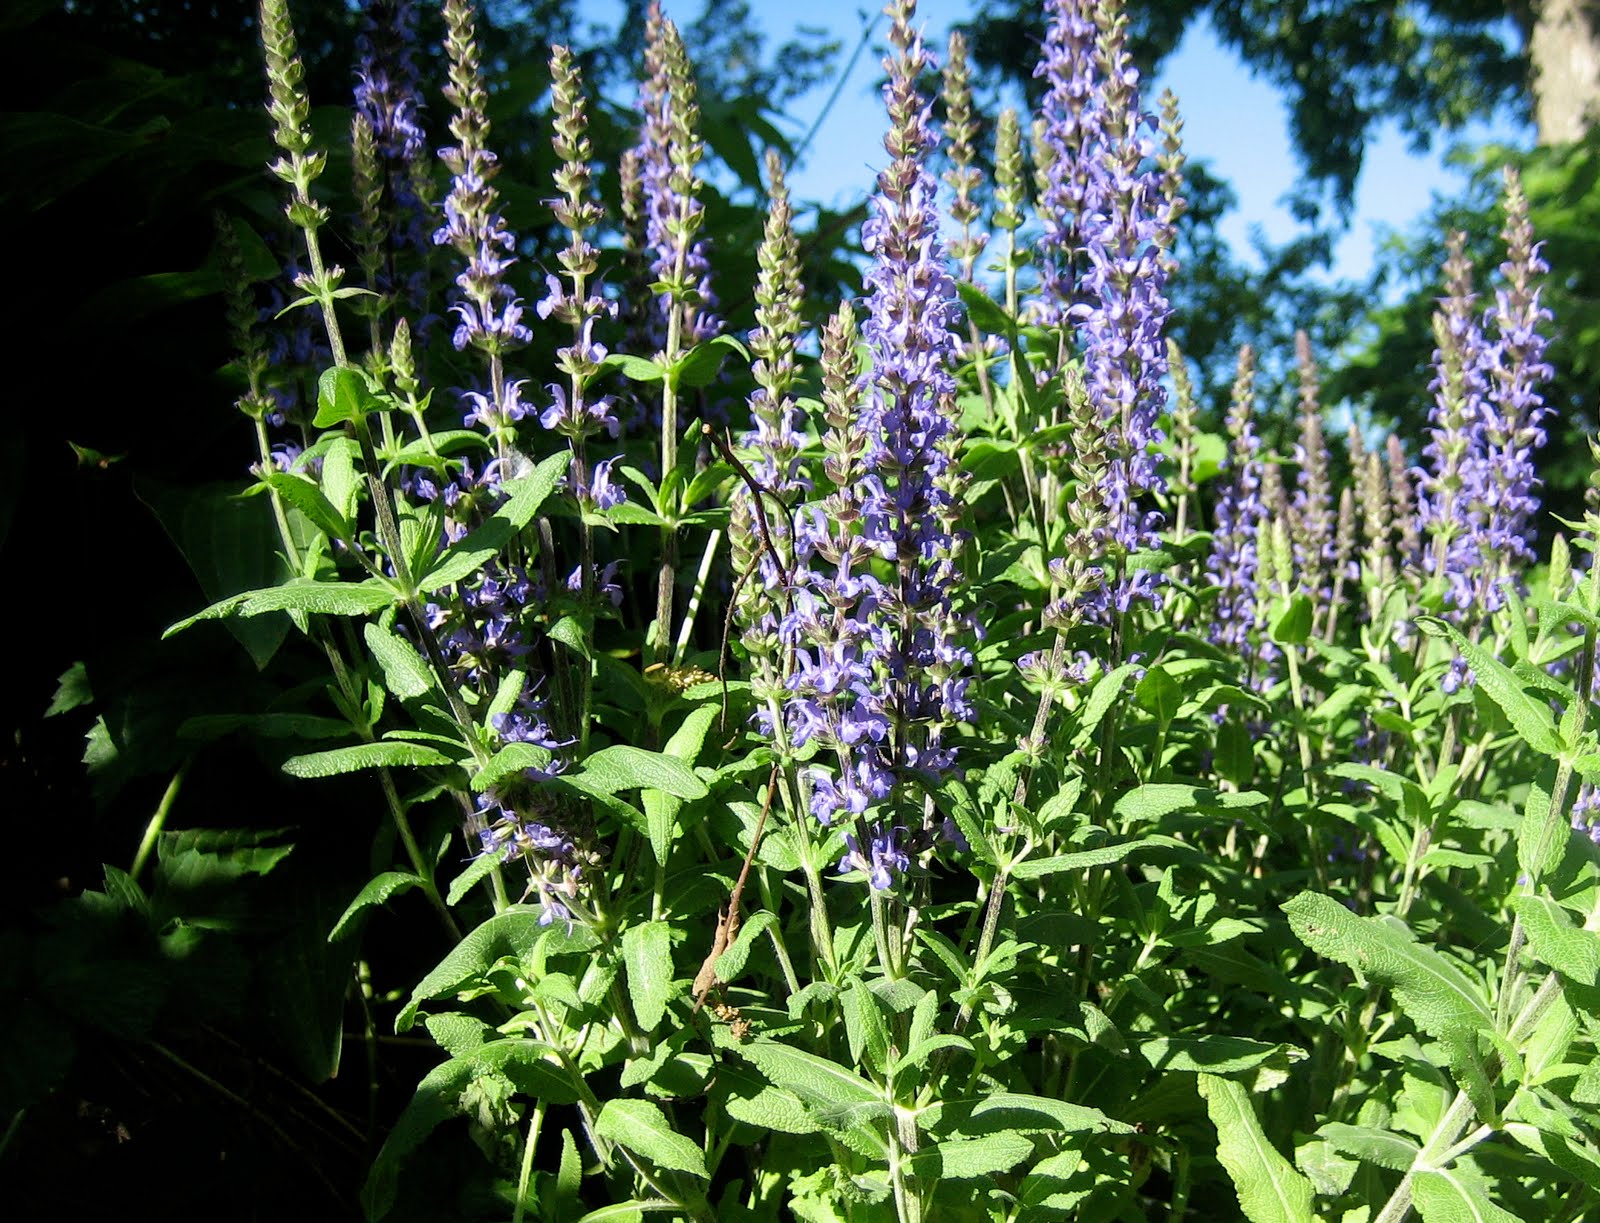
Check out these hanging baskets – aren’t they GORGEOUS!  I would love to have one, but we don’t have anywhere to hang something like that.  So if you can’t take one home, you might as well stop and smell the pretty flowers.

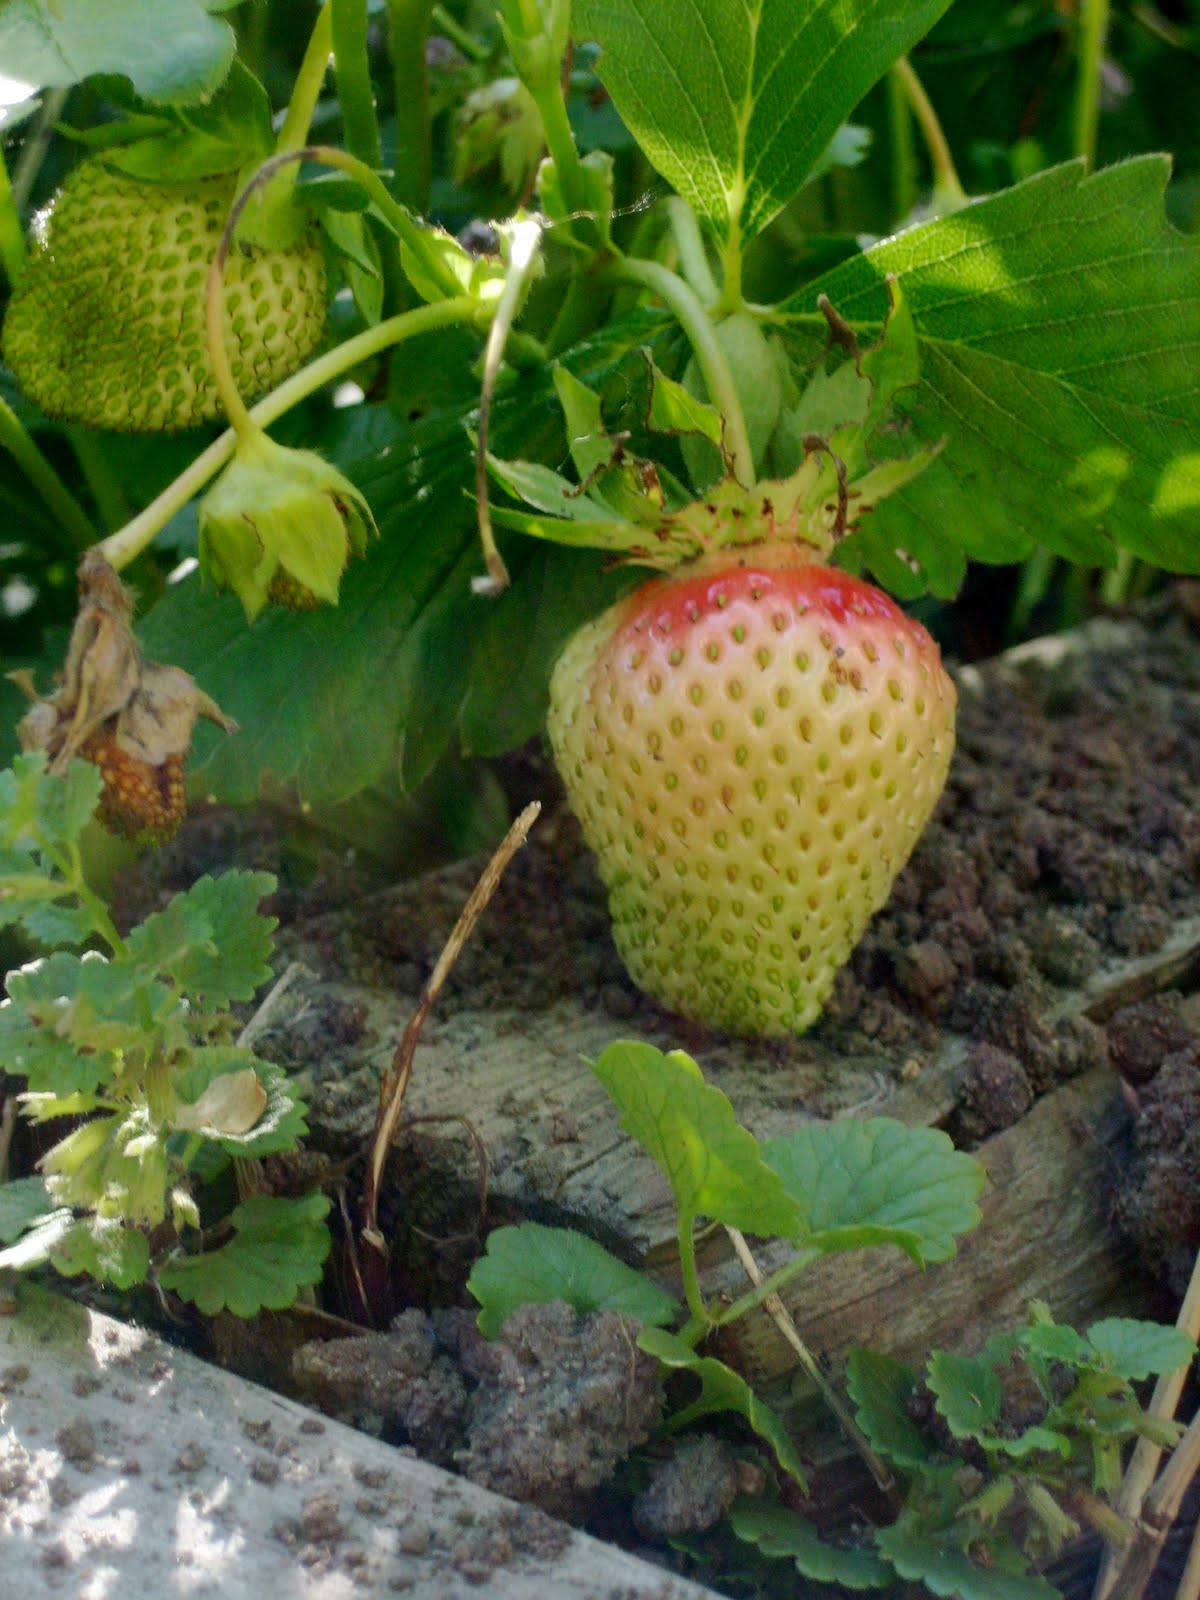
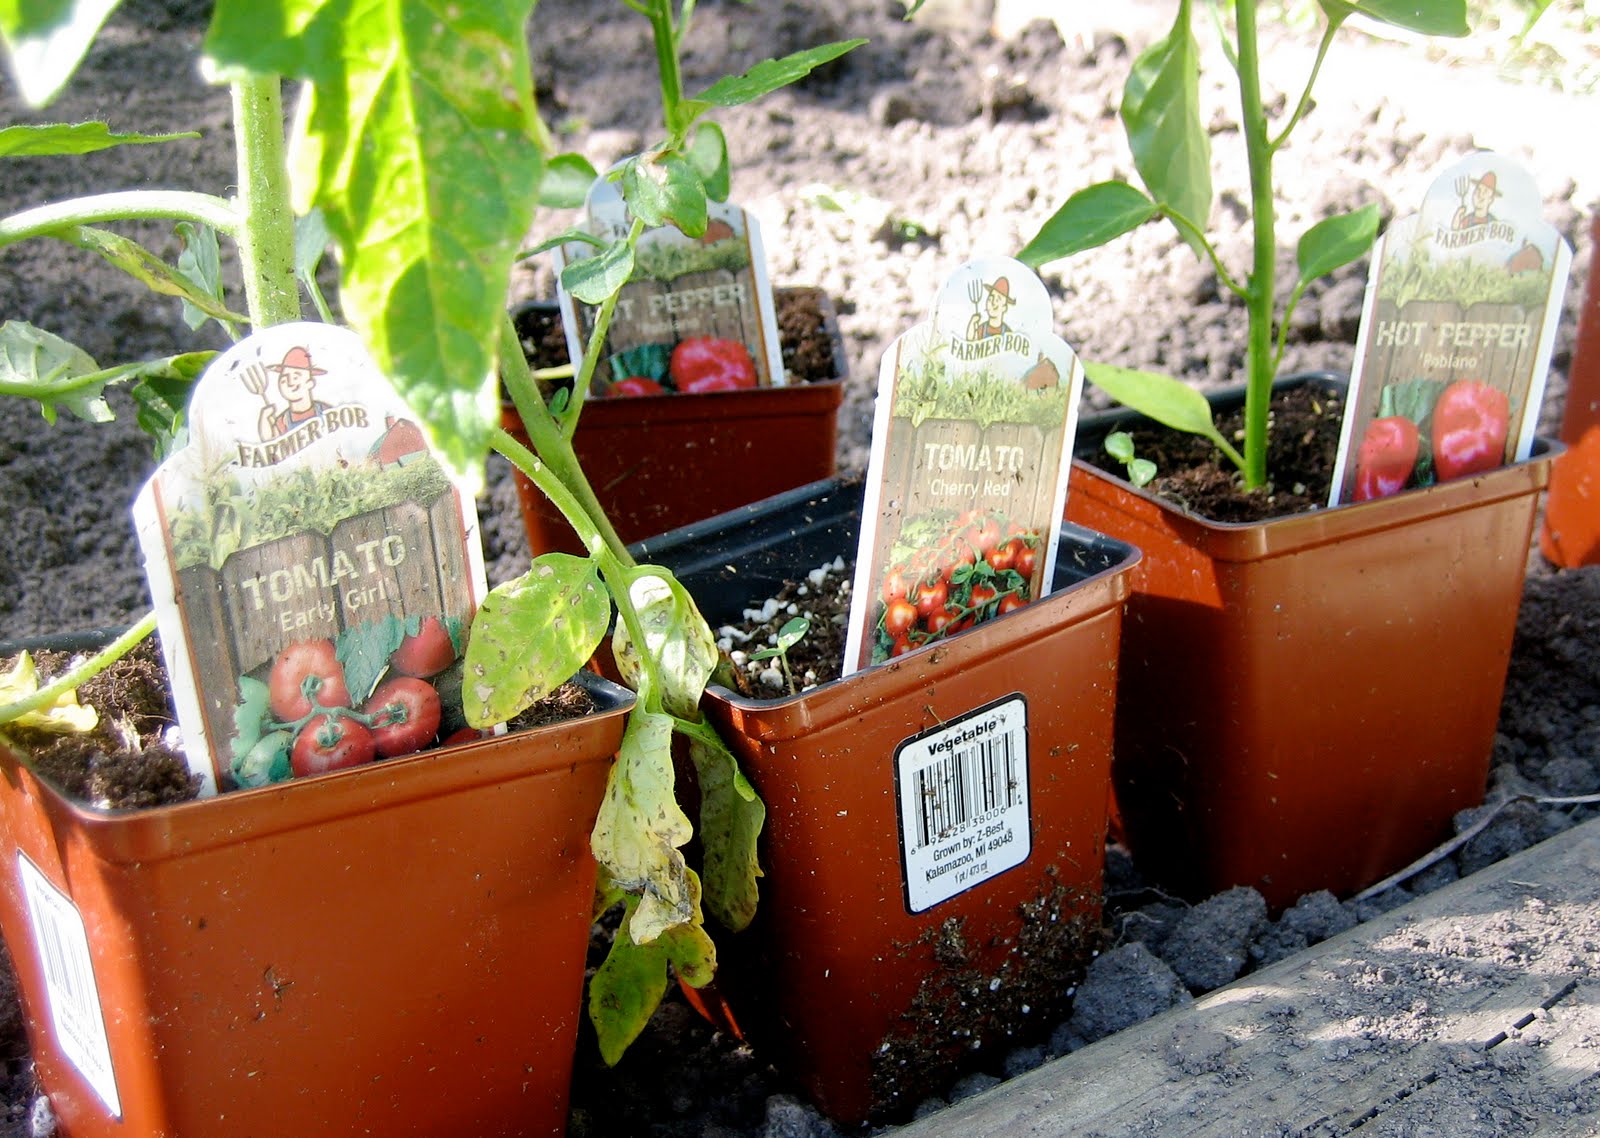
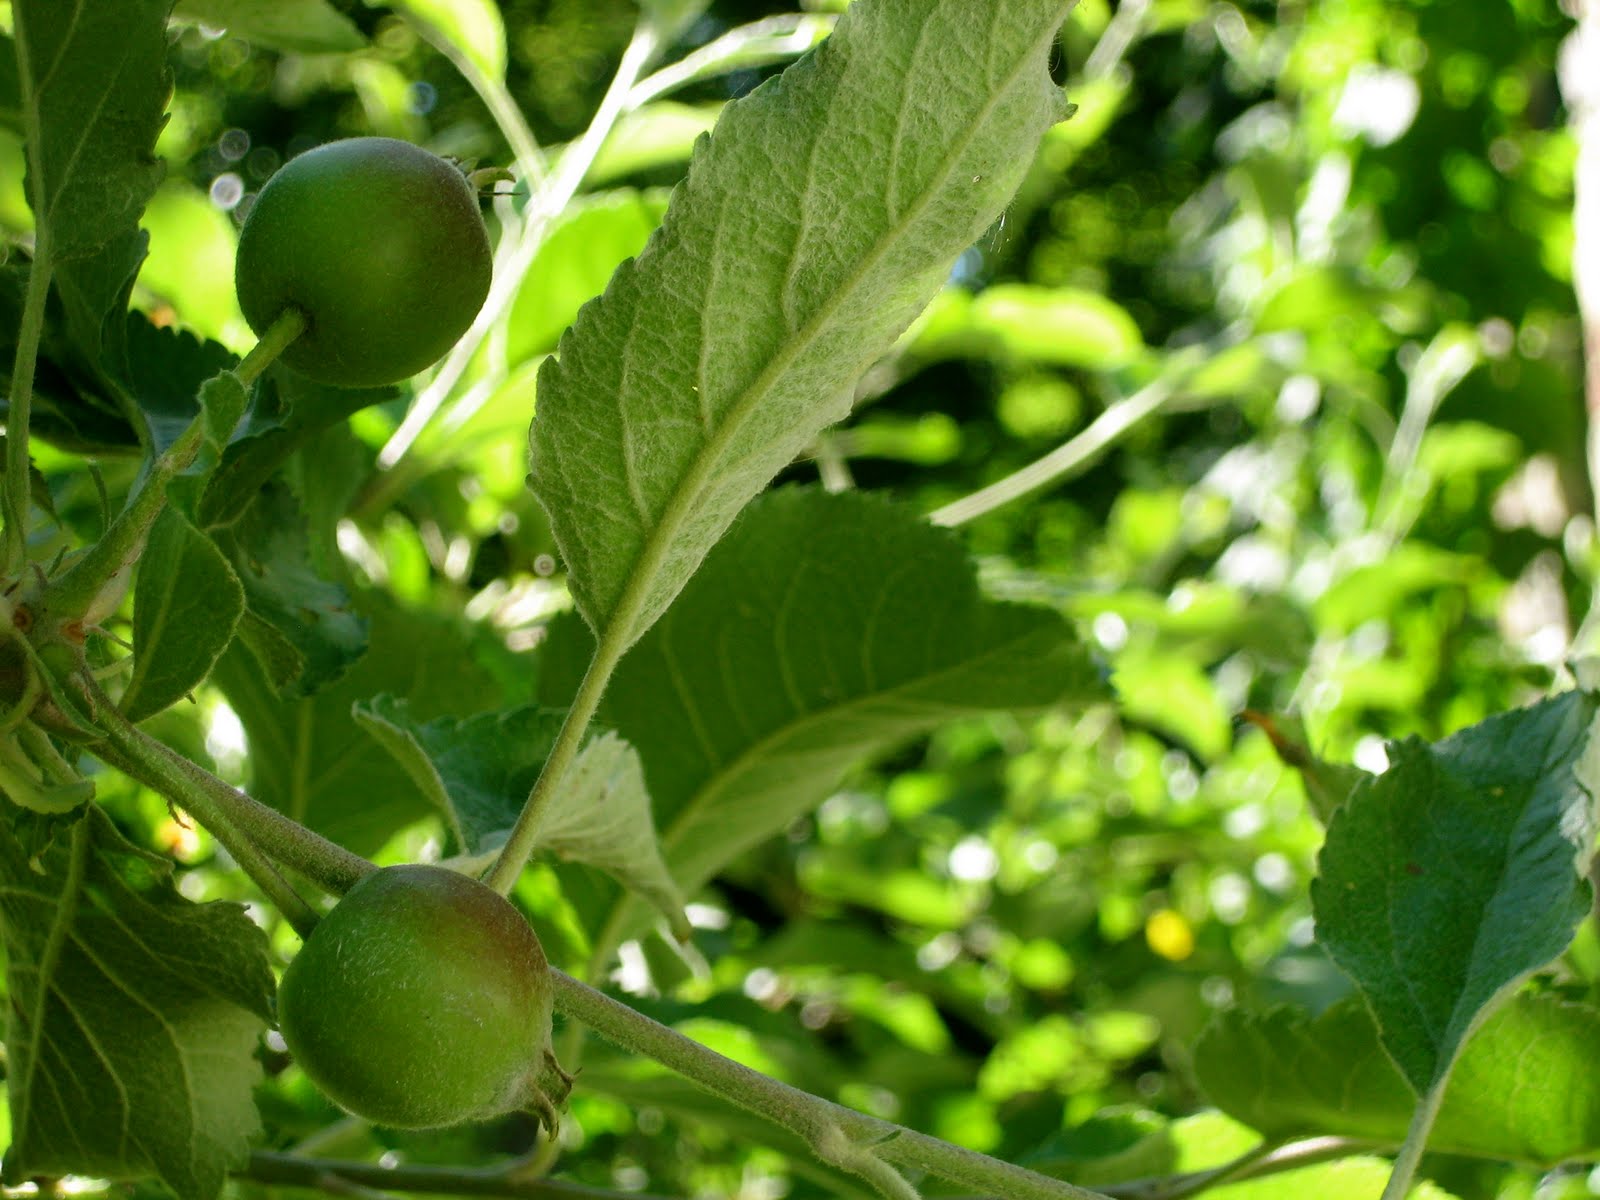
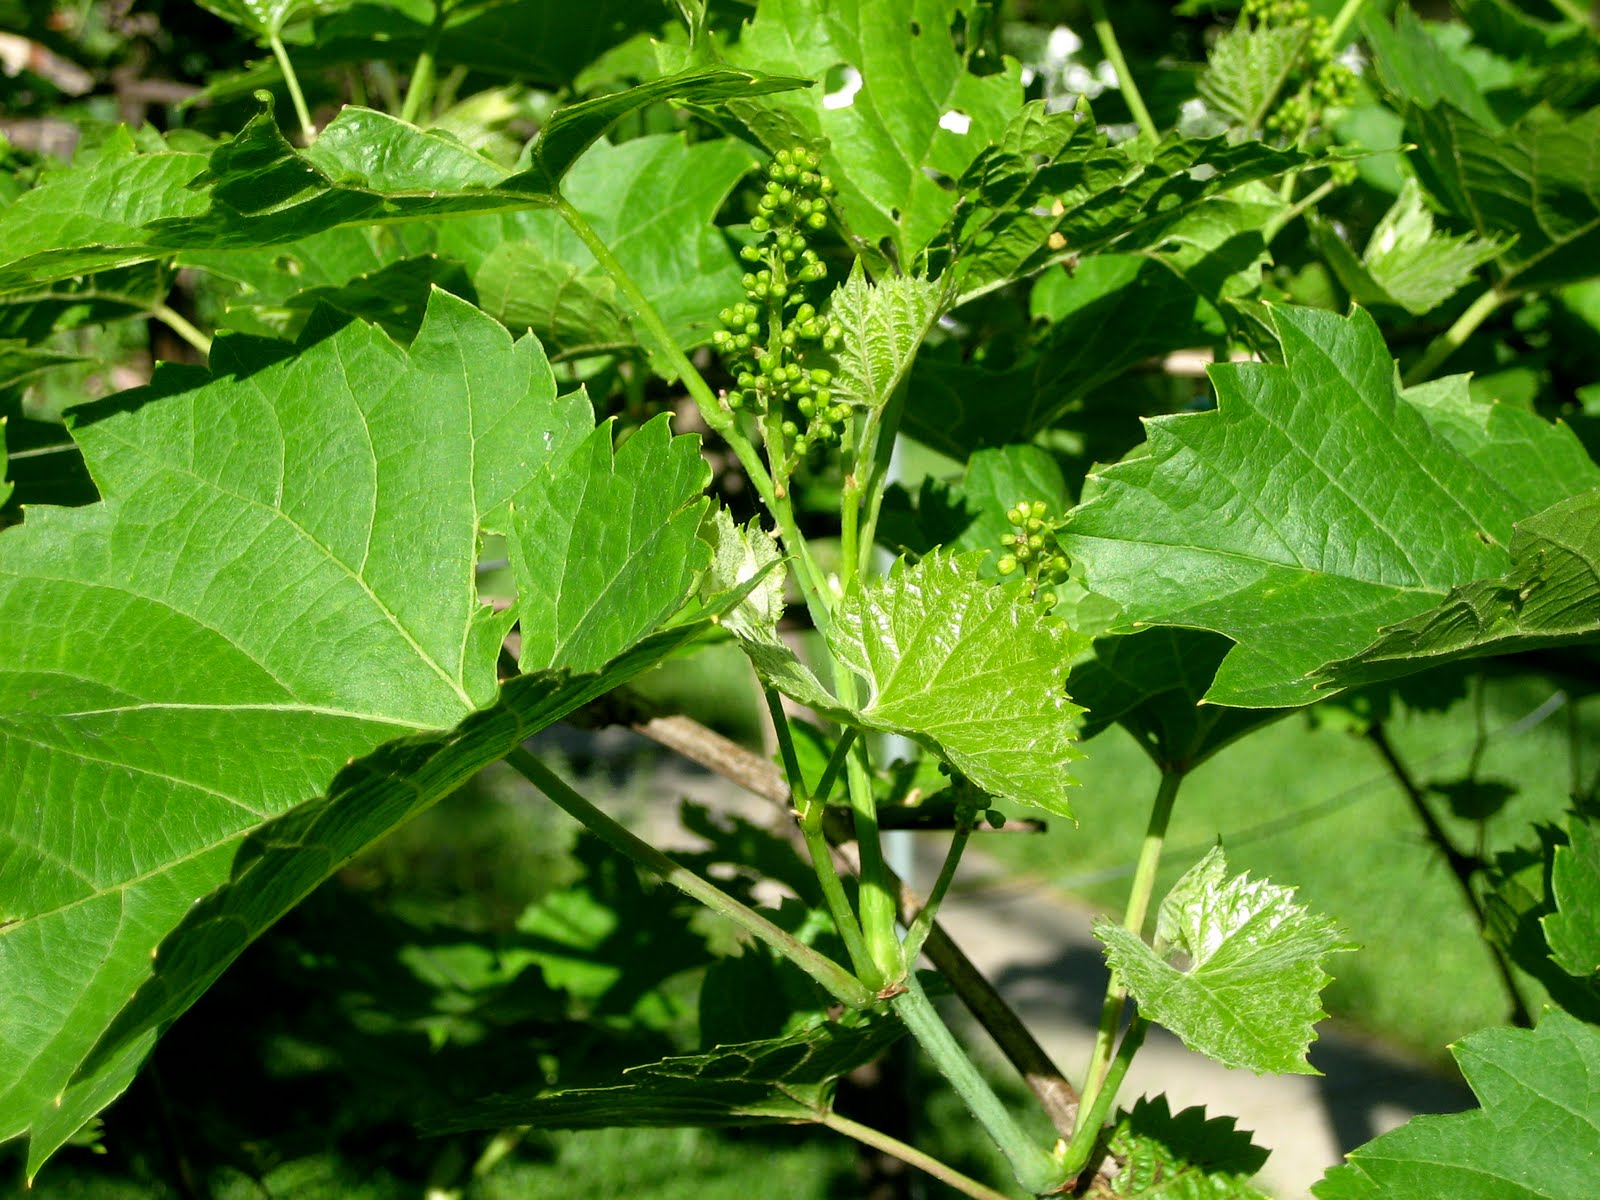
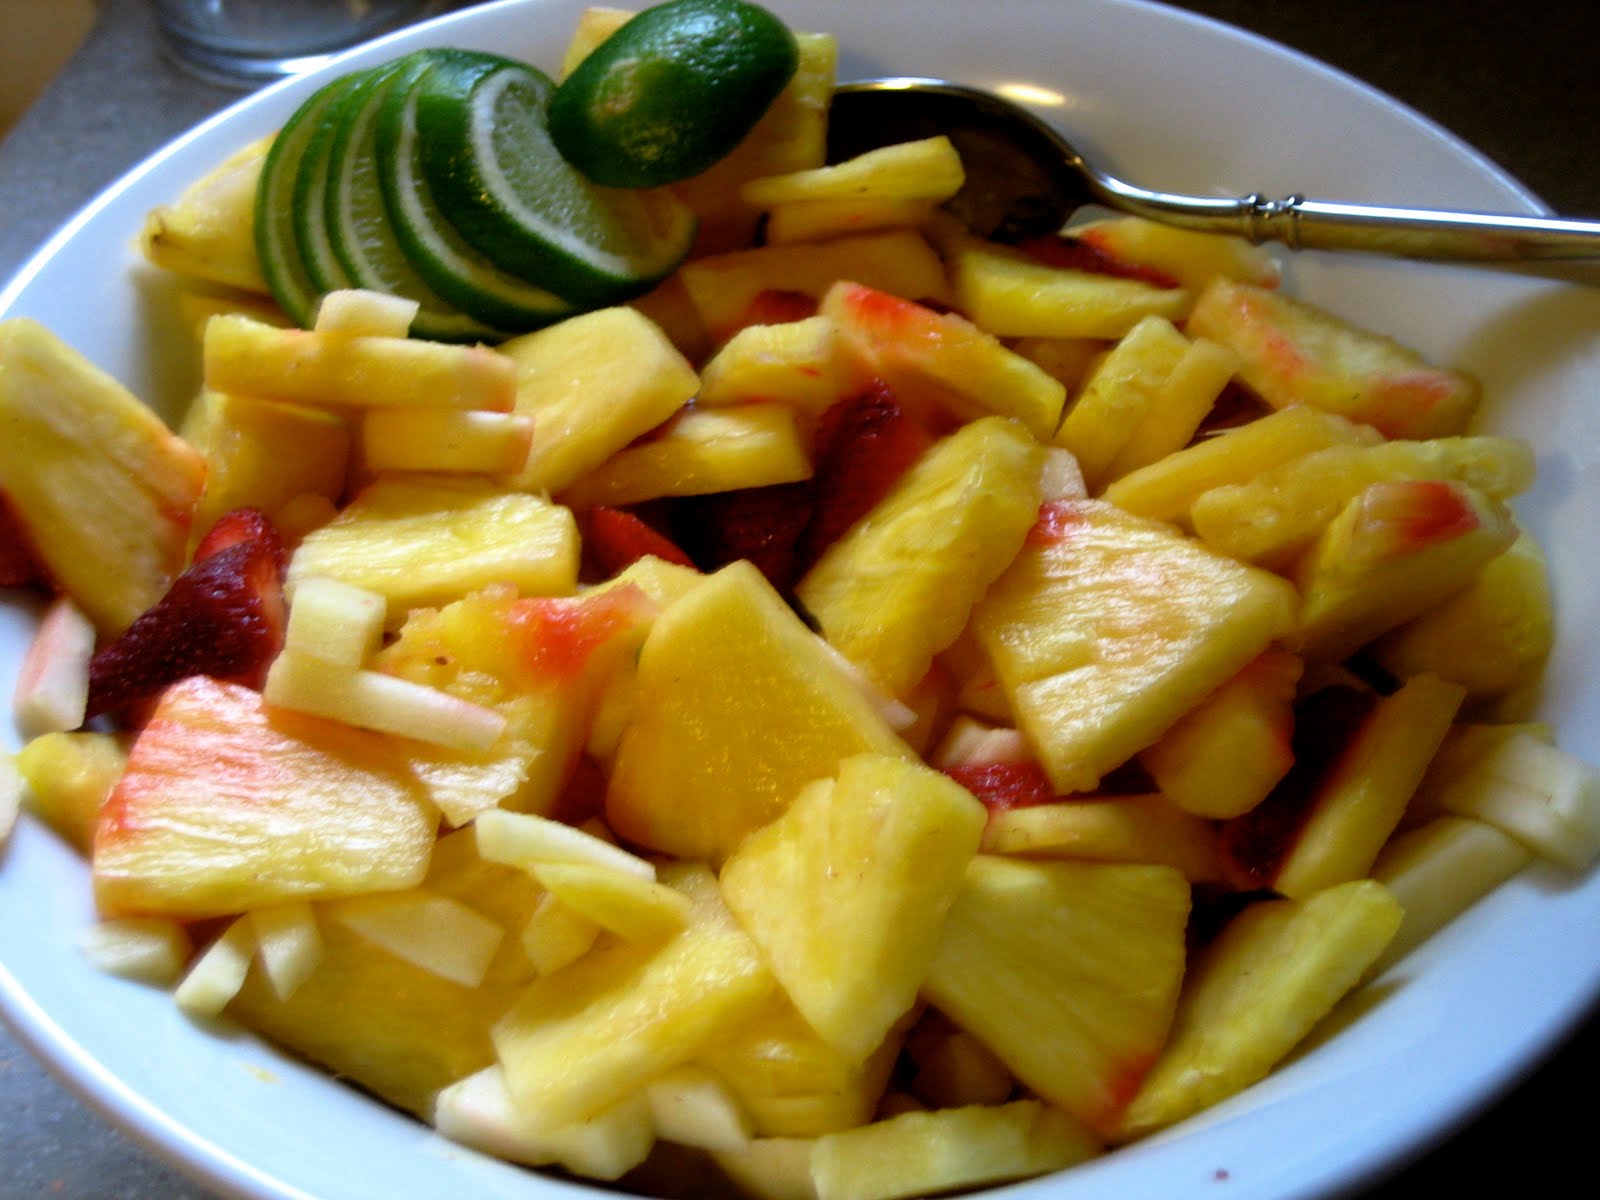
During this time of year there is very little produce available at our market.  It’s mostly plants, herbs, cheese, honey, bread and wine.  Asparagus is in season right now, but that’s about it.  In a couple months the market will transform into more of a vegetable and fruit market.

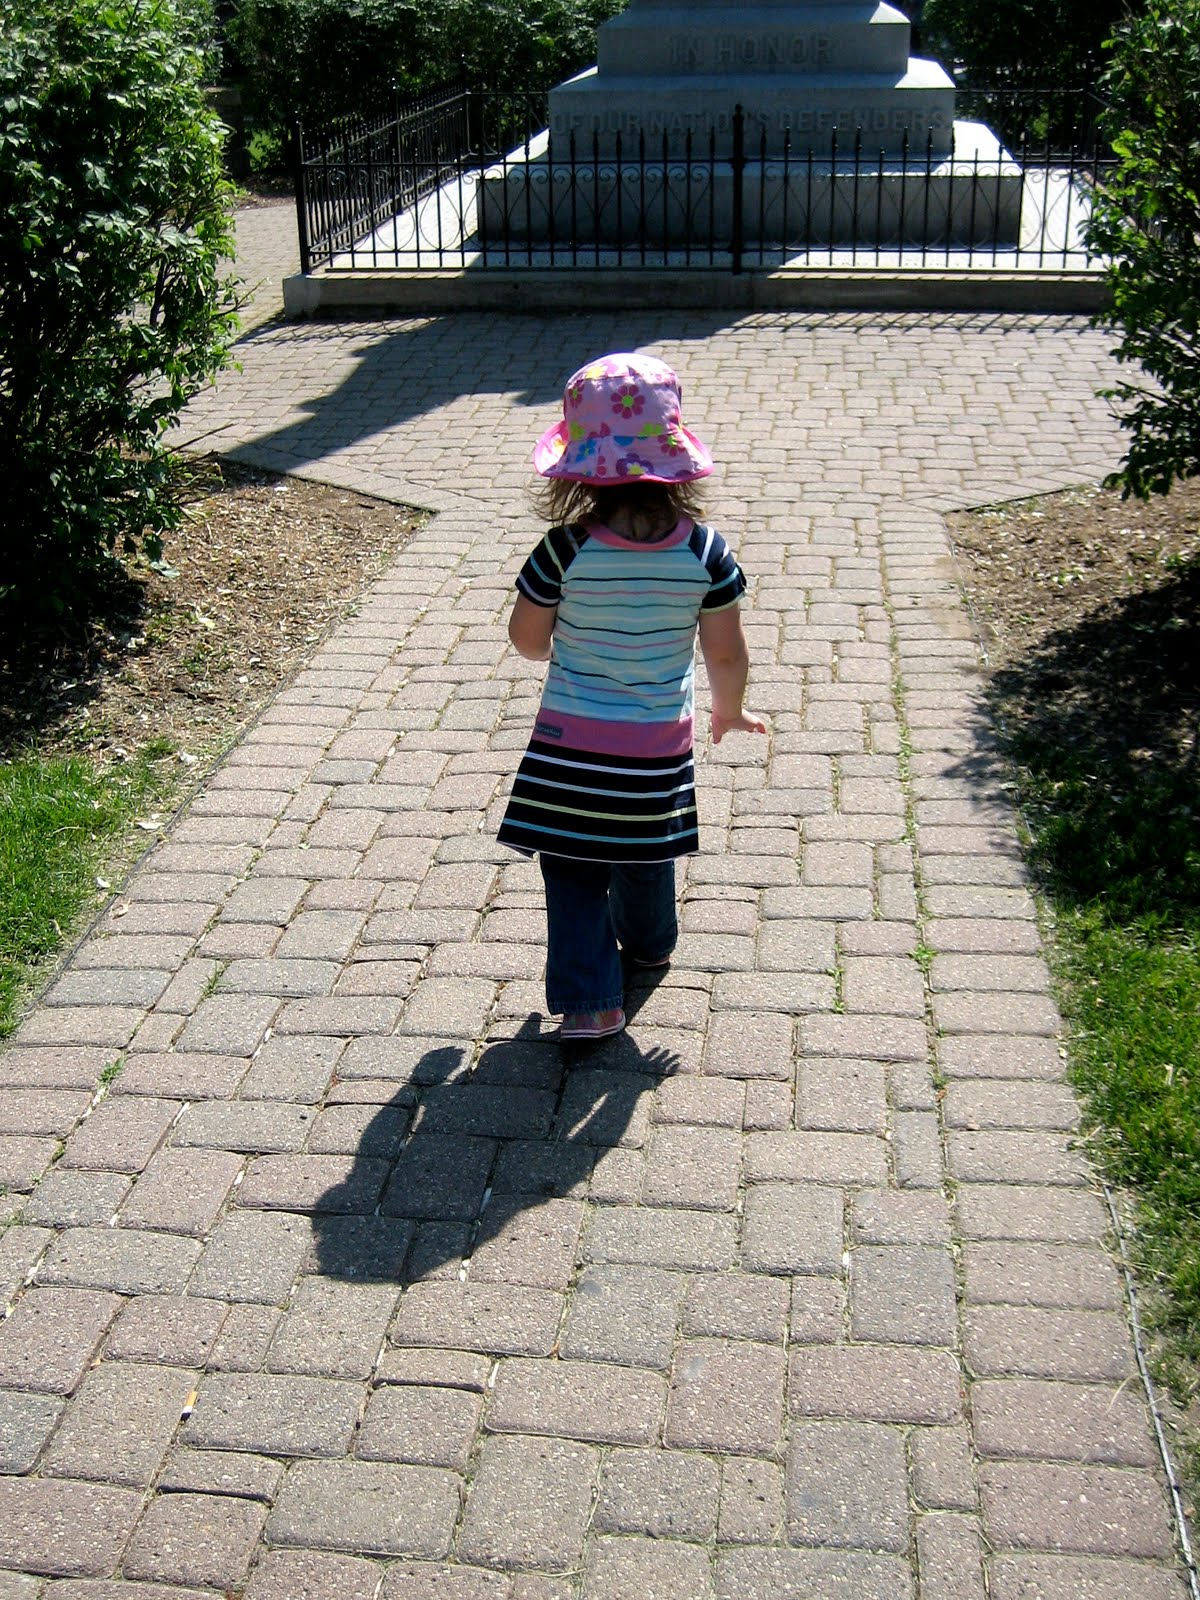
Here’s Miss Savannah taking a stroll through the central square – she is quite the little independent 2-year old these days.

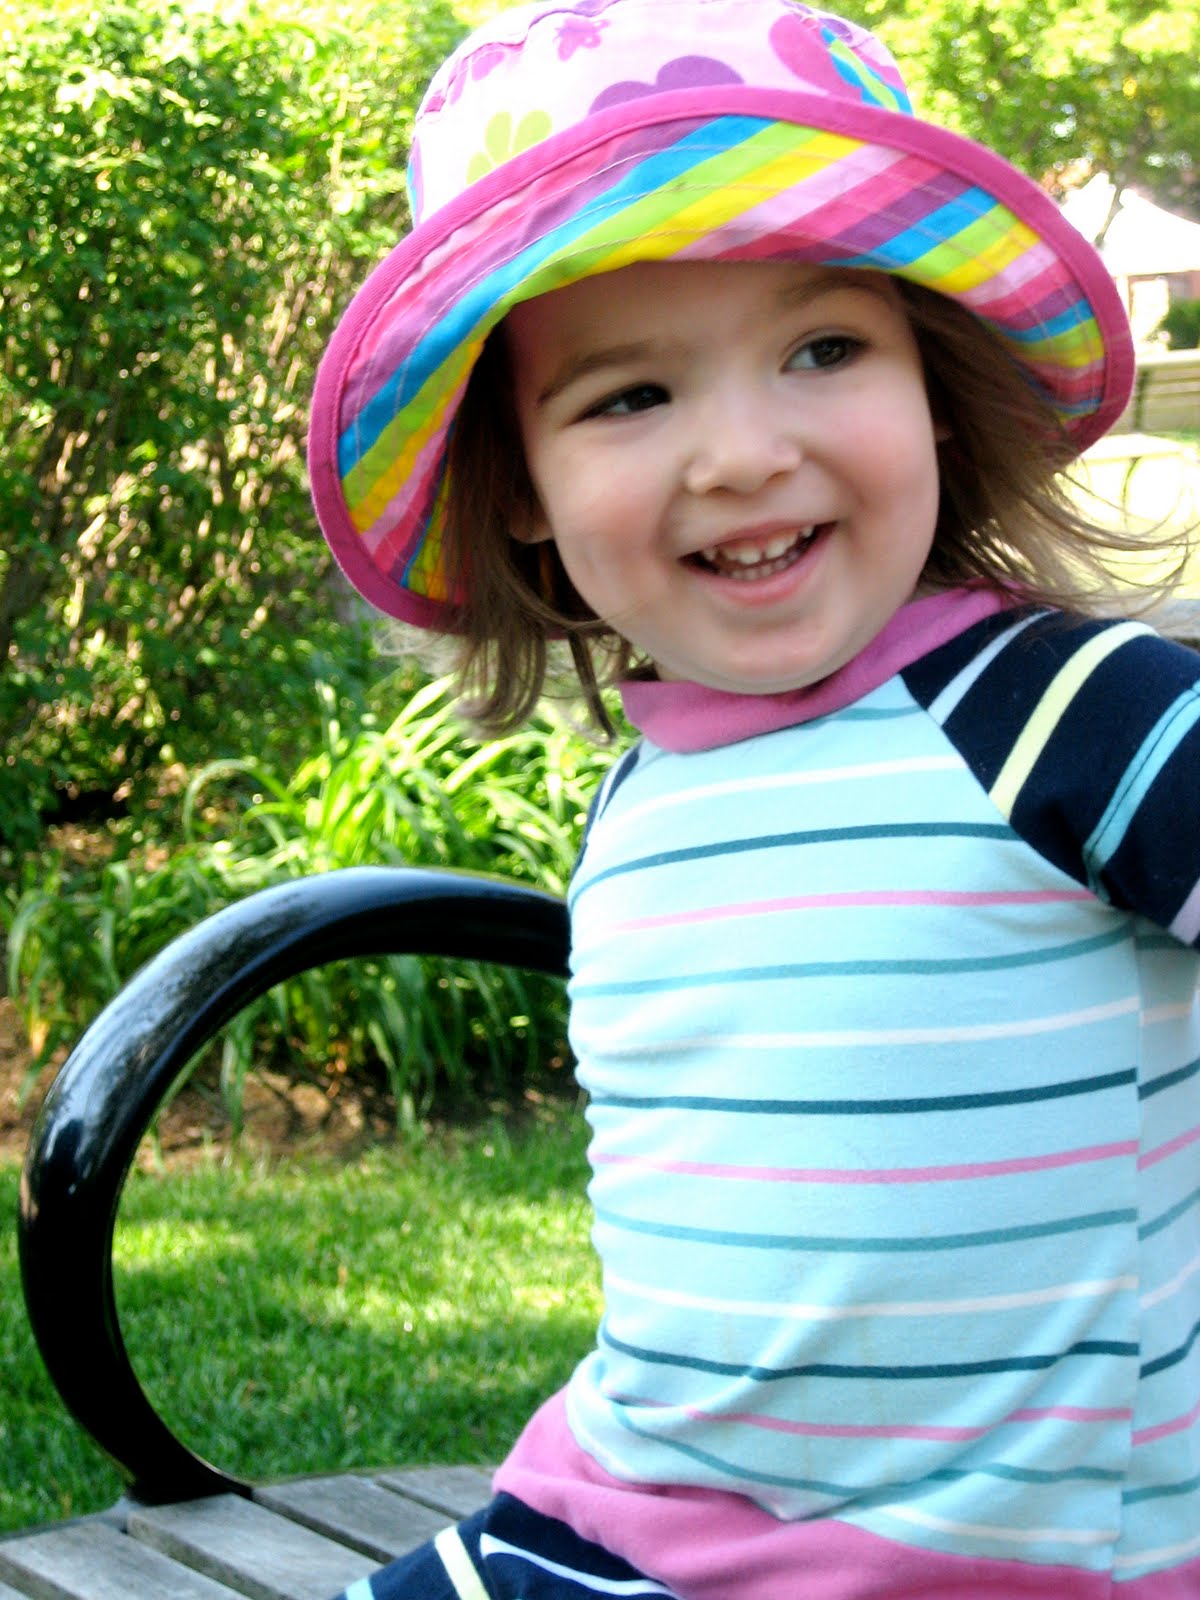
It was gorgeous weather outside and Savannah was loving it.  She is wearing a dress I made for her from the “Sienna” dress pattern by Lil Blue Boo.  The dress is made entirely from recycled knit shirts and only cost $1.00!

Matilda was having fun too – this is her “I’m so happy, I might explode face”.  I made her a coordinating dress also!

The girls have been getting along great – I feel very blessed that Savannah has yet to show any jealousy towards her baby sister.  I’m sure there will be ups and downs, but I really hope that they will grow up to be good friends!  It just melts my heart when Savannah puts her arm around Matilda and says “best friend” – so sweet!

On our way home from the farmer’s market we stopped at one of my favorite antique shops and here’s some of the treasure I found:

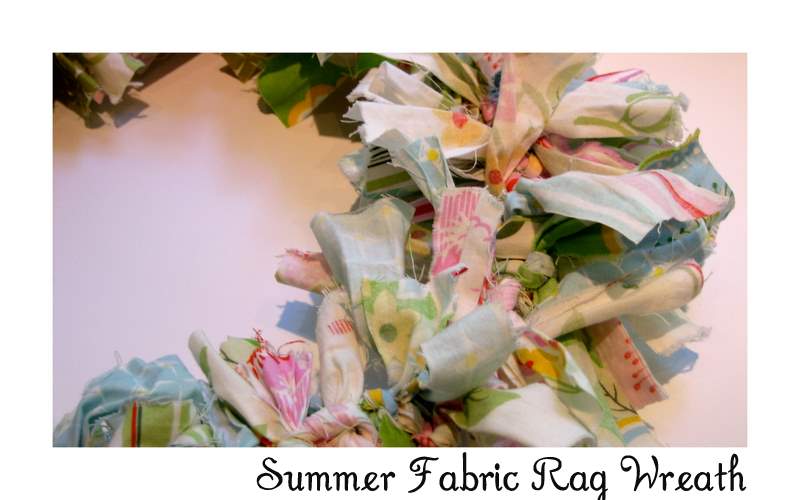
A couple of vintage embroidered pillowcases (which will be made into girls pillowcase dresses) and a bunch of really beautiful vintage handkerchiefs.  I’ve got some projects in mind for the hankies so there may be another tutorial using these in the near future.

Anyway, I just wanted to share what we’ve been up to this weekend.  
What have you all been up to?  
Anyone doing anything fun?

Summer Fabric Rag Wreath Tutorial

I have had my spring wreath on the door since, well, the beginning of spring.  I kind of felt like it was time for something new.  I wanted to create a summer wreath for our front door that would be fun and cute, but would break the budget.  So here’s what I came up with…….

Summer Fabric Rag Wreath Tutorial
Supplies:
1 wreath form (whatever size you like)
Scraps of fabric (10-12″ long)
1 piece ribbon or other material for hanging
Scissors
Directions:
This is a medium sized wreath that I bought from the dollar store, so it was only $1.00 (woohoo!!)
Pull out your scrap bin to find the fabric for your wreath.  This is my “Nicey Jane” scrap bin (I like my scraps to be arranged by fabric line).  I LOVE Heather Bailey’s “Nicey Jane”………it just exudes summer!
Cut your fabric scraps into 10″-12″ long strips for a medium wreath.  The length will depend on the size wreath you have chosen.  Use all different widths – I had some very skinny pieces and some pretty wide ones.  I like the variety of the different widths.
Now the fun part – just tie each strip on the wreath and tie it into a knot.  Push them very close to one another.  Do this until your entire wreath is covered in fabric strips.
This is what the front of the wreath will look like when it is complete.  Fluff all of the strips and make sure none of them got caught in the knots of the others.  Give the wreath, what I like to call a “haircut” if you feel the strips are too long.  Cut it down until the look is to your liking.
Here’s what the back of the wreath will look like – which I think looks pretty also.
Now you will need ribbon or twill tape (which is what I used) to make the hanger for the wreath.
Cut whatever length you need depending on your door……mine was only 10″ long.  Loop the ribbon around the wreath and tie a knot.  The knot will not be seen by all of the scraps on the wreath.  Place the knot down on the wreath.
Hang your new, fun summer fabric rag wreath on your front door.  Doesn’t it look happy?
This is not the best picture, but you get the idea.  So I hope you will use your leftover scraps of fabric to make a summer rag wreath.  This really is one of the easiest projects I’ve ever done – no sewing, no gluing – just a little time.  This is also a great project to have the kids take part in too!

Happy Memorial Day Weekend!

The Beginning of Summer at The Cottage Home

I love my home, I really do, but I’m not going to lie………..I can’t say I don’t long for a garage, an eat-in-kitchen or a laundry room that wasn’t in, what I call, the dungeon.  But would I trade The Cottage Home, with all its history and charm, for any of those things?  NO WAY!!

Today my husband, Brett, was home and we spent this late afternoon outside planting our vegetable garden and taking in the beauty that surrounds us.  And wow, I feel more blessed than ever to be the proud owners of this 1930’s cottage!

Here’s a little tour around The Cottage garden………

Strawberries
Getting ready to plant our vegetable garden.
We have had our apple trees for 3-4 years and this is the first year we have apples!!
My hubby brews beer (I’ve mentioned that, right?)……anyway, here is one of his many hop plants that he grows to use in his homebrew.  It’s growing on our coach house.
Pretty flowers in the window boxes on the porch.
The very beginning to our wine grapes – we make our own wine too!
Pink peony – I love this flower!
The chives have gone wild!
More pretty flowers.
And finally………The Cottage Home.

Get Rid of the Funk and Recharge Your Day!

Do you ever have those days where you are just feeling in a funk?  It’s like from the minute you get up, you just kind of feel blah?  I think we all have those days for sure!  The question is, do you let yourself get caught up in the blah or do you take charge and do something about it?  I say – do something about it!!

9 Ways to Recharge Your Day
1. Have a dance party.  Yes, this may sound silly, but turn on your favorite tunes and “shake your tail-feather”.  After about 2-3 songs, you will be feeling good, energized and ready to tackle the day.
2.  Smile.  I know, this is super-cheesy, but it really works.
3.  Look at pictures of your loved ones.  
4.  Either pick up a copy of “The Book of Awesome” or go to 1000awesomethings.com.  My Mom just sent me this book and it is a great reminder of the little things that happen in our day to day lives that bring us happiness.  Read a few of these reminders each day and it will start to put a smile on your face.
5. Laugh out loud.
6.  Go outside.  Sometimes just breathing in some fresh air and taking in a little nature can turn a day around.
7.  Make a cup of tea.  There’s something so soothing and calming to me about sipping a hot cup of tea.  It causes the world to slow down for a little while and gives you a warm, cozy feeling inside.
8.  Count your blessings.  Take a minute to think of all of the things you have to be thankful for – my guess is, there’s probably A LOT.
9.  Make a list.  There’s something so satisfying about crossing “to do” items off of a list.
So let’s take the “blah” out of our day and make it a great one!  Happy Tuesday!

The Power of Touch

 Me and My Girls

I don’t know if you have ever noticed the tag-line for my blog here, “Cooking. Sewing. Crafting. And All Things Domestic.”  Well, I’ve been noticing lately that I have done A LOT of cooking, sewing, and crafting, but the “domestic” part of this blog has gone to the way-side.

So in thinking about the focus of The Cottage Home, I have decided to incorporate some more posts addressing family, home and relationships, since that is the core of my life.  I hope you don’t mind.  This blog is an ever evolving creative outlet for me and I’m so happy that you have decided to join me for the ride!

 My in-laws (Gigi and Grumpy) with Savannah Rose and Matilda Jane

The Power of Touch
Integrating Touch Into Our Every Day Lives
I recently attended a new playgroup with my girls.  A good friend invited me to join her group that has been together for 3+ years.  I met a lovely group of women who all have two children and are going through the same ups and downs of life as I am with two little ones.  It was so refreshing talking to these women – they were laid back, warm and very inviting.
As we were getting ready to go and saying our goodbyes, every single one of these women (some of which, I’d only just met) gave me a big hug.  And not just a little, “one-arm, I’m hugging you because I feel like I should” hug.  A hug that felt like family.
I left this group with an amazing feeling, almost a high of sorts.  I mean I’ve been to other groups with my girls before, but never have I had this same feeling and it got me thinking about the power of touch in our every day lives and it’s ability to nourish our souls.
 Sister in-law, Abby and her boyfriend Bryan
Nine ways to integrate touch into our every day lives:
1.  A high-five.  Whether it’s with your children because they did a great job. Or with your spouse because you accomplished something together.  Or even with a co-worker for a job well-done.  If you feel like giving a high-five – go for it!
2.  A handshake.
3.  A big hug.  Whether it’s with your family or friends…….a hug always feels good.  Make every hug matter!
5.  An arm around the shoulder.  Placing your arm around someones shoulder can say so much without using words.  It can show support, a bond, compassion and friendship.
6.  Tickles.  Little ones loved to be tickled.  Our little Savannah will say “again” over and over until we tickle her some more.  It’s a great way to connect in a light-hearted, fun way.
7.  Kisses
8.  Snuggles.  I don’t think there is anything that feels better than snuggling up with the ones you love.
9.  Holding Hands.  Holding hands shows a commitment, whether it is a commitment to a spouse, child, family member or friend.  Hand holding has the power to give both people involved a strong sense of love and security in their relationship.
I encourage you to try to incorporate more touch into your every day lives.  Try it for a week and let me know how you feel.  I can almost guarantee you will have a warmer feeling inside your soul.
Have a wonderful weekend!

Foil Baked Tilapia

I finally have a healthy recipe for you!  I love fish.  I’m not sure why we don’t eat it more, well yes I am……..we live in the Midwest and fish is pricey here and not always the best quality.  My hubs and I grew up on the West coast in CA, so we were super-spoiled during our childhood when it comes to seafood.

I had some frozen tilapia in my freezer as well as several bell peppers we picked up at the farmer’s market, so I decided to try my hand at creating a new recipe. This recipe was SO easy and a great one for a beginning cook.  My husband commented on how good this was more than twice, so I know this recipe is a winner!!

Foil Baked Tilapia

Ingredients:
4 tilapia fillets, fresh or thawed from frozen
2 bell peppers, sliced (I used one green and one yellow – red would be great too)
2 green onions, sliced thin
1 garlic clove, finely chopped
Dried cajun seasoning
Butter or olive oil
Freshly ground pepper, to taste 
4 sheets of foil
  
Directions:
Preheat oven to 400 degrees.
Slice two bell peppers into thin strips.
 Slice green onions.  
Place four pieces of foil onto a large baking sheet.  Place 1/8th of the sliced bell peppers in the middle of each piece of foil.  Place tilapia on top of bell peppers.
Moderately season tilapia with dried cajun seasoning.  My seasoning is from The Spice House – they are amazing – check out their website
Place 1/4 of the garlic and green onions on top of fish as well as the remaining bell peppers.  Drizzle with olive oil or add a small pat of butter.  Add freshly ground pepper, to taste.
Fold up each piece of foil around the fish and pepper mixture.  Place in oven and bake for 20 minutes.
Fish is done when it flakes easily with a fork.
Serve fish on top of whole grain wild rice.  Make sure to pour all of the remaining juice from the foil packets over the fish.  Enjoy! 


Cottage Mama’s Note:  Uncle Ben’s Ready Rice would make this dish even quicker (only takes 90 seconds to cook).  If you don’t think you can cook, you can make this dish – I promise!  Give it a try and let me know what you think! 

Sleepover Ruffle Pillowcase Tutorial

Sleepovers are one of my fondest memories as a little girl.  I loved staying overnight with my girlfriends, watching movies, giggling and trying to see if we were able to stay up the whole night (which never actually happened).  I had a really neat sleeping bag that I took to sleepovers and I always felt really special when I brought it over to my friends houses.

So, here’s a tutorial to make your darling little lady her very own “special” sleepover pillowcase.  This pillowcase would also be great as a special “travel” pillowcase or would be super-cute for a little toddler going to daycare who needed a nap-time pillow and blankie.

Supplies:
Different patterned Fabric
1 package of rick rack
Fusible interfacing (such as WonderUnder)
Sewing Machine
Thread
Iron and ironing board

Directions:

First you will need to cut your fabric pieces.  The pieces are sized as follows for a large standard sized pillowcase:

Main body fabric: 27″ X 42″
Cuff fabric: 11″ X 42″
Ruffle fabric: 5″ X 88″ (will need to cut 2 pieces 5″ X 44 and stitch together)
Rick Rack: 42″

Here are your fabric pieces after they have been cut.  Next you will need to sew them together – 1/2″ seam allowance unless otherwise noted.

For the main body of the pillowcase you will need to sew one shorter side and one longer side – right sides together.  As you can see here, I used my serger, but simply for convenience, you can definitely use a regular sewing machine for this.

So you should have one side open after you have sewn the other sides together.  Then turn the main body of the pillow right side out and press with your iron.

For the cuff, you will need to sew the one shorter-side of fabric – right-sides together.

This is what your cuff will look like after you have sewn the one-side together.  Then turn it right-side out and press your seam open.  For the cuff you will need to fold it in half long ways, wrong-sides together.

To make the long ruffle pieces, sew the ends – right-sides together.  Once you have sewn the ends together you will have a big circle.  Then you need fold it in half (wrong-side together) and press with your iron.

To make the ruffle, you need to set your sewing machine on the longest straight stitch possible.  Then stitch around the entire circle on the raw edge side (not the fold) – 1/8″ seam allowance.  Do not back-stitch at the beginning or the end or the gathering will not work.

This is what your ruffle piece will look like after you finish your long straight stitch.

In order to gather and form the ruffle, you need to pull on one of your threads.  Keep doing this until you reach the desired ruffle length.

Once you have formed your ruffle, pin it to the main body of the pillowcase.  The ruffle should be pointing inward towards the main body.

Stitch your ruffle onto the main body of the pillowcase.

This is what your ruffle will look like after you have stitched it to the main body of the pillowcase.

Next you need to attach the cuff.  Pin the cuff the same way you did the ruffle.  The folded edge should be pointed inward towards the main part of the pillowcase and the raw edges should be towards the outside.

Here is what the cuff will look like before you stitch it down – make sure you pin it well.

Once you have sewn the cuff and the ruffle, press them with your iron in the opposite direction that they were sewn…….see, doesn’t it look nice and pretty now?

If you don’t care to attach the rick rack trim, then I would suggest top-stitching on top of the pink (main body) 1/8″ seam allowance to secure the ruffle and cuff into place.  If you are going to attach the trim (in the next step) then don’t worry about this step.

Pin your rick rack right on the seam between the main body of the pillowcase and the ruffle.  Pin all the way around.

Stitch the rick rack into place.  Do this by sewing down the center of the trim.

This is what the rick rack will look like after you have stitched it to the pillowcase.

If you would like to add a monogram or name to the pillowcase then simply cut out letters out of coordinating fabric and follow the directions on your fusible interfacing to secure them to the fabric.

Then zig-zag stitch around each of the letters.  You can also do a simple straight-stitch, I would just recommend using fray-check around the edges so it will still look nice after washing.

And there you have it!  A special pillowcase for a very special little lady!
This is a set of pillowcases that I made for a customers twins for their 2nd birthday.  They will be taking these pillowcases and matching patchwork blankets to their daycare for nap time – SO cute!!

Sleepover Pillowcase Tutorial – Guest Post at My Four Monkeys

Just wanted to let you know that I’m blogging over at the Craft Bonanza at My Four Monkeys with my Sleepover Pillowcase Tutorial.

Head over to My Four Monkeys and learn how to sew one of these super-girly ruffle pillowcases!  Don’t sew?  Well, I just listed these pillowcases as part of the Toddler Naptime Set in my etsy shop – come pick one up for your darling little lady!

Jambalaya Egg Casserole

This morning I was scheduled to host our bi-weekly playgroup.  The group is pretty large, with 12 Mama’s, 12 two-year olds, and several younger siblings.  Typically the playgroup host provides some type of breakfast/brunch for everyone.  I wanted to try something new and saw a recipe on the back of the Zatarain’s Jambalaya mix that looked very interesting and right up my alley.

I modified the recipe ever so slightly, but I must say, I thought it turned out pretty darn tasty and so did the other Mama’s.

Jambalaya Egg Casserole

(Serves 8-12)
Ingredients:
1 family size box of Zatarain’s Jambalaya, prepared according to package directions
1 ham steak, cubed
5 pieces of cooked bacon, crumbled
1 8oz bag of shredded Mexican cheese blend or Monterey Jack
3 green onions, sliced
1 cup heavy cream
7 eggs
Parsley, optional for garnish


Directions:
Preheat oven to 375 degrees.
Prepare Jambalaya mix according to package directions.  Use the cubed ham and crumbled bacon when the mix directions tell you to add the meat.  Meanwhile, beat the 7 eggs and heavy cream.  Add 3/4 of the bag of shredded cheese and the sliced green onions.  Once the jambalaya is cooked, allow to cool.  Once cooled, mix the jambalaya with the egg, cream, onion, and cheese mixture.  Stir to combine.  Pour combined mixture into a 9 x13 glass baking dish.  Sprinkle remaining cheese over the top.
Bake in the oven for 25 minutes.  Garnish with chopped parsley and serve.  Enjoy!
I also served a couple other dishes along side this yummy casserole.


Crunchy Asian Peanut Slaw
Apple, Strawberry, Pineapple Fruit Salad with Lime
 
Cottage Mama’s Note:  The jambalaya would also be delicious with the addition of andouille sausage or you could even use your basic breakfast sausage.

Mother’s Love Tree

I could not ask for a better mother – she is everything I hope to be.  As I have gotten older and am now a mother myself, I’ve grown to appreciate her more and more.  As her “adult” child I truly consider my Mom my best girlfriend.  She is always a voice of reason for me, always encouraging me to take the high road and do my best, full of kindness, amazingly supportive and a wonderful listener.  My Mom is such a joy to be around and when we get together we always laugh so hard and have the best time!

This mother’s day I wanted to make my Mom something really special.  Sadly for me my Mom lives many miles away down in Texas, so we don’t get to spend nearly has much time together as I would like.  I saw a variation of this project by a guest blogger, At Second Street, over at The Trendy Treehouse and it inspired me to do a version of my own.

Mother’s Love Tree

This tree is made from Mary Engelbreit’s “Recipe for Friendship” fabric line.  My Mom is working on re-doing her sewing room and I knew this art-work would go great with the rest of her decor.

The branches of the tree are made from our handprints.  The big middle one is mine and the other two are my daughters – Savannah Rose (2-years old) on the right and Matilda Jane (10 months old) on the left.

I used mod-podge to adhere everything to a standard artists canvas.  I even mod-podged the background fabric, though you could certainly use a staple-gun to attach this piece.

The leaves were made from several different green, blue and black fabrics – I wanted them to be different from the main trunk of the tree, though some of the fabrics did have flecks of red to tie them altogether.

On the back I wrote a quote from unknown, “Mother’s hold their children’s hands for a short while, but their hearts forever”.

This was an incredibly fun project that even my 2-year old was able to help me with.  This would also make a wonderful gift for a mother or grandmother for any holiday (i.e. birthday or Christmas).  Try using different combination’s of fabrics to tie in with the gift recipients room decor.

Or perhaps you would like to make a “Family Tree” and have a branch represent each member of the family with Mom, Dad, and all the kiddos – the options are endless with this fun project!

Happy Mother’s Day!

Cottage Mama’s Note:  There is a wonderful tutorial on a similar project over at The Trendy Treehouse.  Guest blogger, At Second Street, did separate hand-print trees for each of her children using burlap as the background and more earthy color-tones.  Check it out – she did a wonderful job!