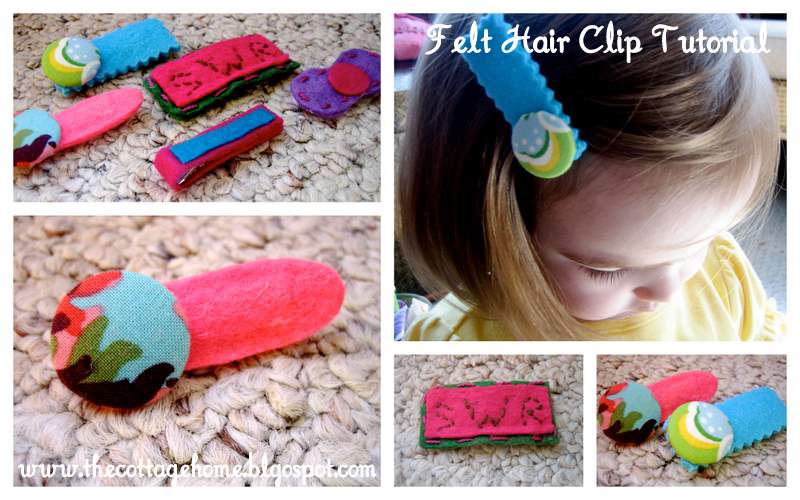
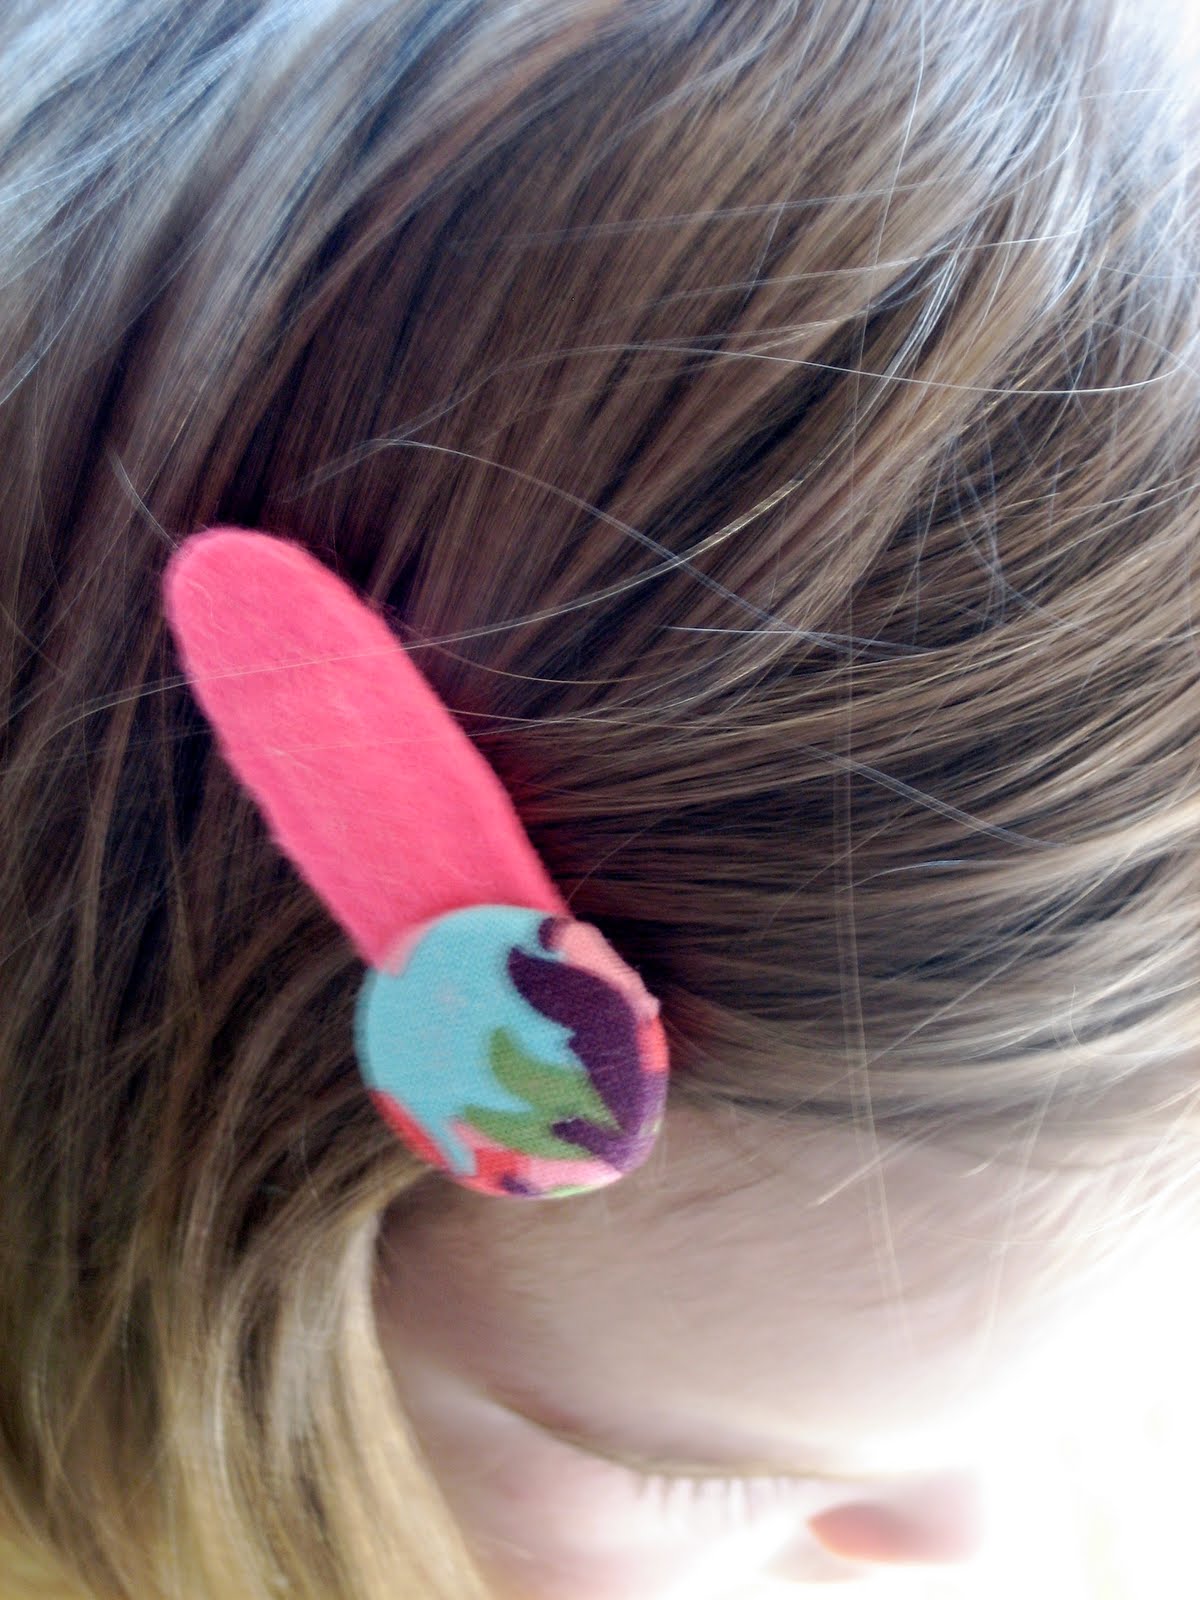
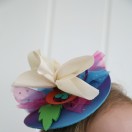
Have you seen all of the super-cute felt hair clips that are out there on the market? Well, if you haven’t, just Google them and you will see this hair accessory craze! There are some incredibly cute designs being sold, but I just can’t stomach paying $6-$10 for a hair clip that my daughter might wear (the operative word being…..might).
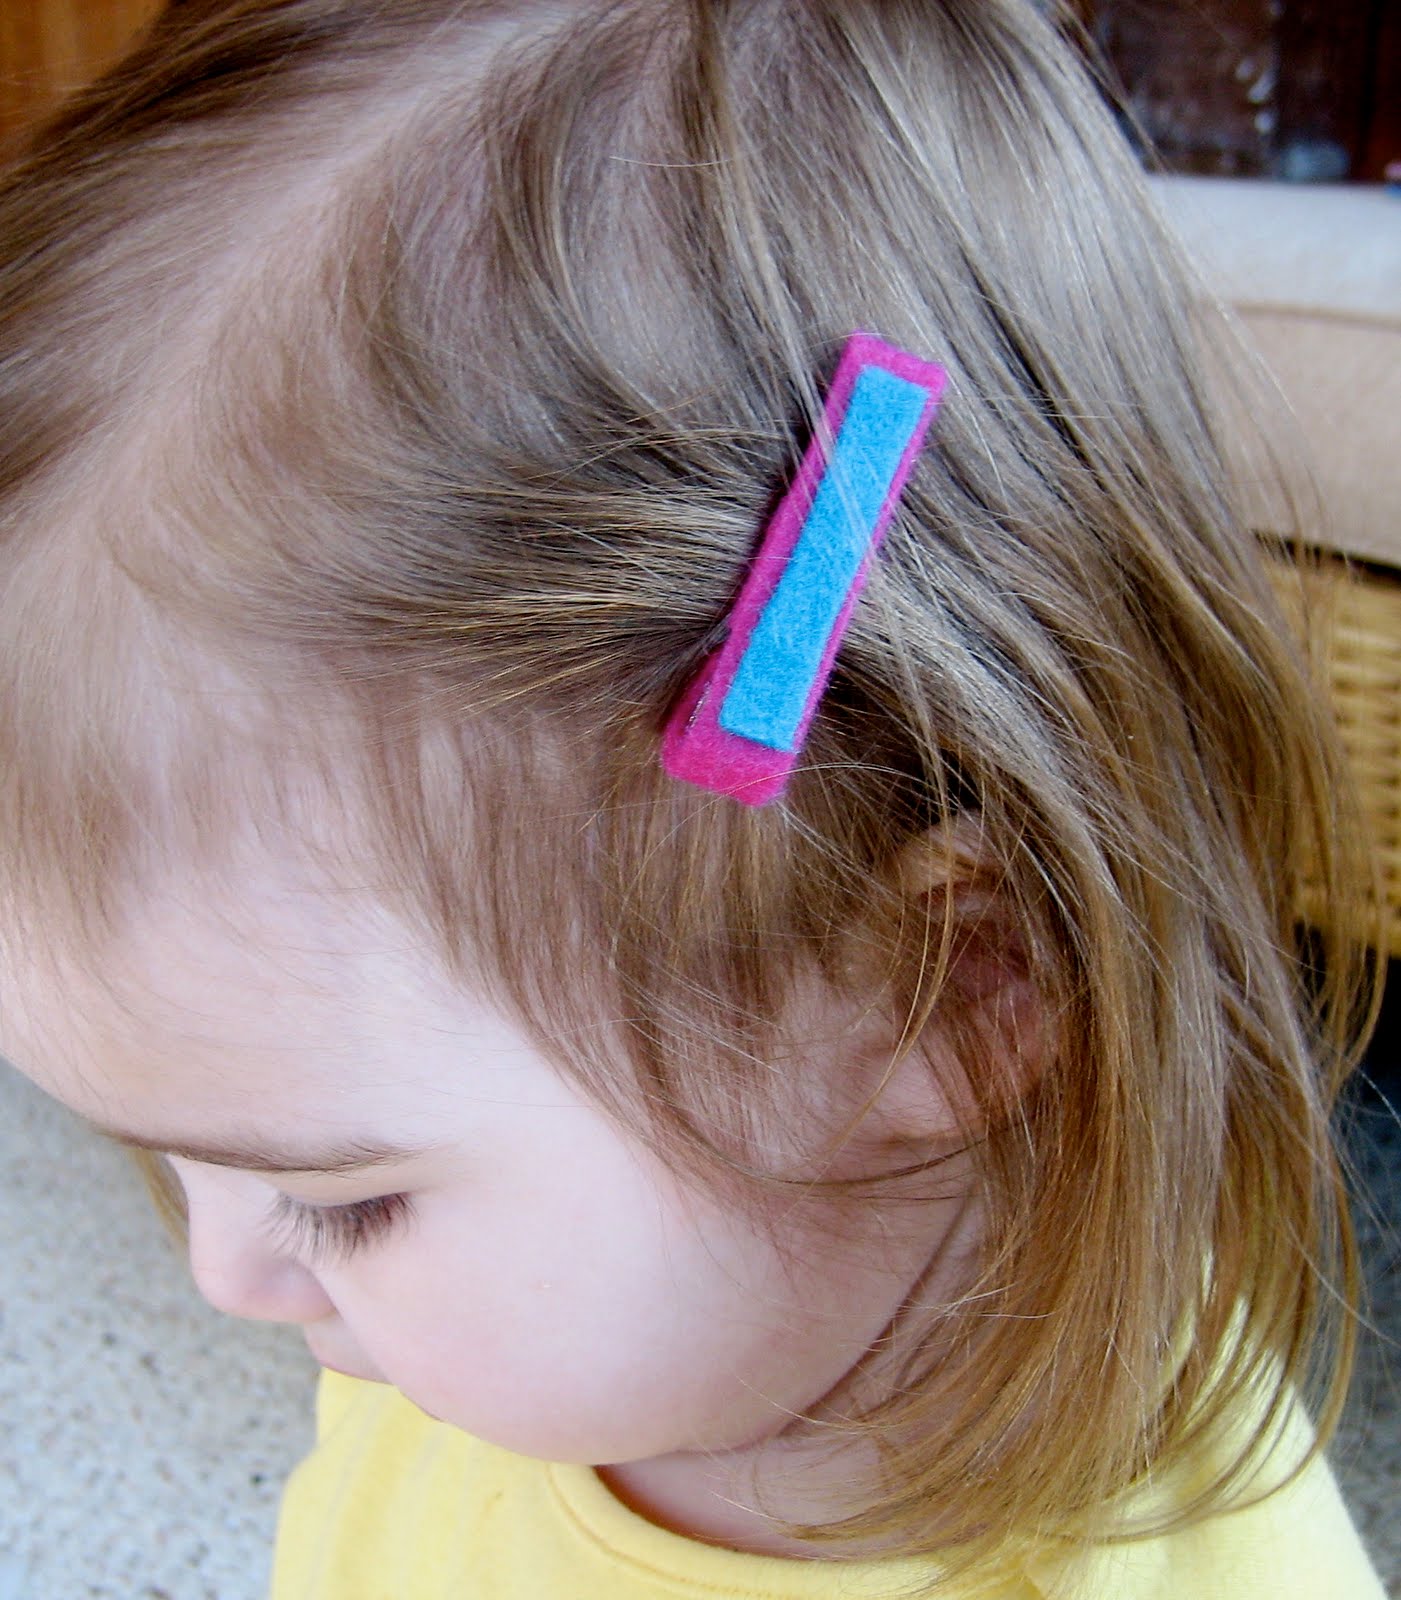
This afternoon I decided to make some little felt hair clips of my own for my daughter Savannah (Matilda doesn’t have any hair yet). These were so simple and easy and there was NO sewing involved – I know I’m not the best about posting “non-sewing” tutorials.
Felt only costs 29 cents per sheet (or less if you get it on-sale) and a pack of hair clips is about $1.99 – so if you are on a budget (as most people are these days) this is the project for you!
Supplies:
Craft Felt (whatever colors you like)
Strong Glue – I use fabri-tac
Hair clips (again, whatever kind you like)
Scissors
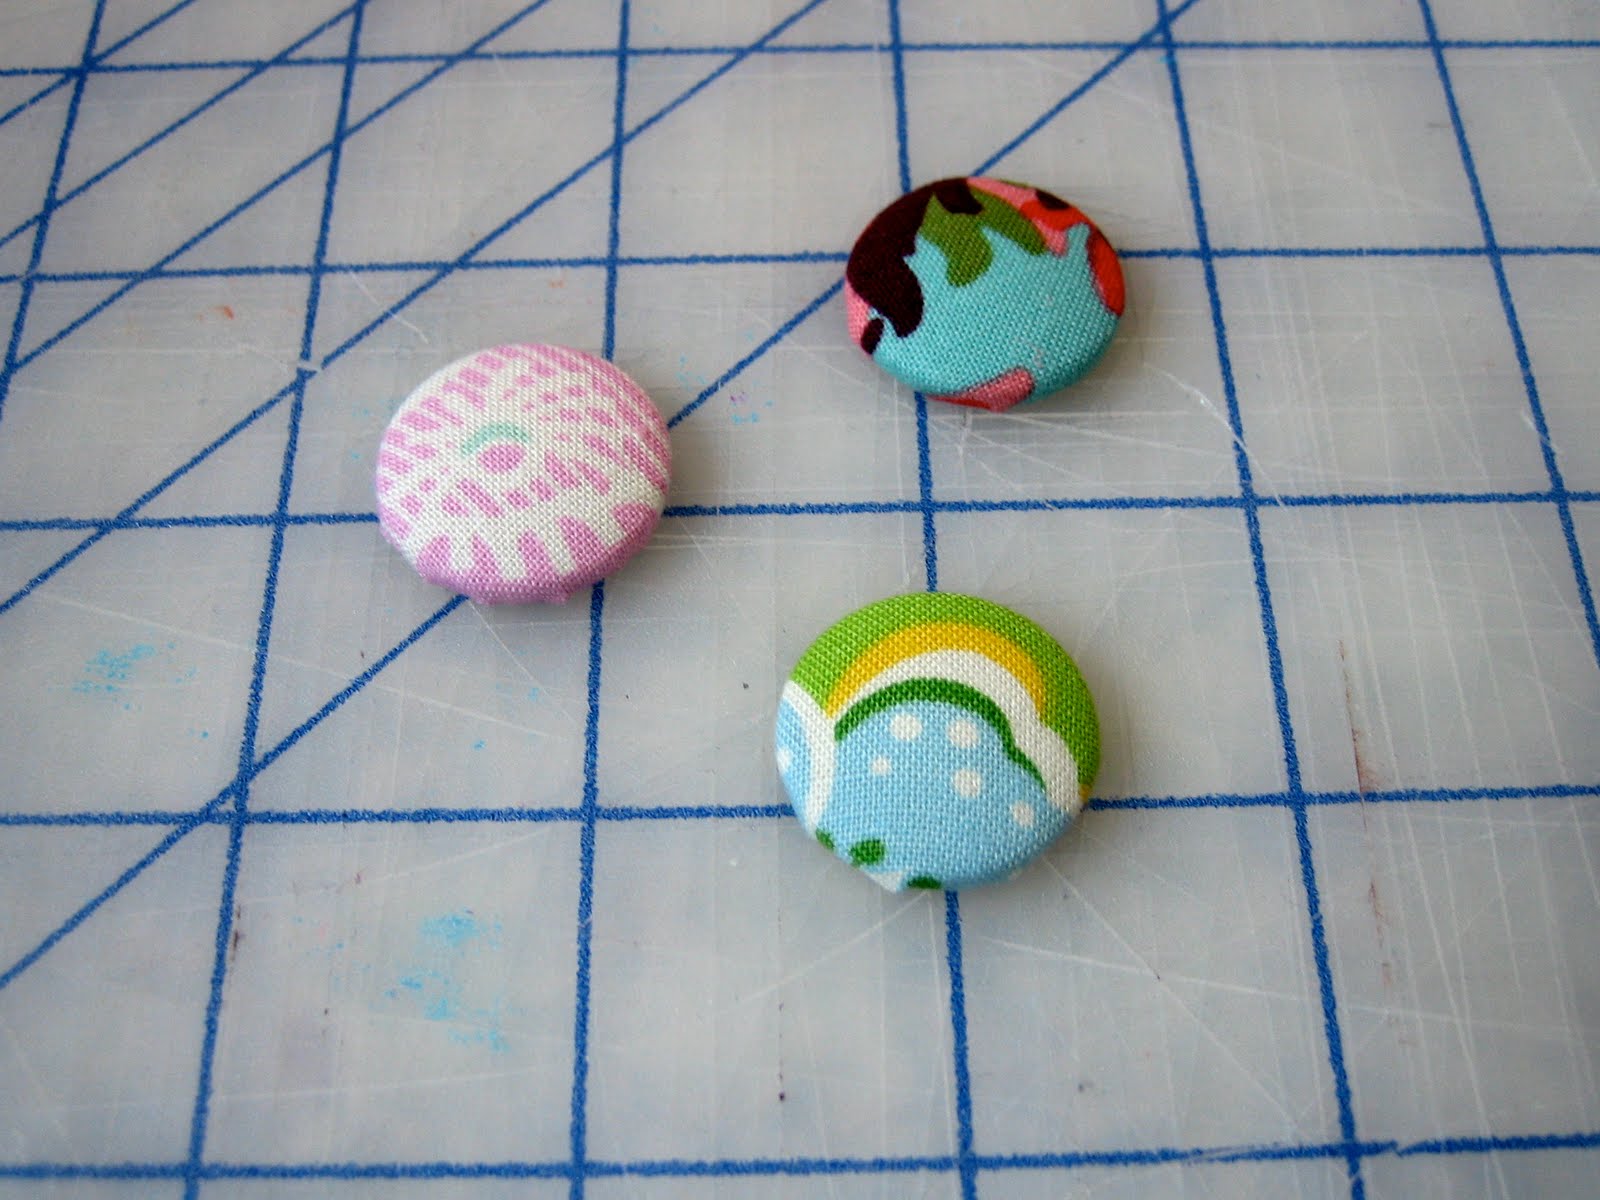
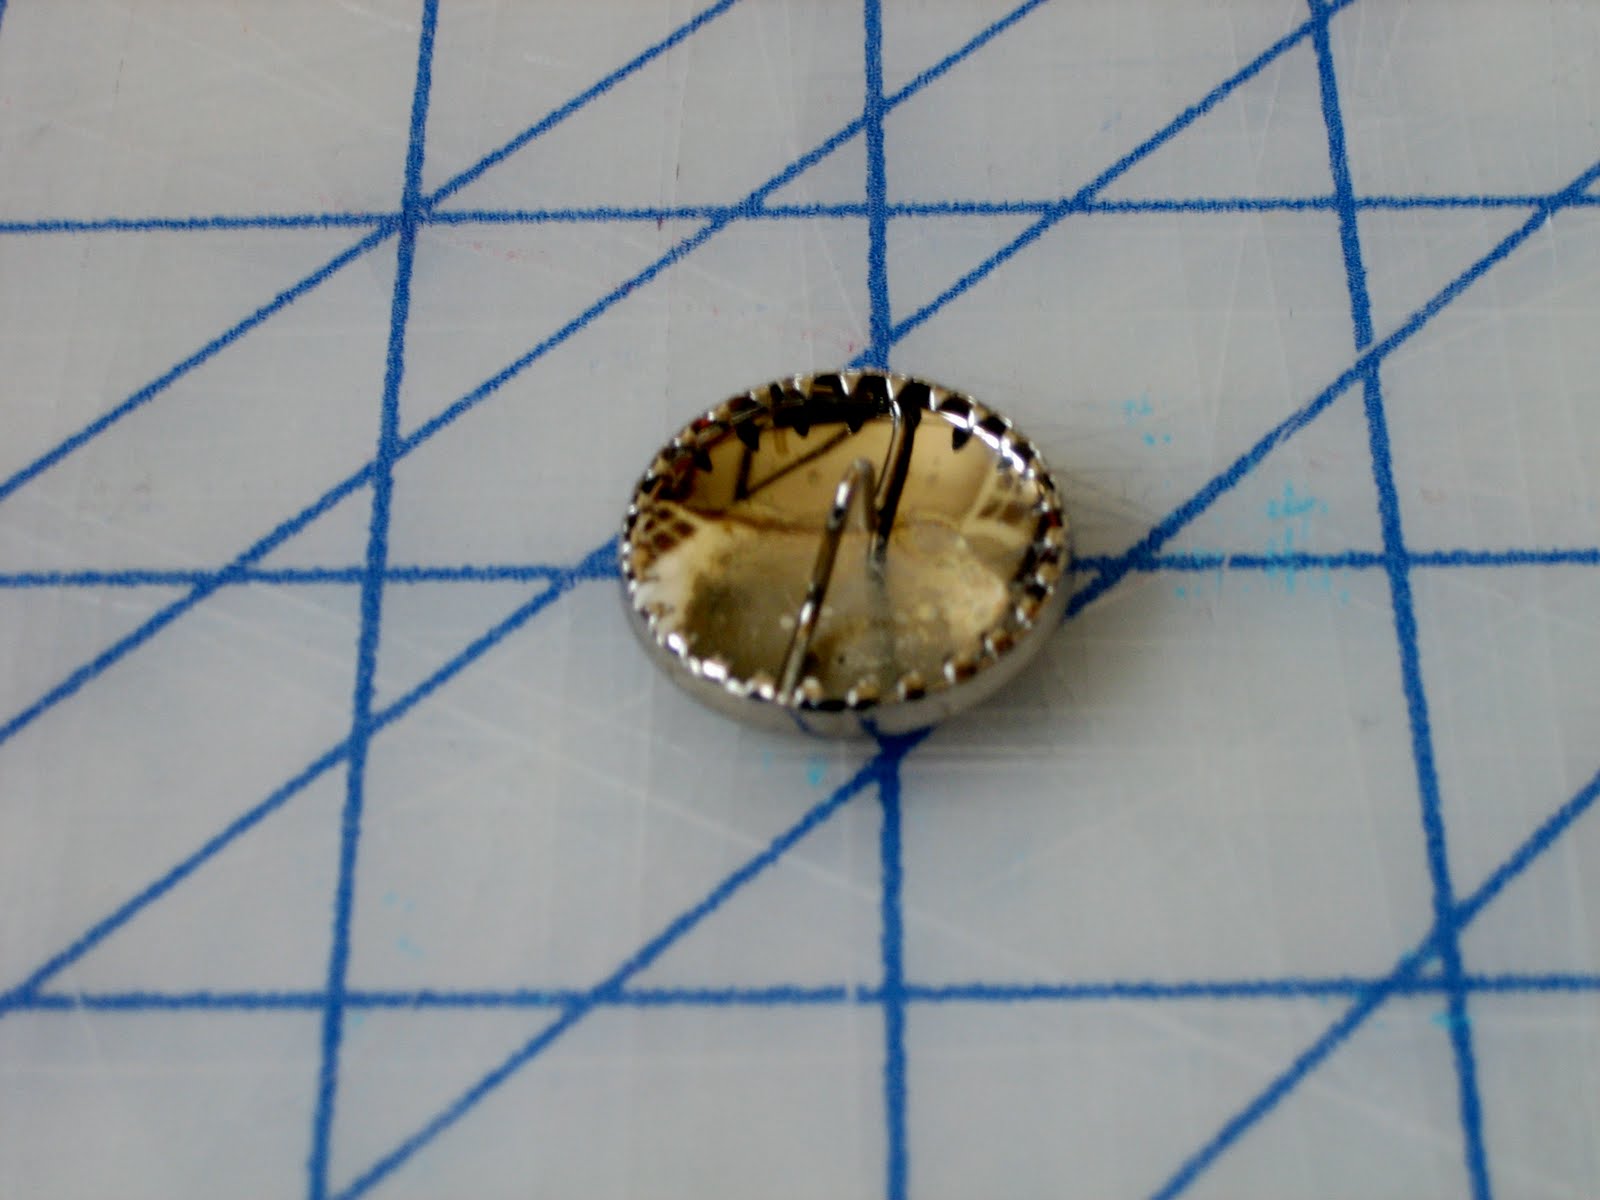
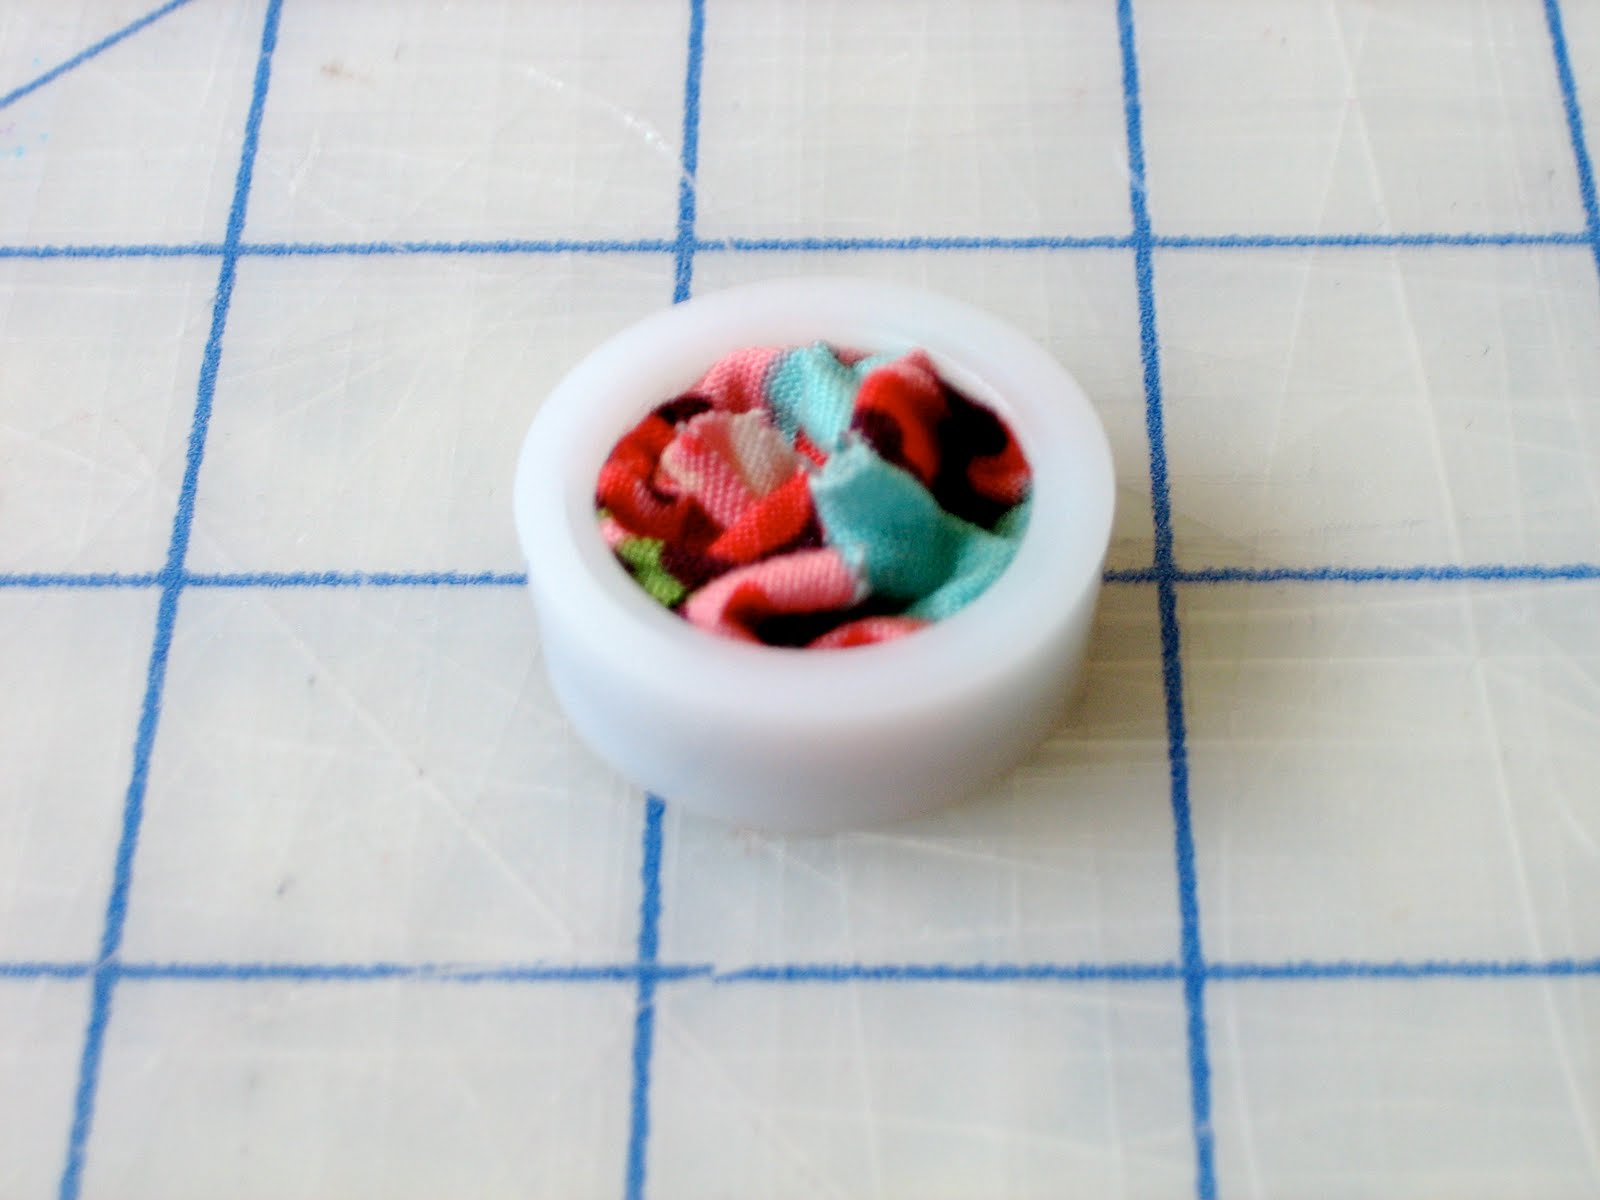
Optional Supplies – Fabric covered button maker & embroidery floss/hand-sewing needle
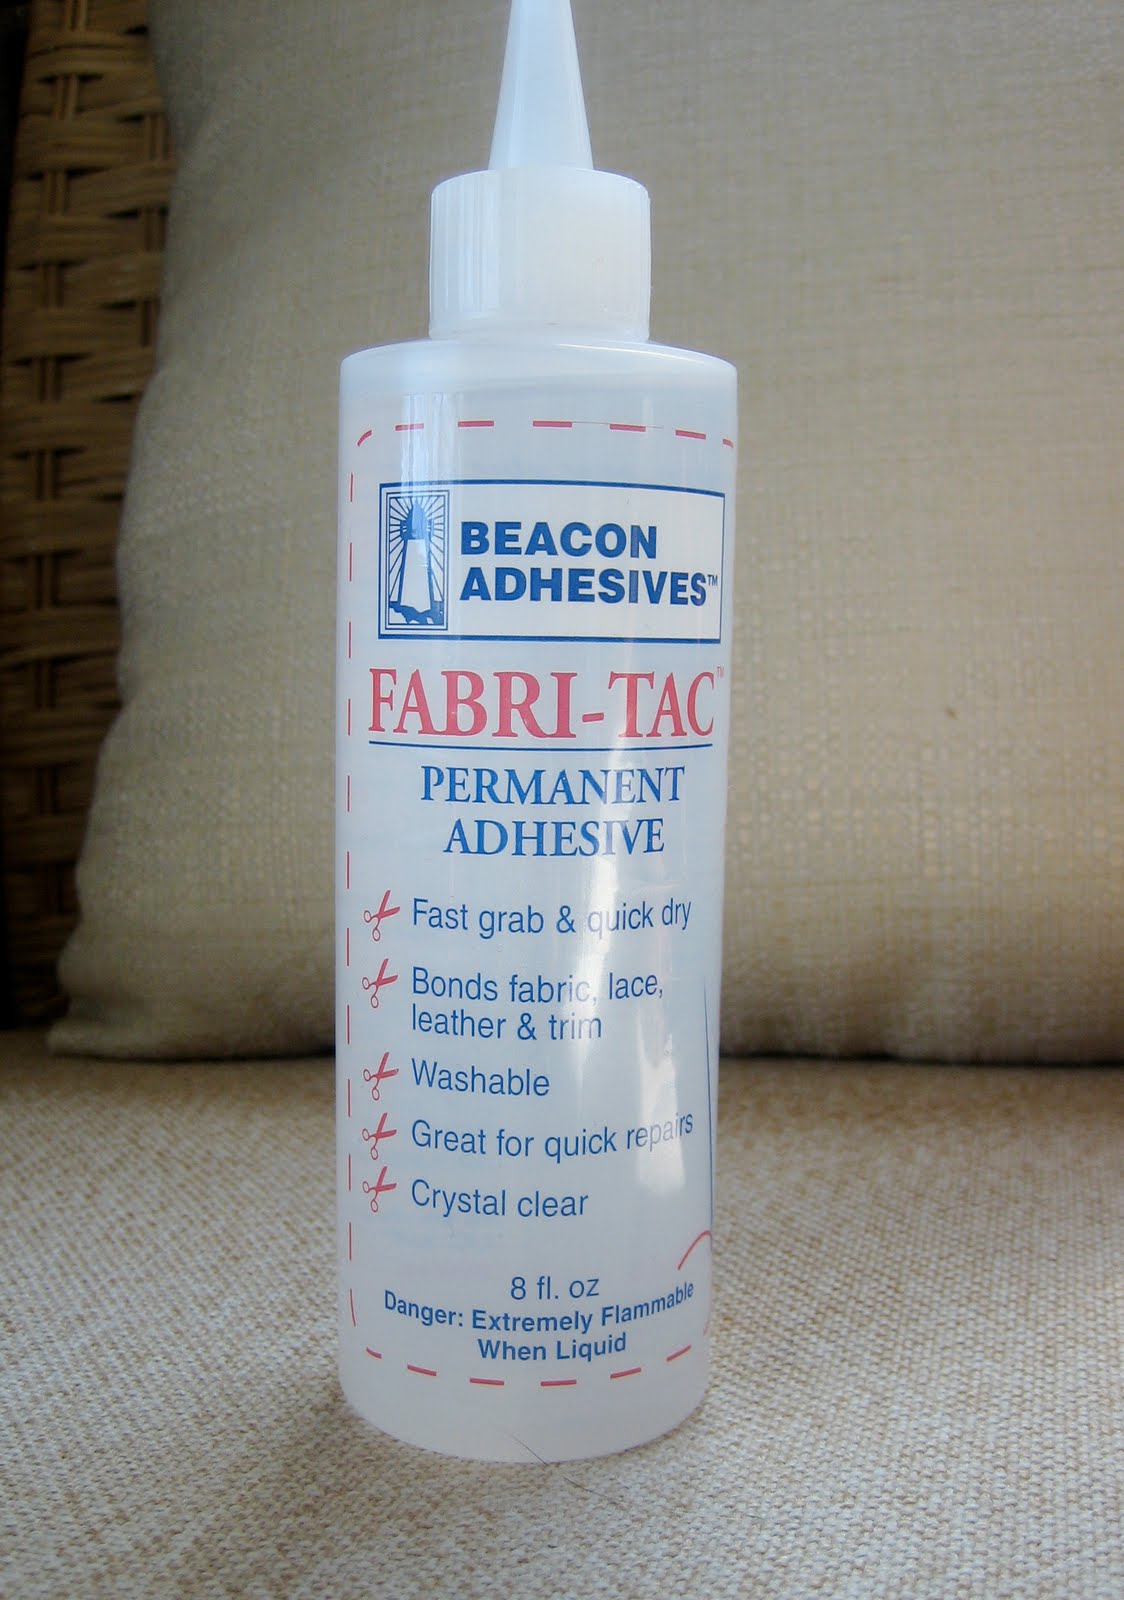
Before we start, I cannot say enough about this glue – it is amazing! You can use it for all of your craft projects, you will never need any other type of glue. The bond is incredibly strong, fast drying, and completely clear.
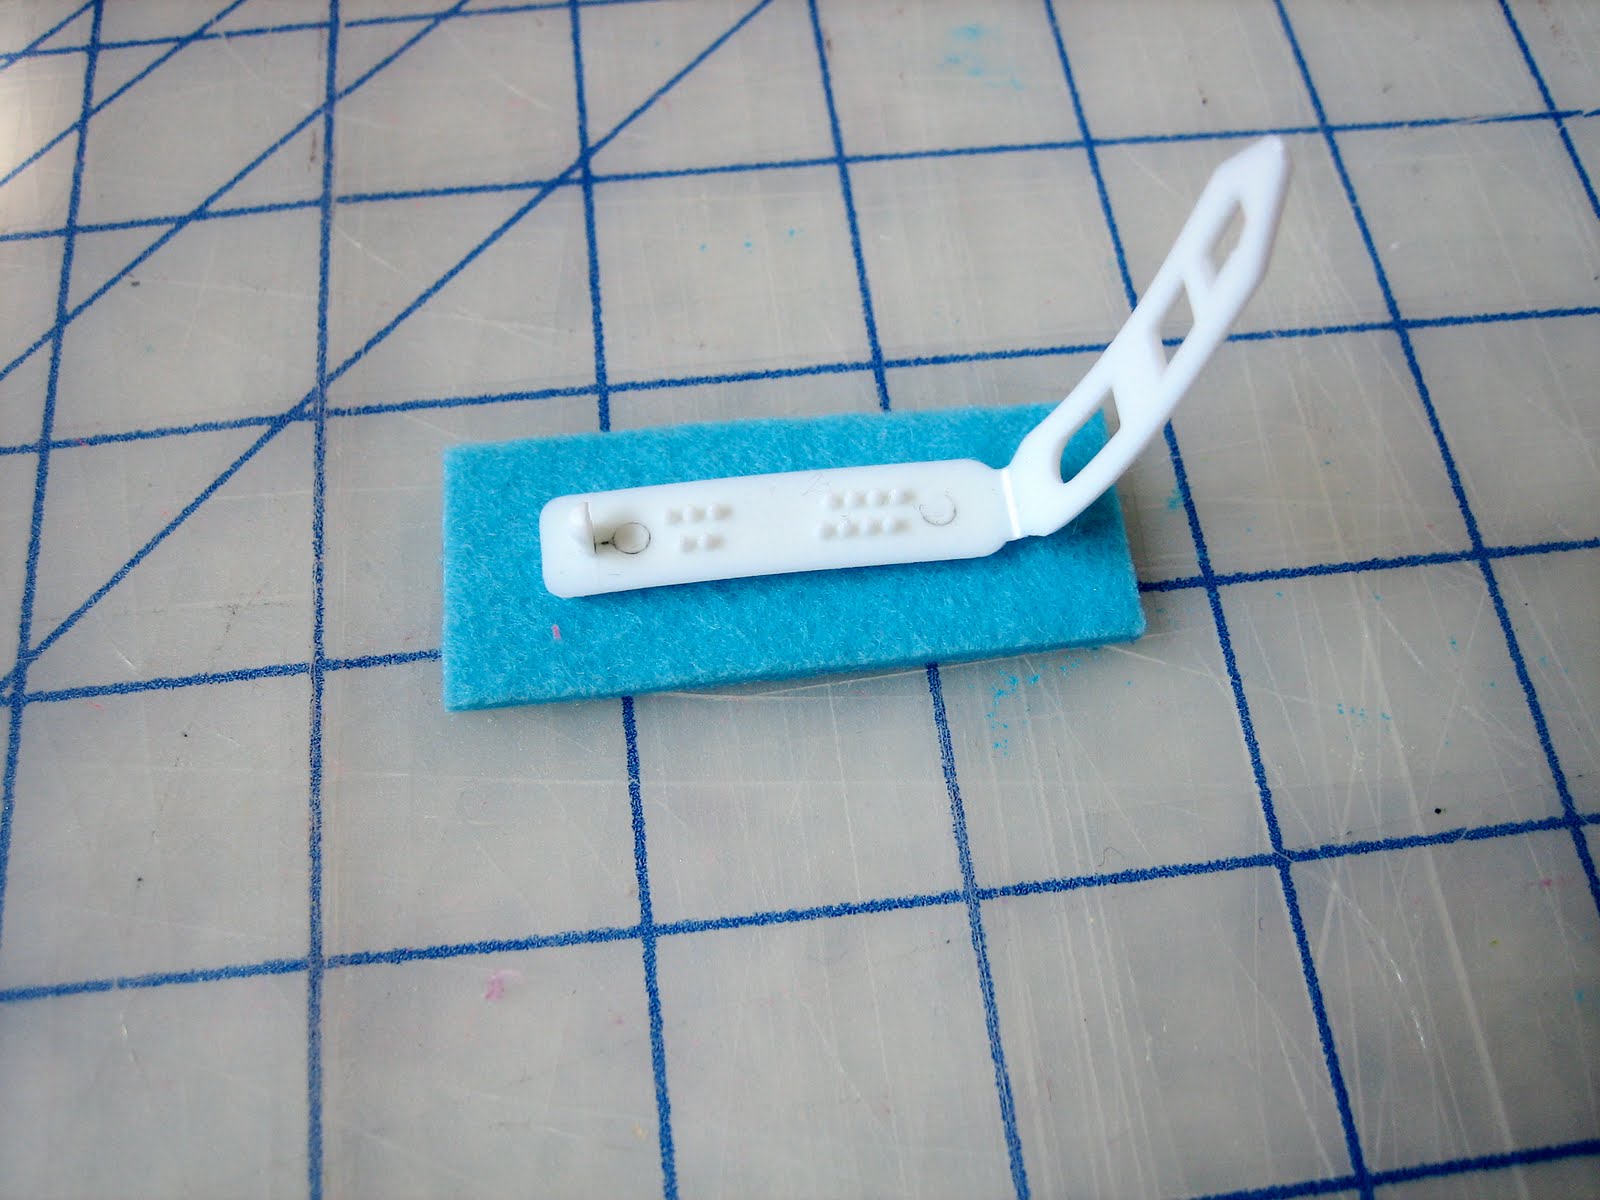
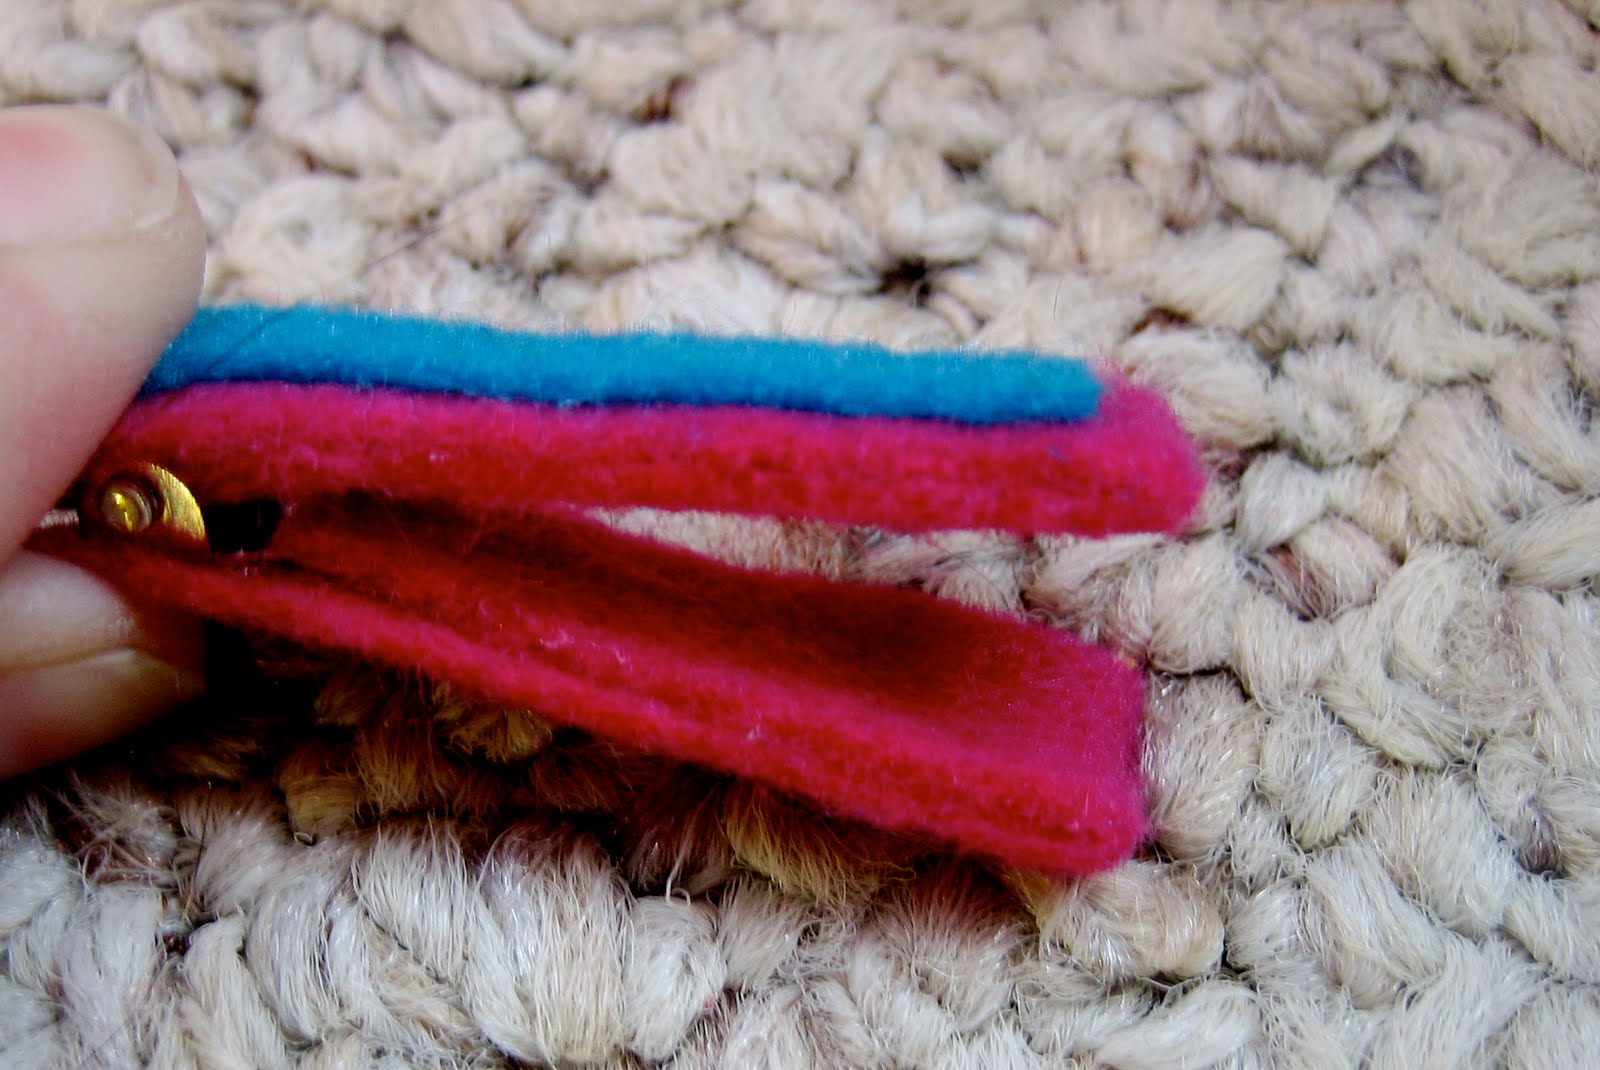
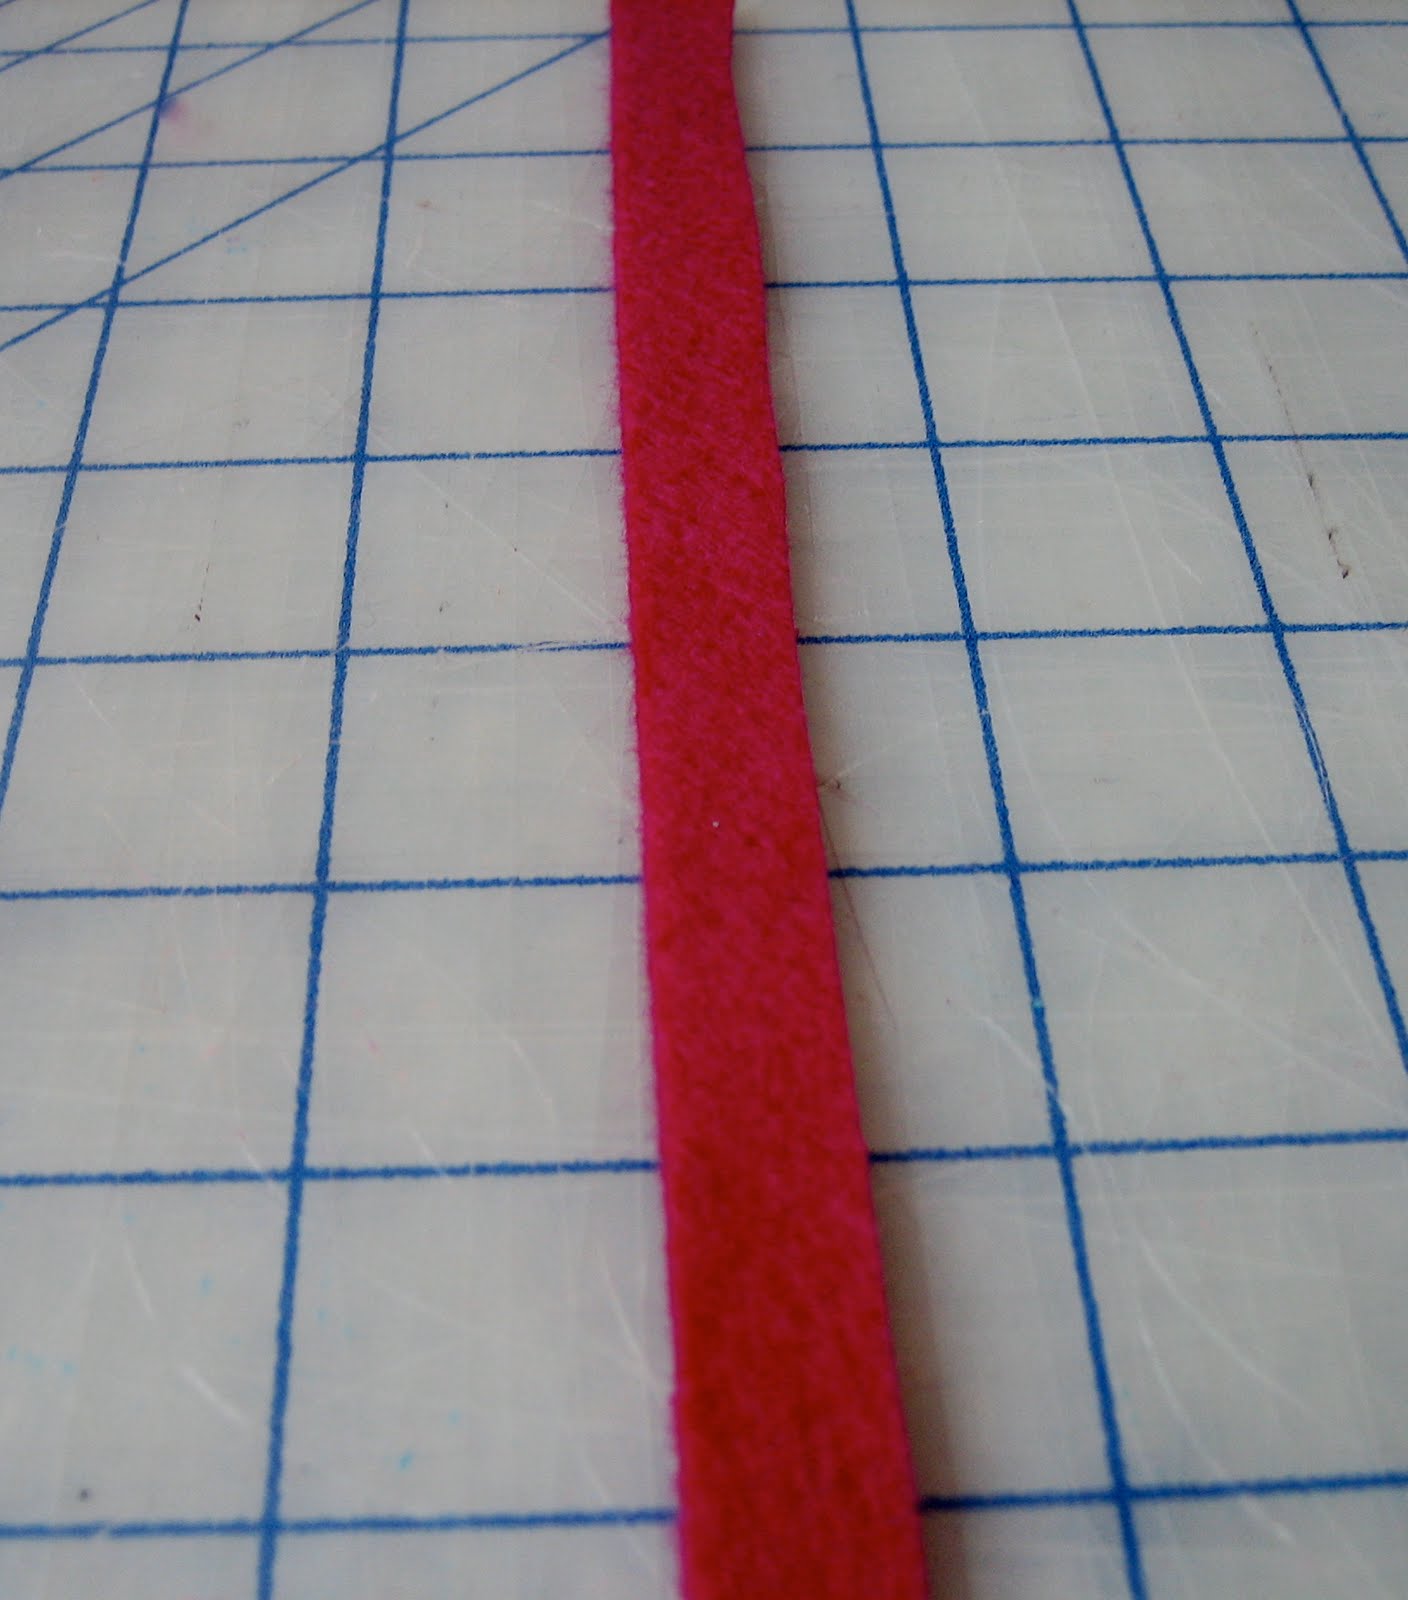
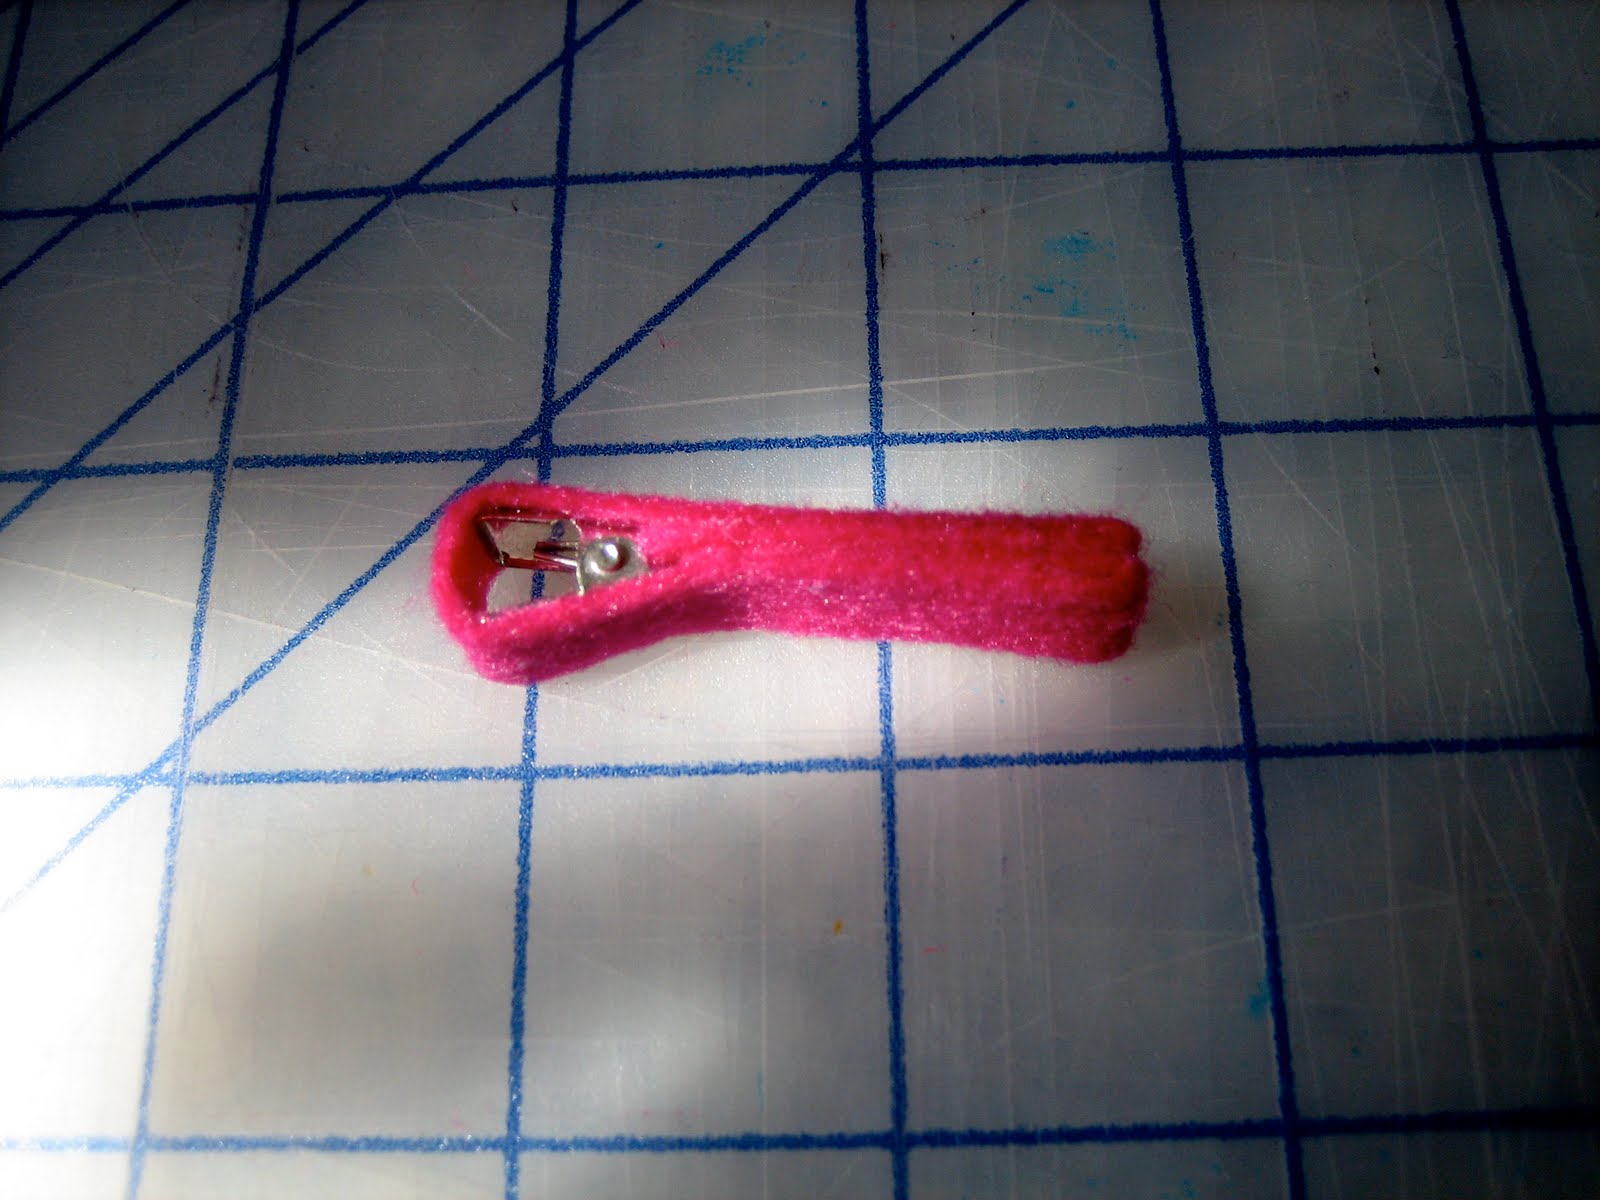
Cut a rectangle of felt a little larger than the clip you are using.
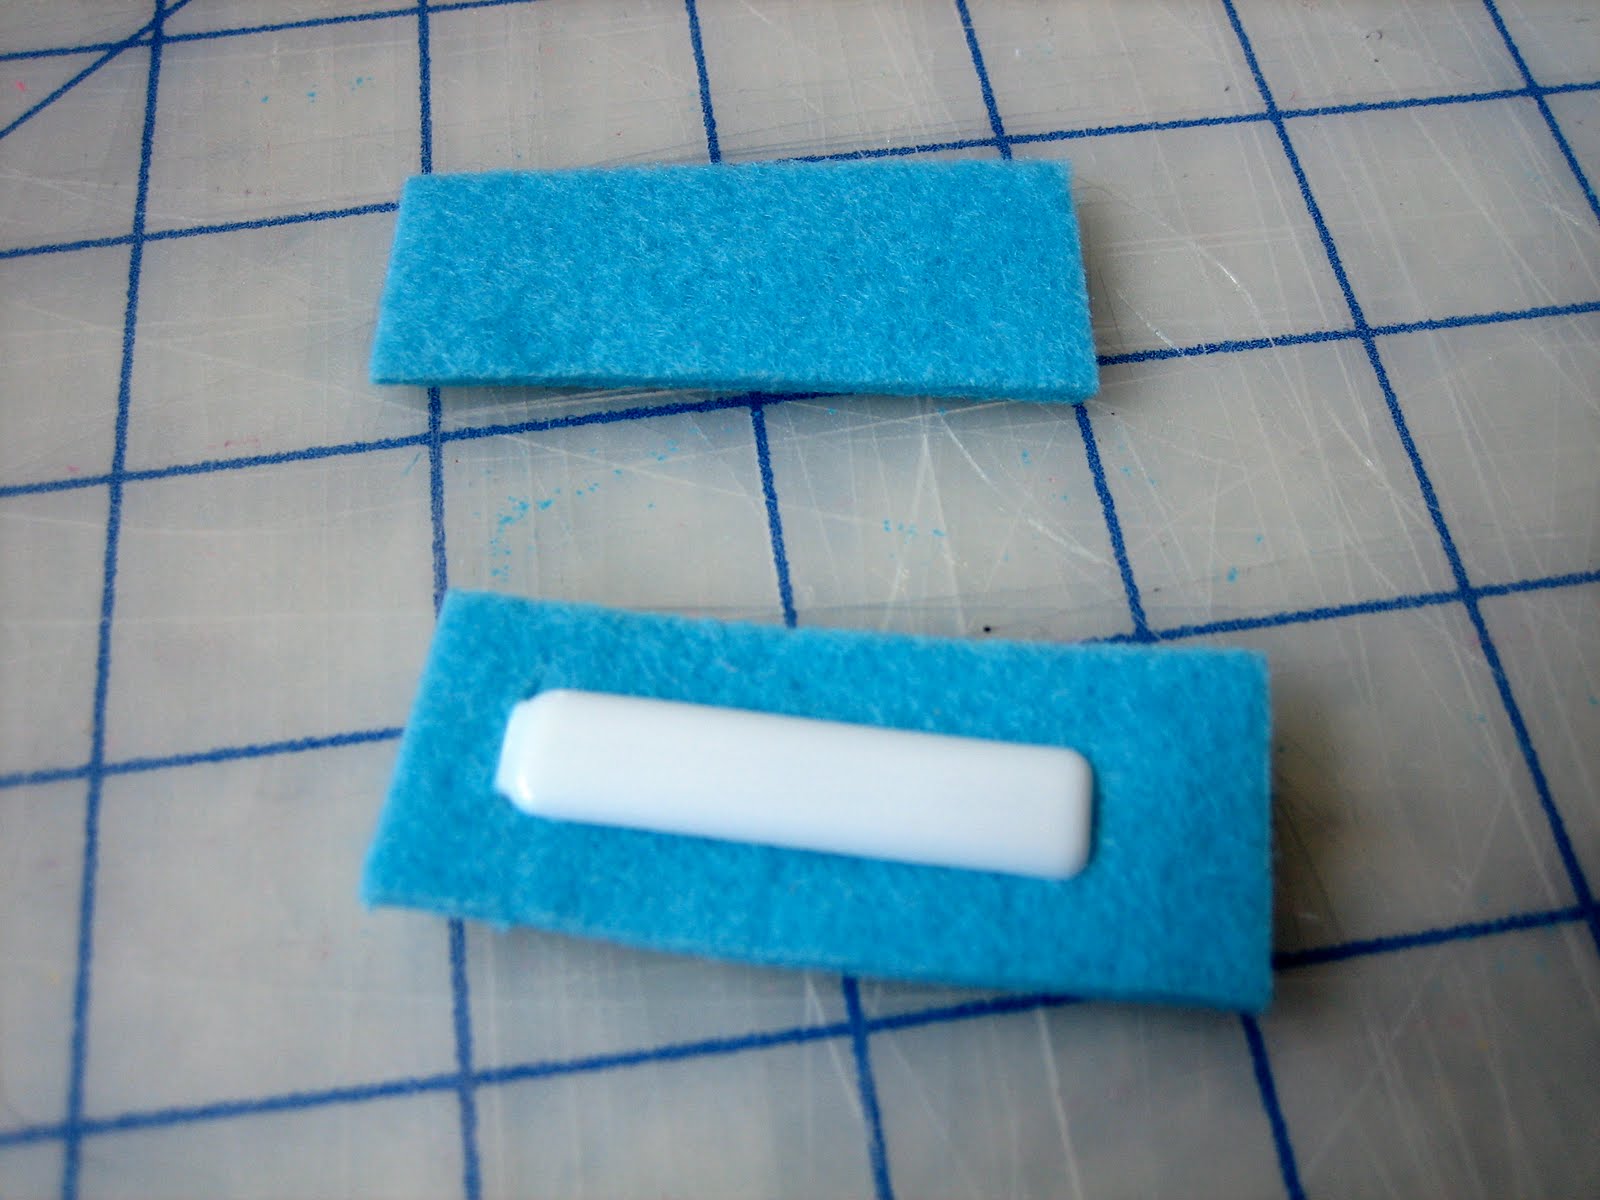
You will need two pieces – one for the front and one for the back.

Cut a little slit in the felt rectangle. Slide the bottom part of the clip through the slit.
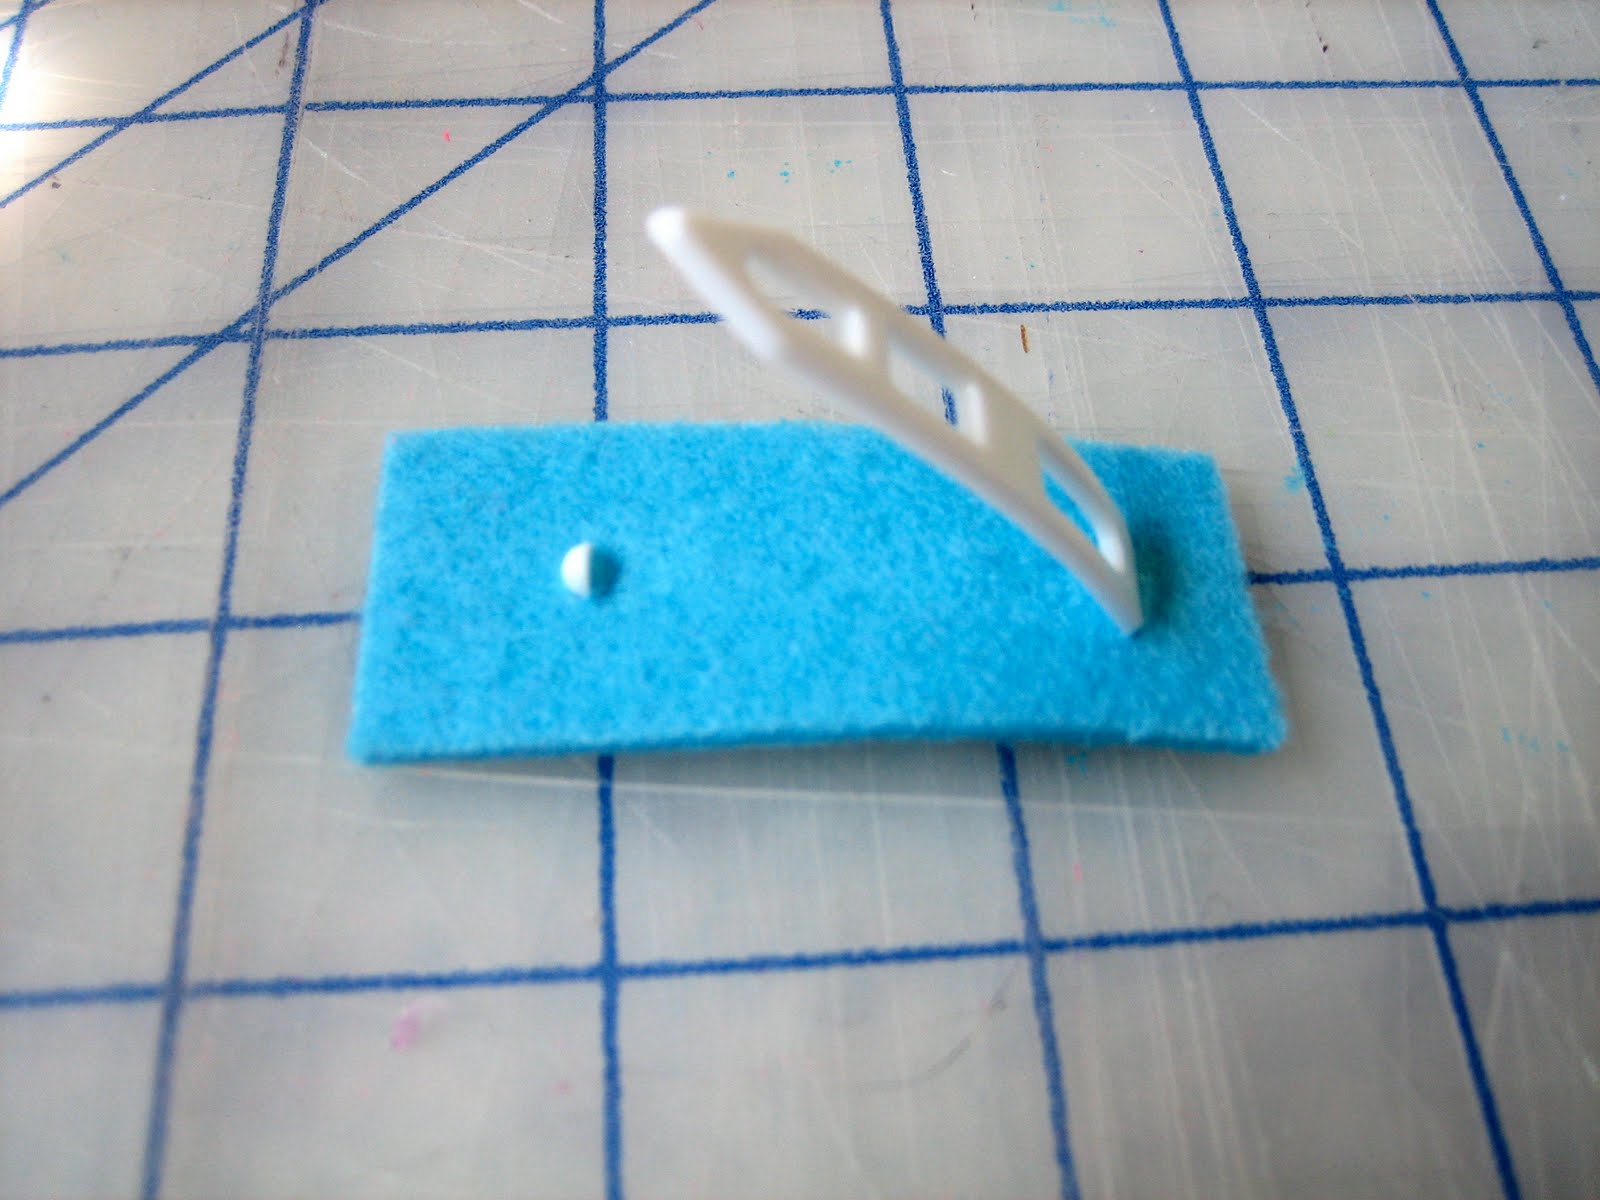
Then cut a smaller slit on the other-side for the smaller latch to poke through.
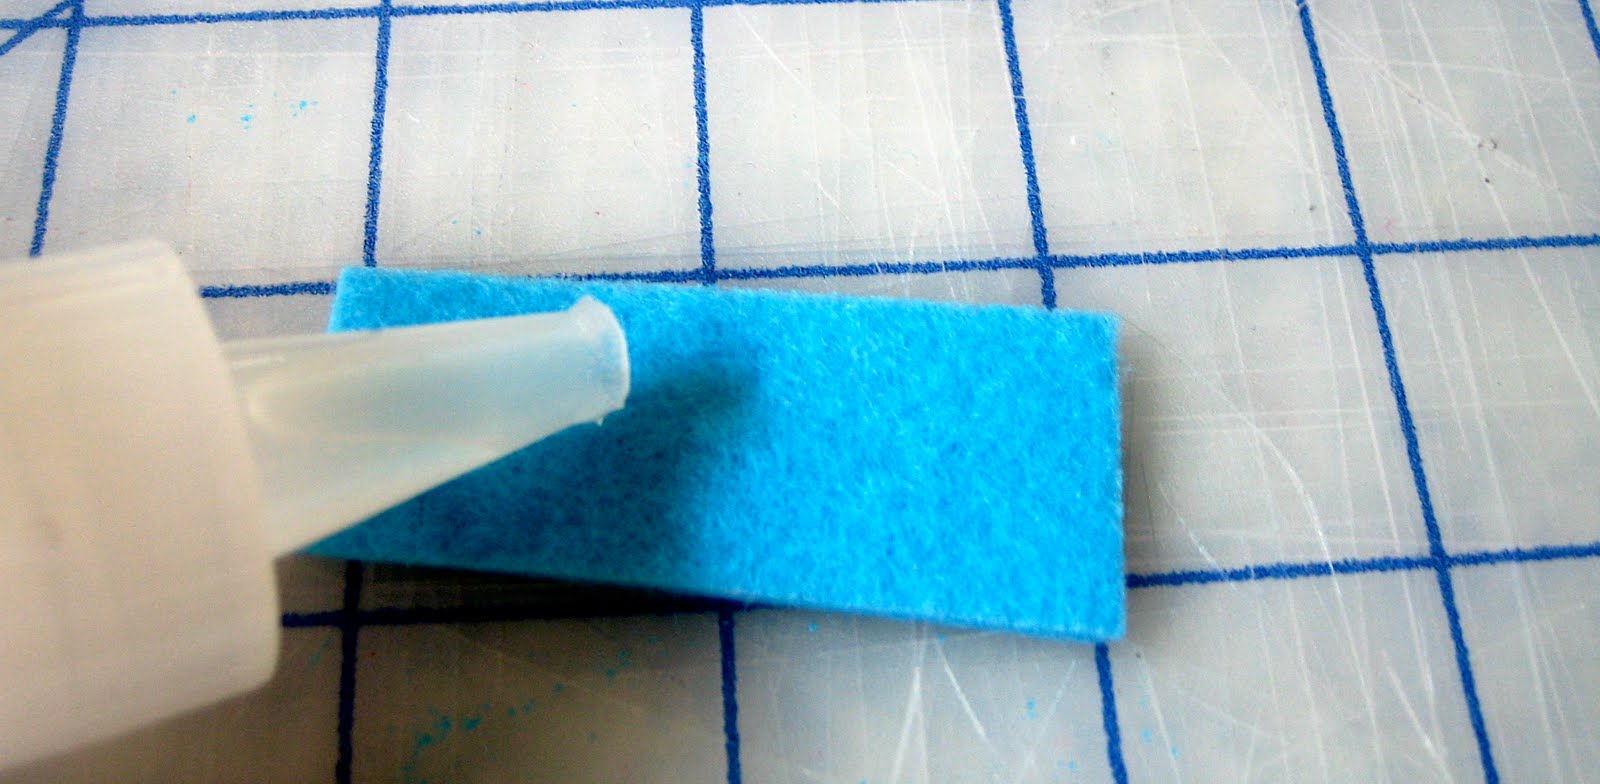
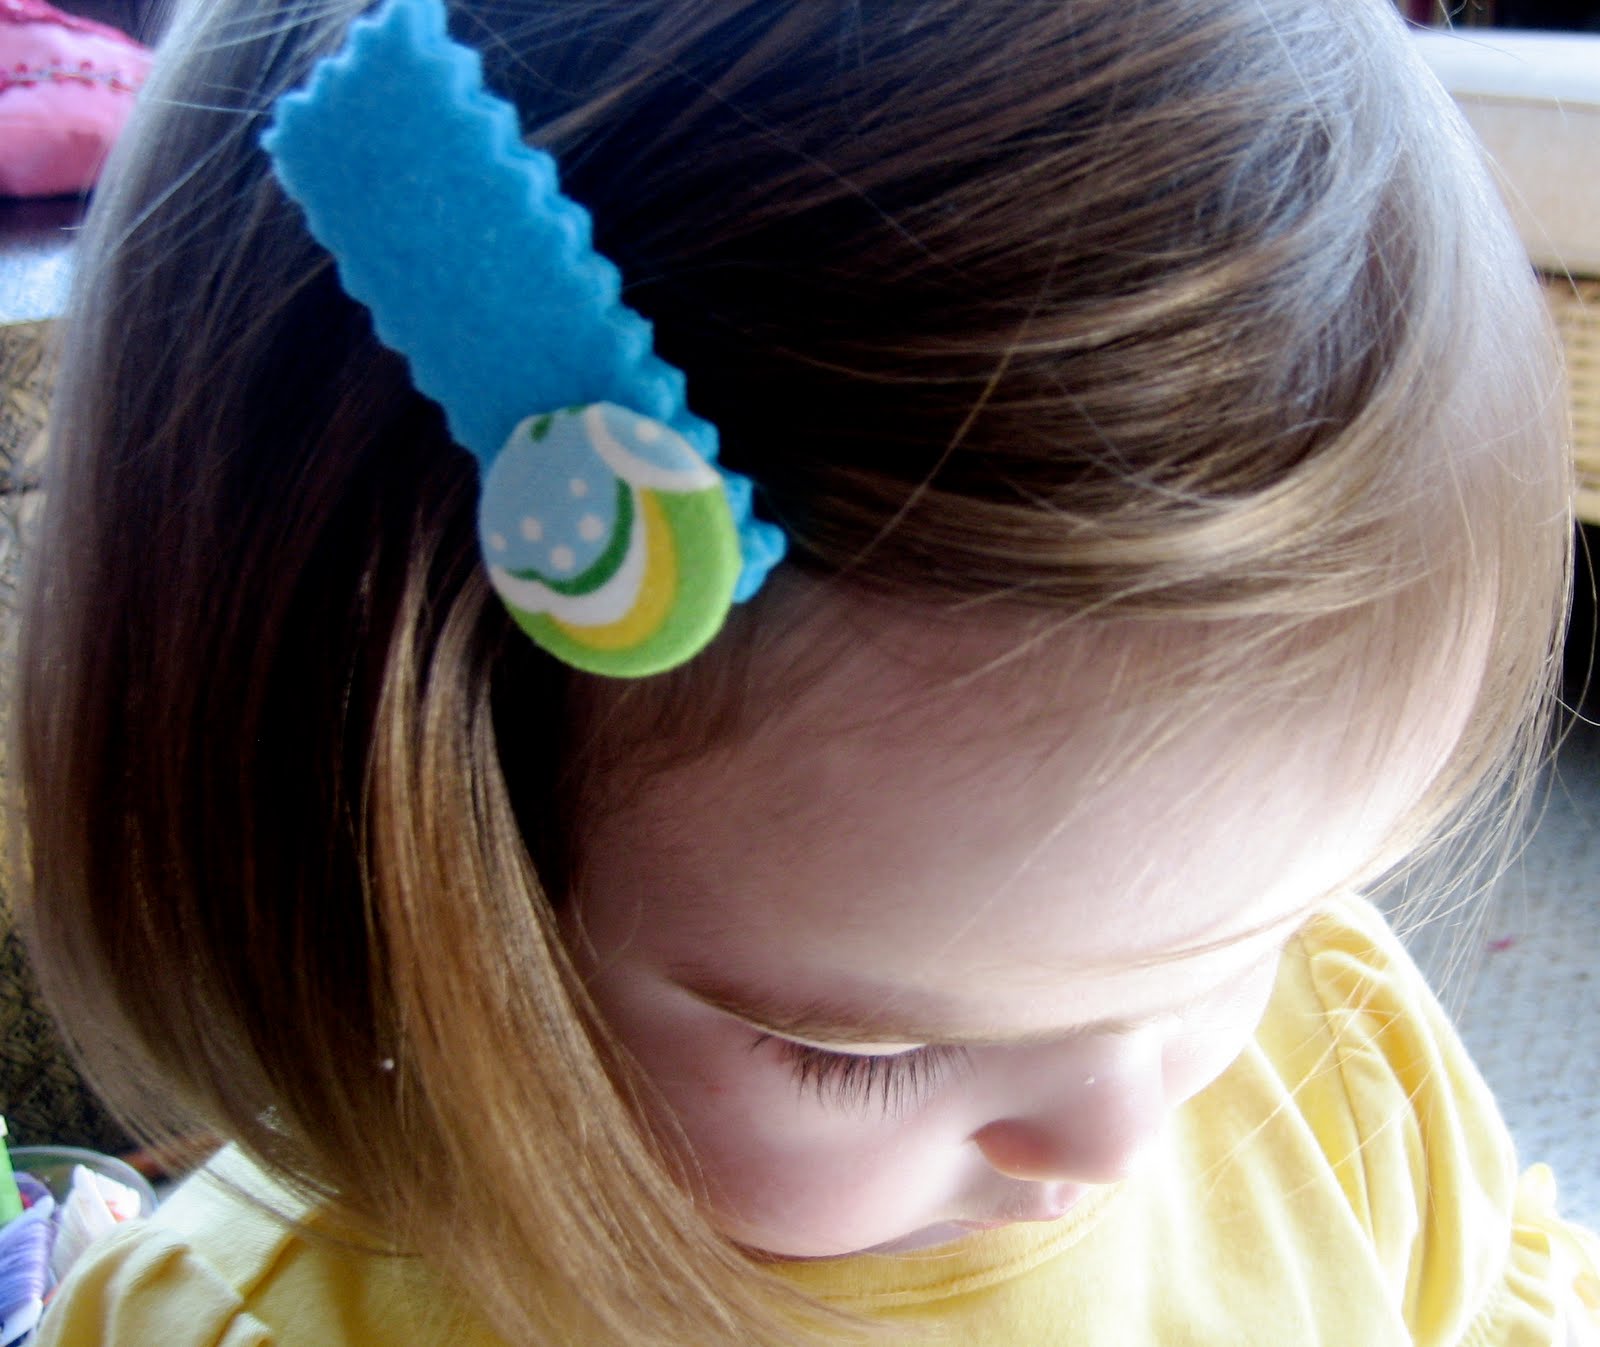
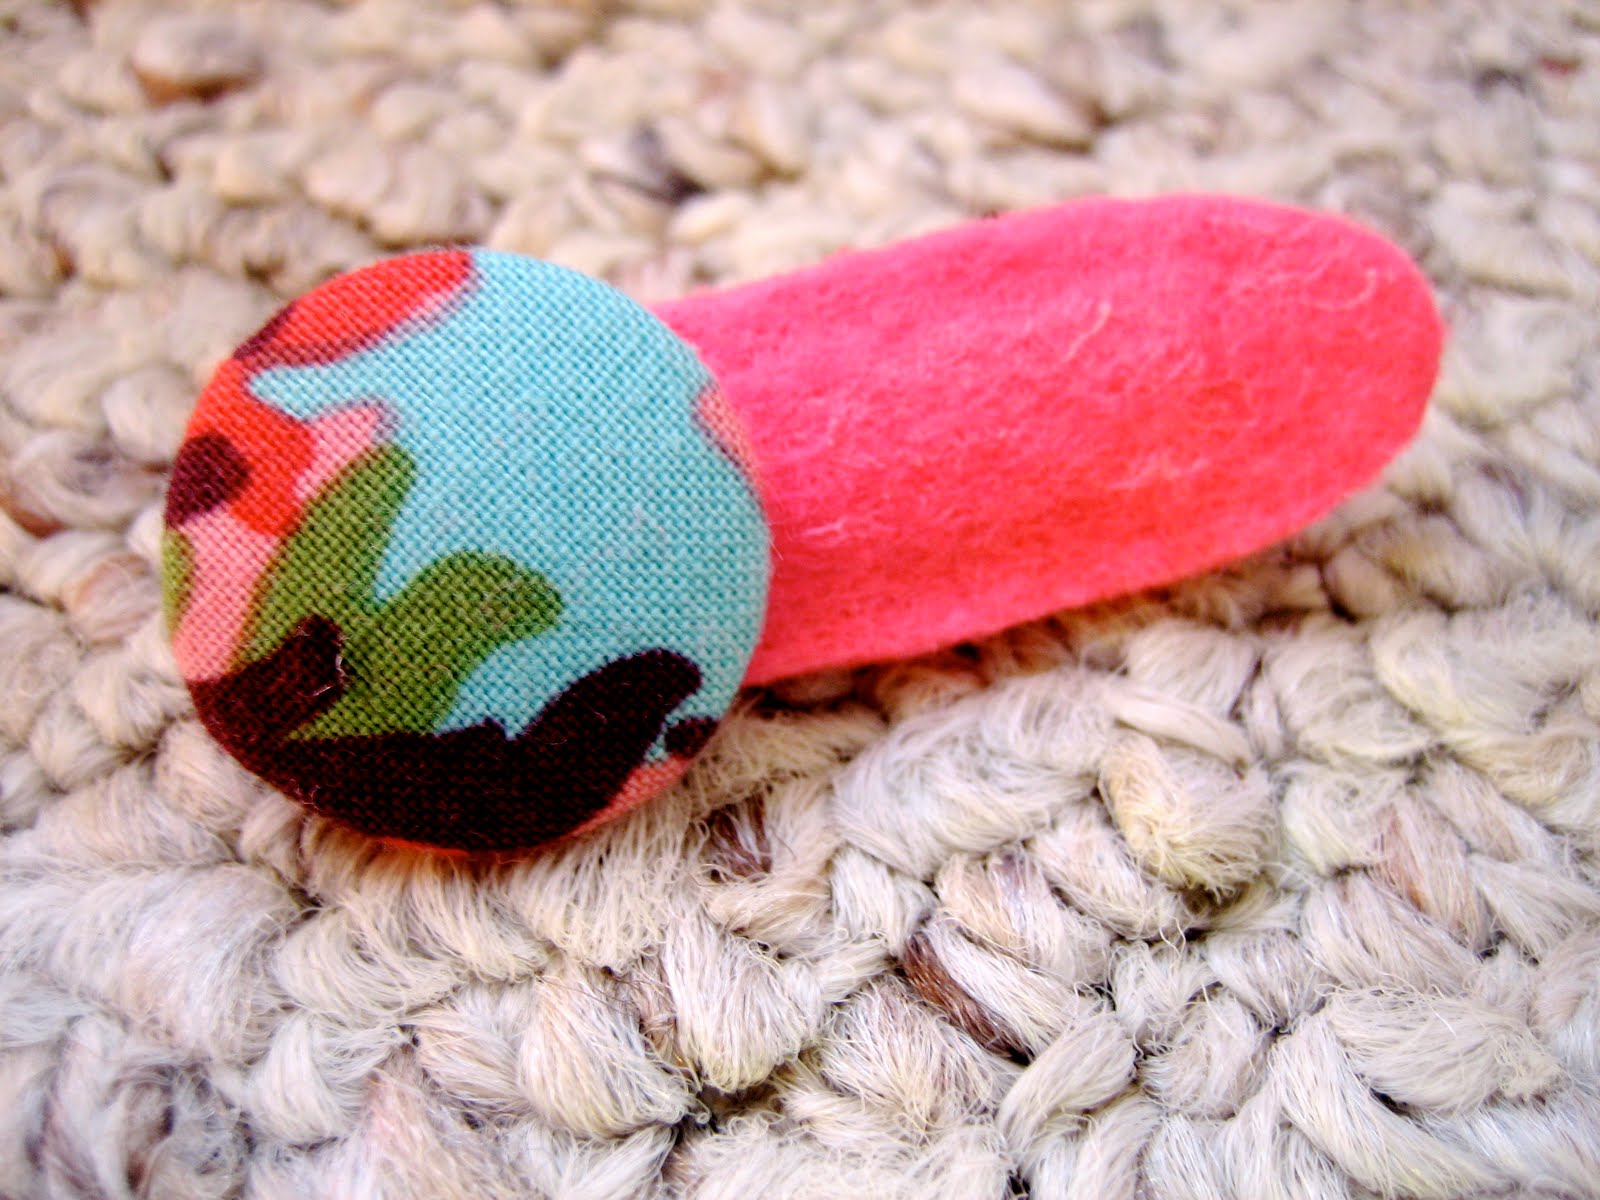
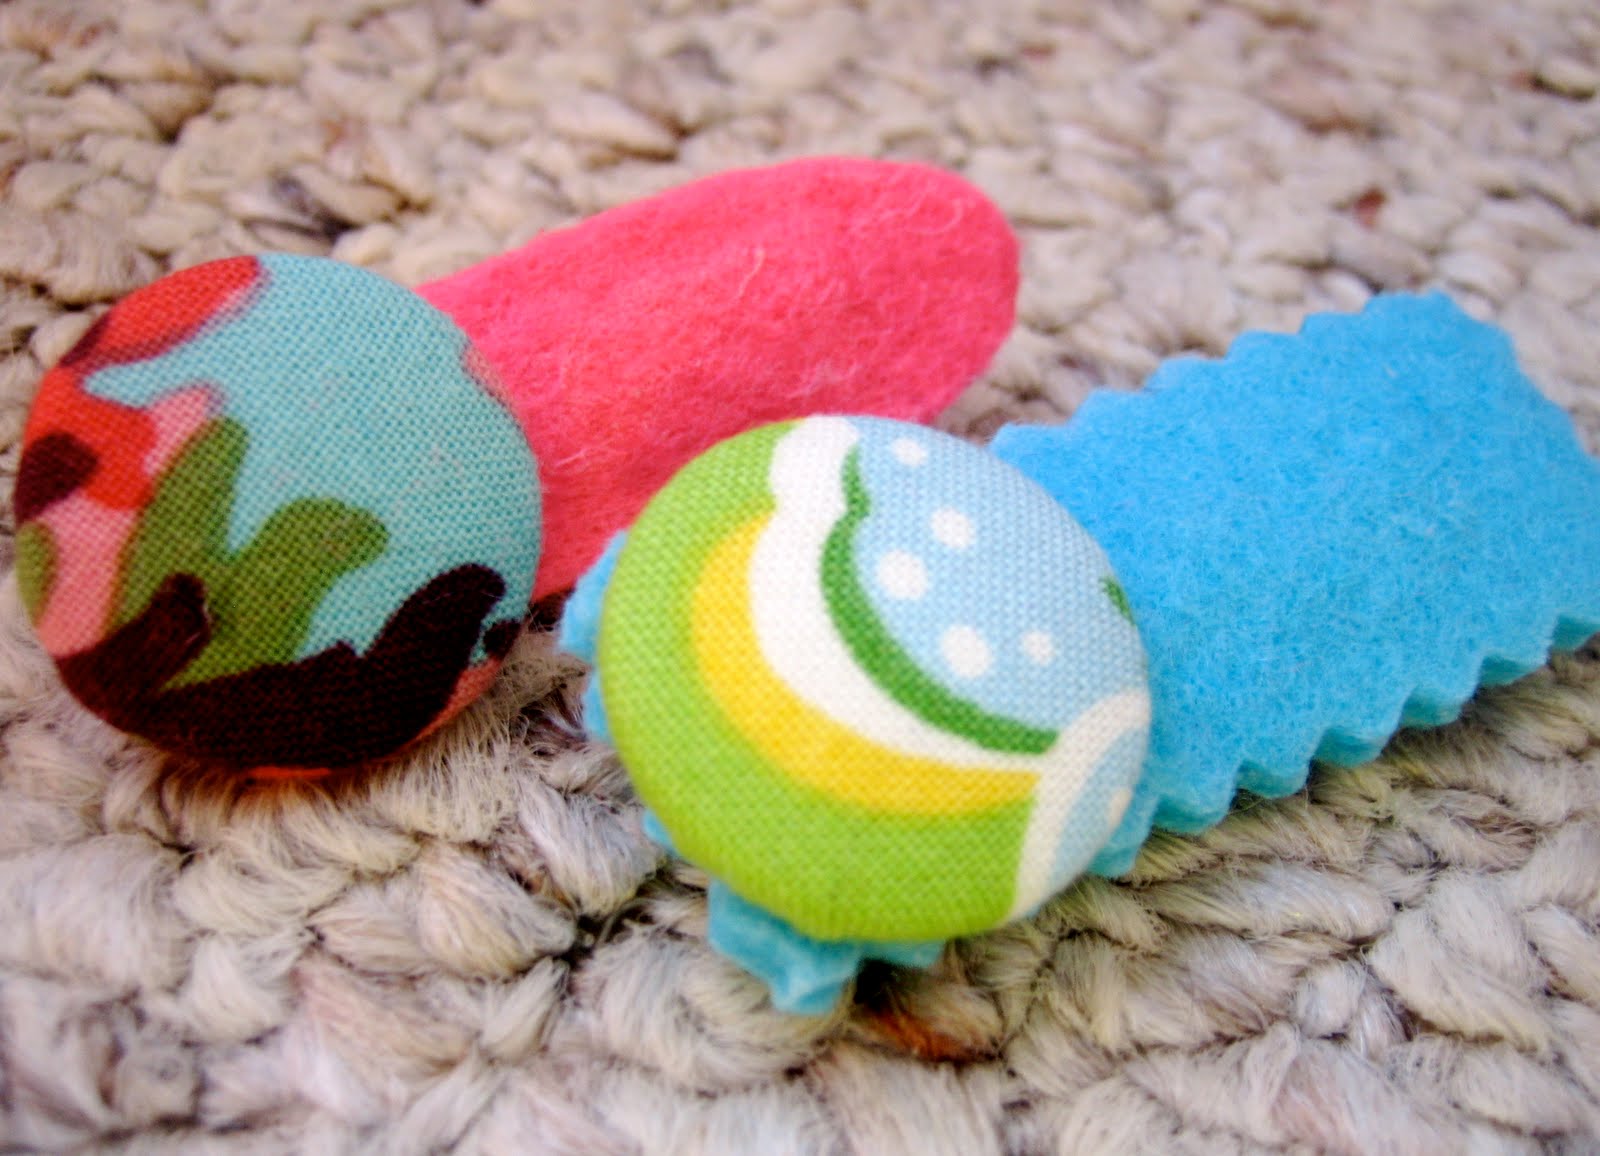
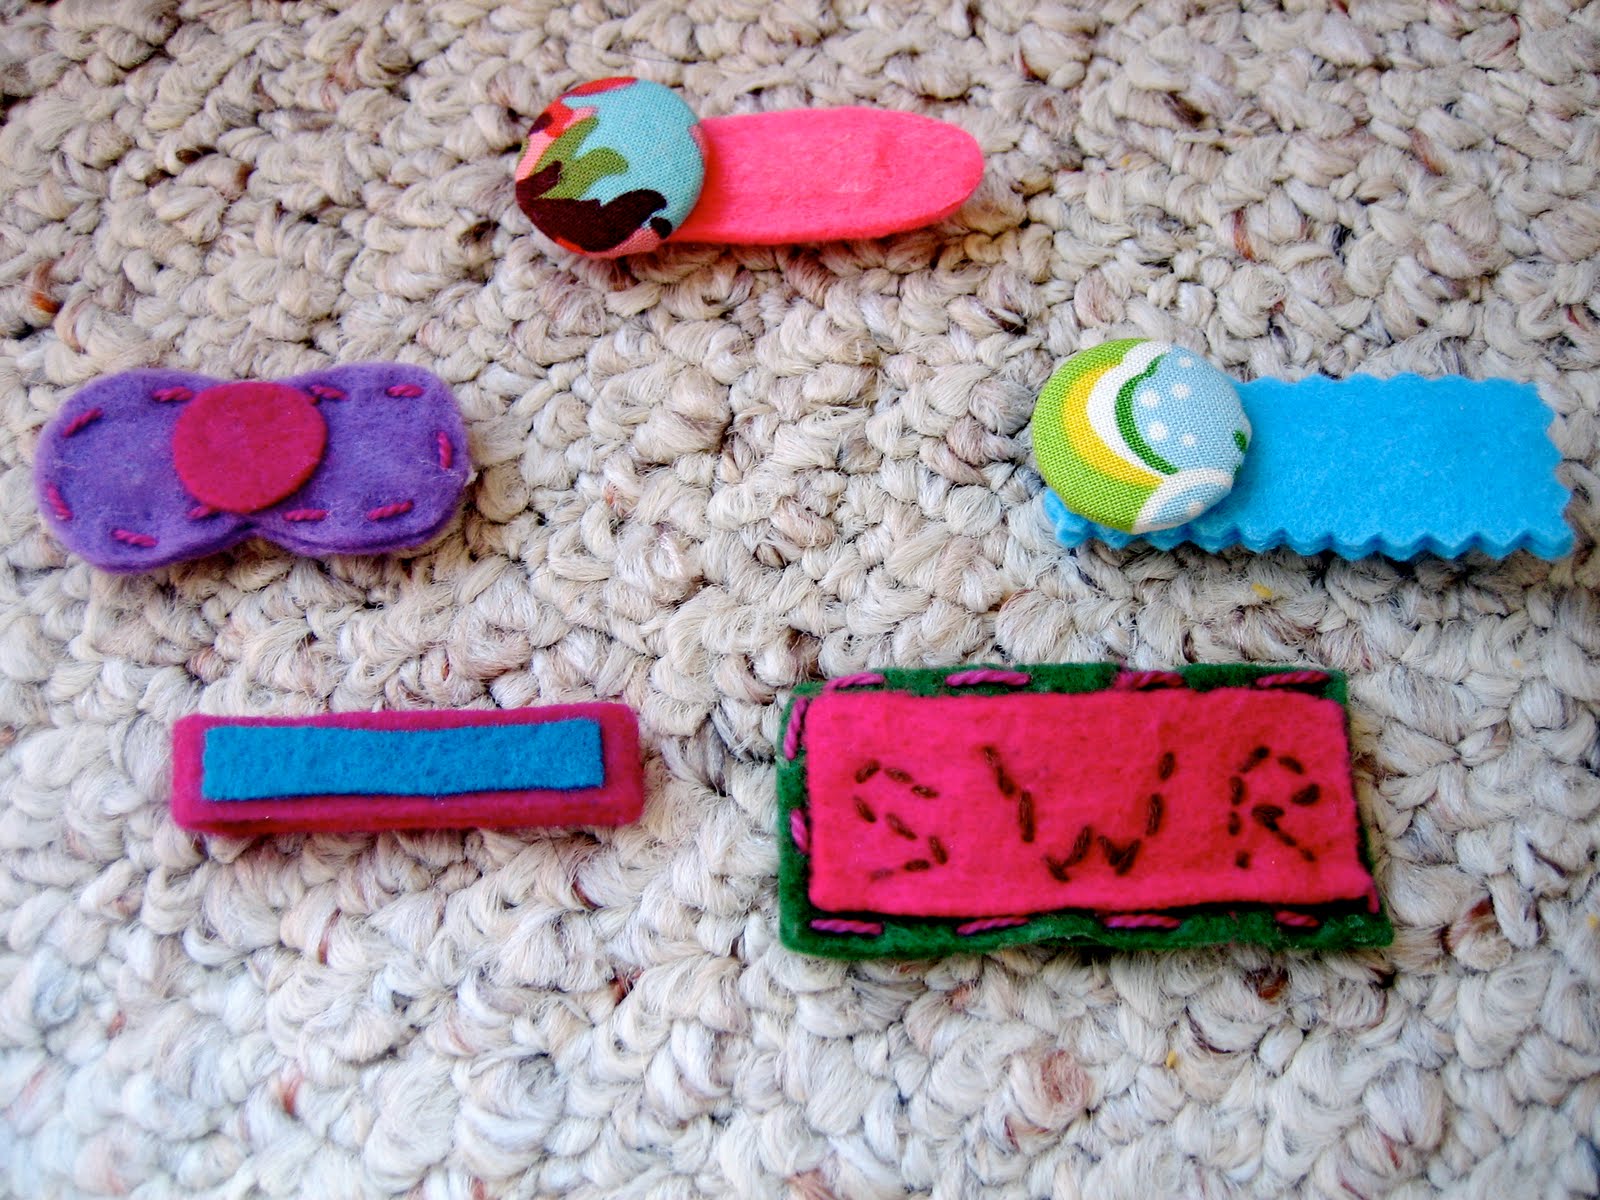
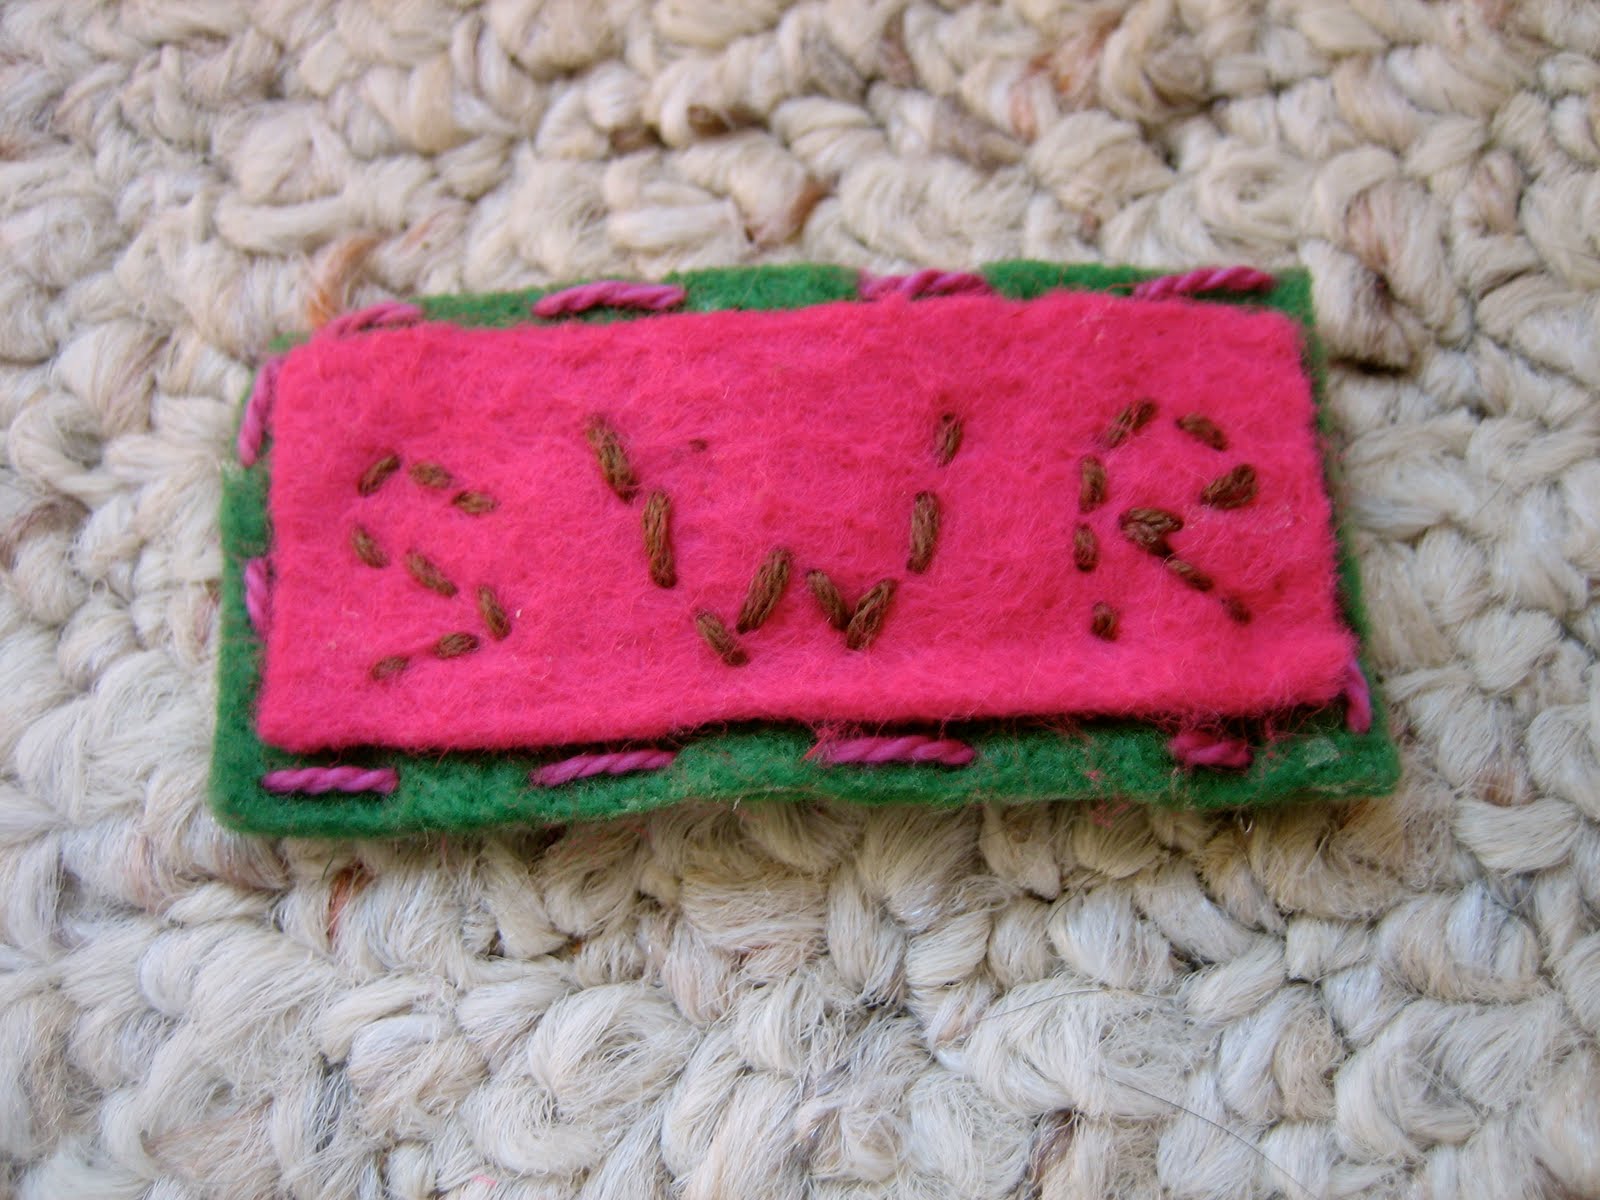
Apply some strong glue adhesive to one side of your other piece of felt. Place this felt piece (glue side down) on top of the other one. Then I just took pinking sheers and cut around all four sides to give it a zig-zag look and glued (using my same, beloved, Fabri-tac) a fabric covered button on one side.


 Lindsay Wilkes is the owner and designer behind The Cottage Mama. She creates timeless, vintage inspired sewing patterns for children’s clothes. She is also a fabric designer for Riley Black Designers / Penny Rose Fabrics, author of the book ‘Sew Classic Clothes for Girls’ and can be seen teaching nationwide and online in her video series ‘Lessons with Lindsay’ sponsored by Baby Lock Sewing and Embroidery machines.


so cute, I always wanted to know how they made those!
So cute! I just made my first hair clip for my daughter to wear with her Easter dress last week. It was so easy and it’s nice to see some other options! Thanks for sharing!
So cute! I saw your link on Made by Monday! Lots of other fun stuff on you blog too. I am following you now. Stop by and see me at mommaskindacrafty.blogspot.com
Seriously- those are so stinkin cute! My daughters are too old to wear those BUT I wish I would have seen this tutorial a few years back 😉 I clicked your link from the Marketing Monday’s over at the Treehouse- and I am following you now 😉 Happy Monday!! Hope you can stop by my place soon 😉
So sweet! I’d just love it if you could find and moment and hop on over to my international blog linking party (thru Wednesday) and share this with my readers. all the best, and hope to see you there!
Thanks so much for taking me up on the invitation! Hope to see you again next week! all the best, Sara
I have added you to my features on Thursday!! Come on by mommaskindacrafty.blogspot.com
Adorable – now if I can just figure out how to make these appeal to an 18 year old daughter, hmmm….
These are sooo cute!! My grand-daughters would love them. You have a nice blog and looks like lots of yummy recipes. Thanks for sharing the tutorial. 😀
These hair clips are really adorable. You really did a great job, thanks for sharing! I’m going to make thousands of these now!
It’s a lovely way to make hair clips. Thanks a lot for sharing this idea.
I love these! My daughter is still very touch and go about ponytail holders, but she does let me use one barette each day – lol. These are just lovely!
I wonder why other professionals don’t notice your website much m glad I found this.
hair chalk