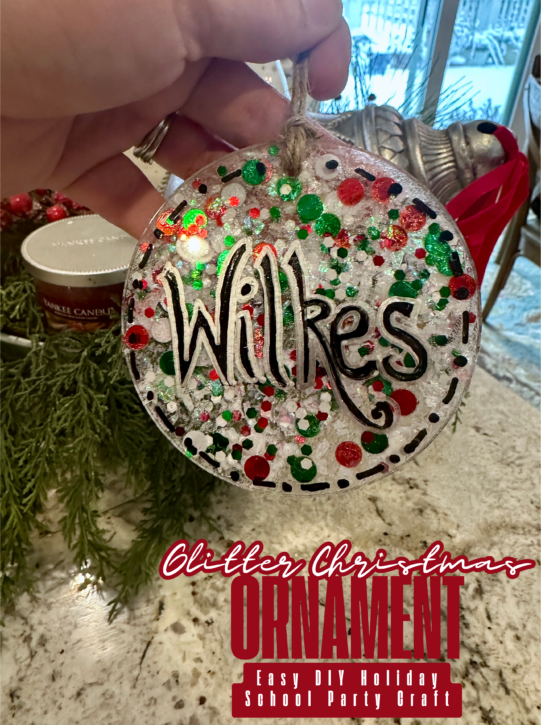
Today I’m back with another craft that we did over the Christmas holidays! I was in charge of the craft for JoJo’s 4th grade holiday party this year. We only get 45 mins. for the party at her school so I had to come up with something quick and easy. I like the crafts I do for the school parties to be something that is nice enough that parents will want to keep year after year or something the kids can gift to a friend or family member that looks nice.
I originally thought I would do this entire craft during the party, but in making my sample, I realized that was definitely not going to be possible. I had grand plans of bringing a hair dryer to dry the mod podge, etc., but realized those plans were way too grand. So I glittered all of the ornaments ahead of time and had the kids decorate the front, smooth side of the ornaments with permanent oil based paint pens that I brought from home. I’m SO glad I didn’t try to tackle the glittering at school. We had the kids rotate in 3 groups so we only ended up having 15 mins. for this craft which was barely enough time to decorate, tie on the hanger and for me to bag them up.
I brought some clear cello bags, kraft paper shreds and twine with me as well and if the kids were going to gift the ornament to someone, I made sure to wrap them up really nicely. I think the kids really liked that extra touch of having a beautifully wrapped ornament.
DIY Acrylic Glitter Christmas Ornament
Supplies:
Glitter (in different sizes)
Twine or Ribbon for hanging
Directions:
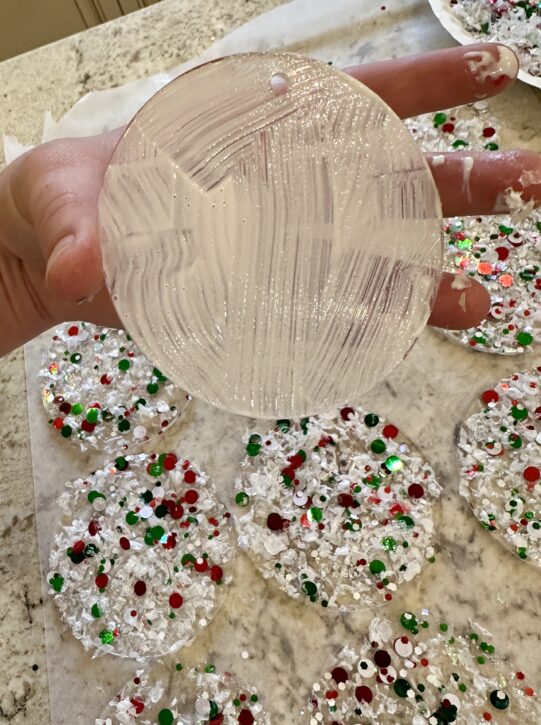
Step 1: On one side of the acrylic ornaments, using your foam paint brush, coat the ornament with mod podge. Be sure not to get any on the opposite side. I got these 10 packs of acrylic ornaments at Hobby Lobby when they were 60% off. The pack of 10 was only $3.99 and at 60% off, it was a steal! I got 3 packs so I’d have extras in case any child messed up their ornament and wanted a new one. You can also find lots of them over on Amazon.
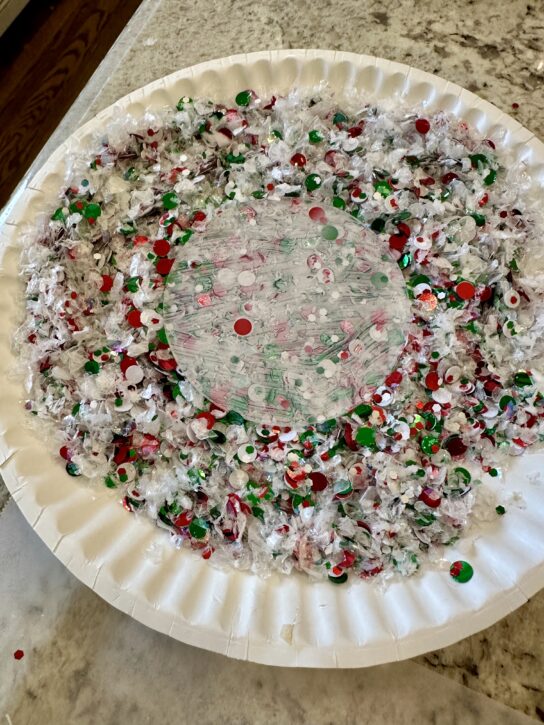
Step 2: On a paper plate, spread out your glitter. I used round circles, tiny hexagons and some glitter snow. You can use whatever you’d like, but I had just wanted mine kind of chunky. I mixed them all together in a zip-lock bag before pouring it onto the plate. And I didn’t pour it all out because I wanted to save some if there was extra and I didn’t want it to get sticky with the mod podge.
Take your ornament and place it on top of the glitter with the mod podge side down. Press the ornament into the glitter and then tap off the excess.
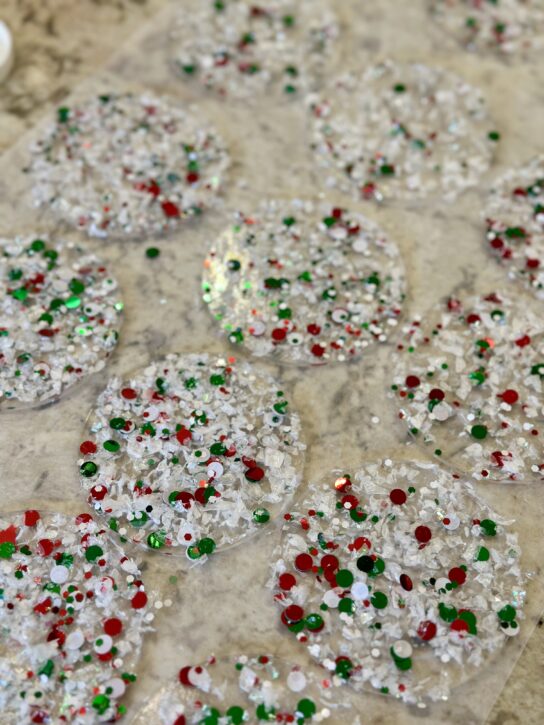
Step 3: Place the ornaments on a piece of wax paper or parchment paper with the glitter side up. Once they are dry, apply another layer of mod podge with your paint brush to lock in the glitter. I ended up doing two layers of glitter because I wanted them really covered. If you want to do that, you’ll let them dry, brush on more mod podge and press them into the glitter AGAIN. Then you’ll let them dry again and add the final layer of mod podge to lock in the glitter.
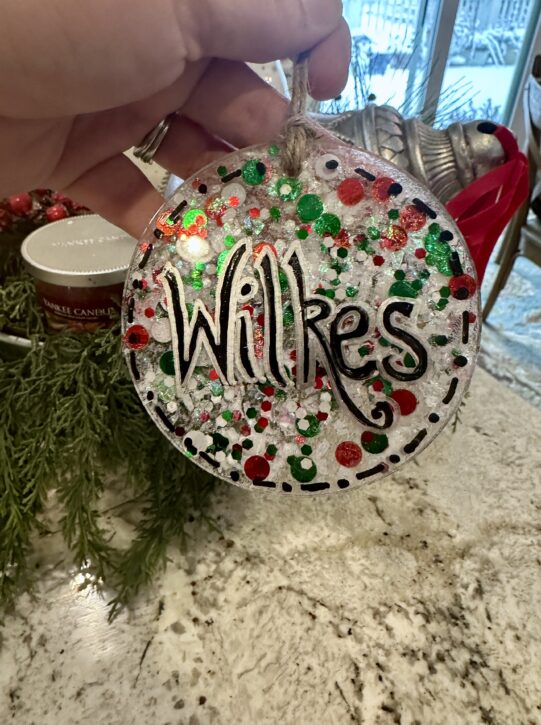
Once all of your ornaments are dry, you’ll just stack them up to bring to the classroom. I pre-cut all the twine for the hangers so that we didn’t have to do that there (I got the twine from Dollar Tree). I also pre-cut all the twine for the wrapping as well. It just makes life easier doing as much as you can ahead of time.
I had all different colors of paint markers for the kids…..red, white, gold, silver, bronze, green, blue, black etc (you can find the type I used HERE). They could decorate this however they would like. Some of them put their names, some put their initials, some made them for their grandma, some made them for their pet. The paint pens dry SUPER fast which is great, but if the child messes up and isn’t happy, you can get the paint off with hand sanitizer or probably just rubbing alcohol.
Thanks so much for making it to the bottom of this post!
I hope you are having a great NEW YEAR!!


 Lindsay Wilkes is the owner and designer behind The Cottage Mama. She creates timeless, vintage inspired sewing patterns for children’s clothes. She is also a fabric designer for Riley Black Designers / Penny Rose Fabrics, author of the book ‘Sew Classic Clothes for Girls’ and can be seen teaching nationwide and online in her video series ‘Lessons with Lindsay’ sponsored by Baby Lock Sewing and Embroidery machines.


swbp7x
xs43yx
lxvc35
xc3kka