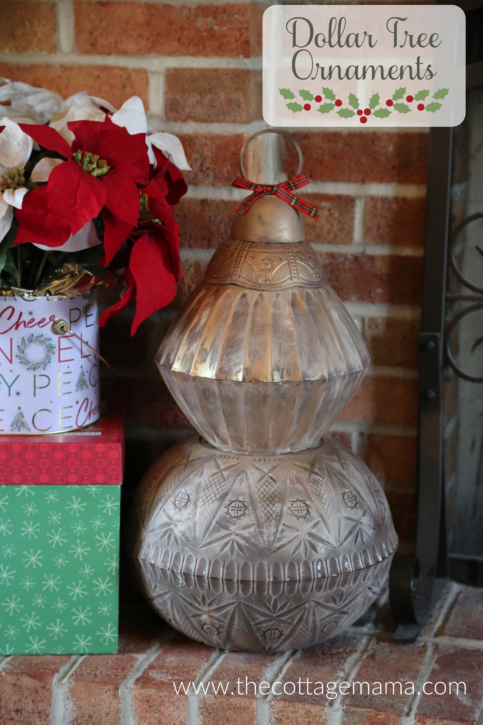
I love the Dollar Tree. No, this post is not sponsored whatsoever. I just really love the Dollar Tree. You can find such great stuff at really low prices. Now, I loved it even more when it was truly only $1, but times are a changing! My favorite thing to do with Dollar Tree finds is to make them look more expensive than they really are when you see them in the store. I had seen some variations of this idea circulating around social media and I just had to try it for myself! Today I want to share these Dollar Tree Giant Christmas Ornaments that I created!
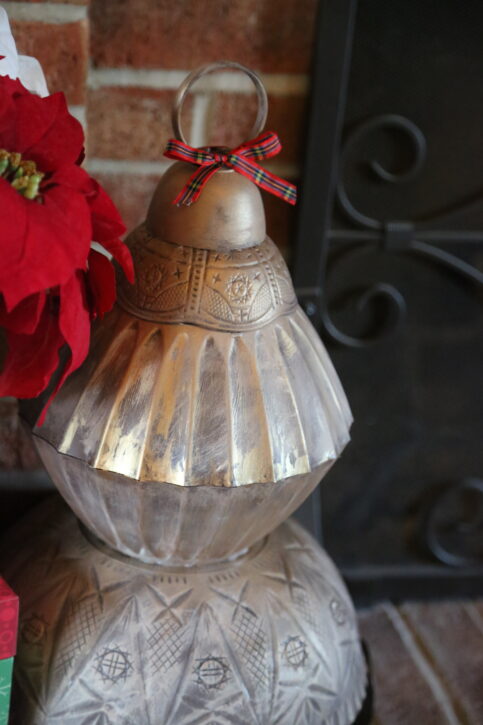
I don’t have a step-by-step tutorial for you because it really is just so simple and easy, so I’ll just explain what I did to create these beauties!
Supplies:
-Variety of plastic bowls from the dollar store
-Shower Curtain Rings
-Craft Paint (chalk paint and metallic paint)
-Paint Brushes
-Hot Glue Gun
-Ribbon (optional)
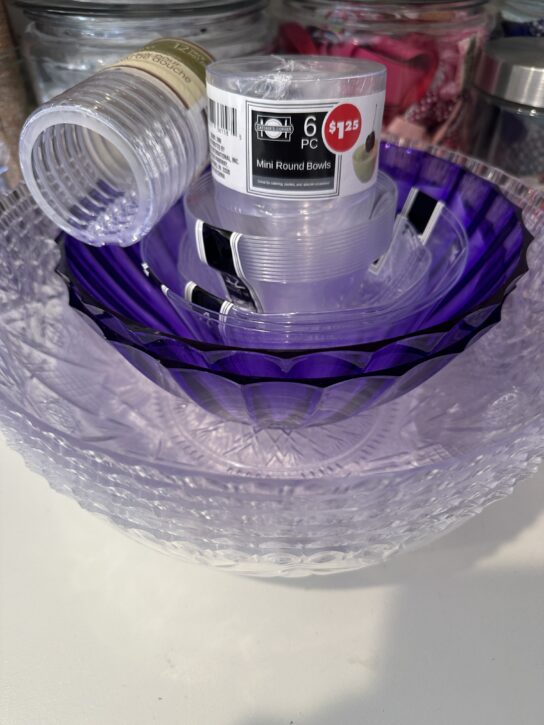
First, you are going to go to your local Dollar Tree (or other dollar store) and go to the party section. You’ll find all sorts of plastic bowls that you can use to make your ornaments. I grabbed six large punch bowls and some additional bowls to use on top of the large ornaments. Then you’ll go to the bathroom section and get a set of shower curtain rings.
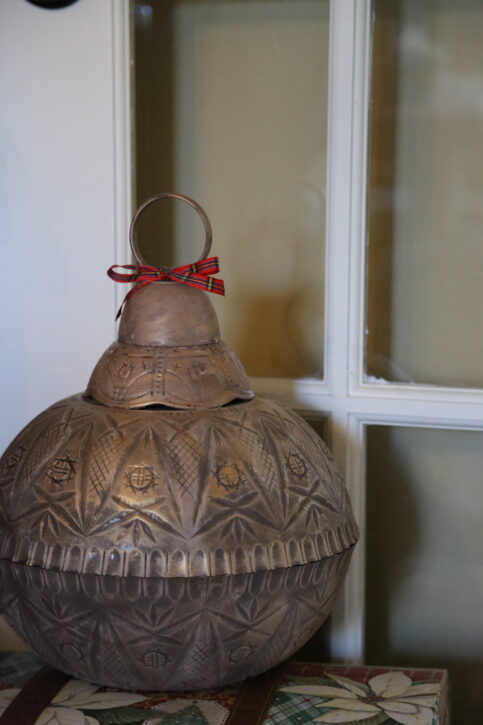
Secondly, you’ll need to paint all of your bowls in whatever color you’d like as well as however many of your shower curtain rings that you plan to use. It was three shower curtain rings for me since I did one stacked ornament and two that were not stacked. I wanted a distressed metal look so that it looked like a mix of an ornament or a bell. I found that using chalk paint as the first layer on the plastic is great because it adhere’s really well and doesn’t take too many coats. I used a brown chalk paint and eventually white but you could use any color you’d like. You want to paint everything before you glue them together. That makes it much easier.
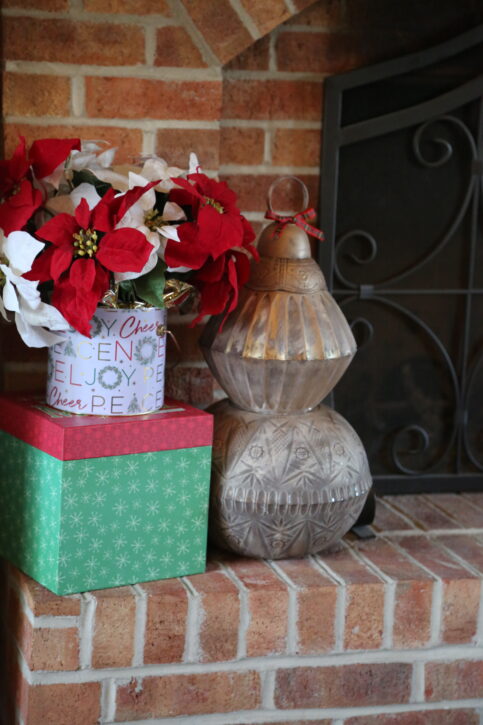
Allow the chalk paint to dry and then you can start getting creative. Since I wanted a distressed look, I dry brushed on some white chalk paint and then once that was dry, I added highlights of metallic in basic craft metallic paint. You’ll just play around with it until you like it. I’ve seen people add baking soda to the paint to give the ornaments more texture, but I honestly don’t think these needed it with all the texture in the pattern on the bowls.
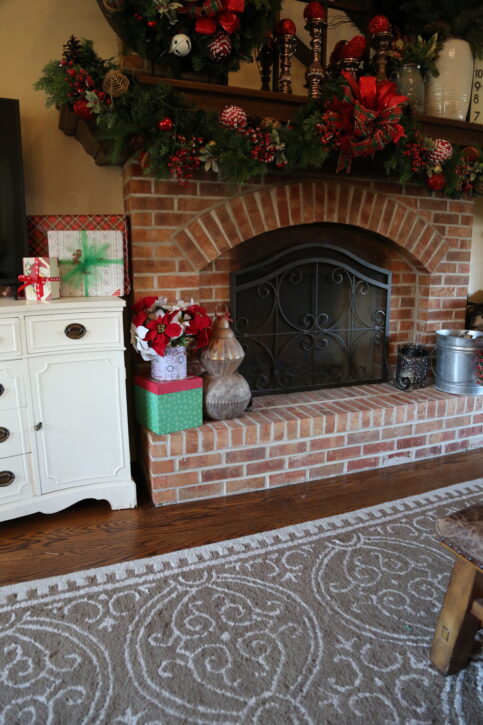
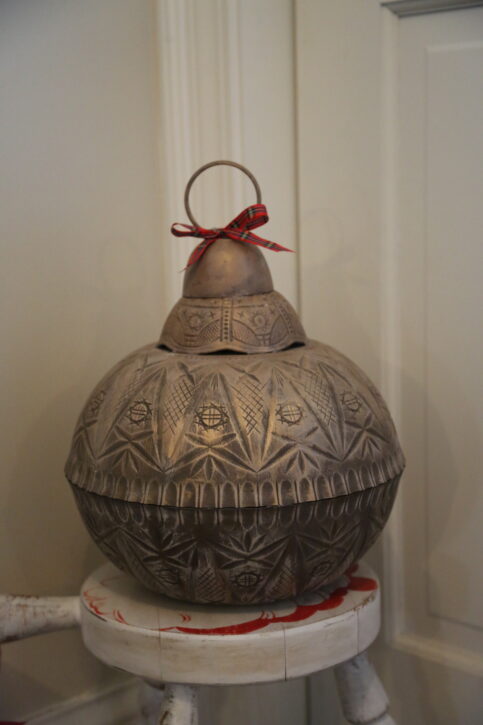
After you get all of your pieces painted, all you have to do is hot glue them together. I just used a thin amount of glue and they stuck together very easily. The only piece you’ll need to be patient with is the shower curtain ring. You want to put a good amount of hot glue and then you’ll need to hold it in place while the glue cools. You can also tie a little ribbon on top or add some greenery. All of my greenery was being used so I just opted for a little ribbon I already had in my stash.
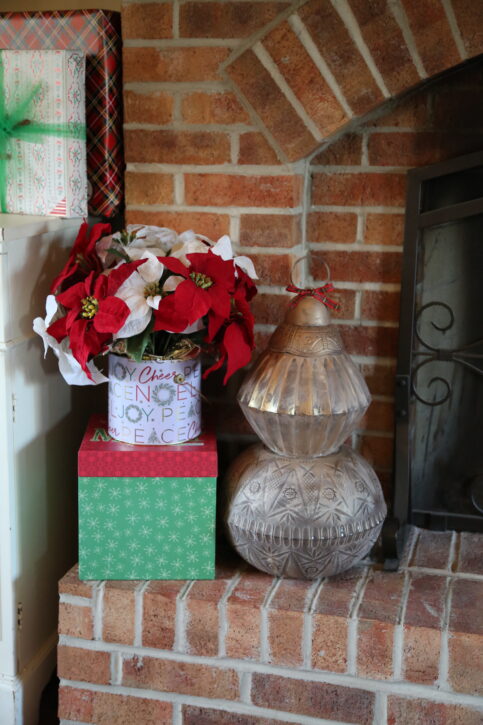
If you want to stack your ornaments, then add some hot glue to the bottom of the one you put on top of the larger one. You could also stack these even higher and use them more like tall topiary. How cute would these look in urns or pots by your front door? If I were going to put these outside, I’d definitely add some rocks or weights in the balls before gluing them together otherwise they might blow away.
Think about all the possibilities! You can tie these into any style of home decor and get as creative as you’d like! All in all, these were less than $10 for all three of them. Can you imagine what you would pay for something like this at a home store? I did one stacked and then I have two that are just the larger balls around other parts of the house.
I hope you enjoyed this little Dollar Store craft idea and I hope you are enjoying this holiday season.
It truly is the MOST wonderful time of the year!

 Lindsay Wilkes is the owner and designer behind The Cottage Mama. She creates timeless, vintage inspired sewing patterns for children’s clothes. She is also a fabric designer for Riley Black Designers / Penny Rose Fabrics, author of the book ‘Sew Classic Clothes for Girls’ and can be seen teaching nationwide and online in her video series ‘Lessons with Lindsay’ sponsored by Baby Lock Sewing and Embroidery machines.


