Today I’m excited to introduce one of our first guest bloggers here on The Cottage Mama. I have a lot on my plate coming up with the release of my new book and will be traveling, teaching and attending quilt market over the next several months. So I decided I needed a little back up to make sure you guys still get the sewing inspiration that has always been provided here at The Cottage Mama. Over the next few months we will have one guest blogger per week sharing a sewing tutorial with The Cottage Mama readers. These ladies are all extremely talented and have some newer blogs that I think you will really enjoy.
First up is Crystal, from Stitched by Crystal. Please give her a warm welcome as she shares her darling tutorial with everyone!
****************************************************************
Hi there! I am Crystal, you can usually find me over at Stitched by Crystal sharing my sewing and other random crafting. I am so excited to be here today to share a tutorial for my three ring binder pencil case!
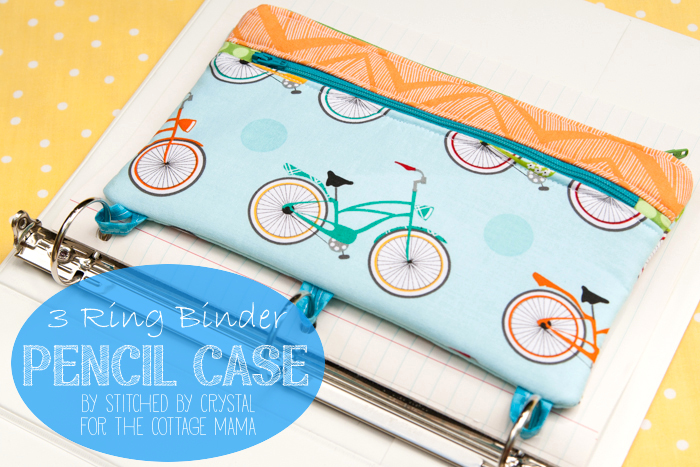
This case would be a great gift for someone in middle or high school going back to school. I remember needing three ring binders for most of my classes back then. This little case would be a fun and convenient place for them to keep all their school supplies. It could also be made without the loops on the bottom if you don’t use binders.
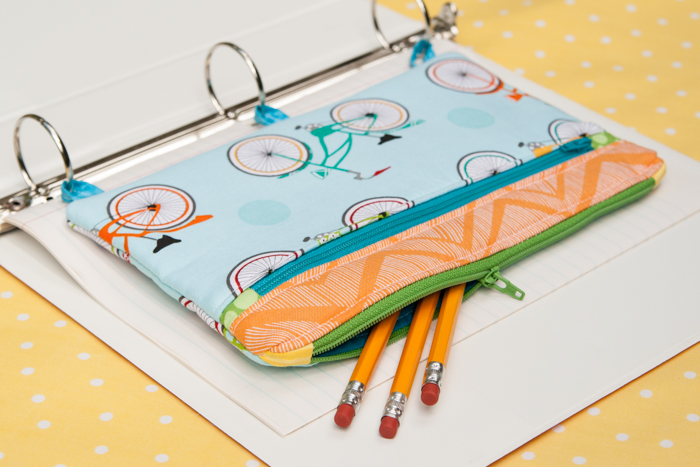
This case is really simple to make. It does have two zippers, but even if you have never sewn a zipper don’t run away, they are easy…I promise.
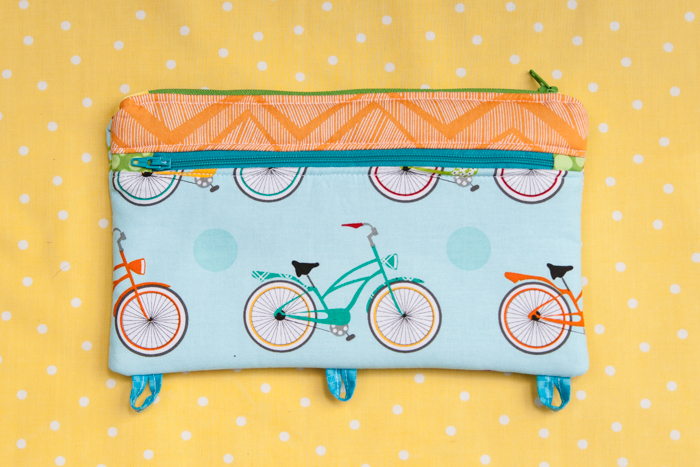
So let’s get started!
To make this case, you will need some coordinating fabrics (see below for sizes), fusible fleece, two 9″ zippers, and a sewing machine with a zipper foot. (In case you are curious, the adorable bicycle print on my case is “Cruzin” by Barbara Jones of Quiltsoup for Henry Glass & Co. and the orange is “Matilda” by Alice Kennedy for Timeless Treasures)
Cut your fabric to the following sizes:

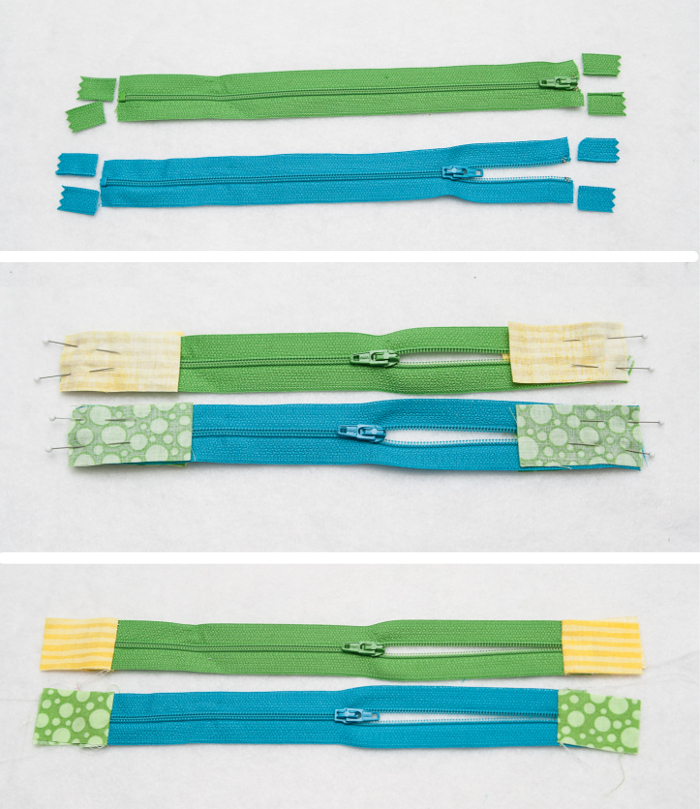


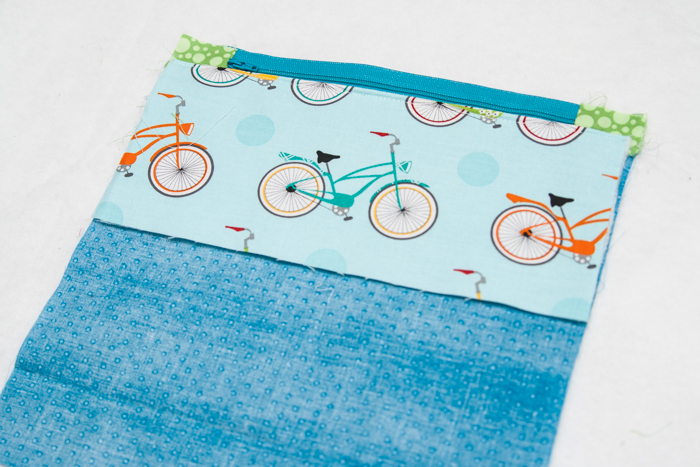


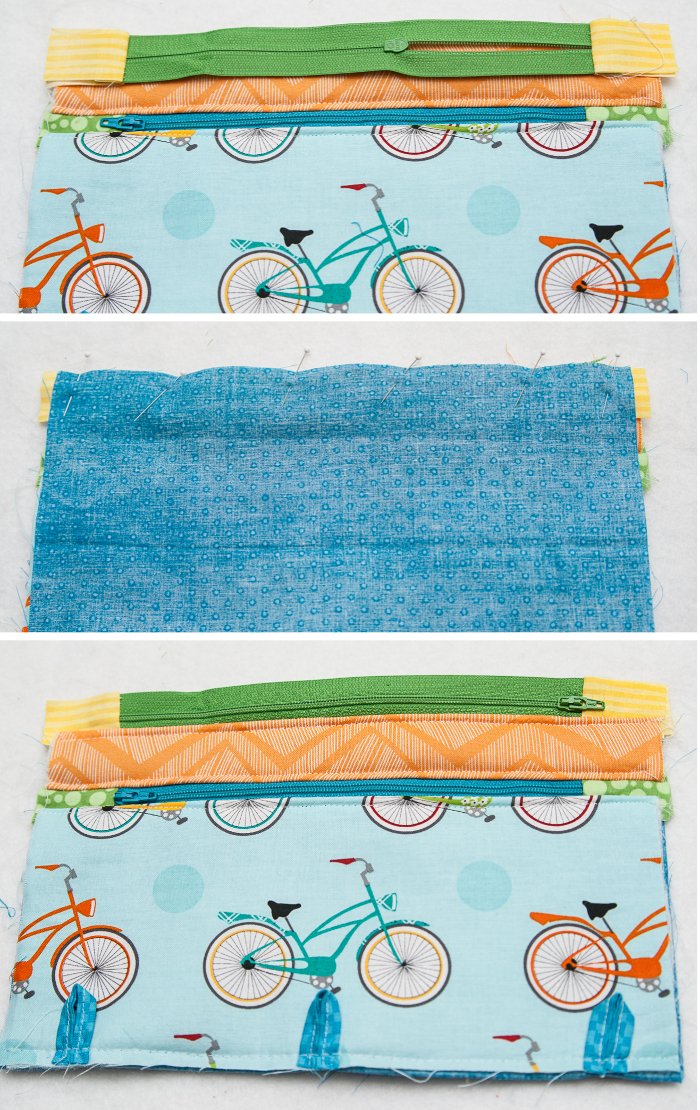
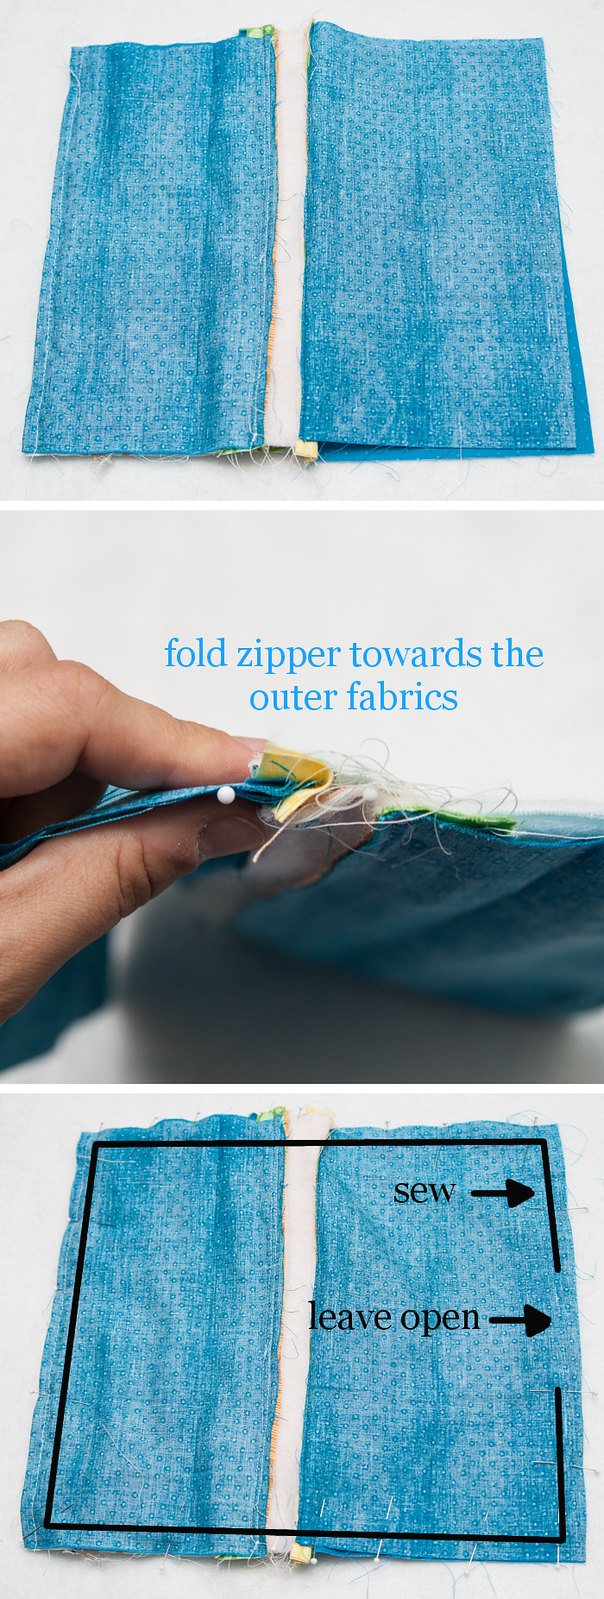
Sandwich the other side of the zipper with your back piece and your last lining piece. The right side of the back piece should be facing the front of the pouch, and the right side of the lining should be facing the other lining piece. Pin and sew in place, then press and top stitch. You should now have your zipper in the middle with the outer fabrics on one side and the lining fabrics on the other.
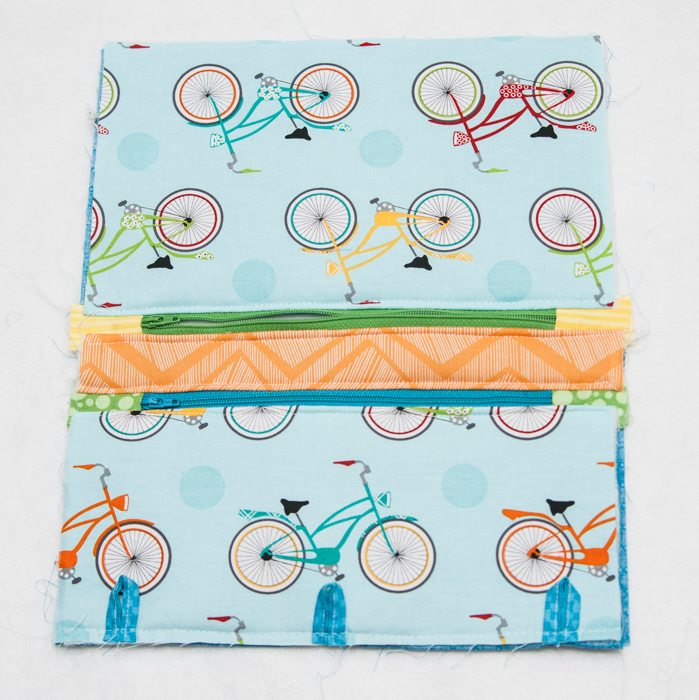
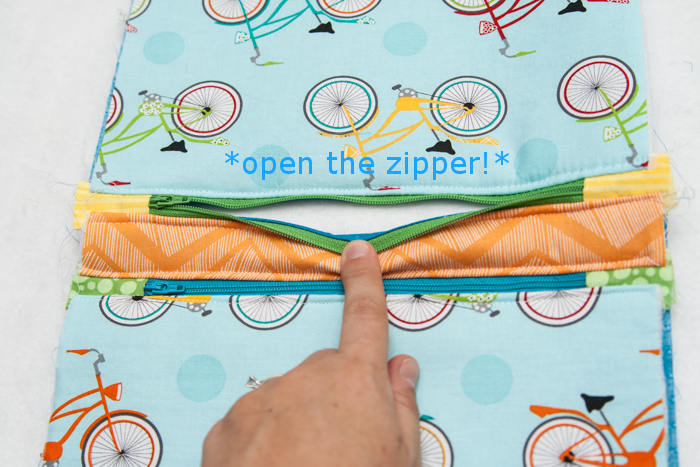



 Lindsay Wilkes is the owner and designer behind The Cottage Mama. She creates timeless, vintage inspired sewing patterns for children’s clothes. She is also a fabric designer for Riley Black Designers / Penny Rose Fabrics, author of the book ‘Sew Classic Clothes for Girls’ and can be seen teaching nationwide and online in her video series ‘Lessons with Lindsay’ sponsored by Baby Lock Sewing and Embroidery machines.


This is awesome! I can’t wait to make some! Thanks
LOVE this!! Going to make one today! Great tutorial
Love the pencil case! Great tutorial! Thank you.
Great tutorial! I was just thinking about making something similar but with a clear vinyl window. Now I don’t need to do any math to figure out the pattern pieces! Thanks!
Crystal, I love this! Thanks so much for the awesome tutorial. You make it so simple to follow. Adorable!
It`s super cute!
Love it!! I’ve got a Craft Gossip post scheduled for later this evening that links to your tutorial:
http://sewing.craftgossip.com/tutorial-zippered-pencil-pouch-for-a-3-ring-binder/2013/09/11/
–Anne
Thank you for the great tutorial. We had a hard time finding cloth pencil cases for a 3-ring binder for my great grand kids this year. I email this address to my daughter so she can get started for next years school supplies.
I love your tutorial! I used it to make a passport sized wallet. The pencil case was perfect for what I wanted in a smaller size. I also love the fabric you used. http://www.elainescrafts.com/sewing/zippered-passport-wallet-sewing-tutorial/
Genial! Great idea! Congratulations! And congratulations for your kindness to make a tutorial and give the images gracefully. I ask the God of double, triple for what you gave us. Kisses. Cristina
I am definitely trying this pencil case tutorial, not just for personal use but it would also be a great gift idea this coming holiday season. I guess I have to start buying some cute fabrics to use.
This is a great tutorial, the directions are detailed and easy to understand and the photos are awesome ! Thank you I just finished one for my grandson using his favorite football team fabric.
When I get the time, I’m going to make one for my folder! Thank you for sharing, I love it!
I love the way the zippers are done, it looks fool proof.
Danke für die wunderbare Anleitung! Habe statt der Stoffschlaufen eine Stoffleiste eingearbeitet, in die hinein ich Ösen mit Scheiben eingeschlagen habe, so dass man das Mäppchen in einen Ordner einnhängen kann.
Danke für die tolle, weil klare und ausführliche Anleitung! Besonders gut finde ich den “Trick”, die Stofflagen so zu legen, dass man in einem Arbeitsgang das Futter gleich in das Mäppchen mit ein-arbeiten kann!!! Ich habe statt der Stoff-Schlaufen zum Einhängen eine Stoffleiste gearbeitet, mit Decovil light hinterbügelt und da hinein zwei Ösen eingeschlagen. So kann das Mäppchen bei nur zwei Ringen im Ordner nicht so hin- und herrutschen.
Danke für das tolle Tutorial! Ich habe die Anleitung abgeändert, indem ich statt der Laschen zum Einhängen eine Stoffleiste mit nur zwei Ösen für einen Ordner mit 2-Ring-Mechanik genäht habe.
What size Zippers do I need to purchase?