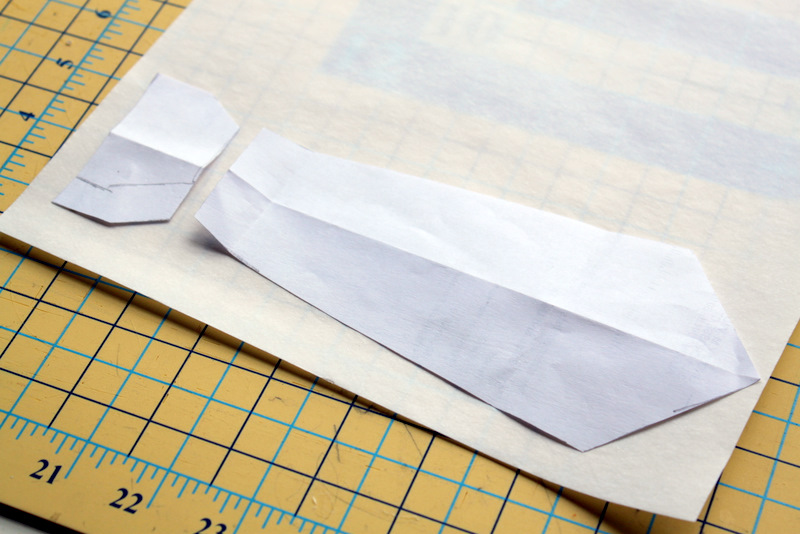

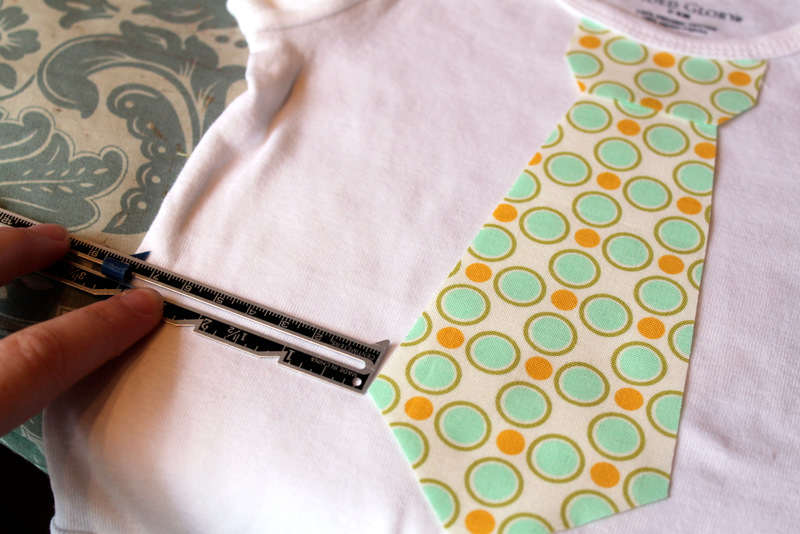
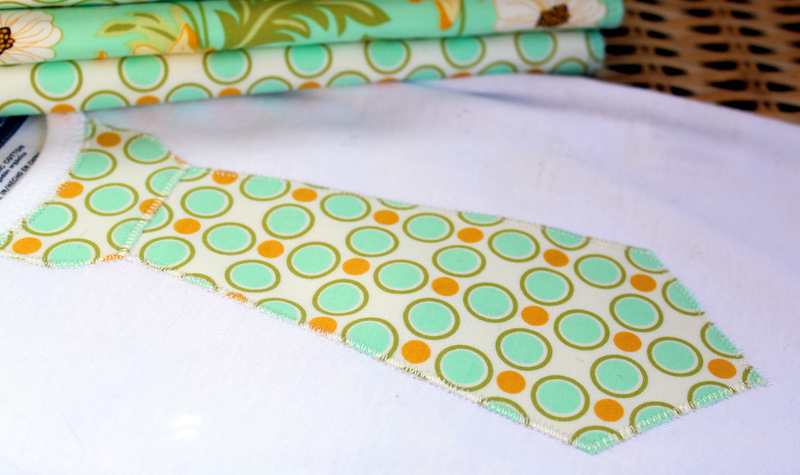
Next, cut out your pattern pieces and remove the paper backing from the interfacing. Place your pattern where you would like it on the onesie. To make sure it is centered, measure both sides of the tie from both sides of the onesie – make sure they are even. Iron your tie in place.

Do the same process with the pattern piece for the girl onesie. You can make this pattern piece much larger if you are making this shirt for an older child. I just didn’t want the ruffle top to overwhelm a 3-6 month old baby.

Iron bib pattern piece in place on girl onesie.
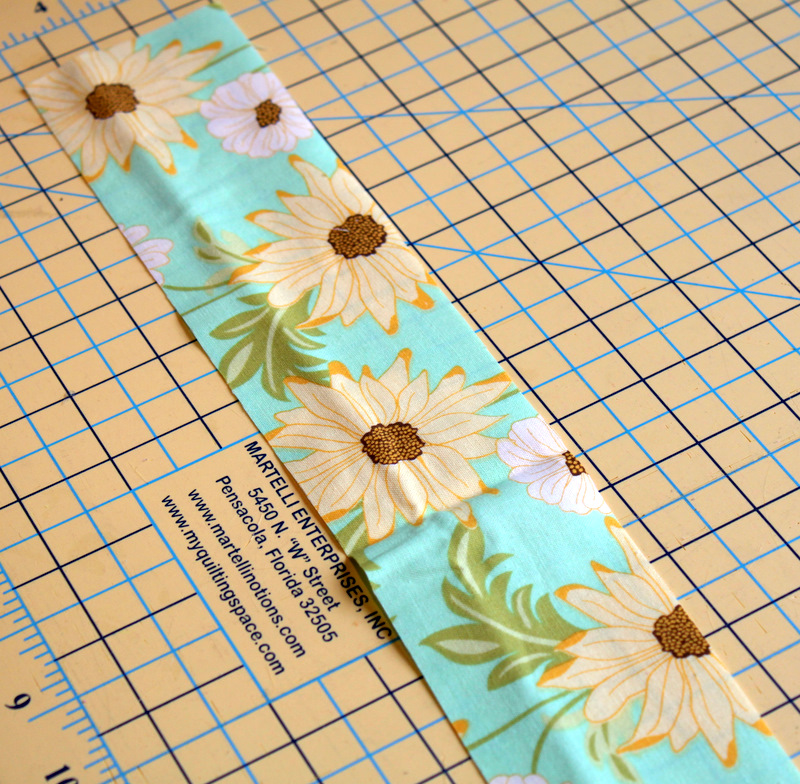
Cut your fabric for the ruffle out of coordinating fabric. I cut my ruffle 2.5″ wide x 18″ long. If you decide to alter the bib pattern piece and make it larger (say for a 2, 3, and 4 year old), cut your ruffle 2-2.5 times as long as the outside of the bib.
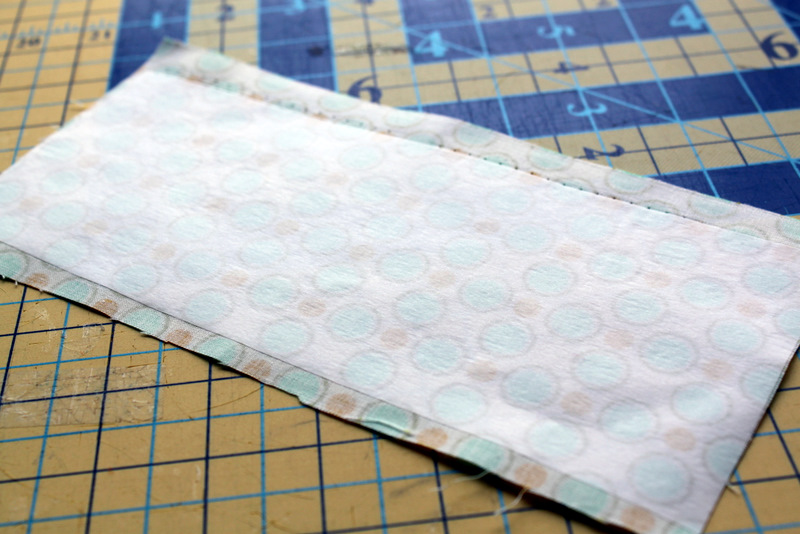
Fold the ruffle piece in half with the wrong-sides together and sew both ends.
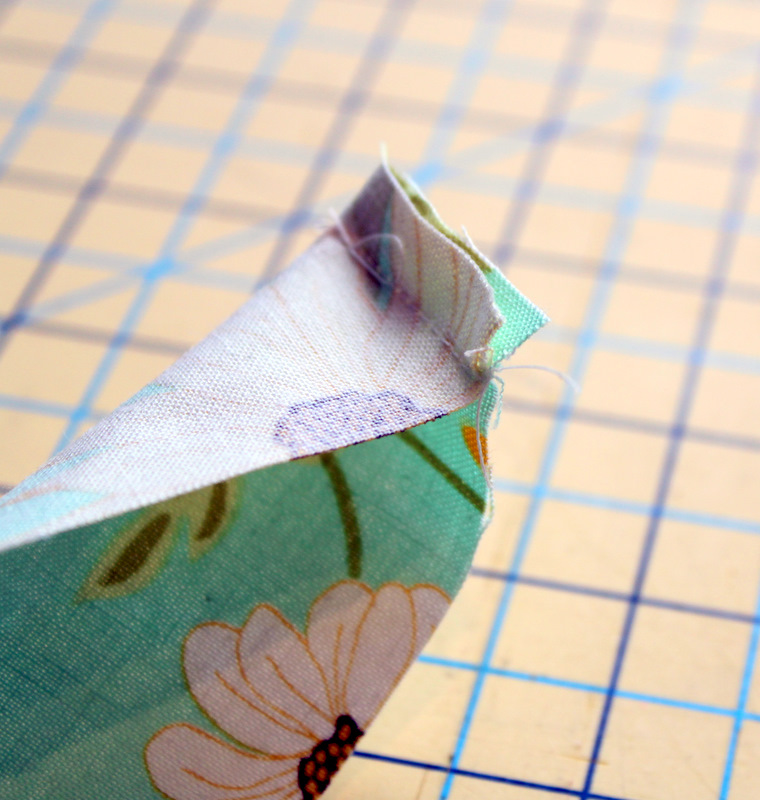
Once both ends are sewn, clip the corners to remove bulk and turn the ruffle piece right-side out. Press ruffle piece in half.

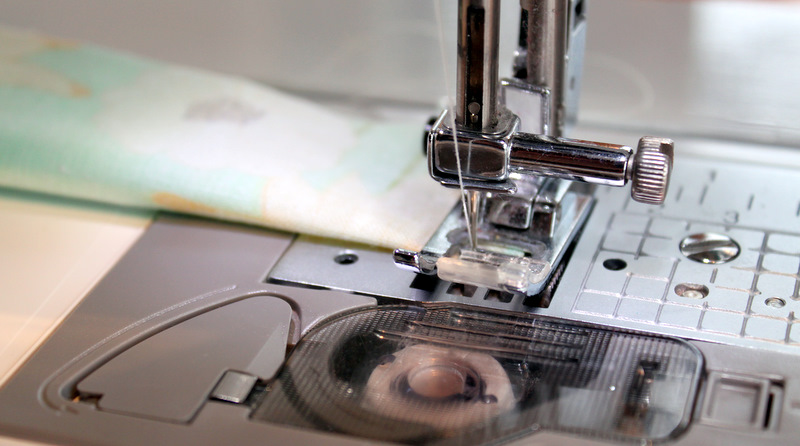
Next, run a gathering stitch down the ruffle piece on the raw edge of the fabric. Make your stitch length as long as possible (mine is 5.0) and stitch all the way down the ruffle. Do not back-stitch or the ruffle will not gather.

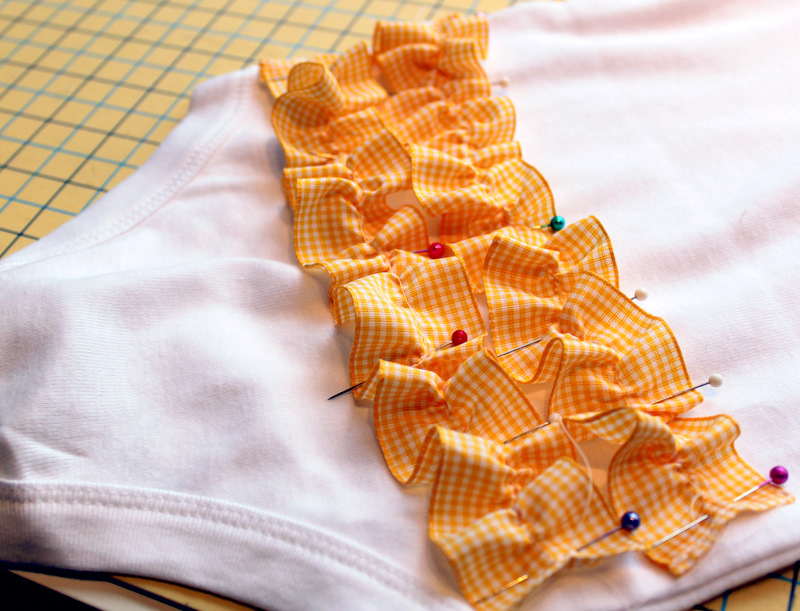
Gather your ruffle by pulling on the bobbin thread. Once gathered, pin your ruffle in place around the bib. You could certainly serge or run a tight zig-zag stitch along the edge of the ruffle to clean it up a bit.
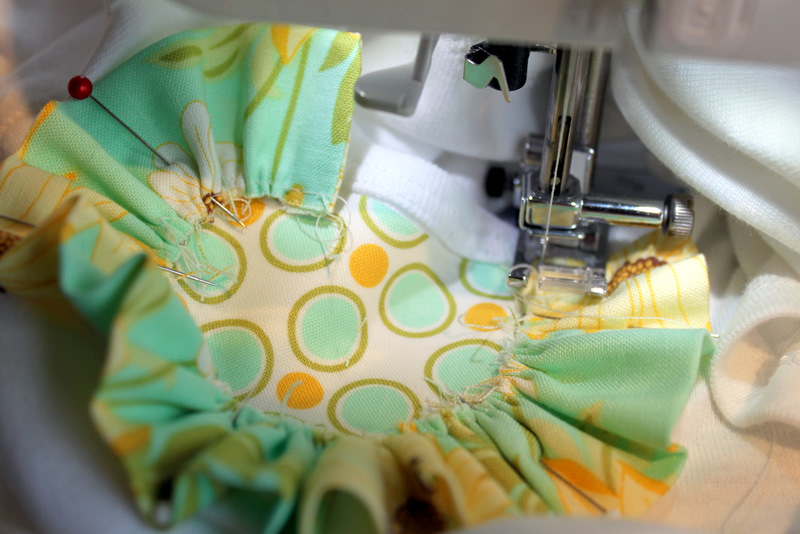
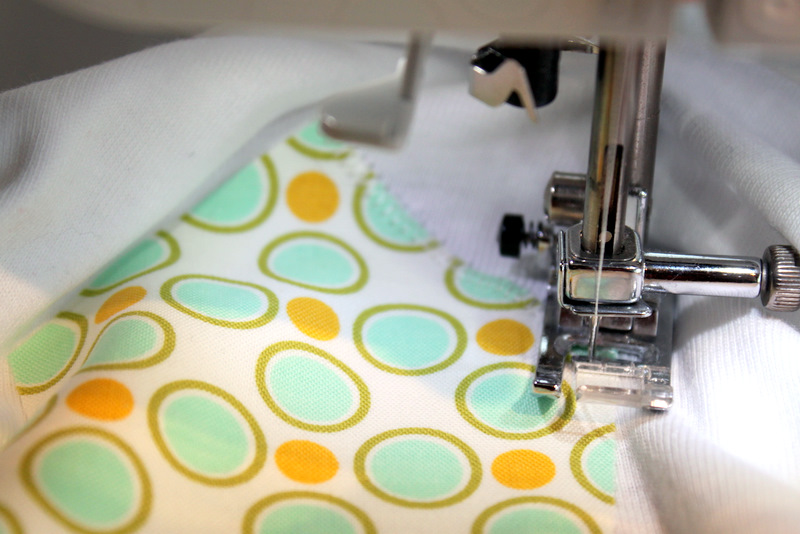
Stitch ruffle in place. I really should have started on the other side, but oh well. It takes some work getting your onesie all situated under your presser foot, but just work with it and you’ll get it.
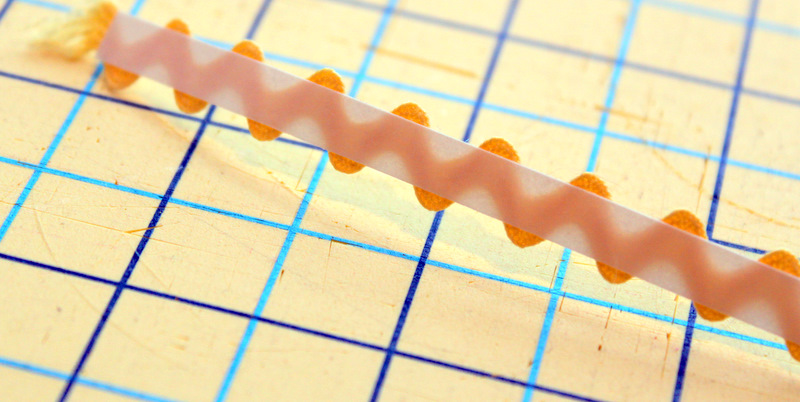
Next grab your ric-rac. Cut enough to cover the edge of the ruffle – about 9″. Peel off one side of the paper backing on your Wonder-Tape and apply to the back of the ric-rac. Wonder-Tape is probably one of my most favorite sewing products EVER. I won’t go into it too much, but basically it is a double-sided tape that disappears in the wash. It doesn’t gum up your needle and makes holding trim in place a breeze. It is found in the notions section of your sewing store. If you don’t have this, you can certainly use pins, but trust me, this will make your life much easier!
I used Wonder-Tape for my “Little Love Bug” outfit for the Project Run and Play Valentine’s day challenge. It held my ric-rac in place nicely down the center of the jumper.
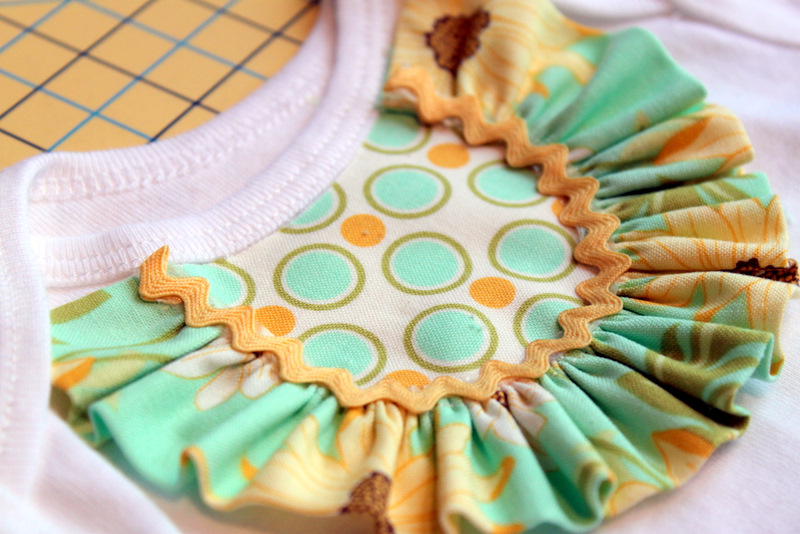
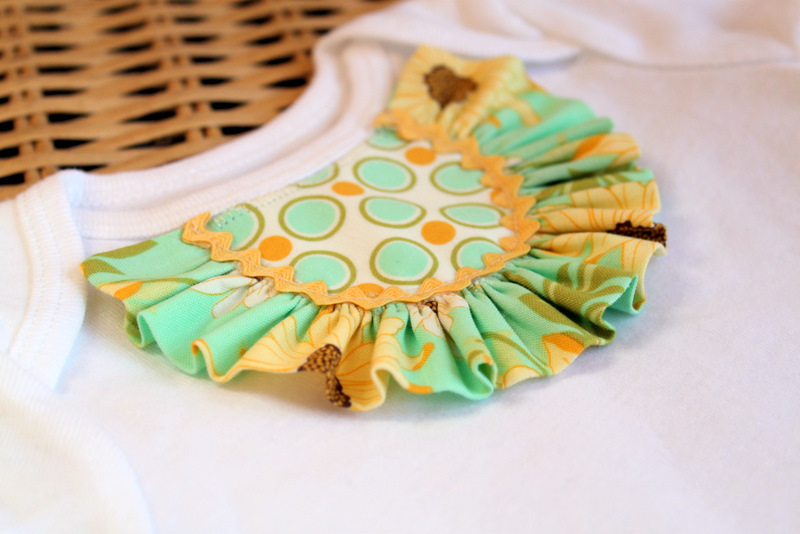
Peel off the other side of the Wonder-Tape and place ric-rac over the raw edge of the ruffle. Make sure to tuck under both ends of the ric-rac.
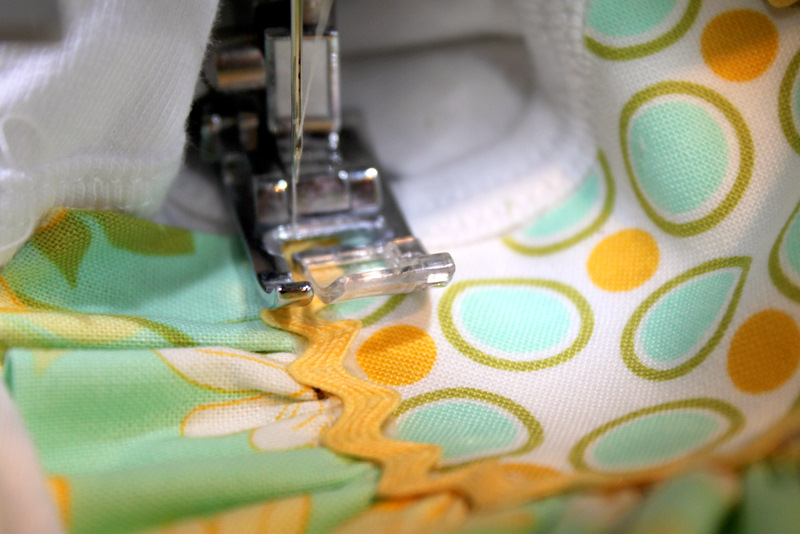
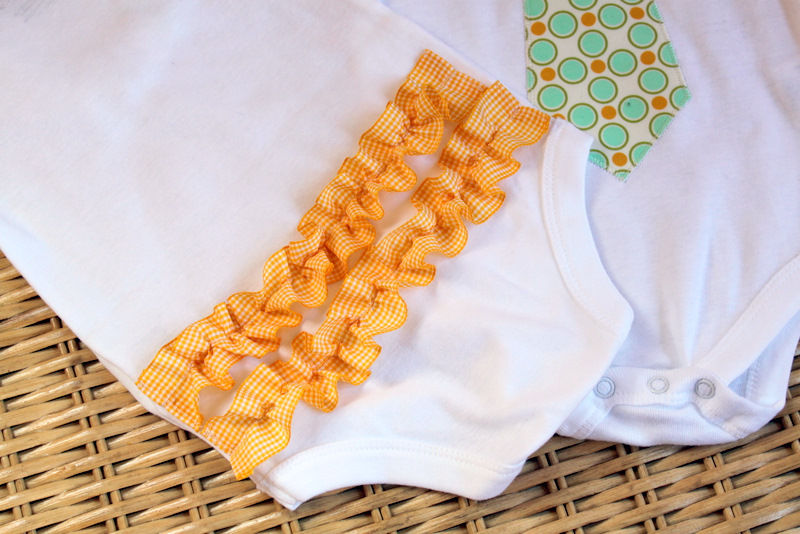
Stitch ric-rac in place with coordinating thread.

If you plan to add the ruffles to the booty of the girl onesie, measure the back of the onesie and cut your ribbon 2-2.5 times as wide as the booty. Turn the ends under and stitch in place.
Run a gathering stitch down the center of each piece of ribbon (as described when making the bib ruffle). Gather by pulling on the bobbin thread.
Pin in place and stitch down the center of each ribbon. Make sure to back-stitch well that the beginning and end of each ribbon.
For the tie onesie, you want to zig-zag stitch around the entire outside of the tie to prevent any fraying. Test out your stitch on another piece of fabric to check for the size of the zig-zag that you prefer. I like to use embroidery thread for my main thread on applique. I find it lays nicer and has a little bit of sheen that looks really good.
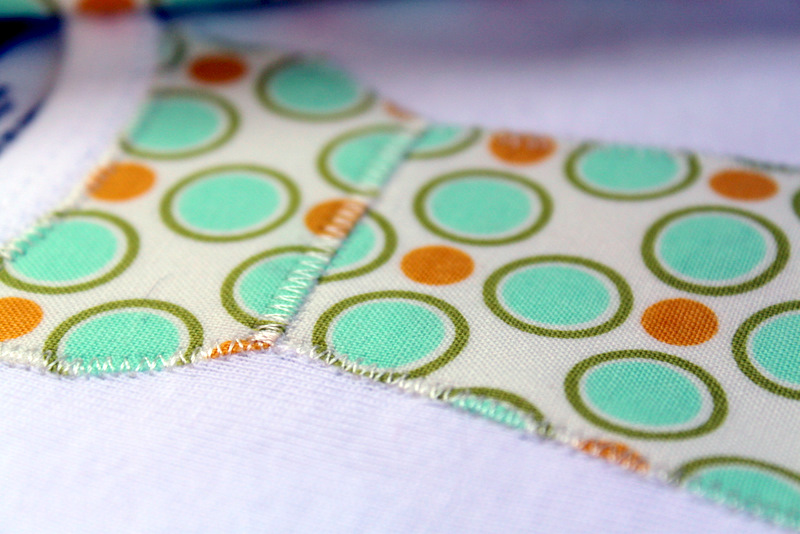
Stitch around the entire top piece including across the center of the tie to give the applique more definition.
If you have any trouble with your zig-zag stitches not laying flat, check your tension and reduce. Additionally, I have to stitch fairly slowly on my machine in order to have uniform stitching when doing applique.
Add zig-zag stitching across the top of the bib on the girl onesie as well. This will prevent any additional fraying and will secure it in place nicely.

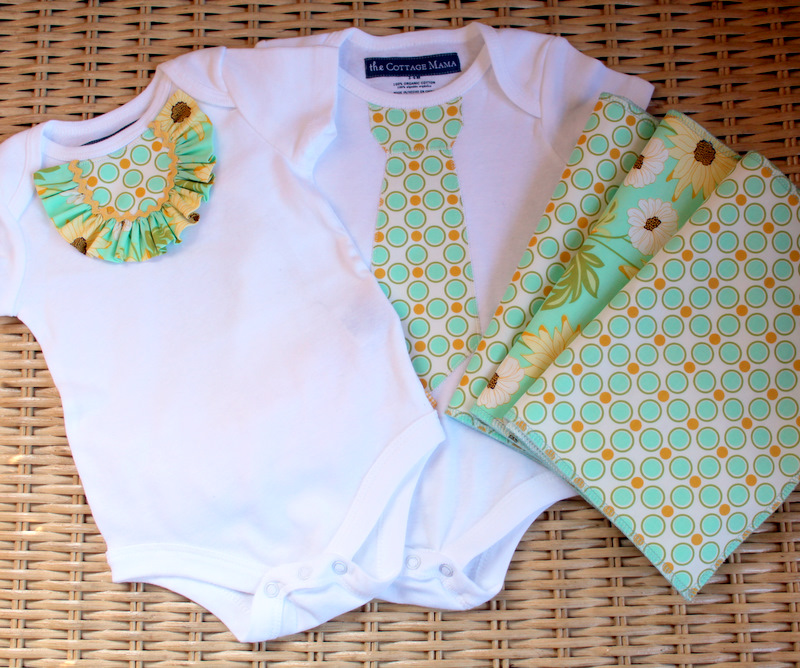
I added a set of three burp cloths to this gift set. These are simply rectangles of fabric that are backed with white minky dot fabric and are serged on the edge with coordinating blue thread.

Add your labels to the gift set to finish each piece. If you don’t have some, I highly recommend purchasing some – see post HERE where to purchase. Wrap up your gift set and you are all set for the arrival of boy and girl twins!
Cottage Mama’s Note: You can use any onesies you like – look for them at Walmart, Carter’s, Target, ect……..any one will do.


 Lindsay Wilkes is the owner and designer behind The Cottage Mama. She creates timeless, vintage inspired sewing patterns for children’s clothes. She is also a fabric designer for Riley Black Designers / Penny Rose Fabrics, author of the book ‘Sew Classic Clothes for Girls’ and can be seen teaching nationwide and online in her video series ‘Lessons with Lindsay’ sponsored by Baby Lock Sewing and Embroidery machines.


I’ve always been a tad confused when it comes to how to place the onesie on the machine though when you are sewing so far down it. I just don’t get it. 0_0 Are there any pictures of that anywhere?
I love it! Both onsies are too cute. 🙂 I am going to make both of them, one for my baby girl and one for my brand new nephew. Thanks so much for sharing!!
sweetpeaandpumkins.blogspot.com
I love these, they are so adorable! Can’t wait to make some of my own.
Very cute! Thanks for the super detailed instructions!
Simply adorable! I shared this on my blog! Thanks so much~ http://www.craftingiscontagious.blogspot.com
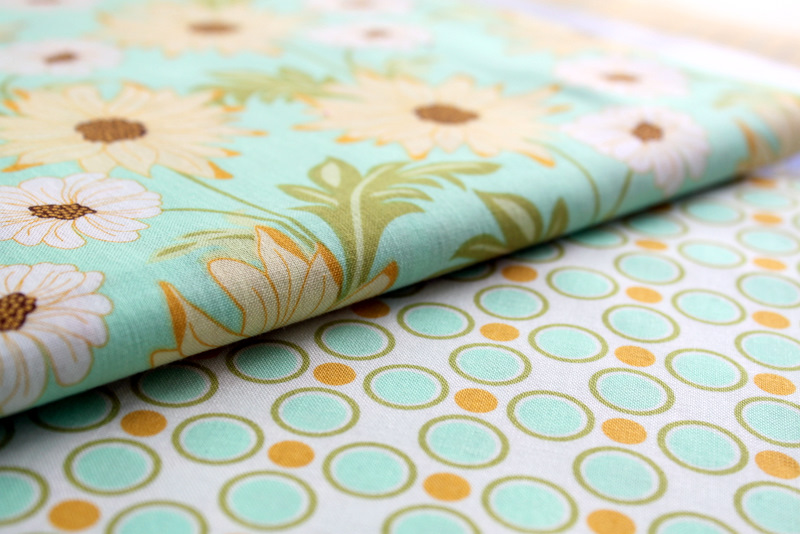
Too cute for words! What line of fabric is that?
Nevermind, I found it in your post! Thanks!
Thanks for the tie pattern. I was going to make on for my little boy for Easter, and now it is already drawn!! I love it.
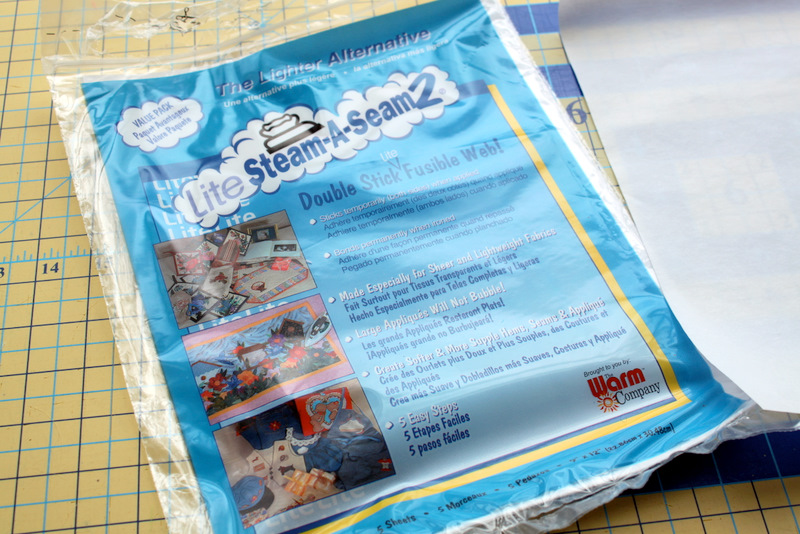
Do you ever “window” your applique adhesive. I saw this idea on Fons and Porter’s PBS show the other day. It makes the applique less stiff – which happens, even with the Lite. It may be a good idea with something as large as the tie. Just cut out the middle of the shape, leaving about a 1/2″ border before adhering the shape to the fabric so there is less adhesive. Do you think your onesie turned out stiff at all?
Sarah,
That’s an interesting idea – I’ve never heard of doing that. I don’t think the onesie turned out stiff and I know with most of my applique the interfacing softens up in the wash as well.
Give that new technique a try and let me know how it turns out!
Thanks,
Lindsay
Wow your designs are really cute how about making use of vintage clothes in making waist apron is it possible?
This is genius! I LOVE that ruffle onesie!! I featured this project on my weekly Wednesday’s Wowzers:
http://oopsey-daisy.blogspot.com/2011/03/wednesdays-wowzers-all-kinds-of-spring.html
Thanks for inspiring!
~Alison
Simply the sweetest!
Amanda
http://www.todaystoptwenty.blogspot.com
You were featured over at Today’s Top 20 — Hooray!
Amanda
http://www.todaystoptwenty.blogspot.com
This is one of my most favorite tutorials on the web! It is just beautiful, I love it! Keep up the awesome work, your amazing and I really appreciate all your ideas and stuff!! Thanks again!!!!
Hi! I LOVE this tutorial and I’m fairly new to all sorts of crafting! I THOUGHT I got all this project today, but maybe not. I have Pellon fusible featherweight interfacing. It looks like only one side of it is fusible. Will this work? They didn’t have anything like what you described in your tutorial 🙁
This tutorial is awesome, and your designs are too cute. Keep sending them our way. Thanks.
So cute! I am going to attempt the boy one now and blog about it tomorrow (with a link back of course). Hopefully it turns out as cute as yours!
Oh, so cute. It´s really a good idea. I´ll try tie pattern for my boys…thanks.
Monika, Czech republic
I made the girls onesie and it turned out adorable. Thank you for a wonderful tutorial and blog!
can’t download the pattern. Please send to me at [email protected] pretty please 🙂