I’m kicking off Week 4 of the Baby Lock Love of Sewing Challenge featuring the Destiny II Sewing & Embroidery Machine. Last week I posted a video of my new Baby Lock sewing machine and today I’m excited to share one of the first projects that I have created with this incredible machine. In case you aren’t familiar with the challenge, Baby Lock selected 12 of it’s ‘Sewlebrities’ to participate in this 12 week challenge. Each designer was to create a project on their Destiny II sewing and embroidery machine that featured gold fabric (fabric provided by Riley Blake Designs) and somehow incorporated their love of sewing. Every week, you will see a new designer, creating a new project and sharing about different features on the Destiny II.
As I’ve mentioned before, I believe that sewing for others is how many of us show our love. Through the things we create and share, we give a little piece of ourselves. A little piece of sewn love. For me, love and happiness is truly handmade!
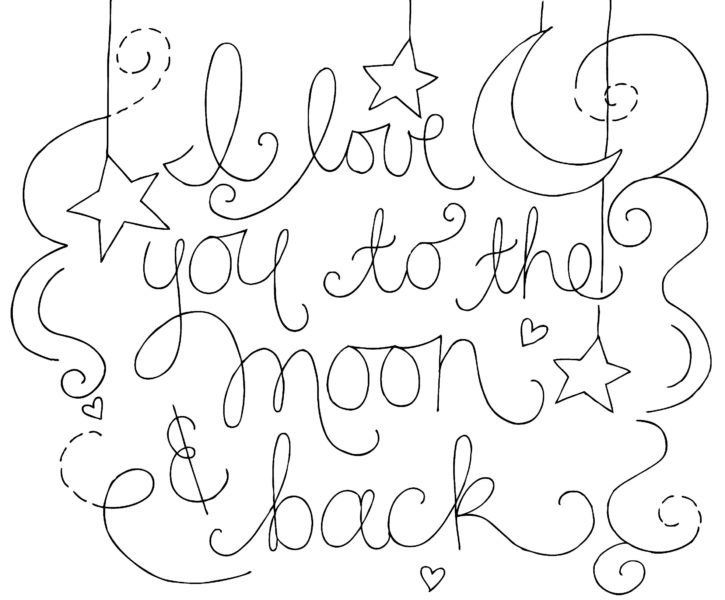
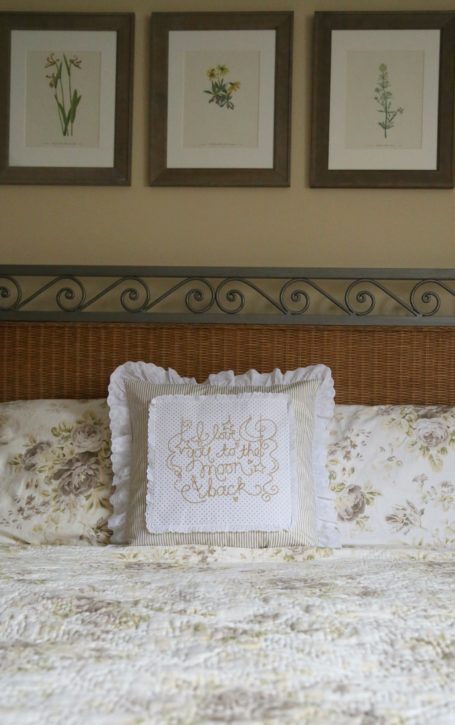
My mom and I adore the quote, ‘I Love You to the Moon and Back’, so I created this design that I had originally planned to offer you as a free downloadable hand embroidery design. But when I was thinking about what I wanted to create for the challenge, I decided it would be really neat to incorporate handwriting into a machine embroidery design. My thought was that it would be so special to have a quilt label created using someone’s own handwriting, a home accessory item using someone’s handwriting. So I decide I would try my hand at creating this ‘I Love You to the Moon and Back’ pillow for our guest room, so that when my mom came to visit us, she would see this special piece sitting on the bed during her visits.
Download the FREE ‘I Love You to the Moon and Back’ PDF by clicking HERE.

So where am I going with this? Well, one of my favorite features on the Baby Lock Destiny II is IQ Designer. IQ Designer is built into the Destiny II machine and enables you to customize and create one-of-a-kind works of art right in your machine. It’s so much fun! You can simply scan your design straight into the machine using the scanning frame (which attaches to the machine like an embroidery hoop). The Destiny II has a built in camera that will scan your design and then you can convert it to an embroidery design. All within the machine!!! No extra software or anything. Plus you can then customize your design by changing stitches, the size, etc. Once your design is created, you can take it into the embroidery edit and customize it even more. I’m telling you, you will have never seen anything like it!
Later this week I’m going to be sharing a video tutorial with you on how to take a hand-drawn work of art and convert into an embroidery design. You’ll see, first hand, how easy it is to use the IQ Designer on the Baby Lock Destiny II. You will be able to use your embroidery designs for all sorts of projects:
- Pillows and other home decor items
- Wall Art as either framed or stretched over canvas
- Accessories such as tote bags, zipper pouches and more!
- Clothing, especially children’s clothing
The options are endless. How neat is it to transfer something you’ve created and turn it into machine embroidery? I can’t wait to try this with my girls. I’m going to have them draw a black and white pen drawing and try to scan it and embroider it for them. They will be over the moon with excitement! My head is spinning with ideas and this is just the beginning.

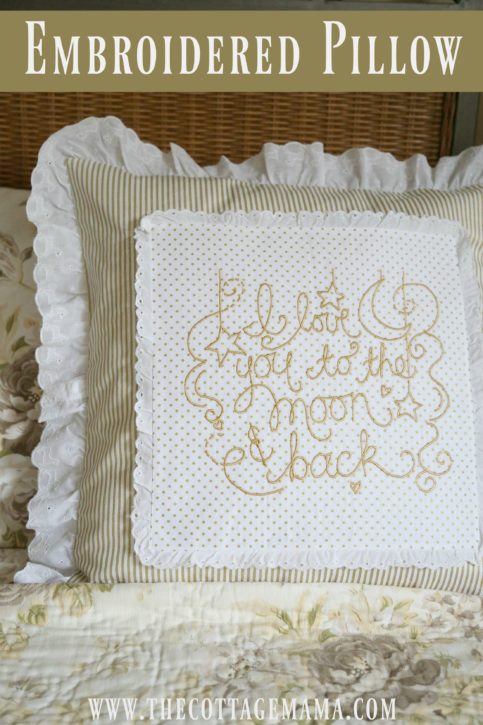
Once you’ve created your embroidery design, I wanted to give you a quick tutorial on how to turn it into this sweet eyelet embellished pillow. Now if you don’t have the Destiny II, you could certainly use my ‘I Love You to the Moon and Back’ as a hand embroidery design or use this tutorial with a different embroidery design. Totally up to you!
Love You to the Moon and Back Embroidered Pillow Tutorial
by Lindsay Wilkes from The Cottage Mama
for Baby Lock Love of Sewing Challenge
Supplies:
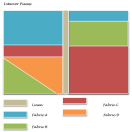
1 piece fabric cut 12″ x 12″
2 pieces fabric cut 19″ x 19″
1 piece double sided fusible interfacing (such as WonderUnder or Steam-a-Seam Lite 2)
1 piece Pellon Craft-Fuse thick interfacing (optional)
1 piece small eyelet or other trim (1.5 yards)
1 piece wider eyelet or other trim (2.25 yards)
18″ pillow form or fiberfill
Instructions:
*Instructions are assuming you have already created your embroidery design for the center of the pillow. Again, I’ll be sharing a video with you later this week about how to convert this drawing into embroidery using the Destiny II IQ Designer feature, so stay tuned!
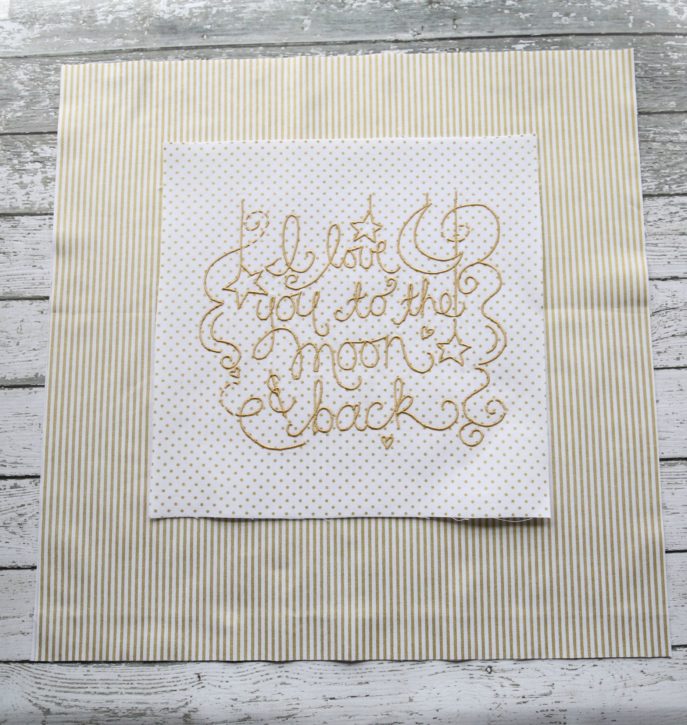
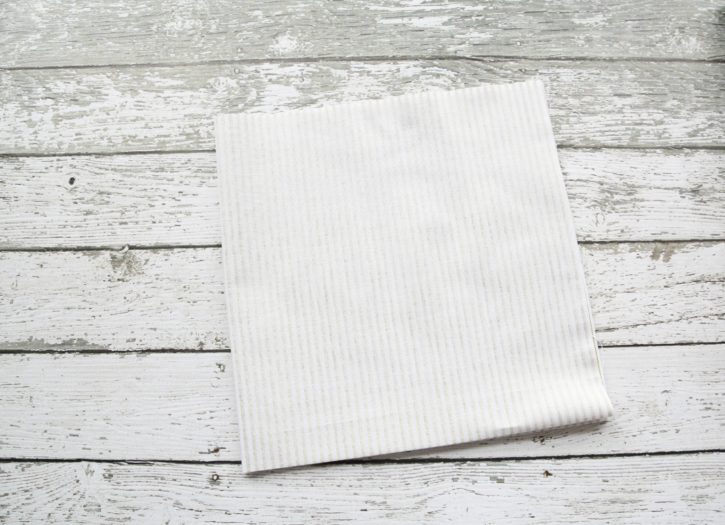
Cut out all pieces. Cut your embroidery design down to the 12″ x 12″ piece and your pillow front and pillow back will be 19″ x 19″.
Optional: Apply Pellon Craft-Fuse to back of embroidery design piece. This will help to make sure that the embroidery design stands out and doesn’t look saggy on the pillow. Again, completely optional. It will also help to not see the stripes on the fabric behind the design as well.
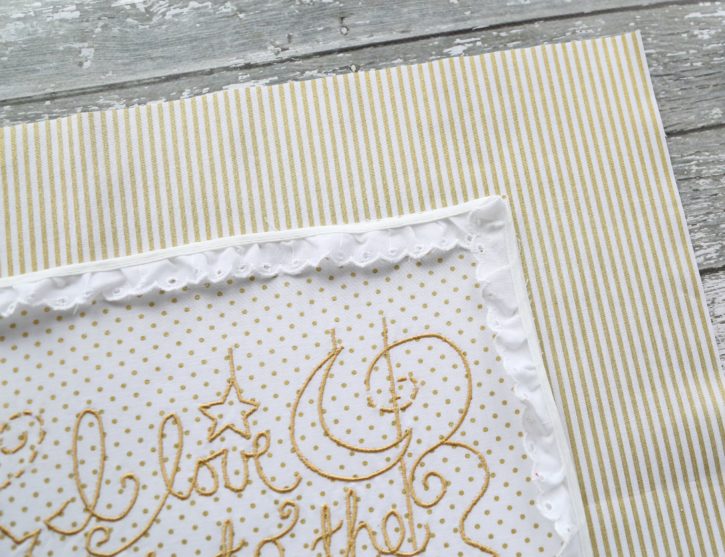
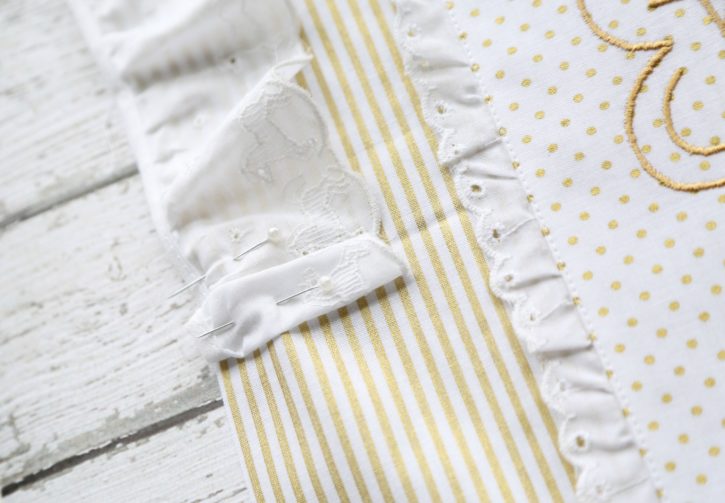
Sew the small eyelet to the perimeter of the center embroidery design. Make sure to sew ends under so raw edge is not exposed at the beginning and ending of the eyelet. Press the straight edge of the eyelet and seam towards the back of the embroidery design.
Apply double sided fusible interfacing to the back of the embroidery design.
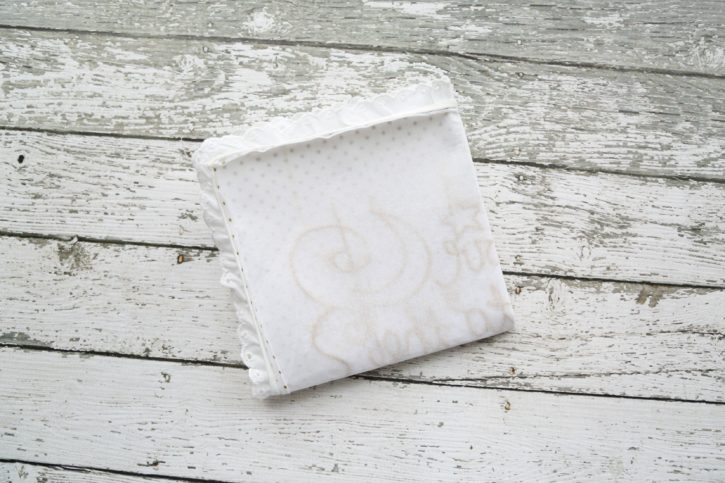
Find the center point of the pillow front and the center point of the embroidery design. To do this, fold each piece of fabric in half and then in half again and press. This will find your center point.
Remove the paper backing from the double sided fusible and line up the center points of the embroidery and pillow front. Fuse the embroidery design to the pillow front.
Edge stitch the embroidery design to the pillow front, making sure that all the edges of the embroidery design are pressed inward towards the design (so no raw edges are showing).
Apply the larger eyelet to the pillow front. Place the straight edge of the trim along the edges of the pillow front. The ruffle should be pointing inward. Start at the middle of one of the edges and finish at the same point, making sure to fold under the raw edge and stitch so that no raw edges are exposed.
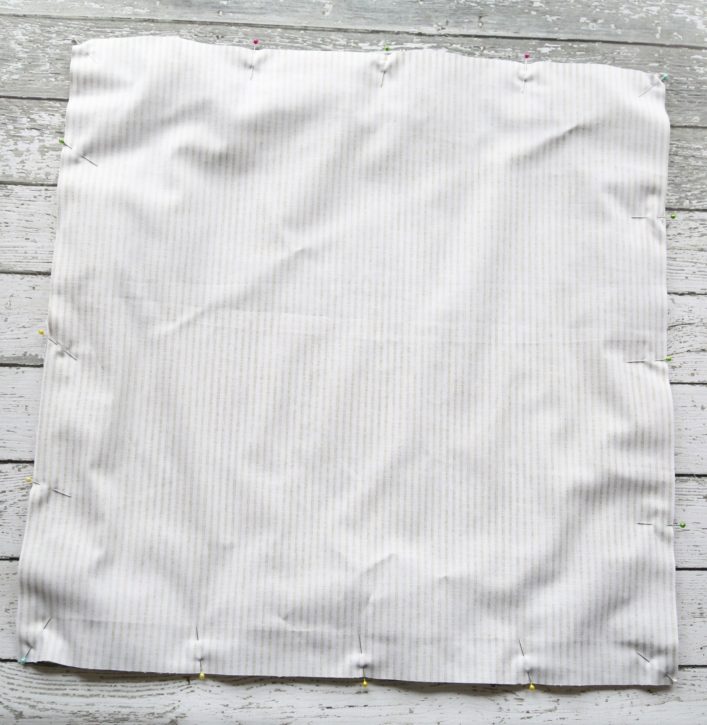
Place the pillow back on top of the pillow front, with right sides together. Sew all the way around the pillow, but leave a 10-14″ opening in the bottom of the pillow. Insert the pillow form or stuff with fiberfill. Sew the bottom edge of the pillow closed by hand-stitching.

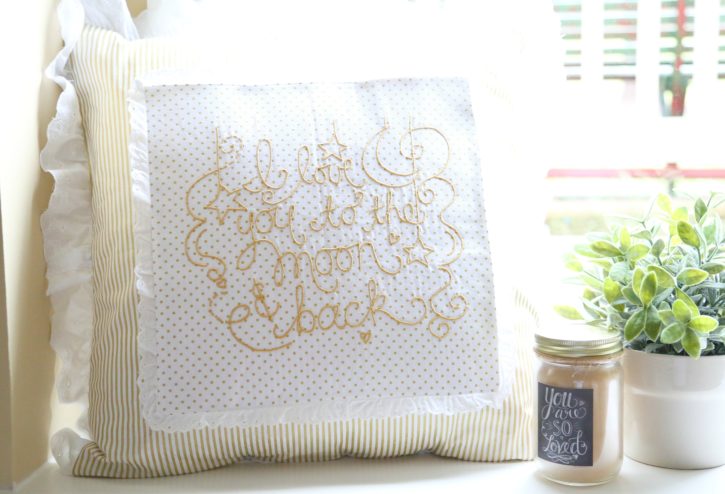
And that’s it! Now you have a super-sweet, super-personalized pillow design for your loved one. I don’t know who wouldn’t love one of these pillows!
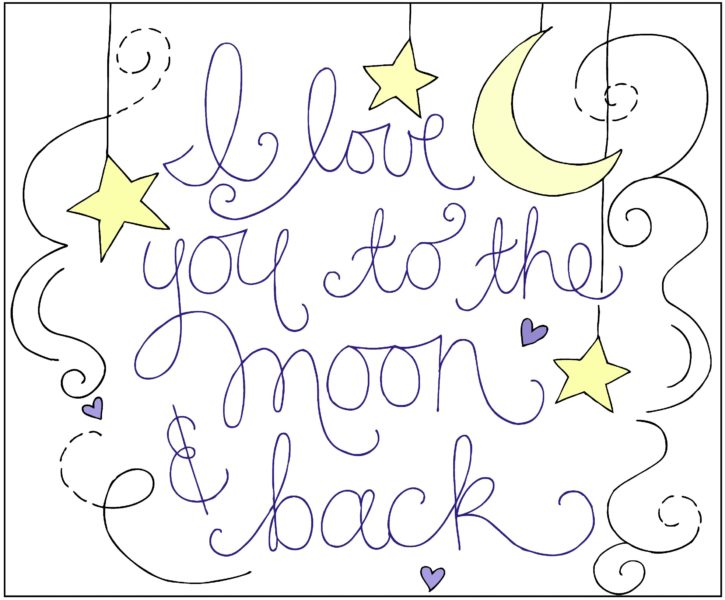
Here is a colored version of ‘I Love You to the Moon and Back,’ in case you’d like to just print it out as it is and use it for one of your projects.
Download the colored version HERE.
Download the black & white version HERE.
Be sure to check back later this week, when I share with you my video on how to create the embroidery design using IQ Designer with your Baby Lock Destiny II. Even if you don’t have a Destiny II (yet!), you’ll want to see how this works……..it’s pretty darn amazing!
So, until next time……


 Lindsay Wilkes is the owner and designer behind The Cottage Mama. She creates timeless, vintage inspired sewing patterns for children’s clothes. She is also a fabric designer for Riley Black Designers / Penny Rose Fabrics, author of the book ‘Sew Classic Clothes for Girls’ and can be seen teaching nationwide and online in her video series ‘Lessons with Lindsay’ sponsored by Baby Lock Sewing and Embroidery machines.


I just posted on my face book page, today after watching week #4 of the Baby Lock Challenge with Lindsay Wilkes, I finally got the courage to use the IQ Designer on my Baby Lock Destiny and I am now looking for to making more IQ designs.
Awwww, thank you so much, Alice!! That makes me so happy……thanks again for taking the time to comment!
I am just in the midst of doing this pillow. Love love your easy to understand instructions. Have the Destiny 1 upgrade . Can’t wait to see more videos.. And doing more of your other tutorials too. Just the above pillow , there
is no pdf in making that pillow? is it me or is there another place to find the instructions?? I won’t be afraid to
use my Destiny in embroidery mode ….
Thanks
Oksana
I’m like Oksana, is there a printout pdf available? or am I missing it also? thanks…I want to do this for a friend at church who’s having first girl after 2 boys!!
Hi Glenda,
There is a printable for the design, but not the instructions. For the instructions, please refer to the pictured instructions in the blog post. I only do PDF printable instructions for the patterns that I sell. Thanks! Lindsay