I think piping is one of the sweetest, most professional details you can add to children’s clothing. It makes a some-what ordinary piece of clothing into something extraordinary. There are many different colors and sizes of piping that you can purchase pre-made in the notions section of your local sewing store, but did you know that you can make your own?
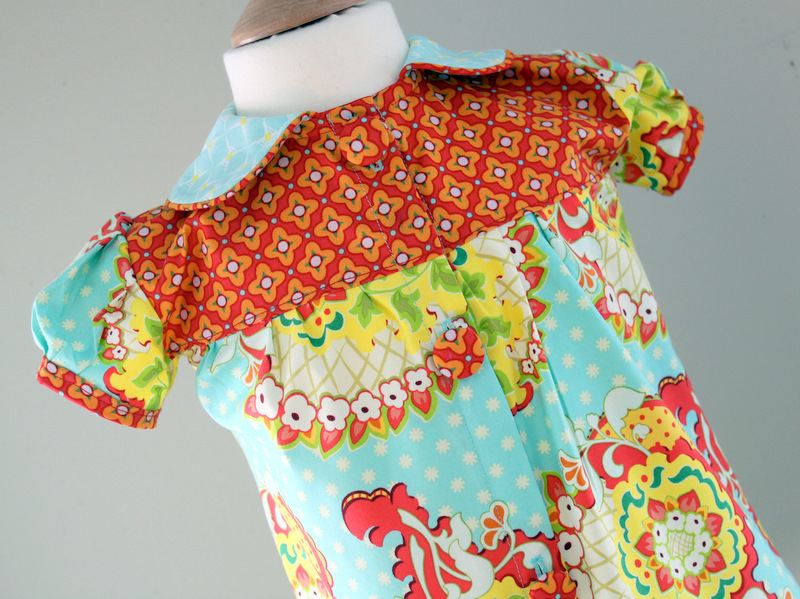
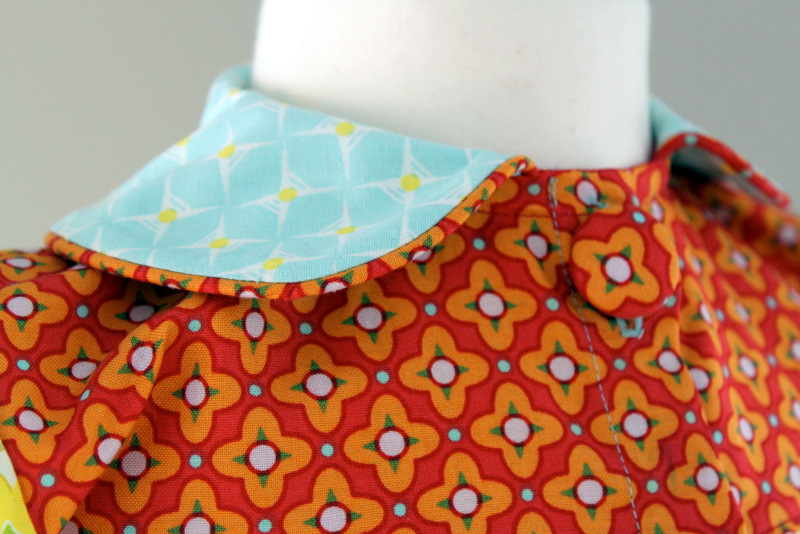
Making your own piping is really fun, very easy, and super affordable. I love tying a garment together with piping in a coordinated, printed fabric. Last week in my vintage/retro “Project Run and Play” outfit, I added custom piping into the peter-pan collar and I thought I would share the how-to with you today.


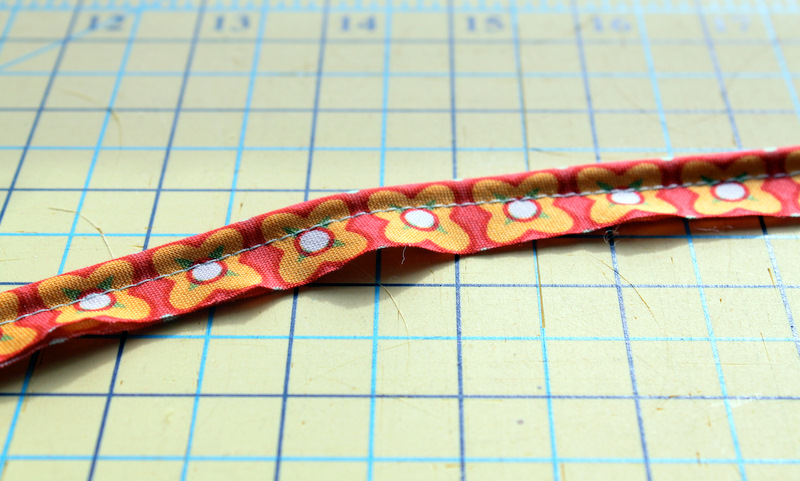
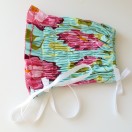
Here is what your piping looks like after you have basted it together. Normally I would use a coordinating thread, but I wanted you to be able to see the stitching. After this step, I like to cut the raw edge of the bias cut fabric down to the seam allowance that I am using in my design (whether it be 5/8″, 1/2″, or 1/4″).
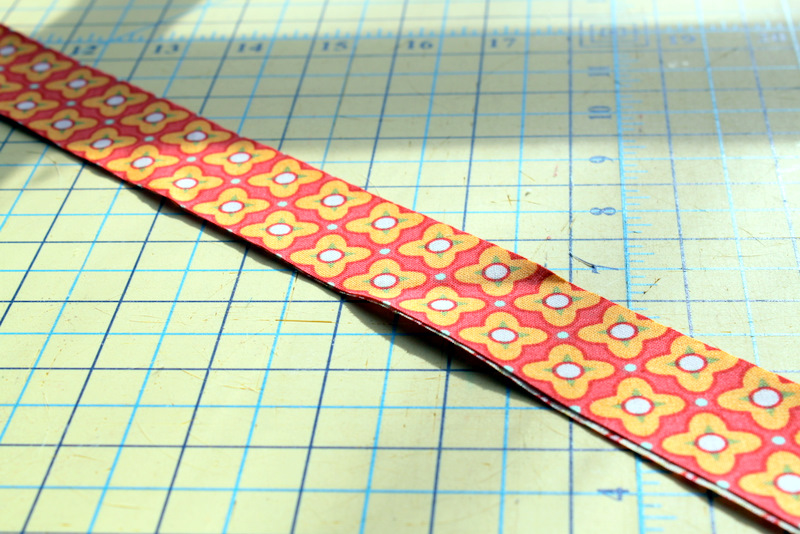
If you are making lots of piping to save for future projects, I would recommend going with a wider cut bias strip and then cutting down the raw edge based on the seam allowance for each individual project.


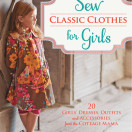
 Lindsay Wilkes is the owner and designer behind The Cottage Mama. She creates timeless, vintage inspired sewing patterns for children’s clothes. She is also a fabric designer for Riley Black Designers / Penny Rose Fabrics, author of the book ‘Sew Classic Clothes for Girls’ and can be seen teaching nationwide and online in her video series ‘Lessons with Lindsay’ sponsored by Baby Lock Sewing and Embroidery machines.


Thanks so much for sharing! I have been wanting to make my own piping for a while. What kind of foot pedal are you using to sew the piping?
awesome lindsay. 🙂 I love piping. I always have a hard time finding cotton cording around here, hopefully I’ve always just been looking in the wrong spot!
What a beautiful, easy-to-follow tutorial! It is amazing what a lovely difference this makes over the prepackaged version!
You are so great at giving basic directions that even a true novice like me can follow!
Thank you so very much – I have yet to try sewing with piping. Now I think I’m ready (with the computer and your tutorial right next to me)
I love your blog, by the way. So many lovely pictures and inspirering things!
Polka
– from Denmark 😉
I use my zipper foot so that the needle can get as close as possible to the cording and give it an even look with little work. Thanks for sharing!
Thank you for sharing. I love the look of piping but so far my attempts haven’t turned out quite right. I look forward to finally getting it right with your help.
I love that!
thanks Lindsay, I learn so much from your blog and I was inspired tonight reading your guest blog. I live in Oman and it is very hard to get good sewing materials and notions so this post is going to be bookmarked for one of my more adventurous days 😉
I tried your tutorial on making your own piping and piping installation last week, I am so happy how it turned out on my dress, Thank You!
You can see it here
http://sertyan.blogspot.com/2011/04/another-peter-pan-collar-dress.html
I also used your Party Dress Tutorial the other time. Thank you.
Looks easy peasy! And I always thought piping was so intimidatingly difficult. The instructions that came with my pattern were far more in depth and yes, scary to me. I feel much more confident after your tutorial!!!!
Thanks again for sharing your vast knowledge in a way that beginners can understand!!
Kris
Hi..I have become a great fan of ur website as of recent..Love the designs and vibrant colors..Could you include a tutorial for floppy hat(one like which Savannah wears in a page that I visited)..I have a 9-year-old daughter and would like to try it out..Happy Xmas and God bless..
Do you have a tutorial for this dress? I would love to do a dress that buttons down the front with the peter pan collar! So cute! Most dresses have a zipper in the back 🙁
This is a great tutorial, thanks.