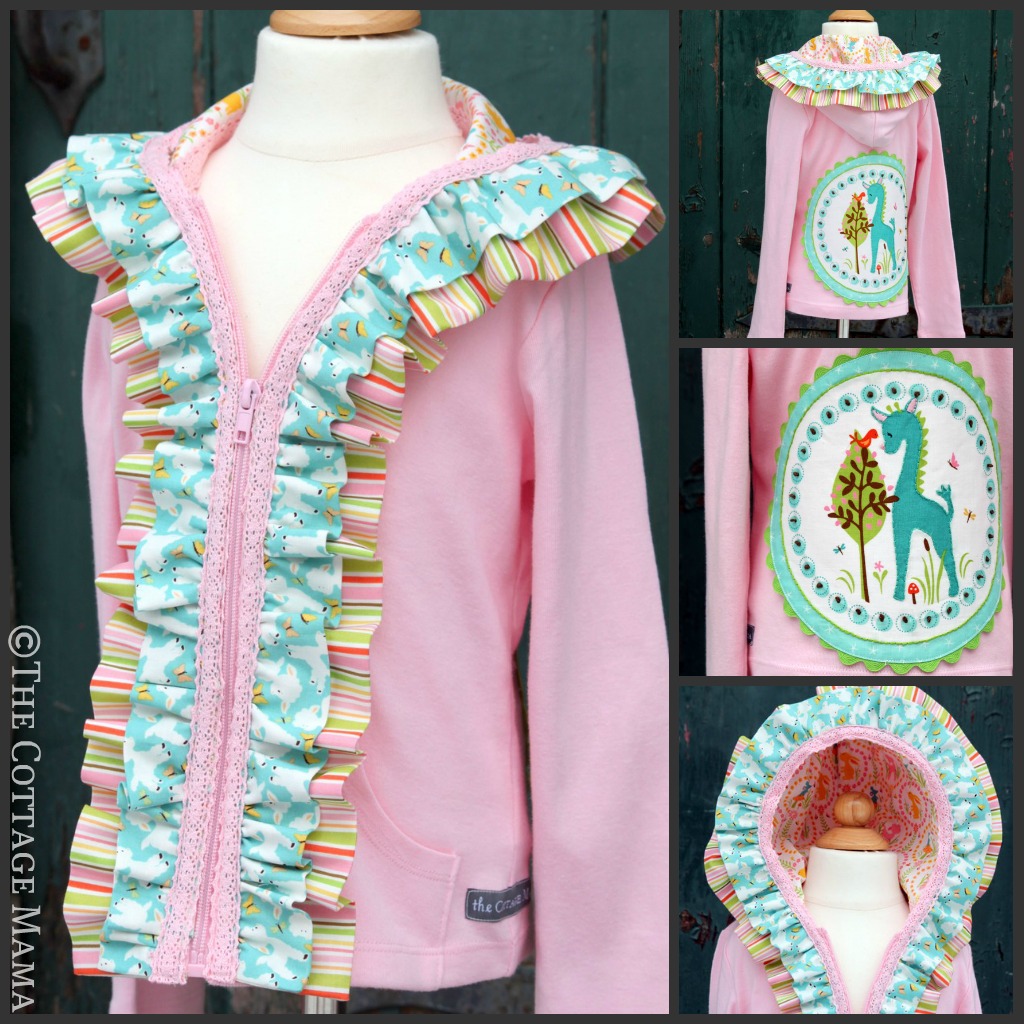
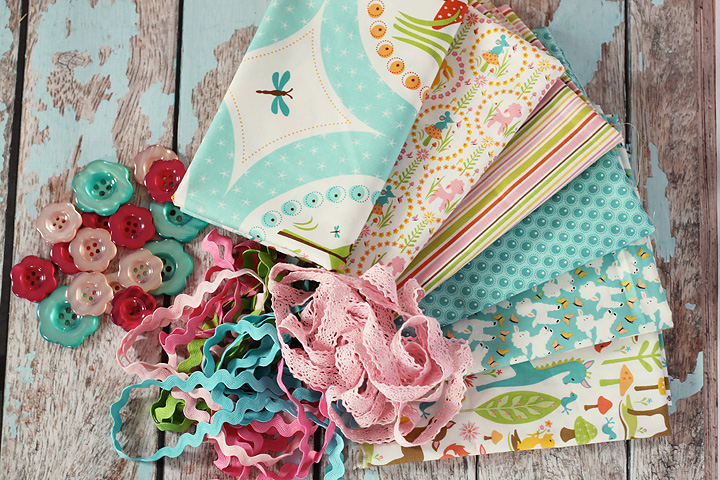
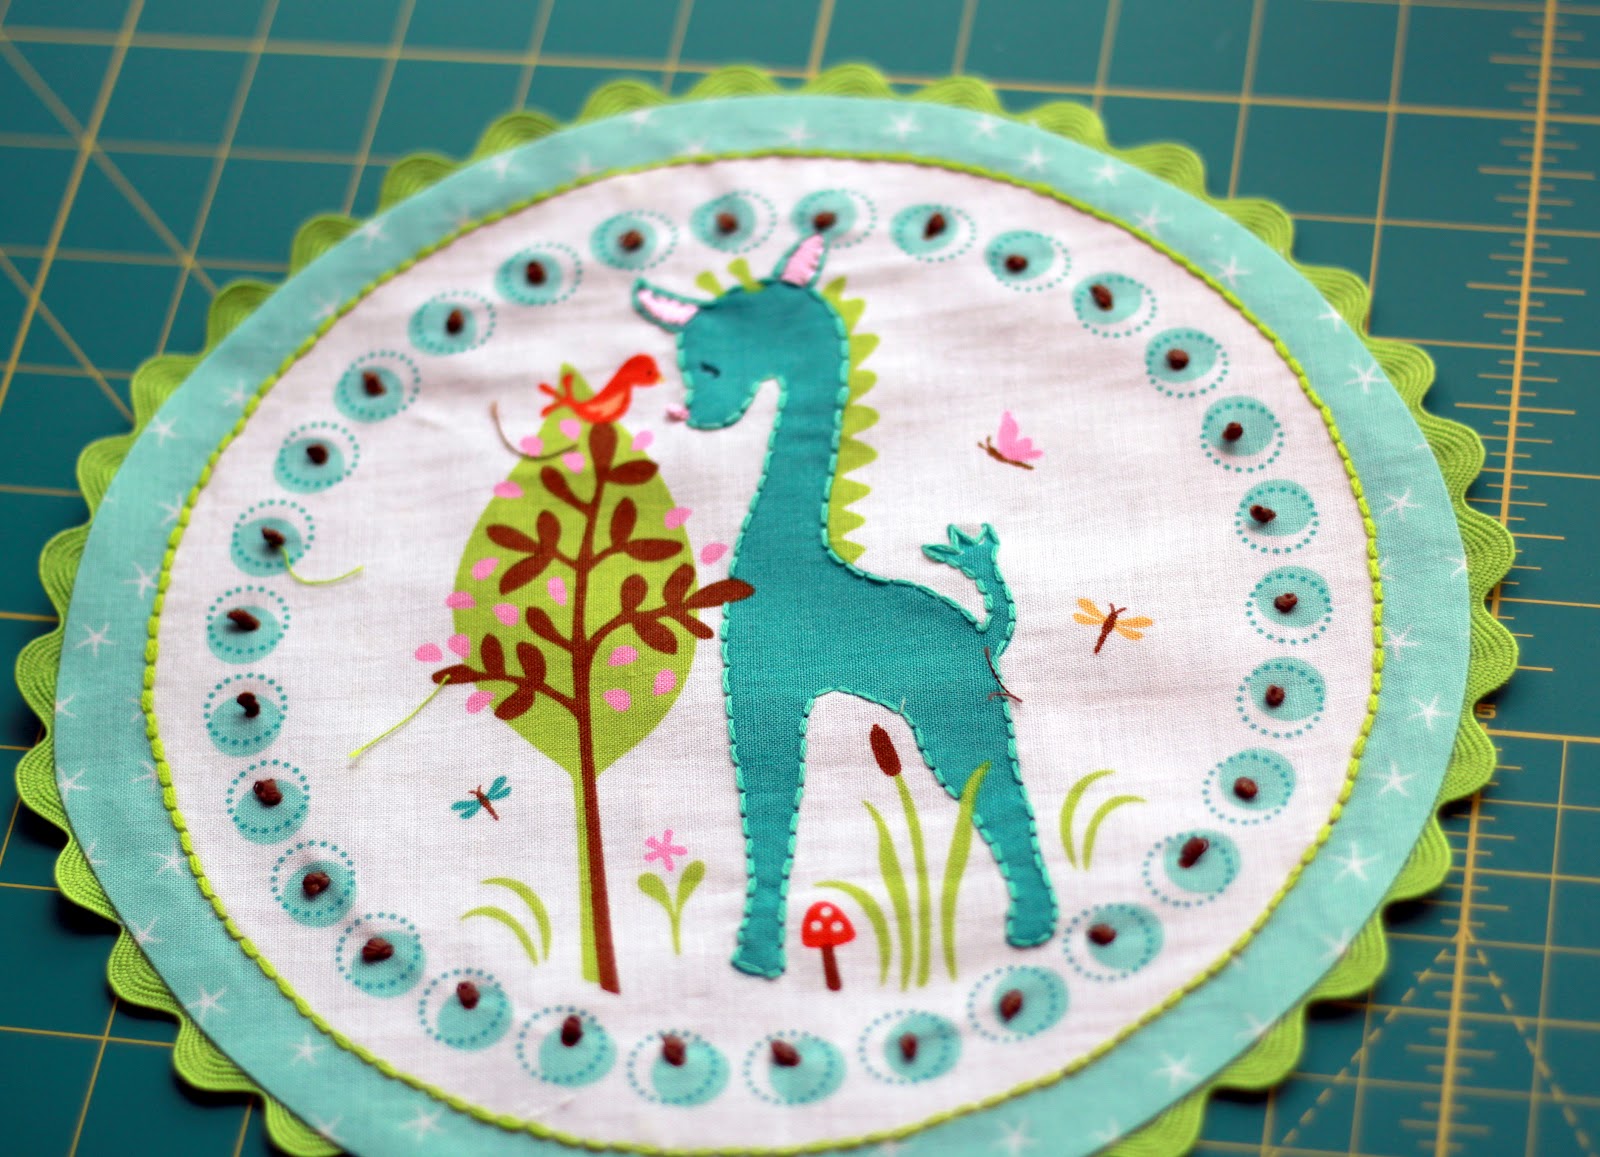
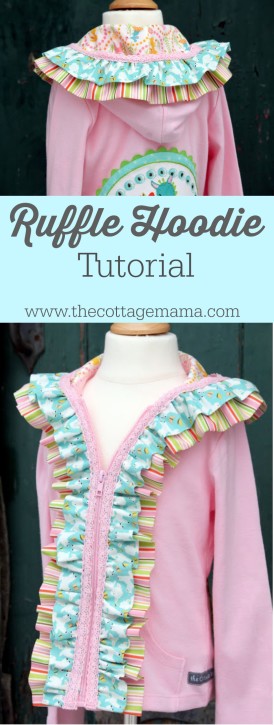
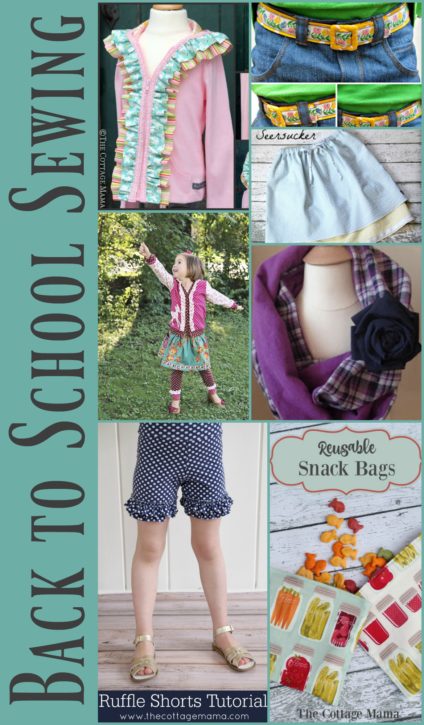
I’m excited to be sharing my Embellished Ruffle Hoodie Tutorial with you today! My style of designing is a little different. I usually let the fabrics I work with inspire my children’s clothing designs and blog projects, so I’m never quite sure what I’m going to come up with. When I got this package in the mail from Riley Blake Designs, my mind started swirling with about 10 different ideas. This line is ‘Woodland Trails‘ and it is about one of the cutest lines around. It’s sweet, whimsical, youthful and feminine (well, the colors I selected).
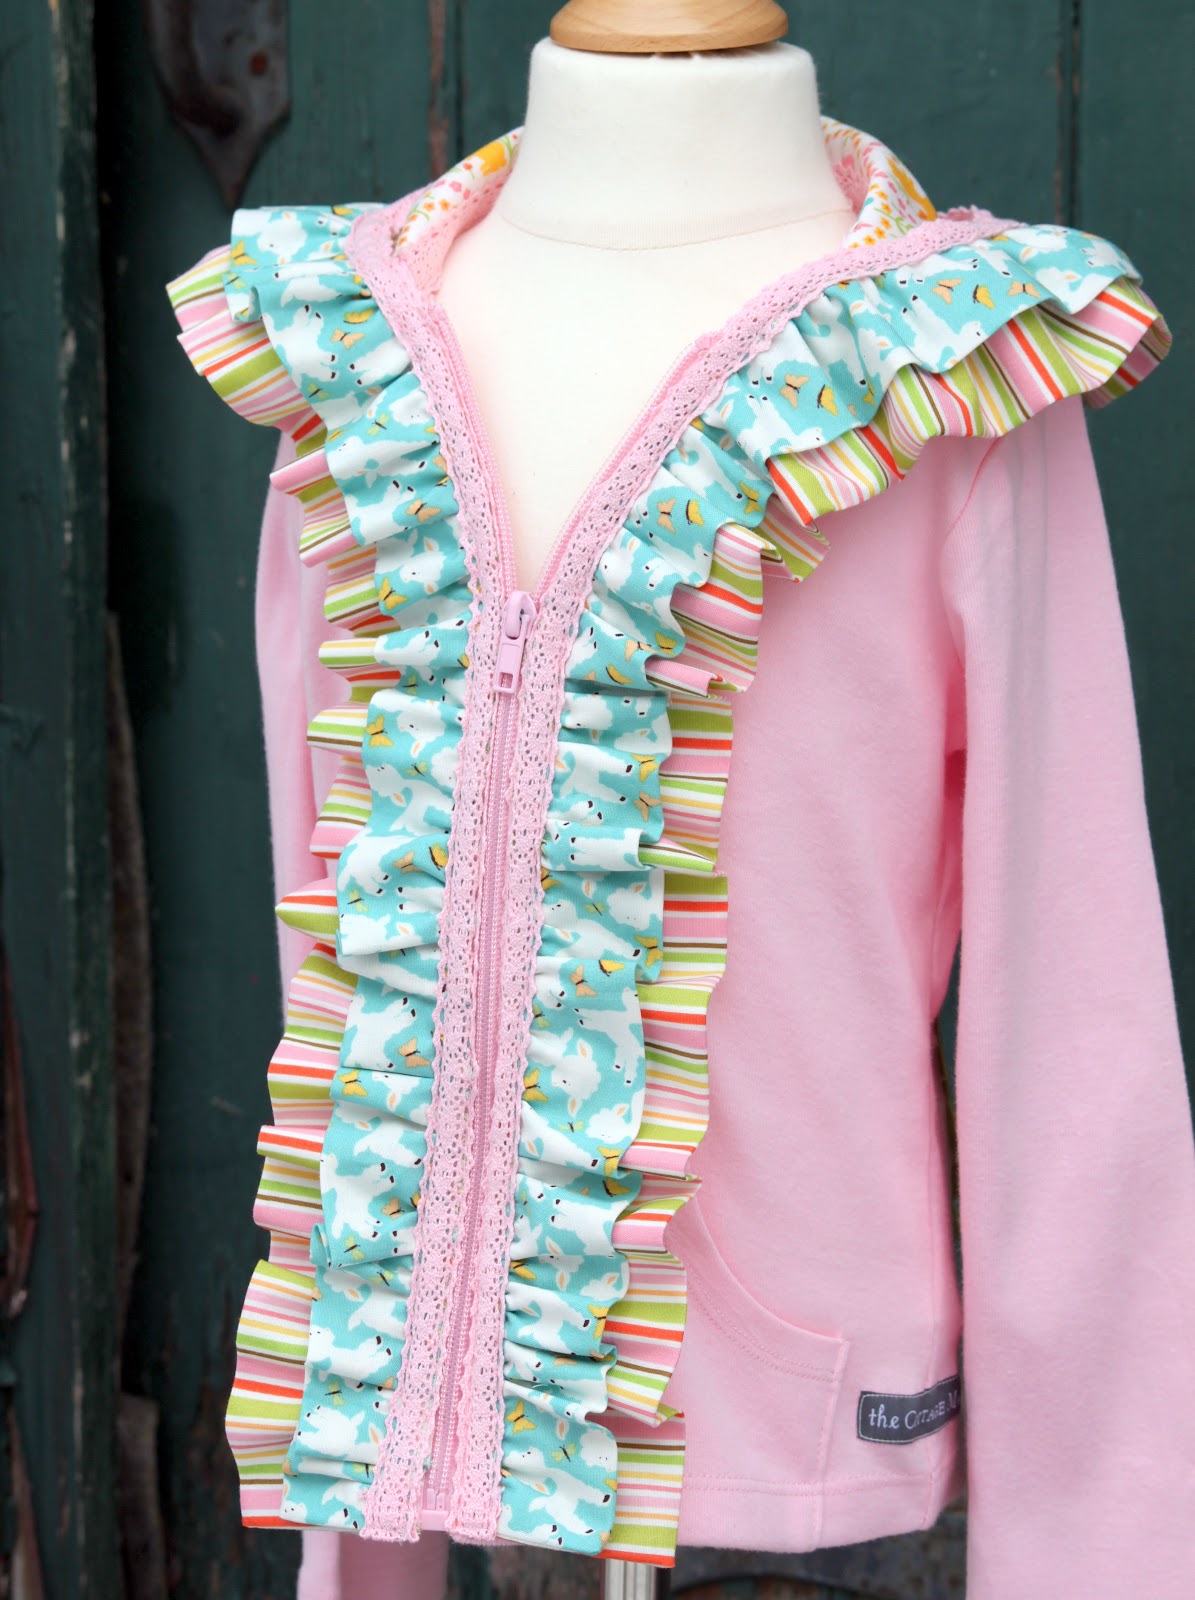
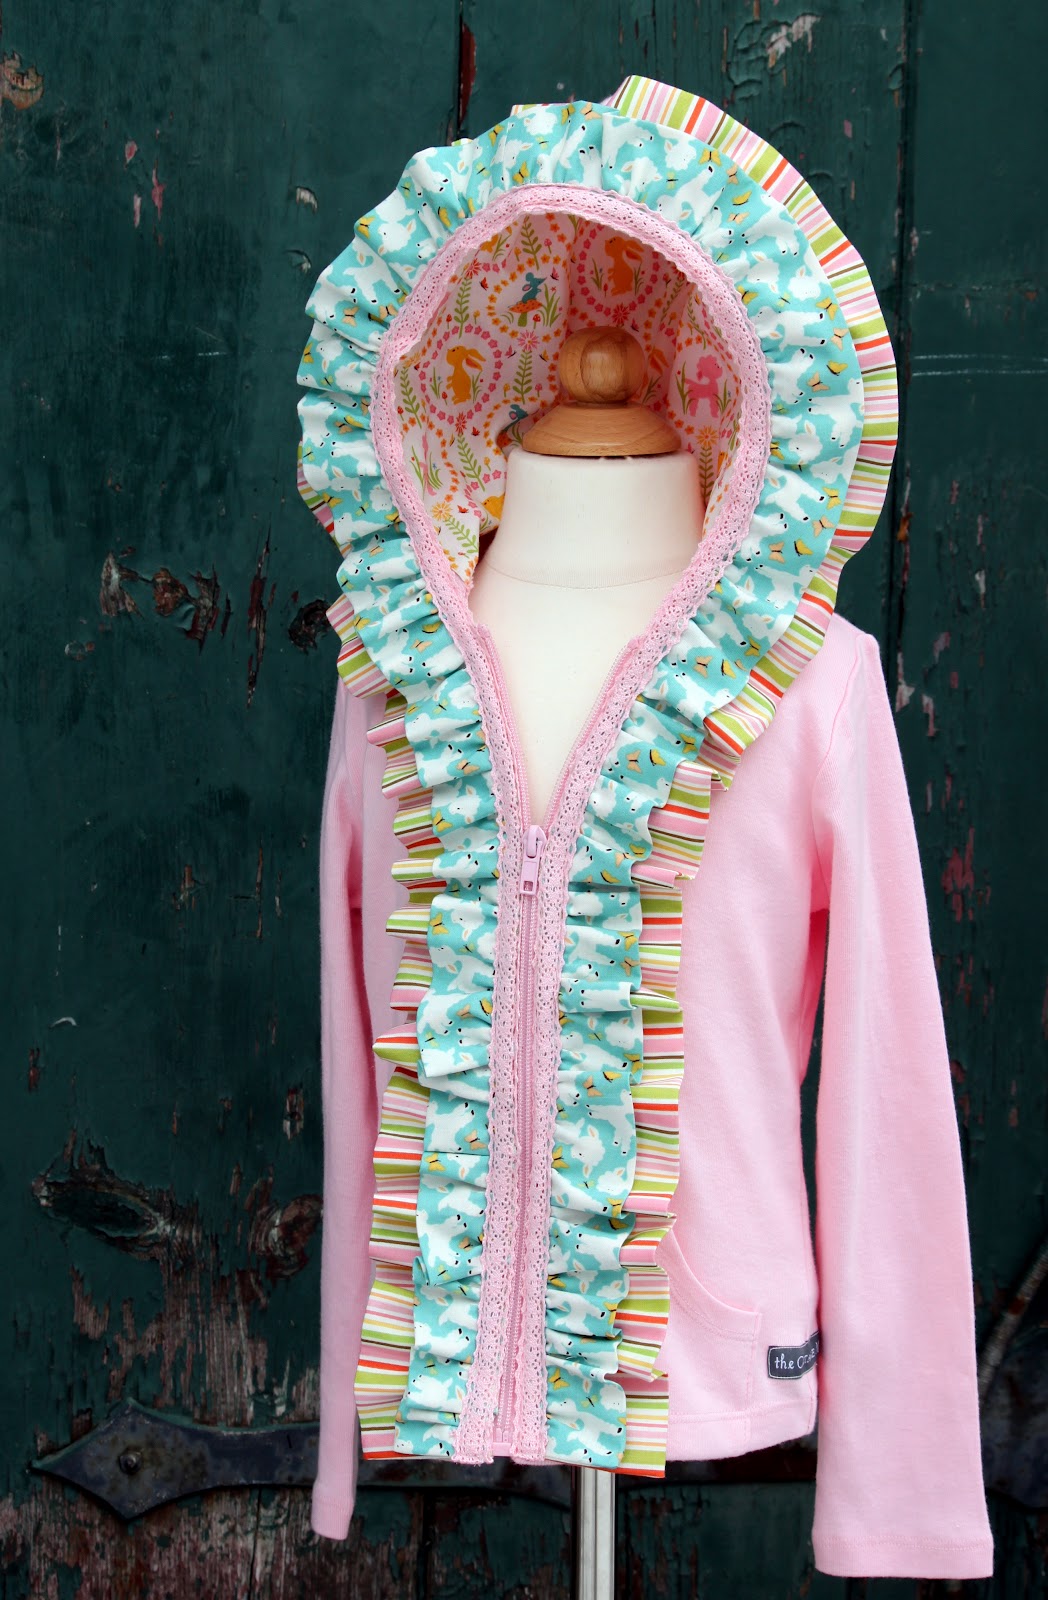
After thinking about these fabrics and trims for several days, I finally settled on the project that I’m sharing with you today – The Embellished Hoodie Tutorial. This is a practical project for any girl……from a baby up to a tween. You can get as creative as you would like with the amount of embellishing you would like to include and can customize this look and theme to your liking.
So, let’s get started………
Basic Sewing Supplies
Iron


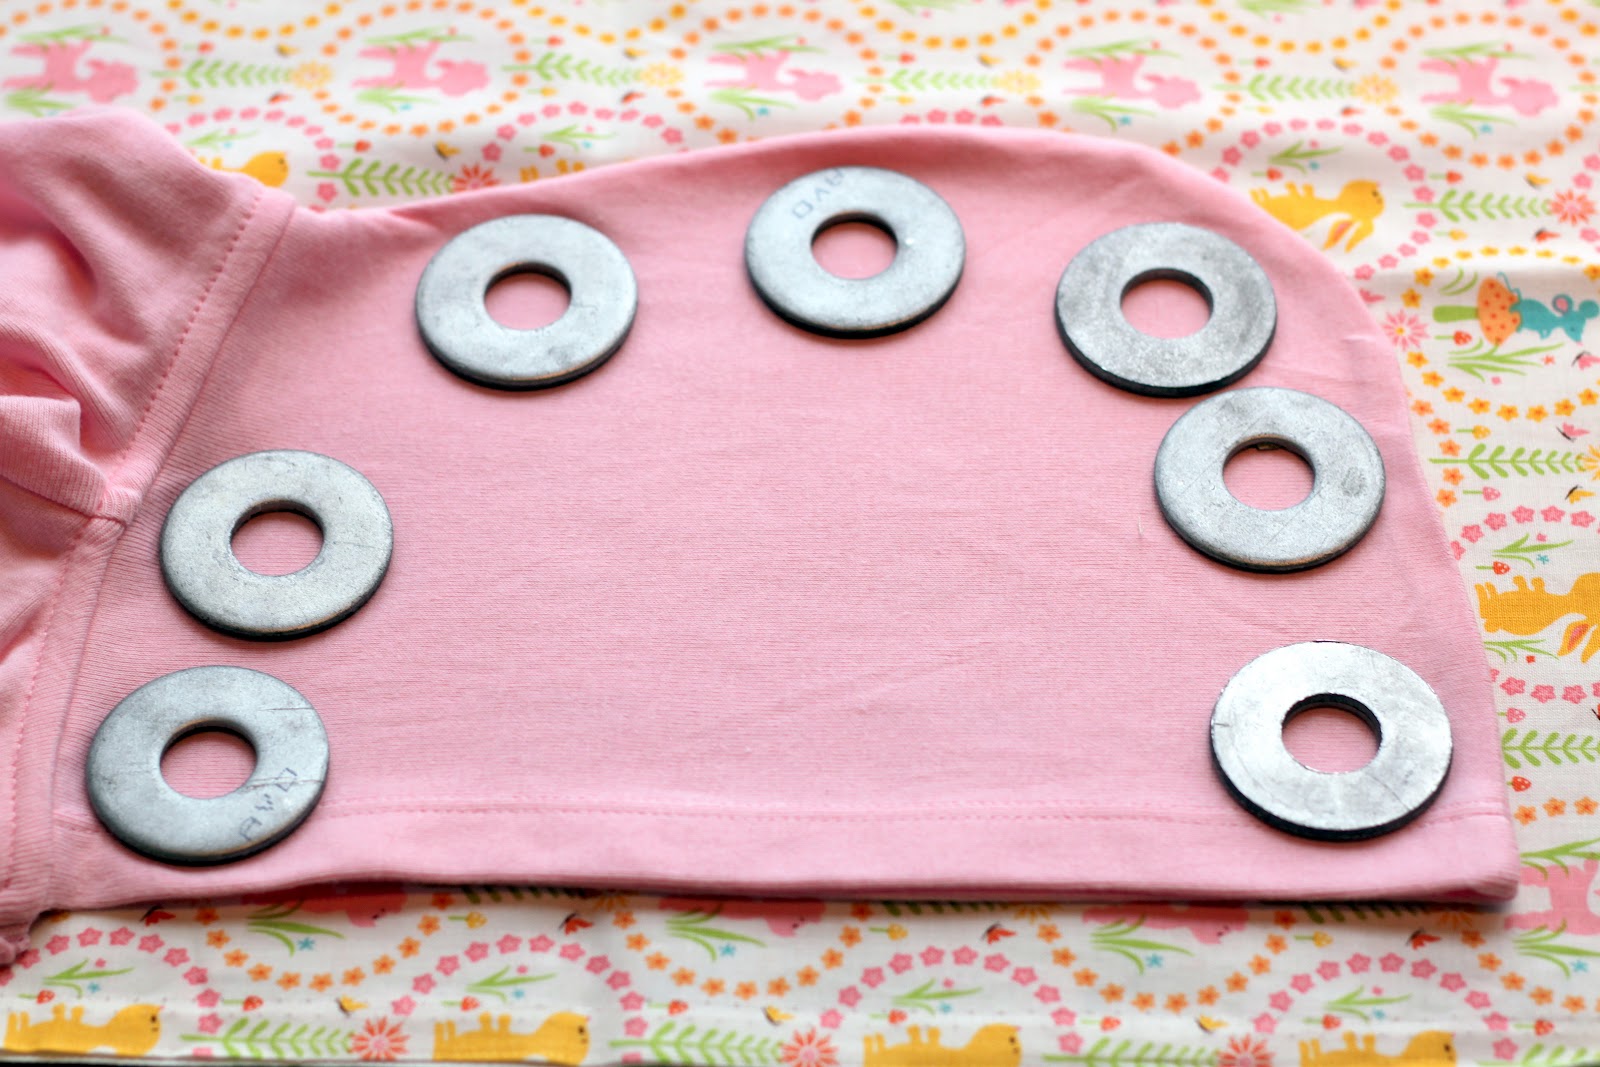
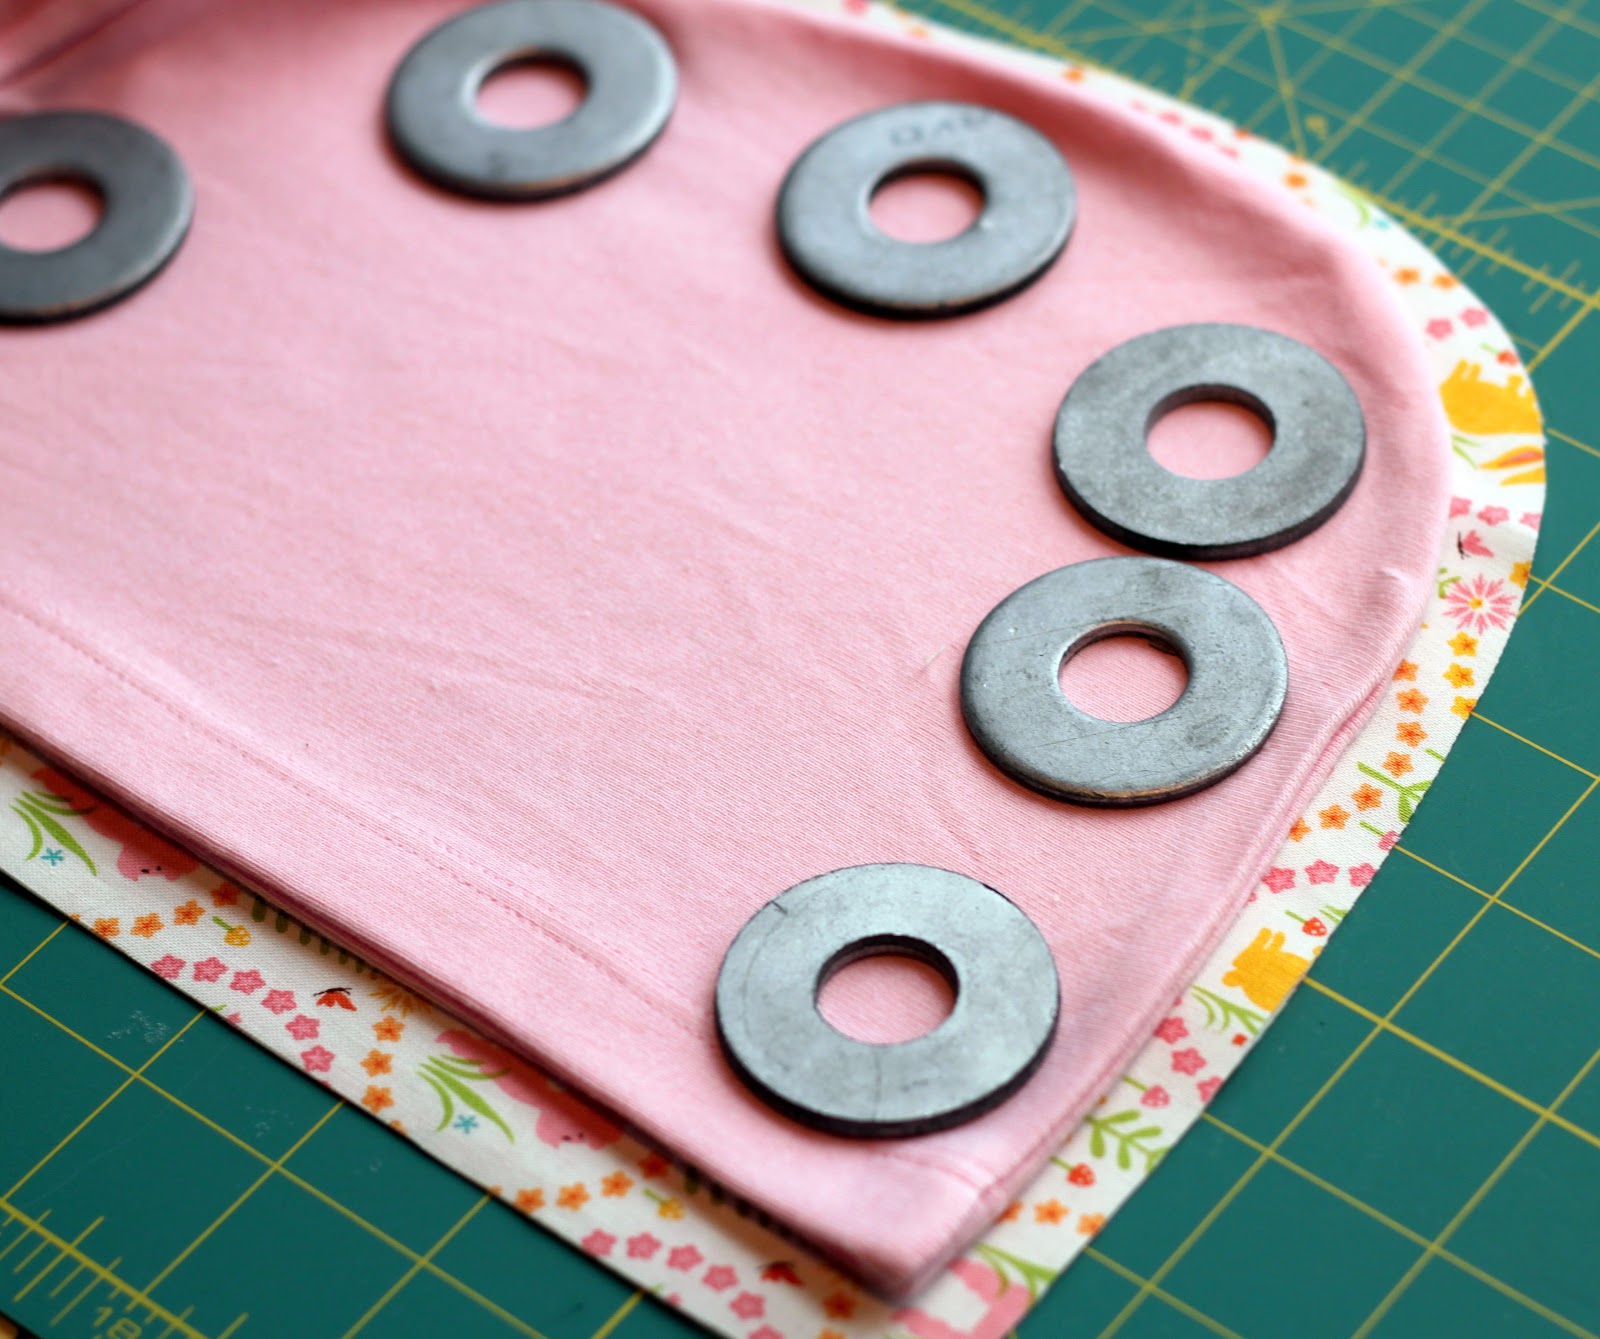

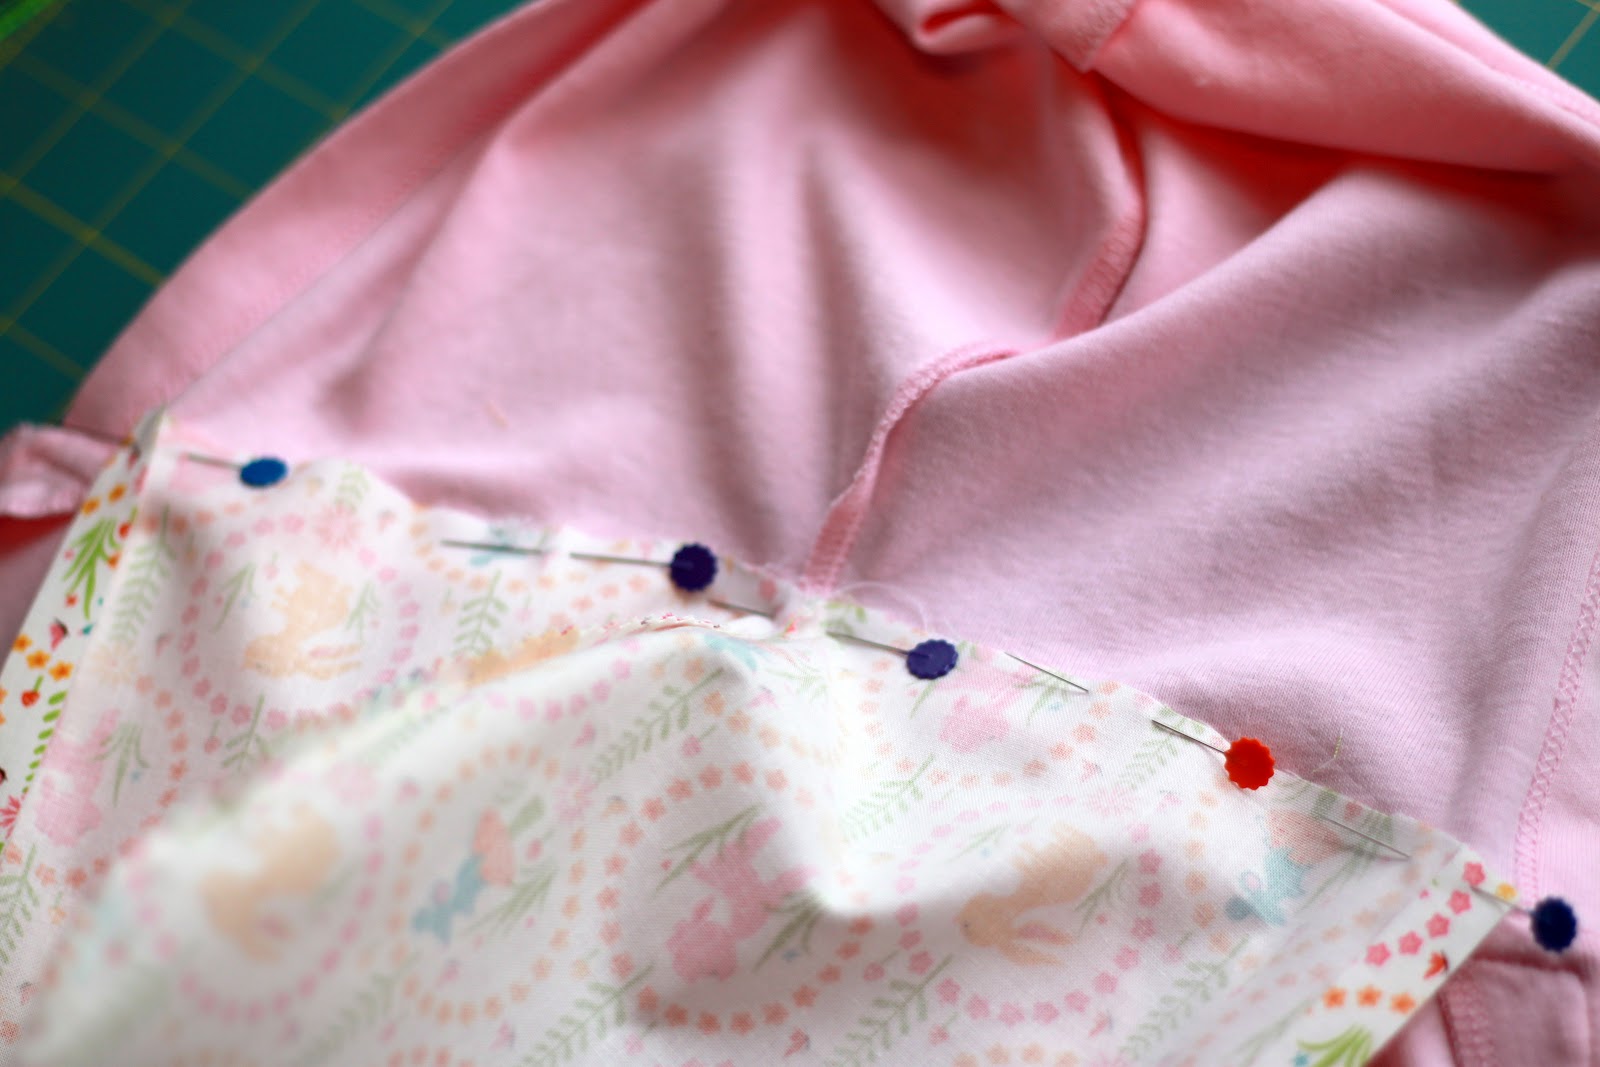
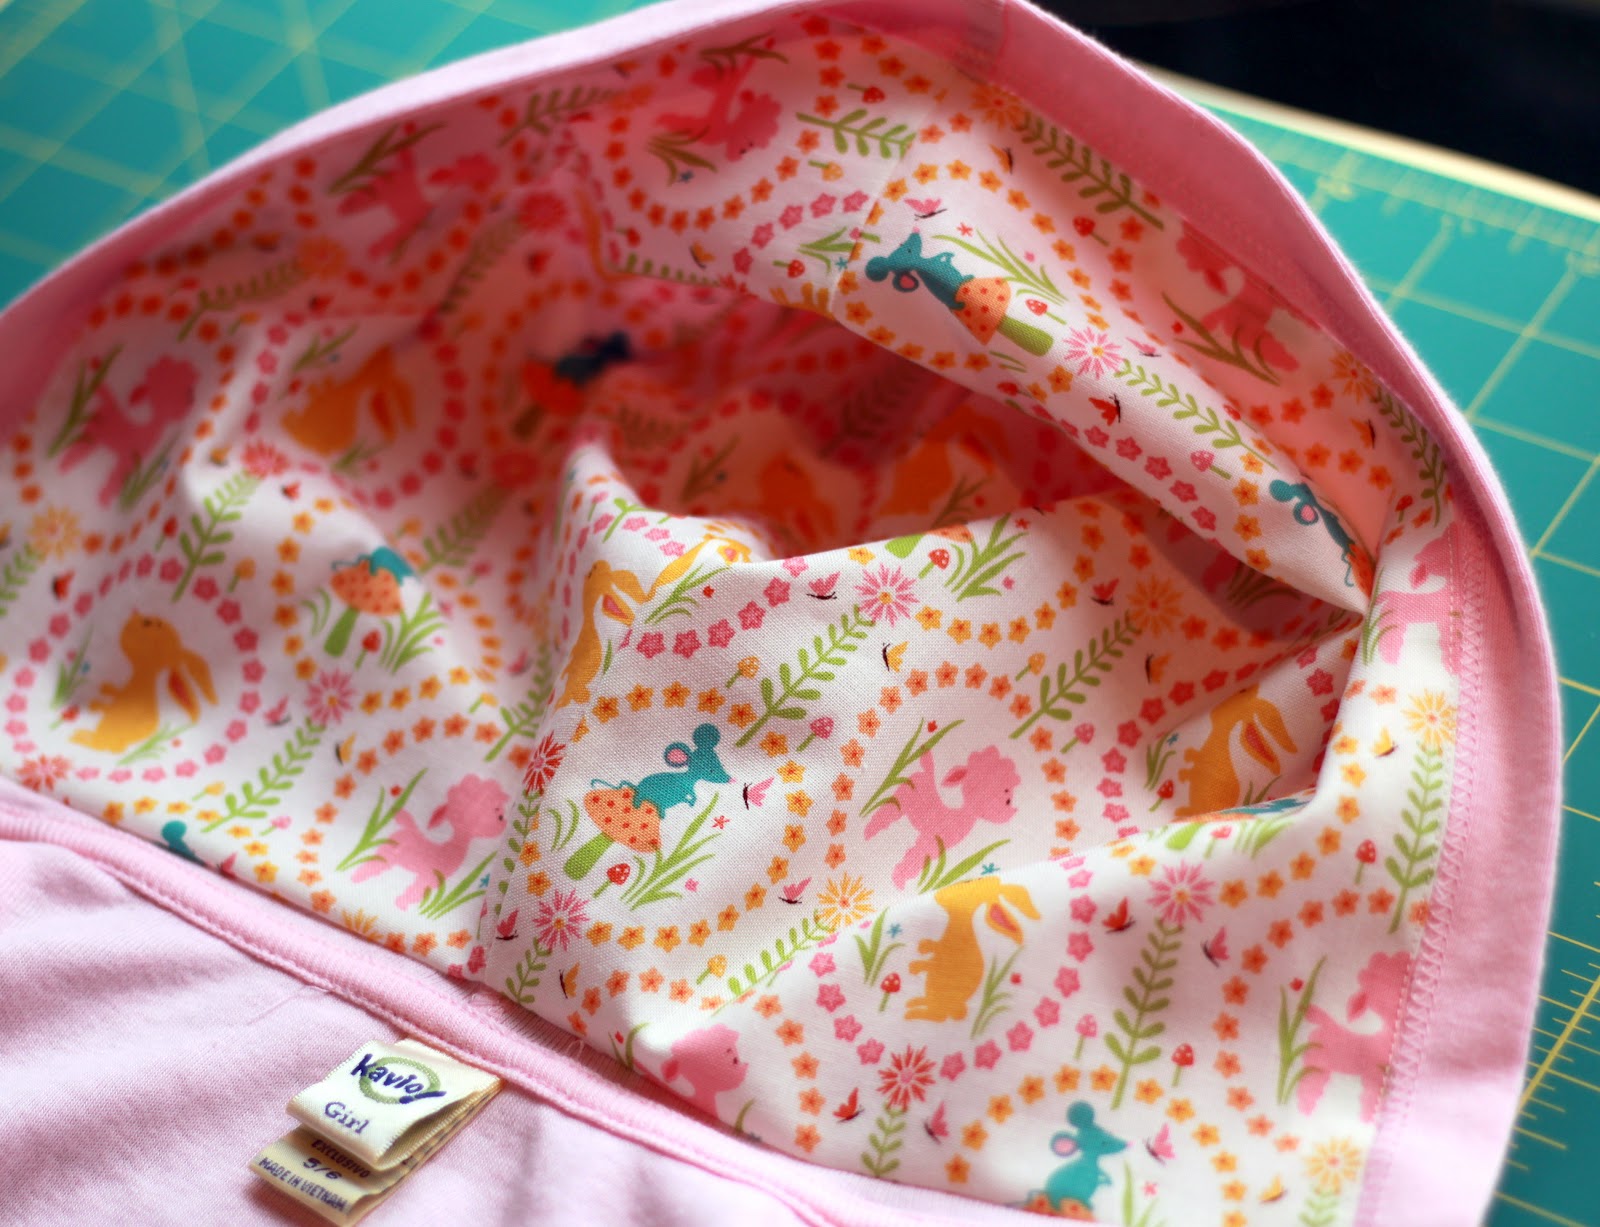
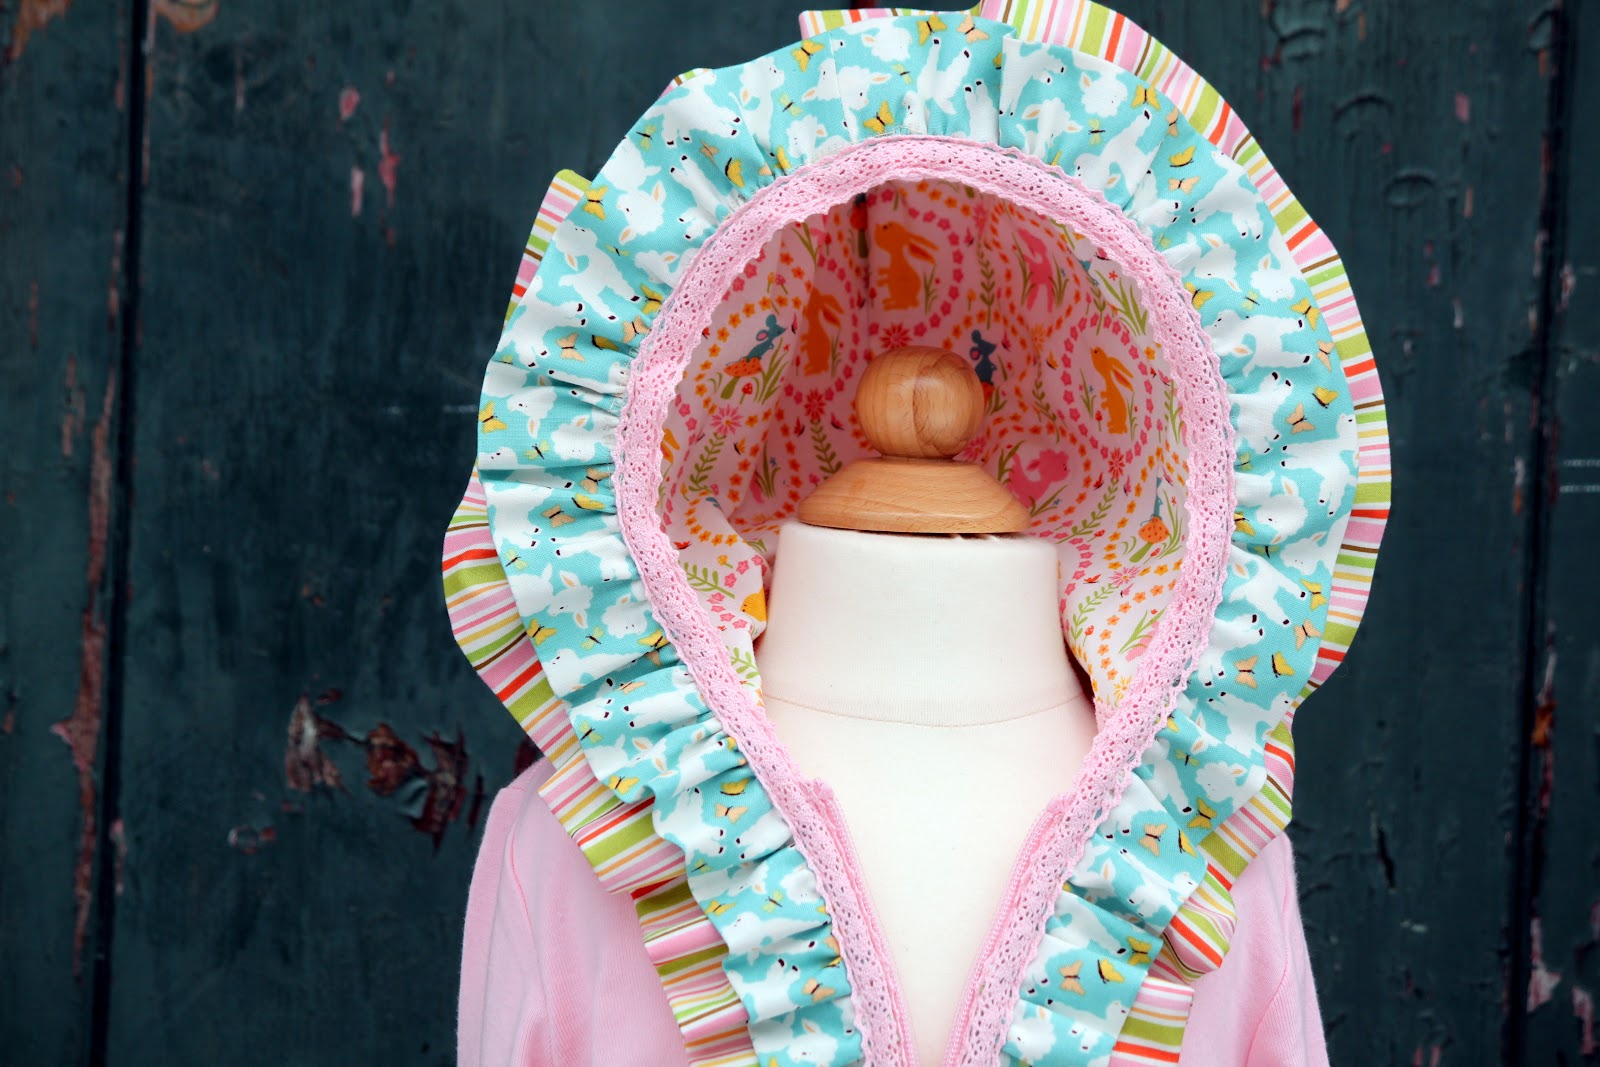
Pin your hood lining to the inside of the hoodie at the bottom of the hood. Stitch across the bottom of the hood.


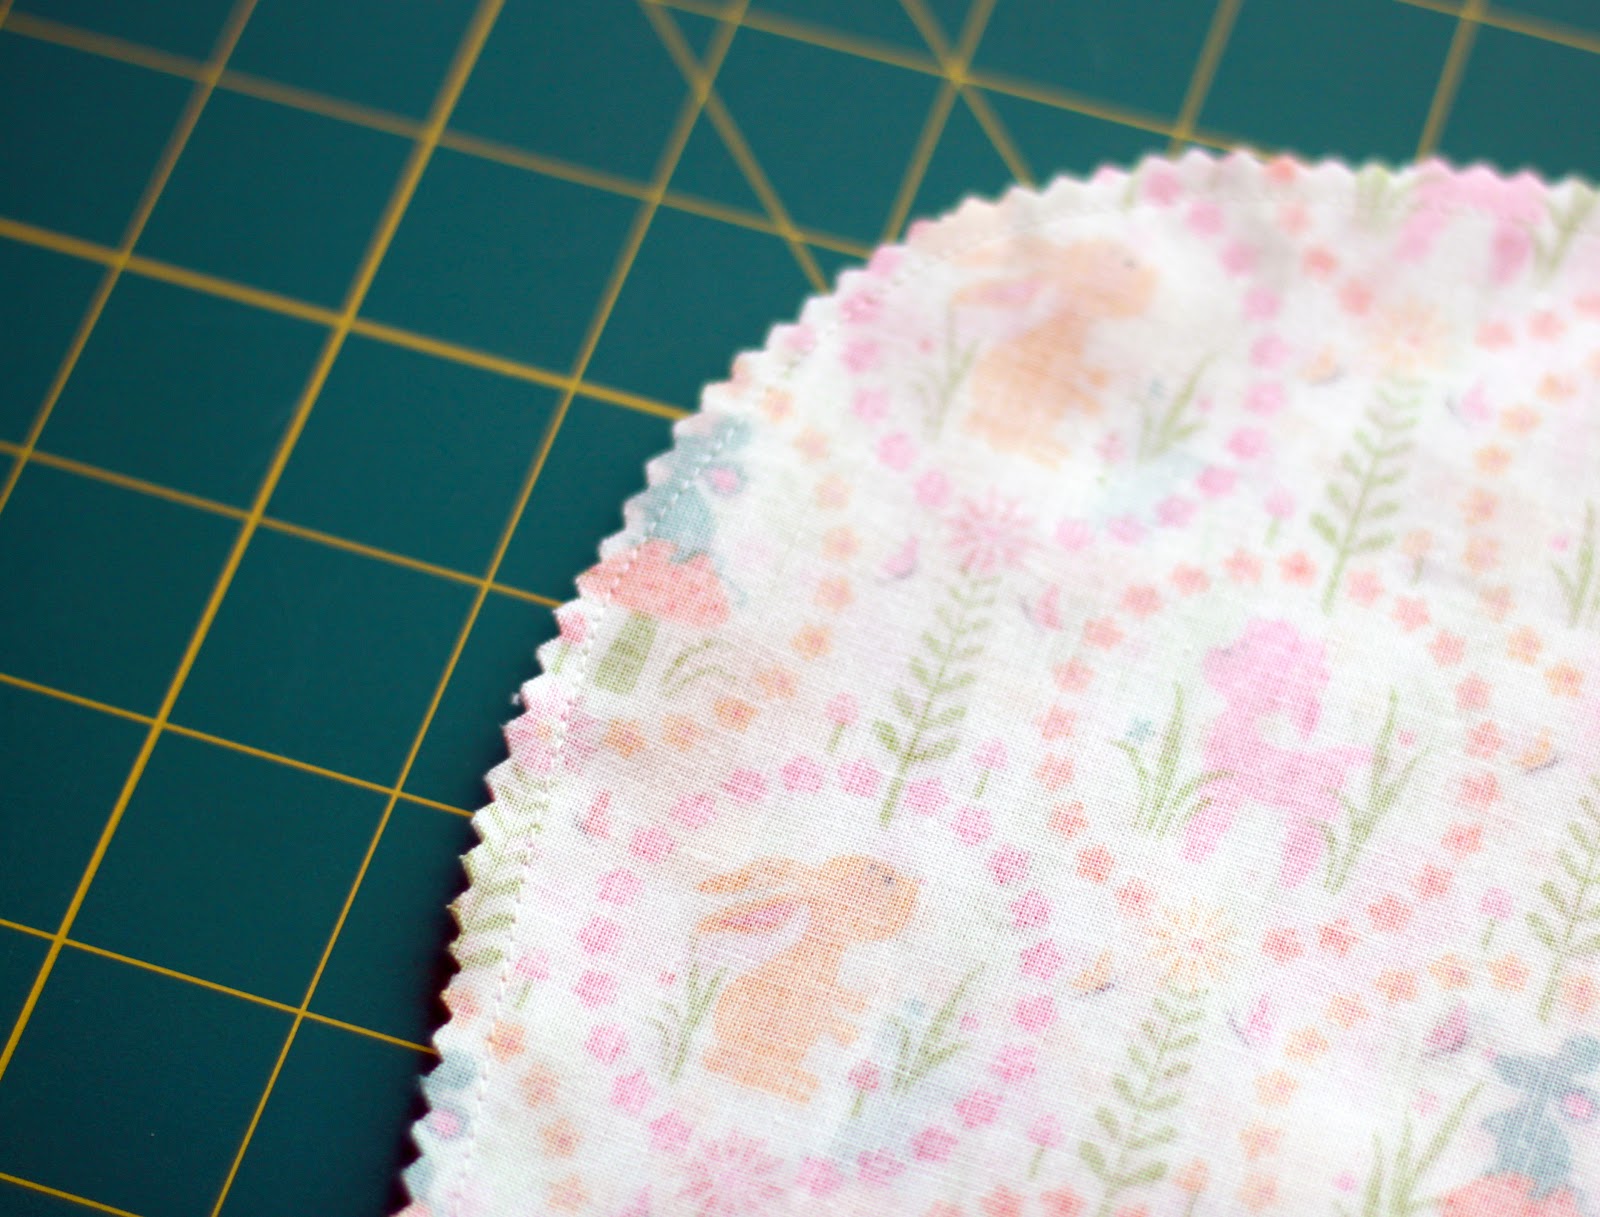
Now it’s time to cut the ruffle pieces. This step will vary depending on the size of your hoodie. You want your ruffle pieces to be 2-2.5 times the length of the zipper all the way around the hood and back down the other side of the zipper. For the size 5, I just cut two strips on the fold of each fabric using the full width of the fabric. This should work for sizes 2-8, just shorten them a little for smaller sizes. Your width is going to be 5″ for the bottom ruffle and 3.5″ for the top ruffle.
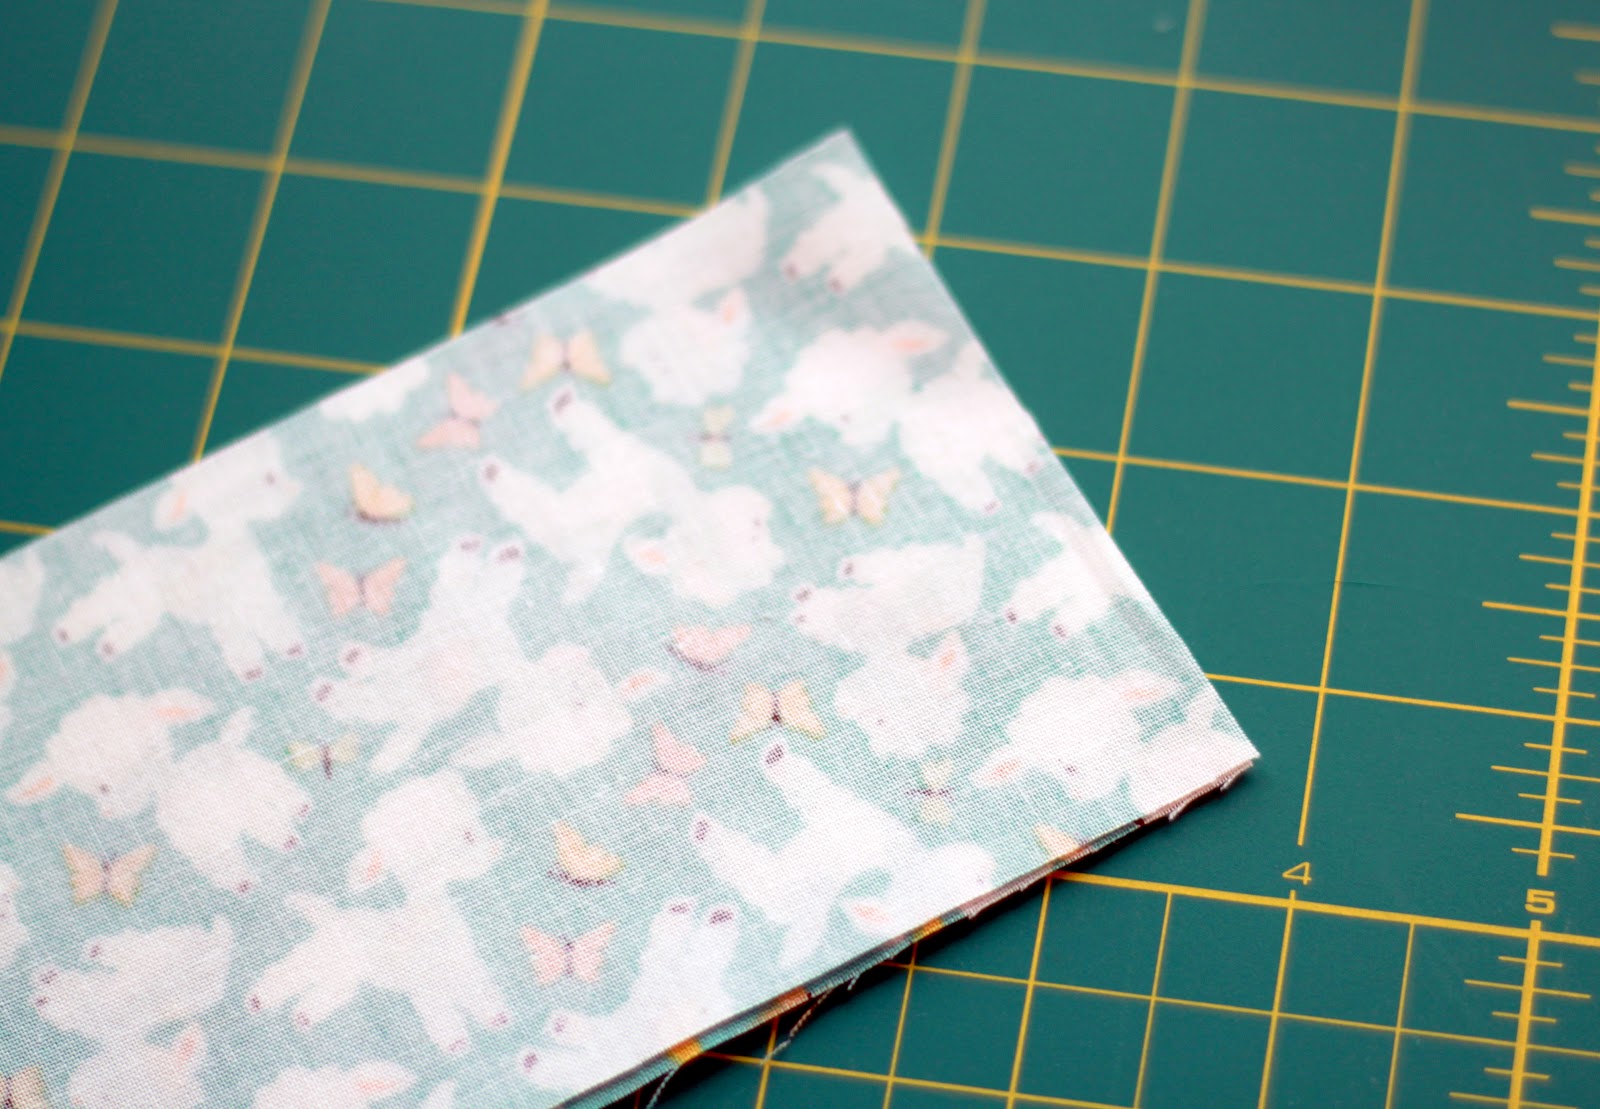

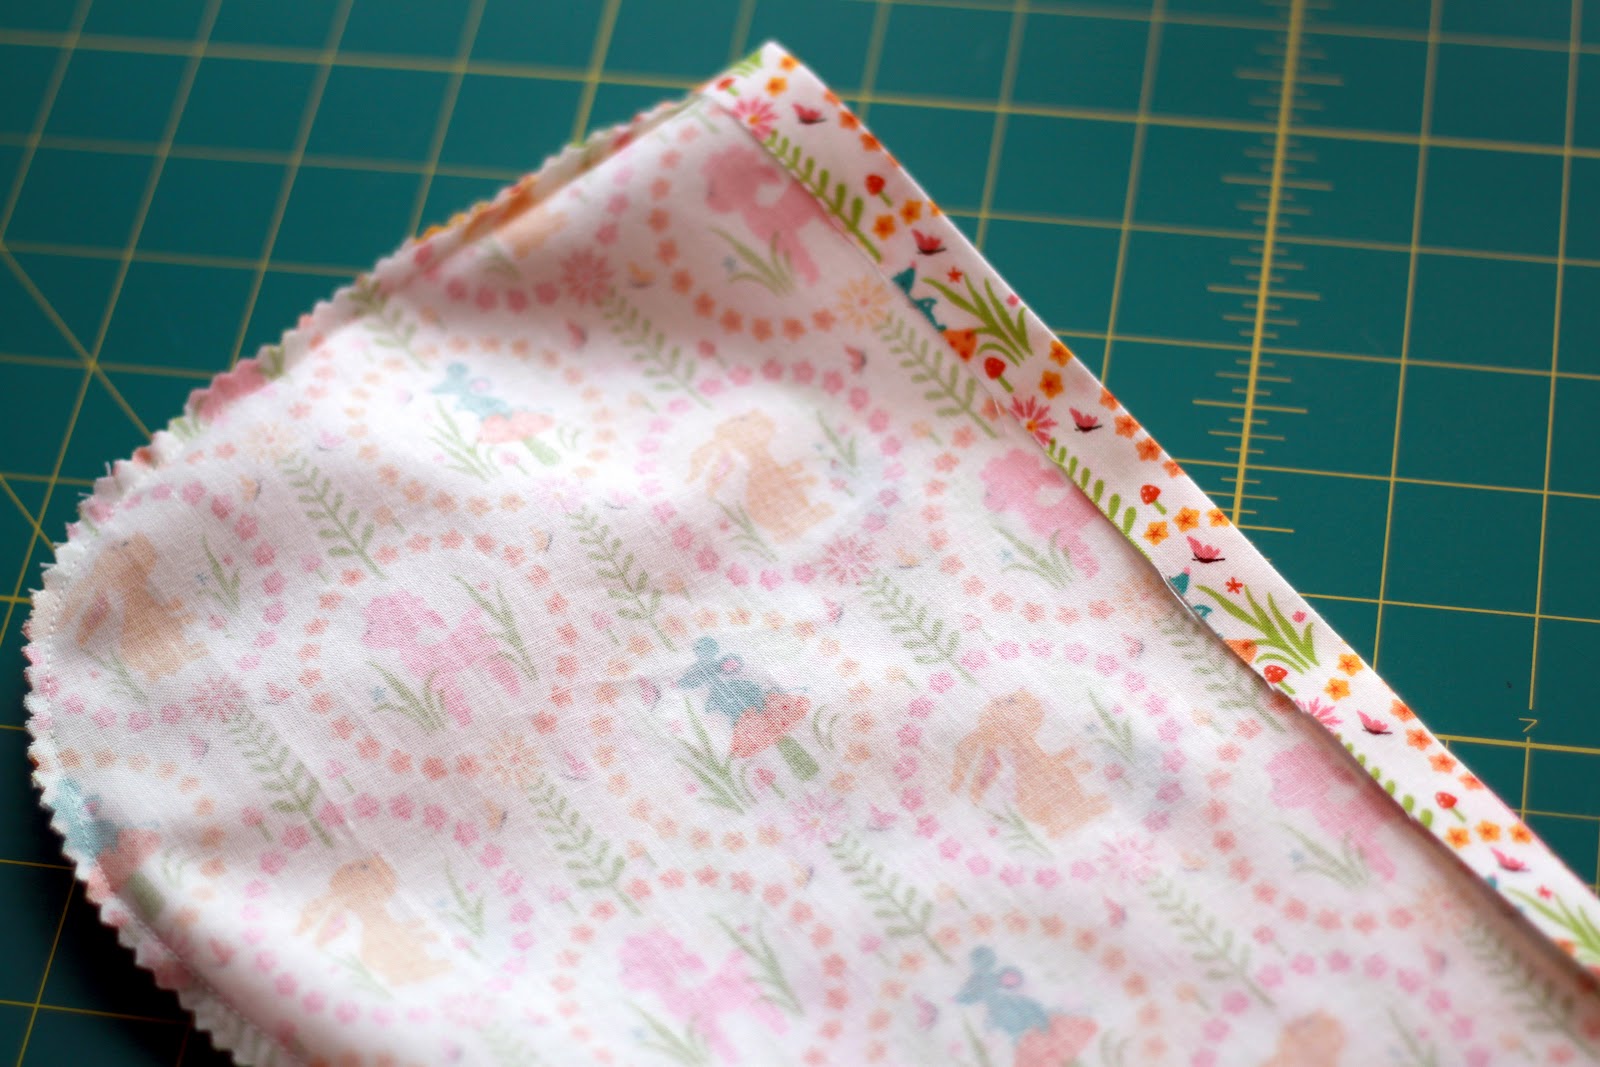
To make one big long strip of each fabric, place the fabric with the right sides together and sew one of the short ends together. Press seam open. Now you will have one long strip each of two different fabrics. Fold the long strips in half (length-wise) with the wrong sides facing (right side facing outward). Press.
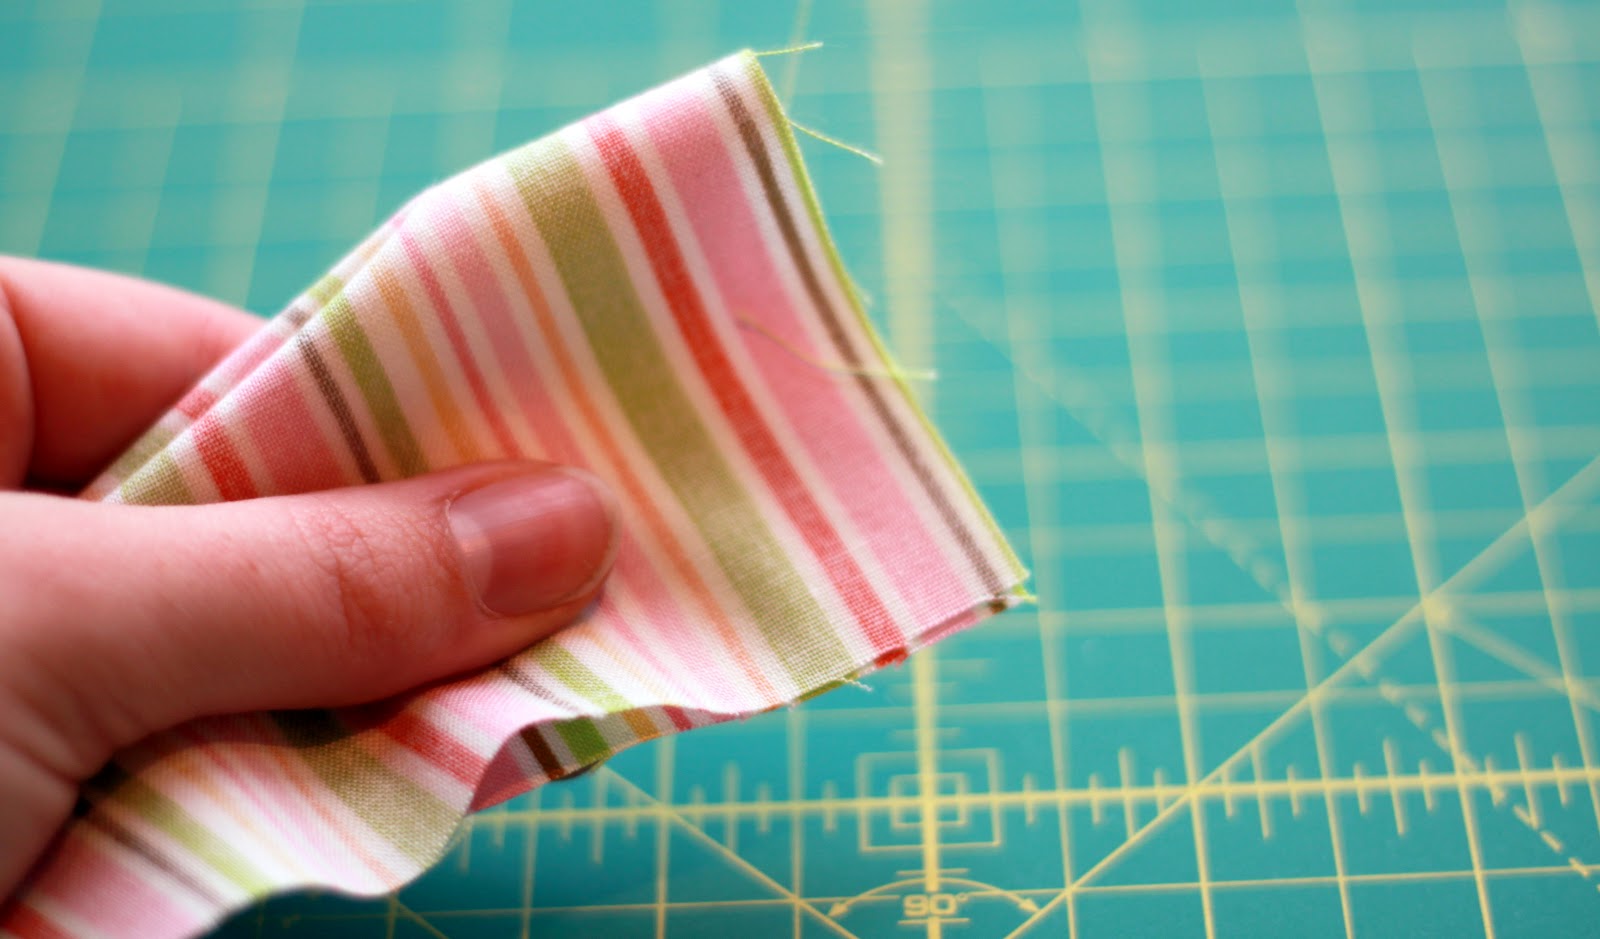
Now we want to finish both ends of each strip, so that it will look nice when we add the ruffle to the hoodie. So, unfold the fabric and turn it the opposite way with the right sides together and sew both short ends. You will do this on two ends for both pieces of ruffle fabric.


I decided to use my serger to finish the raw edge of the ruffles. I know most people do not have a serger, so you can finish the edge with a zig-zag stitch or leave it raw. It’s not going to show, but I just wanted a clean edge to work with.
Use a gathering stitch to gather your fabric. To do this, set your sewing machine to the longest stitch length, mine is 5.0, and run a stitch all the way down the long, edge of the fabric. Make sure you do not backstitch at the beginning or end otherwise your fabric will not gather. Now pull one of the threads on either end of the fabric to begin gathering. Because this is two layers of fabric, it may take a little bit of work to gather the fabric. Gather both fabric strips until they are the same length as the zipper, around the hood and back down the other side of the zipper.
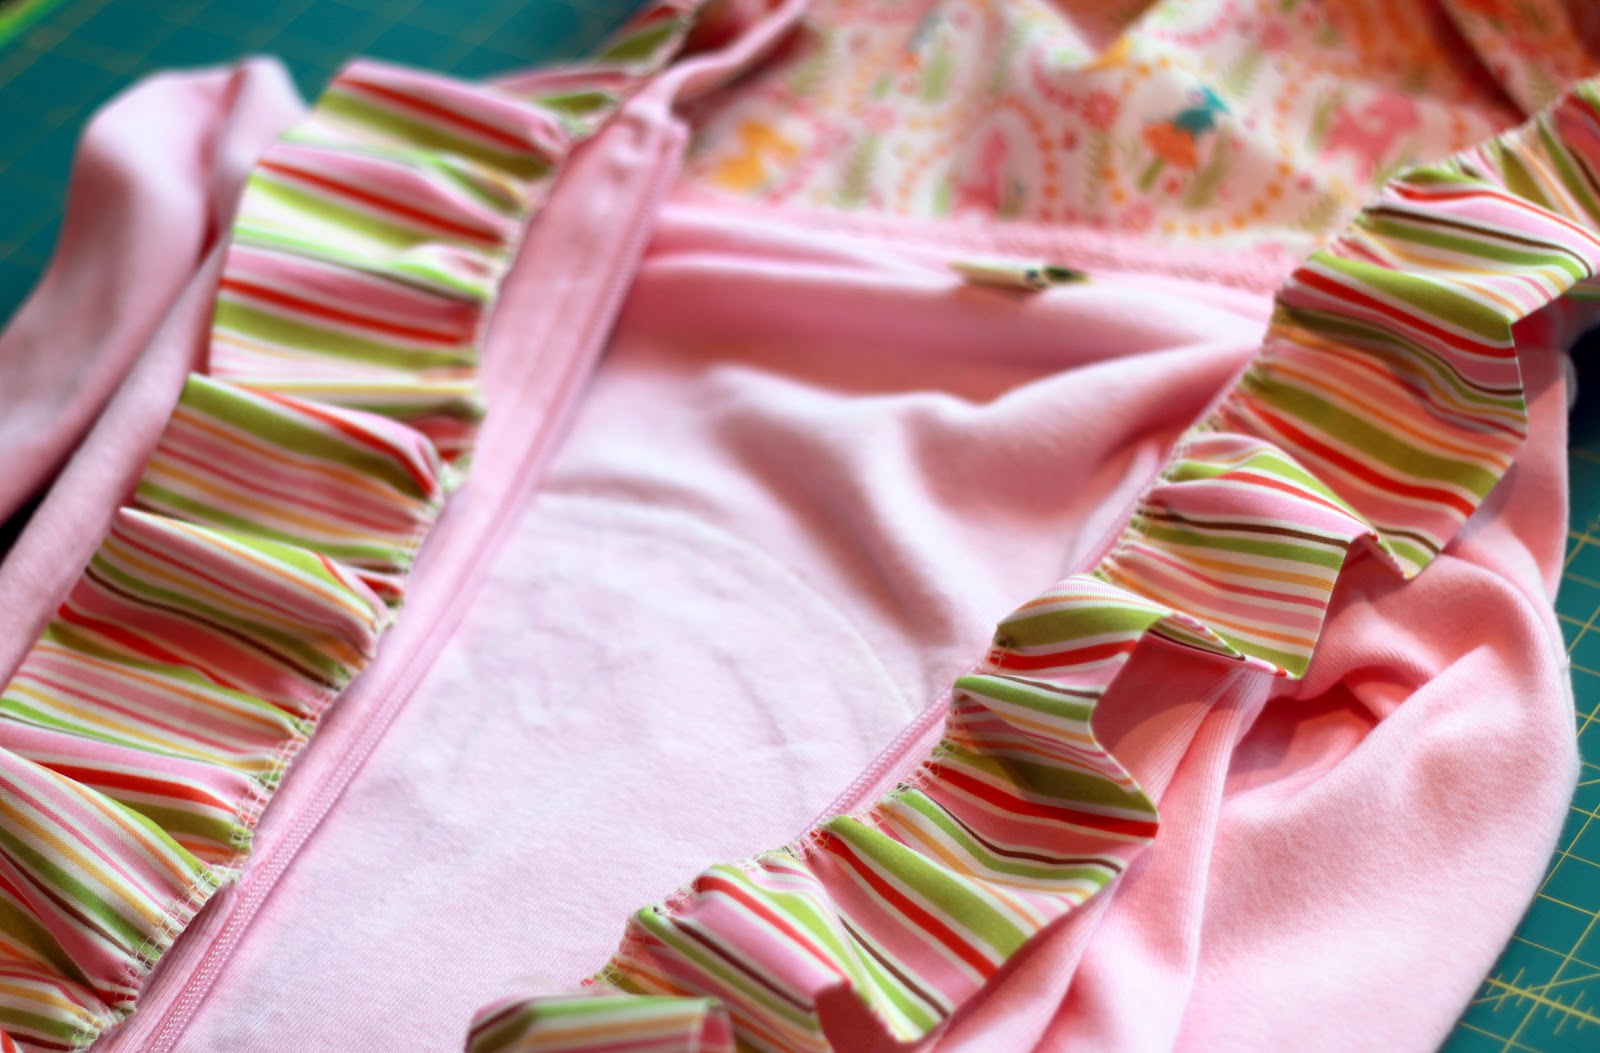

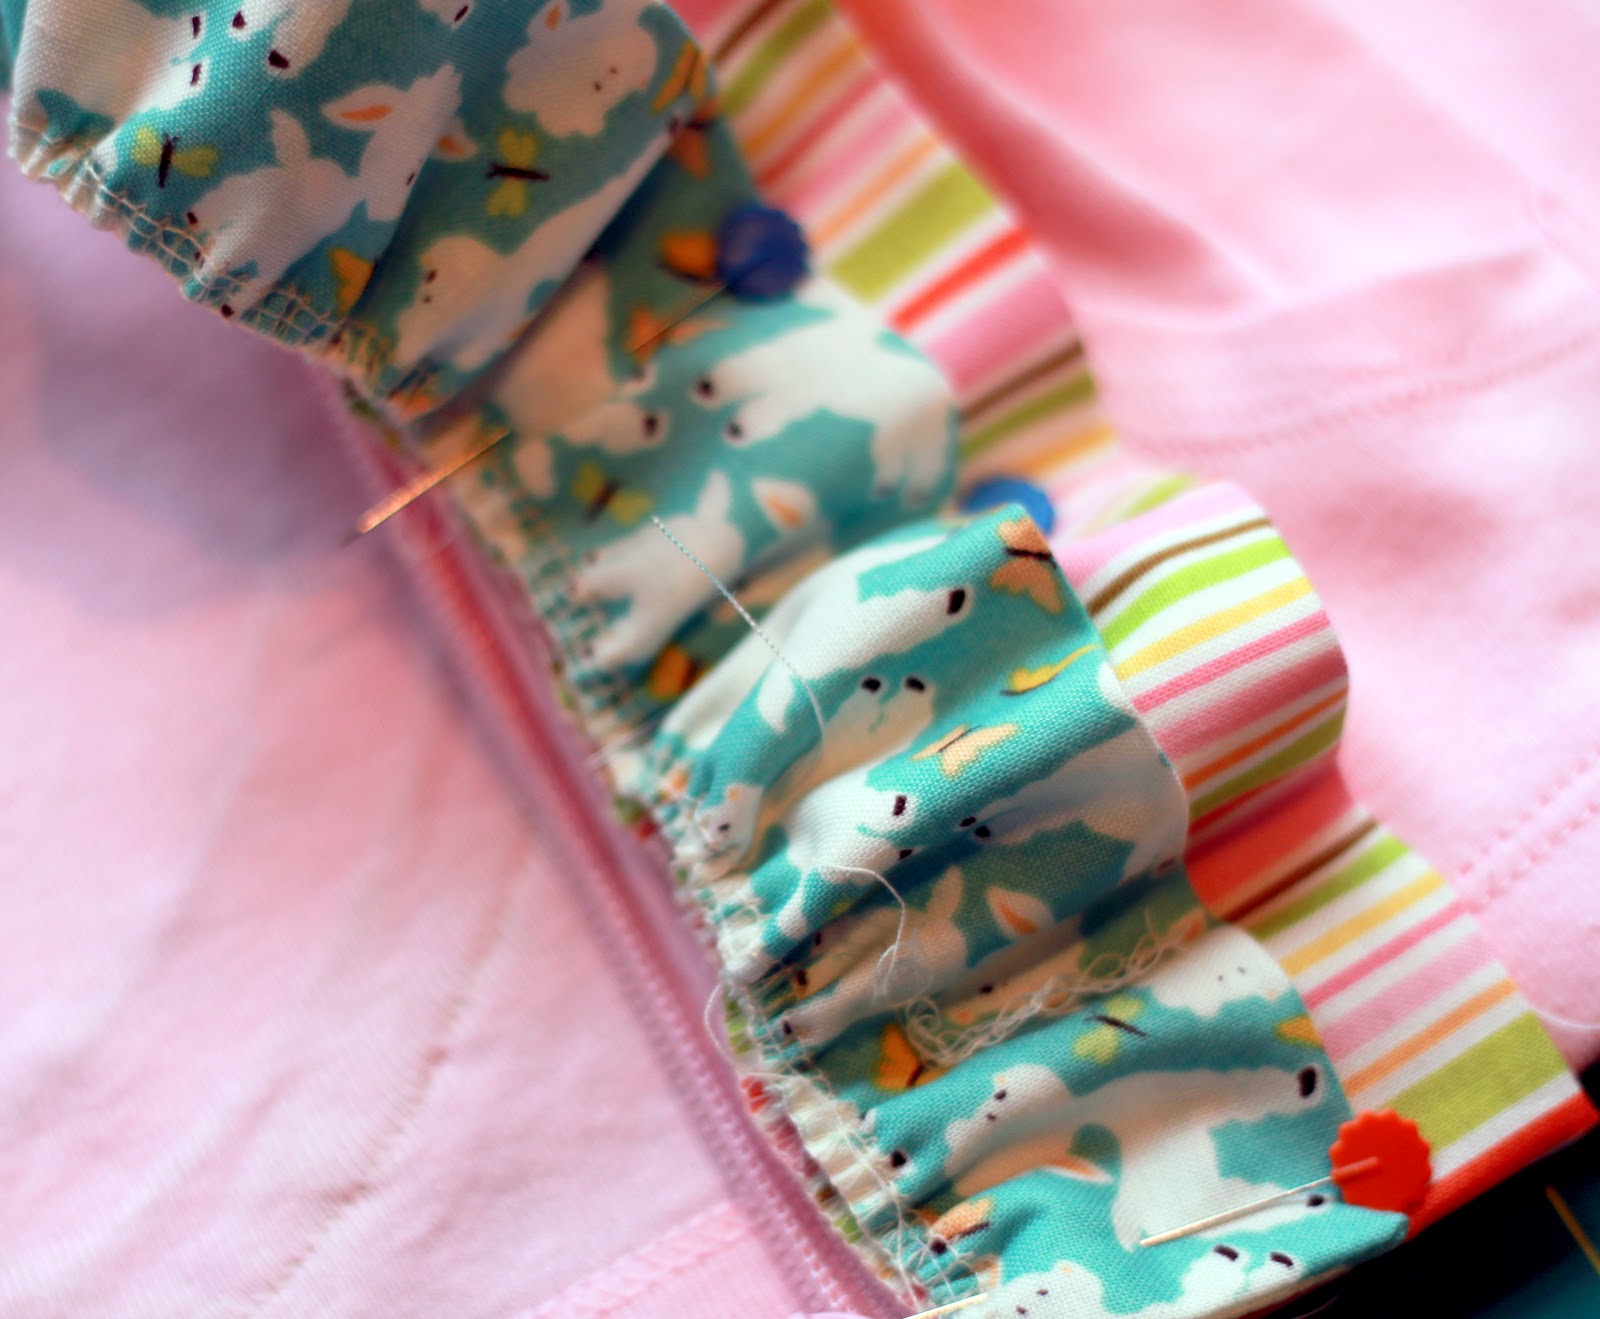
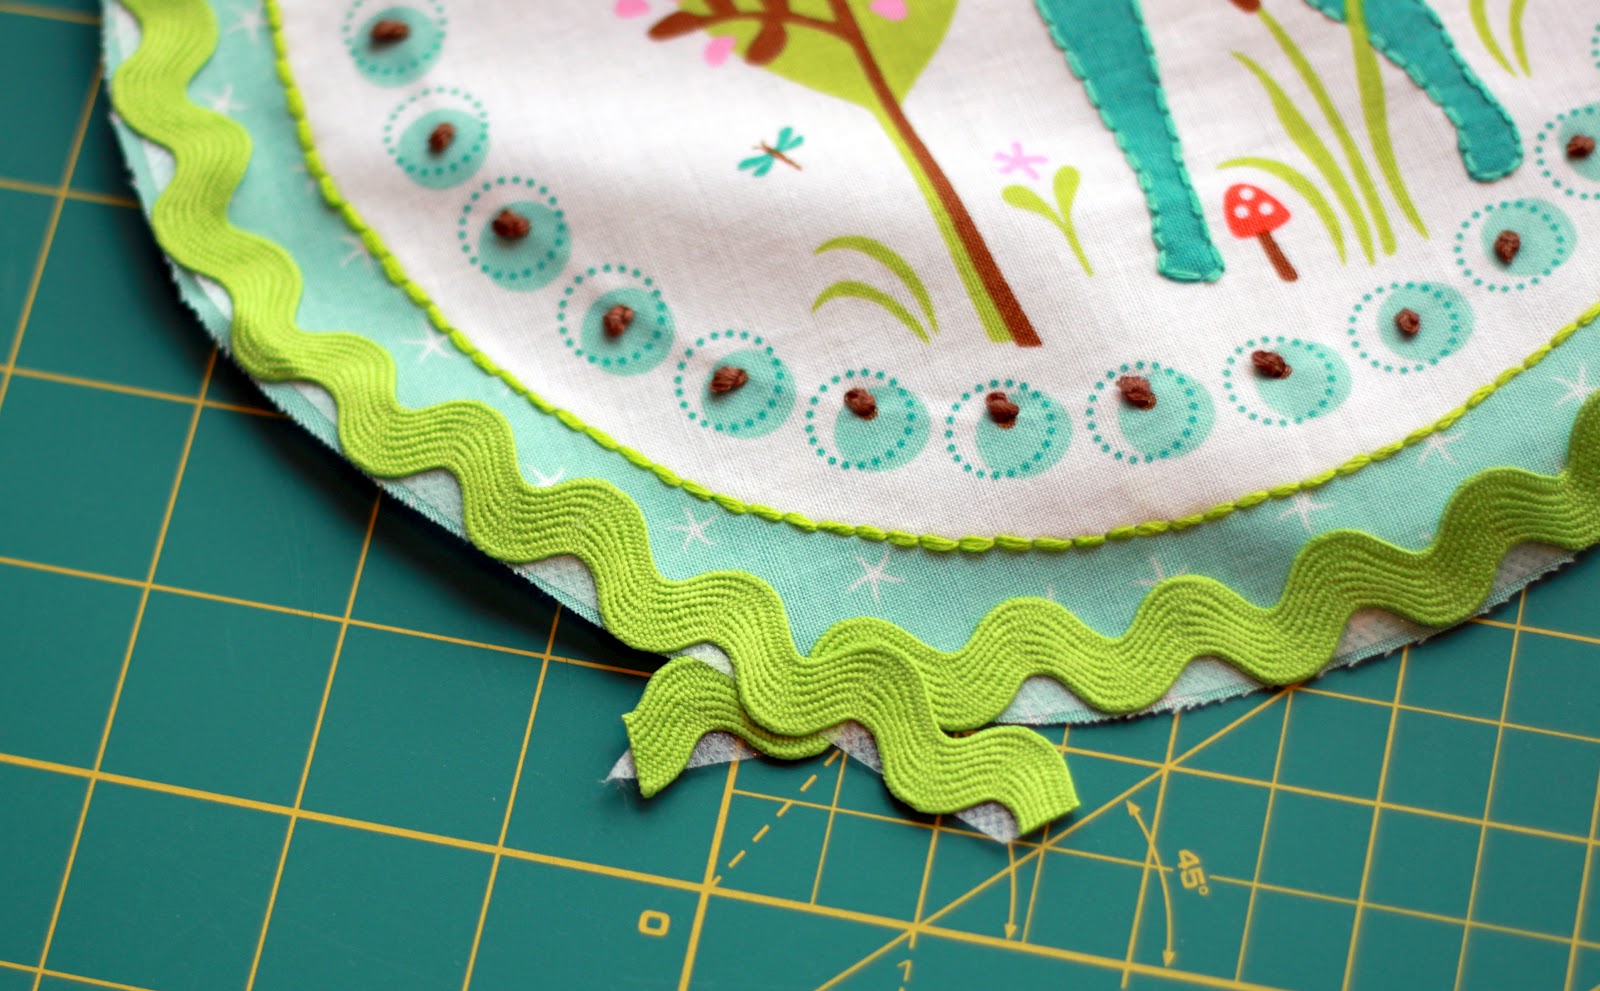
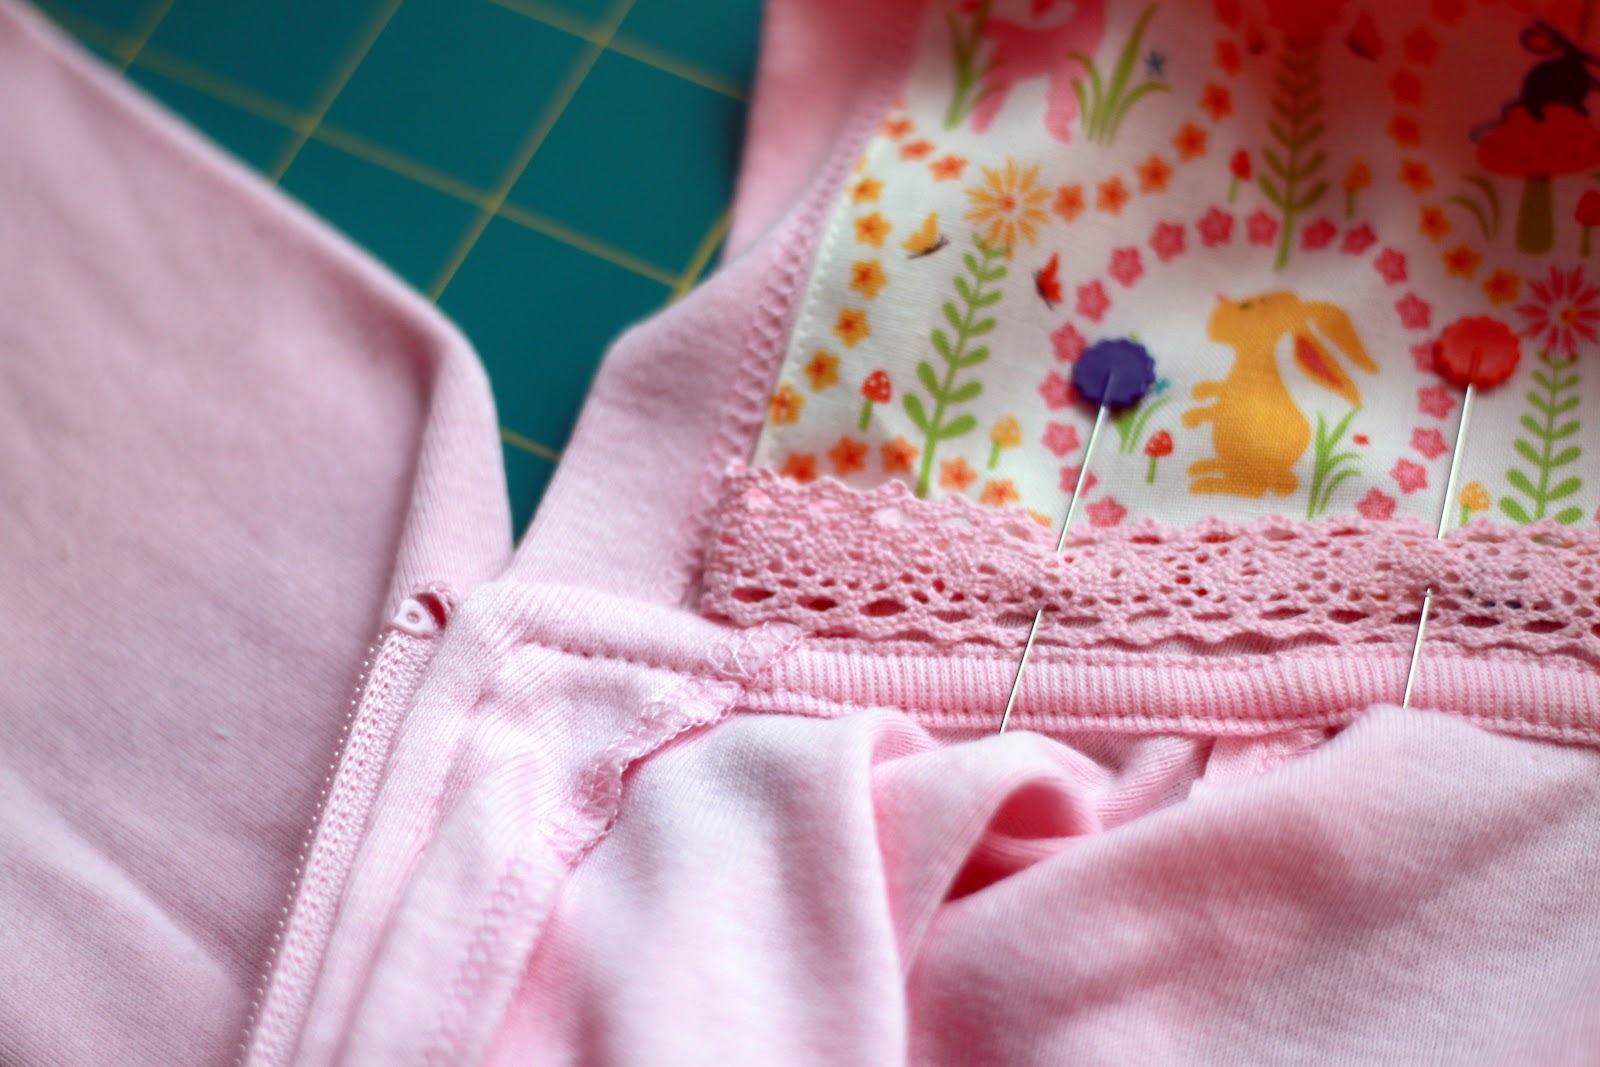
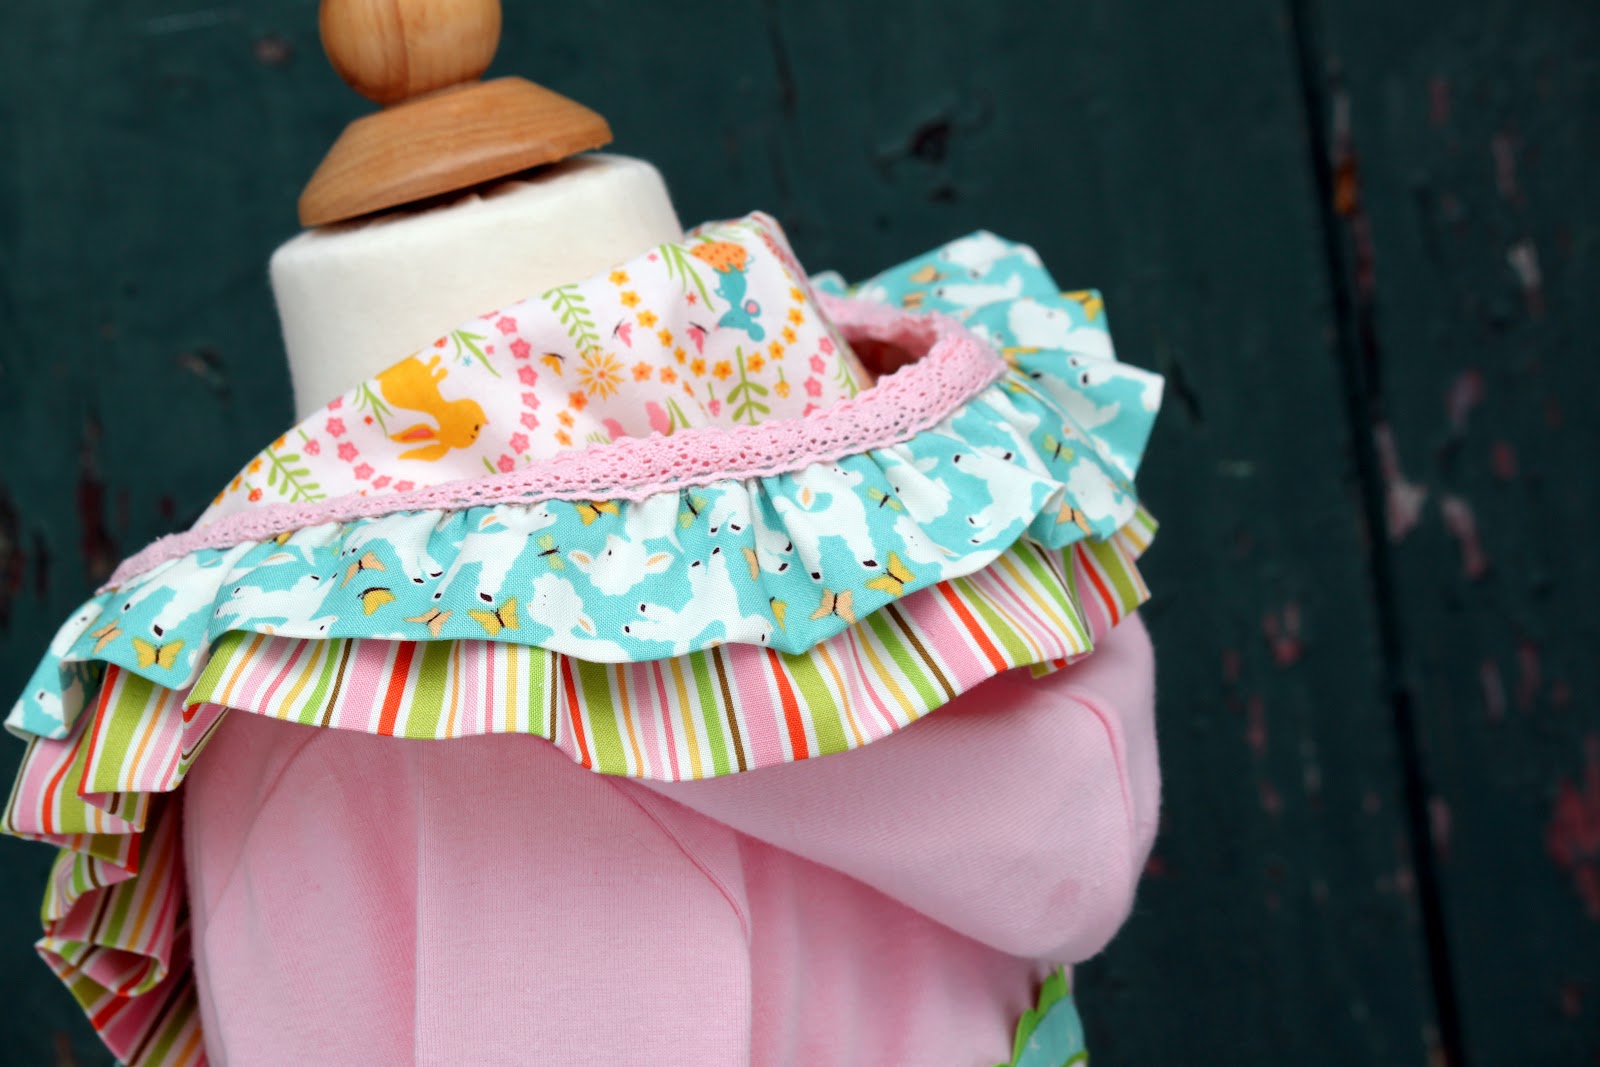
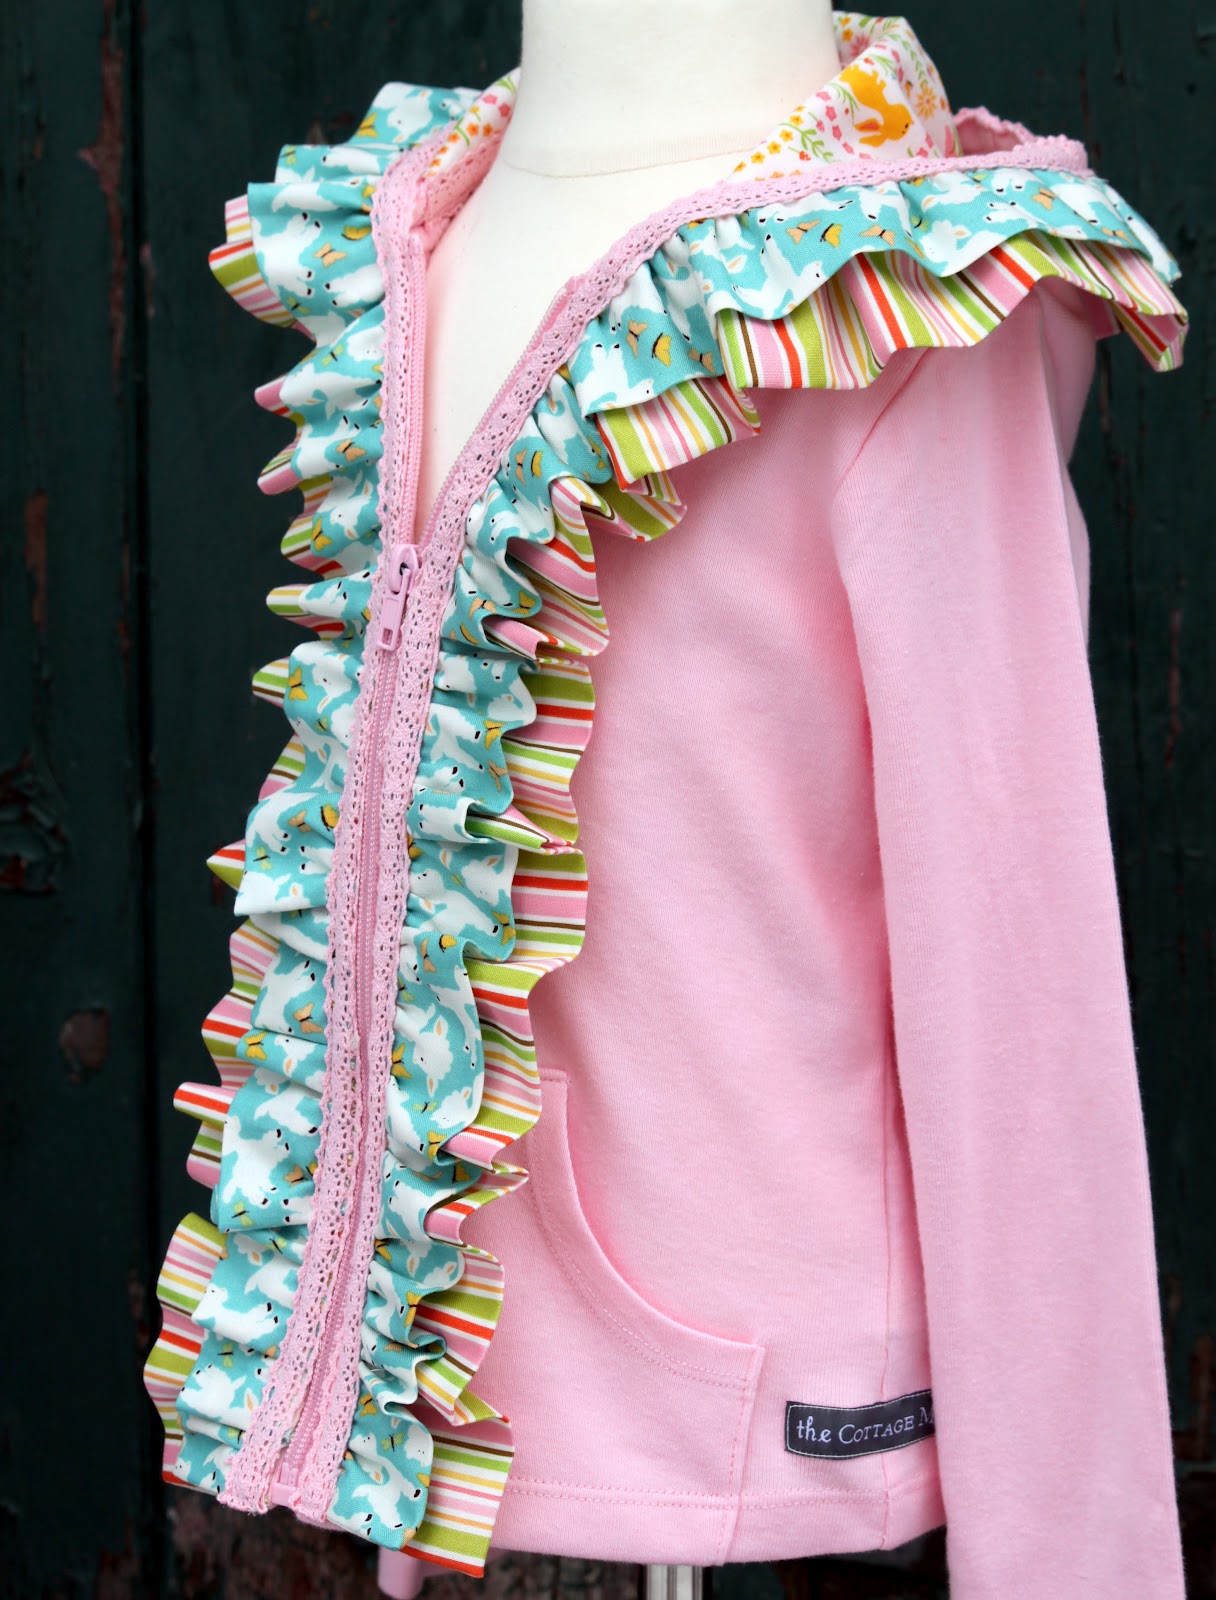
Line up your bottom ruffle first, then place your smaller ruffle on top, making sure to line up the raw edges. Pin all the way around the hoodie and stitch in place, sewing as close to the edge as possible. To conceal the unfinished edge sew trim on top. I used the Riley Blake crochet lace trim, but you could use ribbon or even bias tape. Do not get your ruffles and trim too close to the zipper or you run the risk of the fabric catching in the zipper. I would also recommend switching out your needle to a denim needle for this part as it is pretty thick sewing through the trim, four layers of fabric and the hoodie.

You can find blank hoodies at most of your local retailers such as Target or Walmart. I ordered some of these from Etsy.com for $6.00 a piece. They are a really nice, light-weight knit.

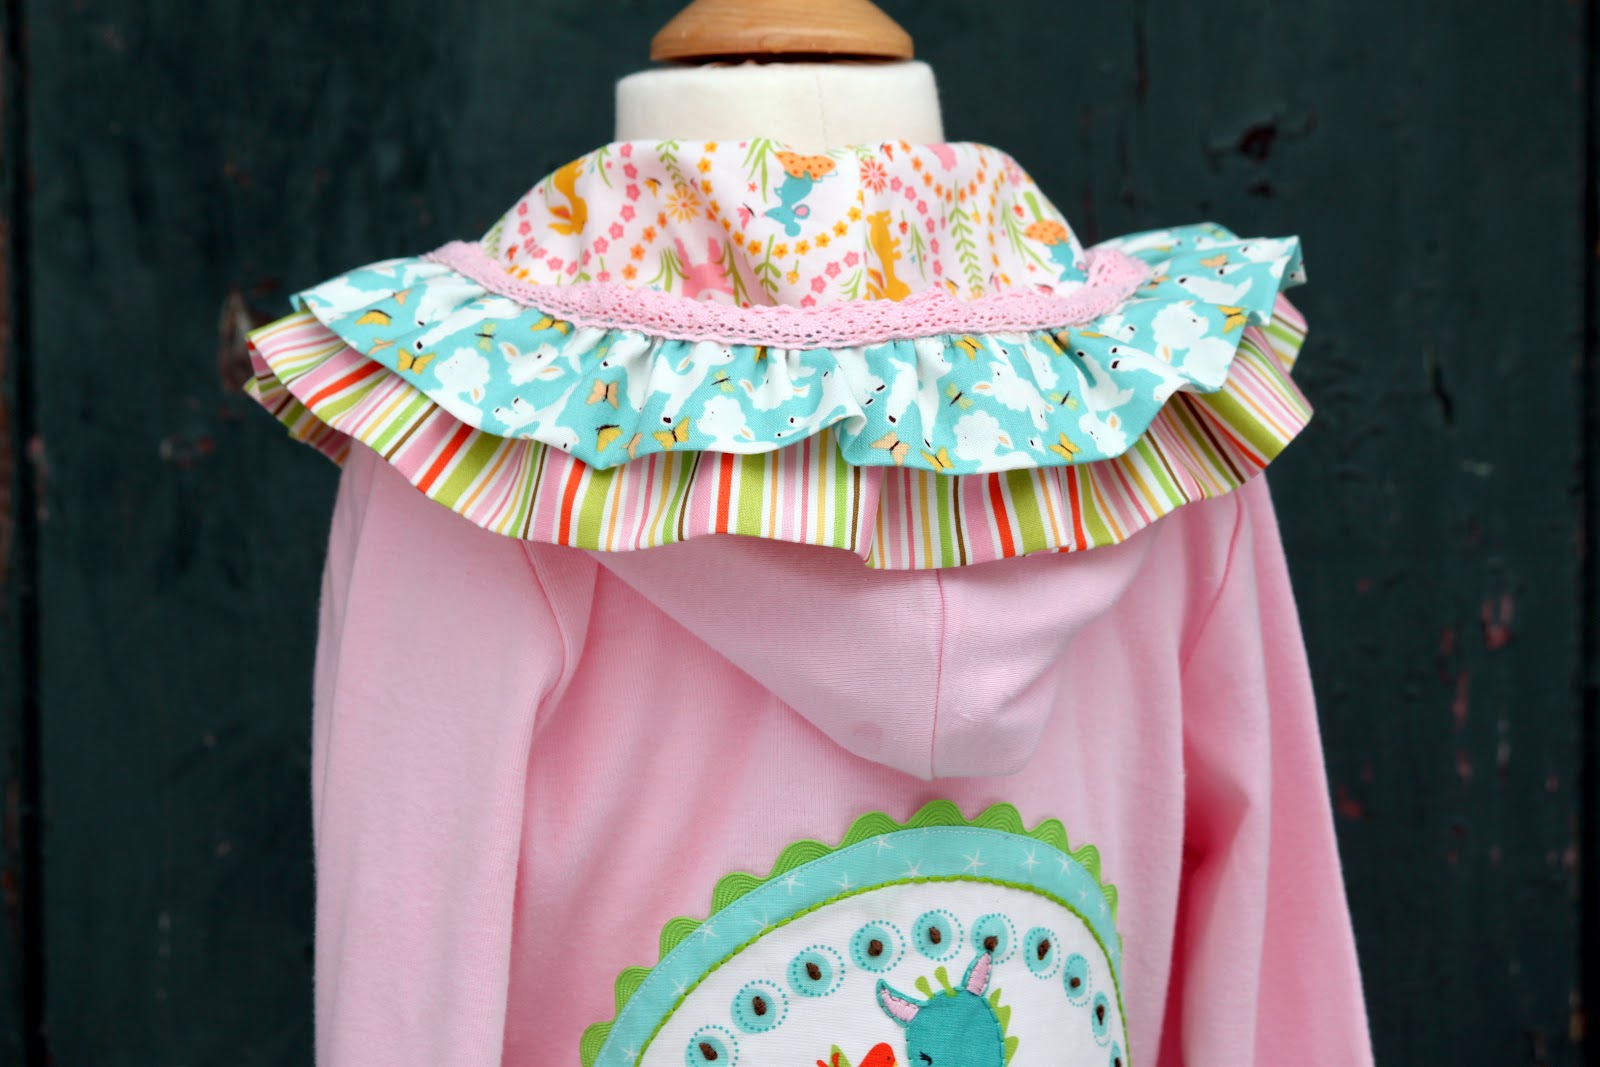

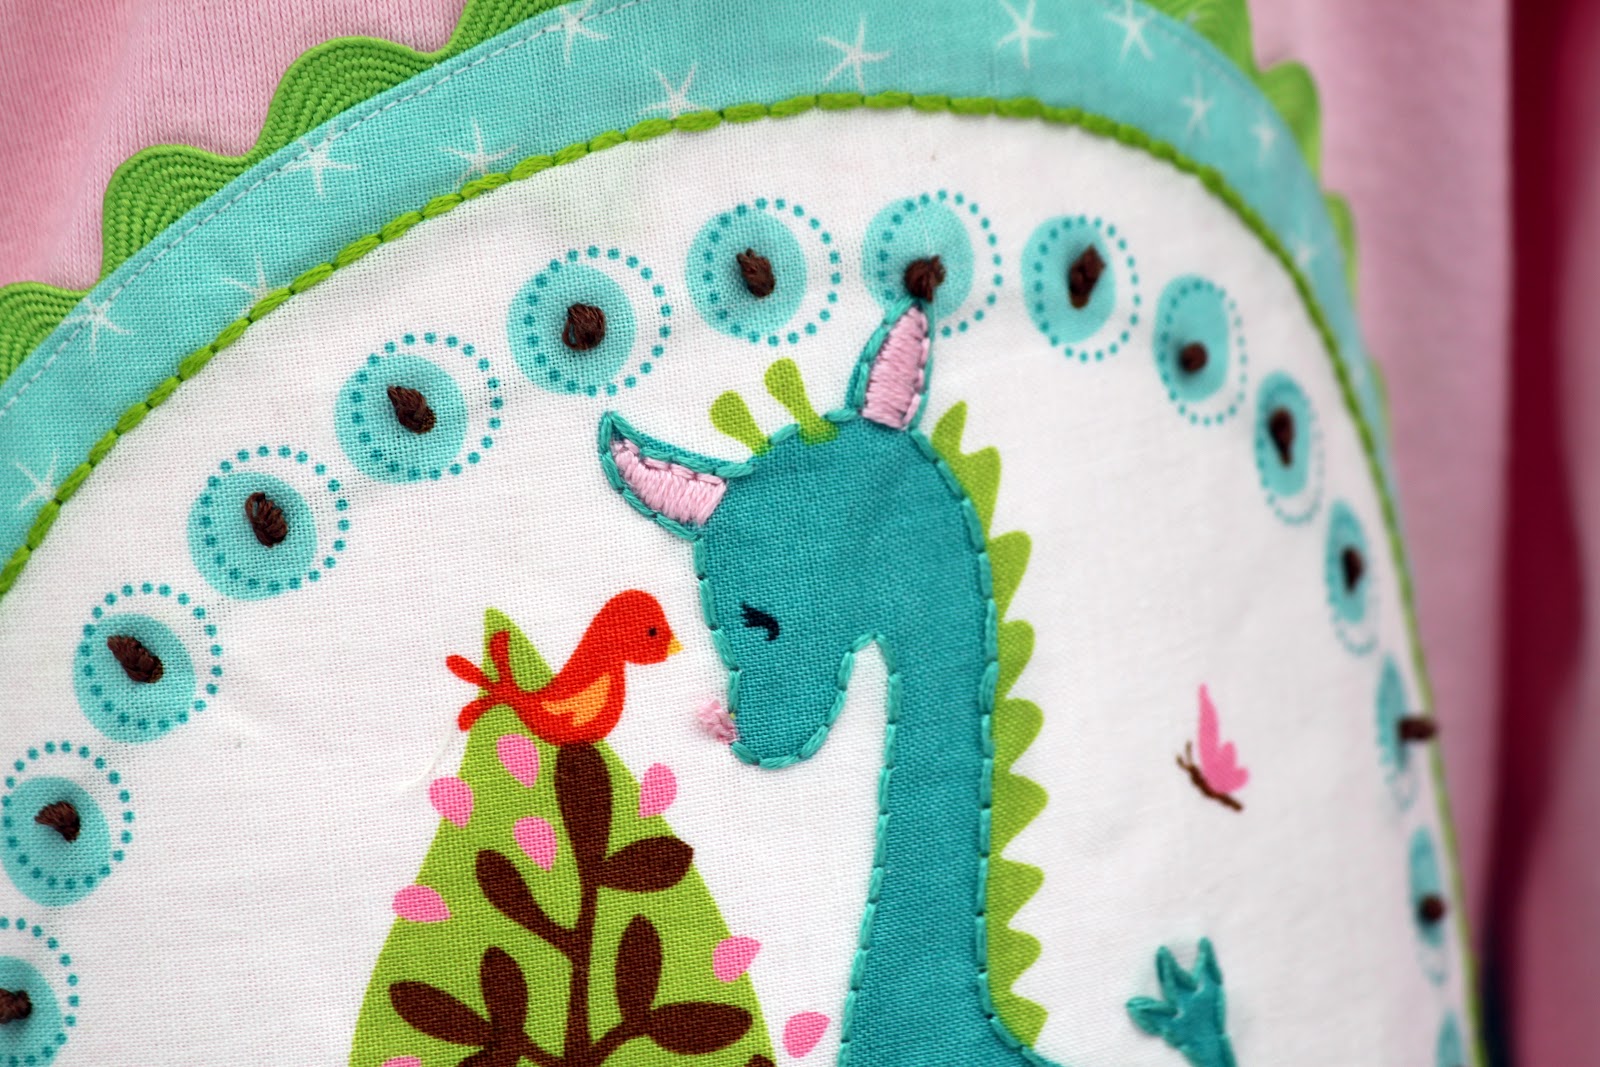
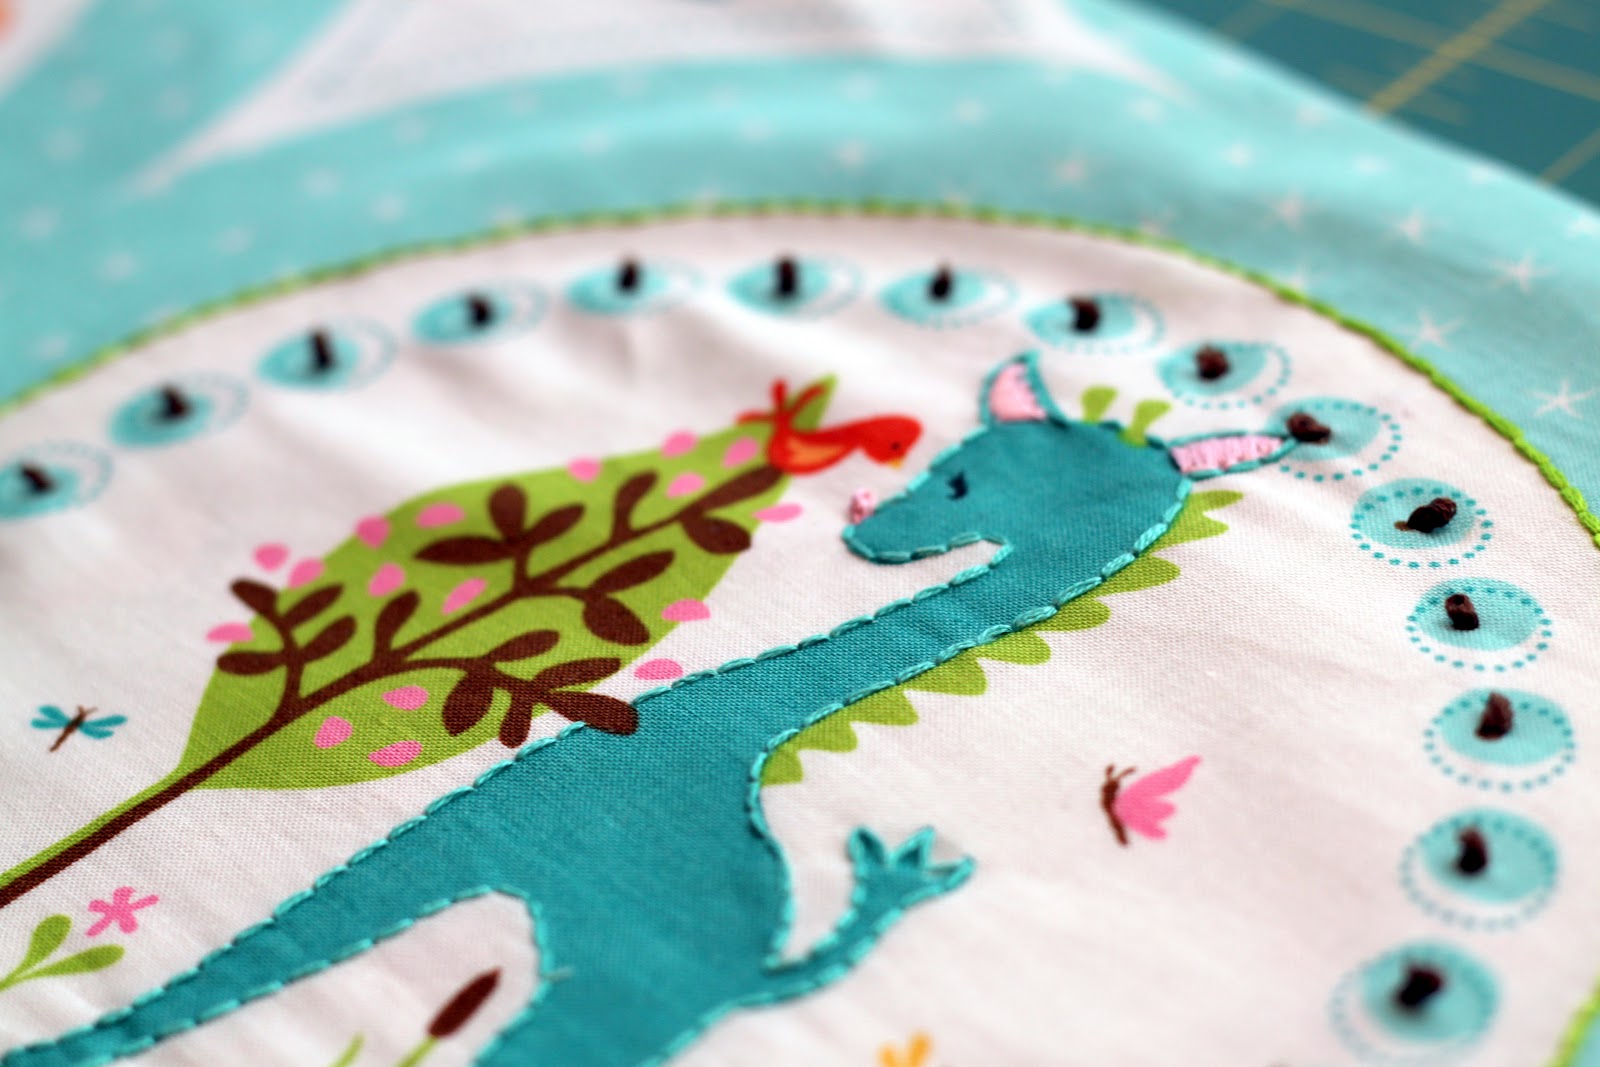
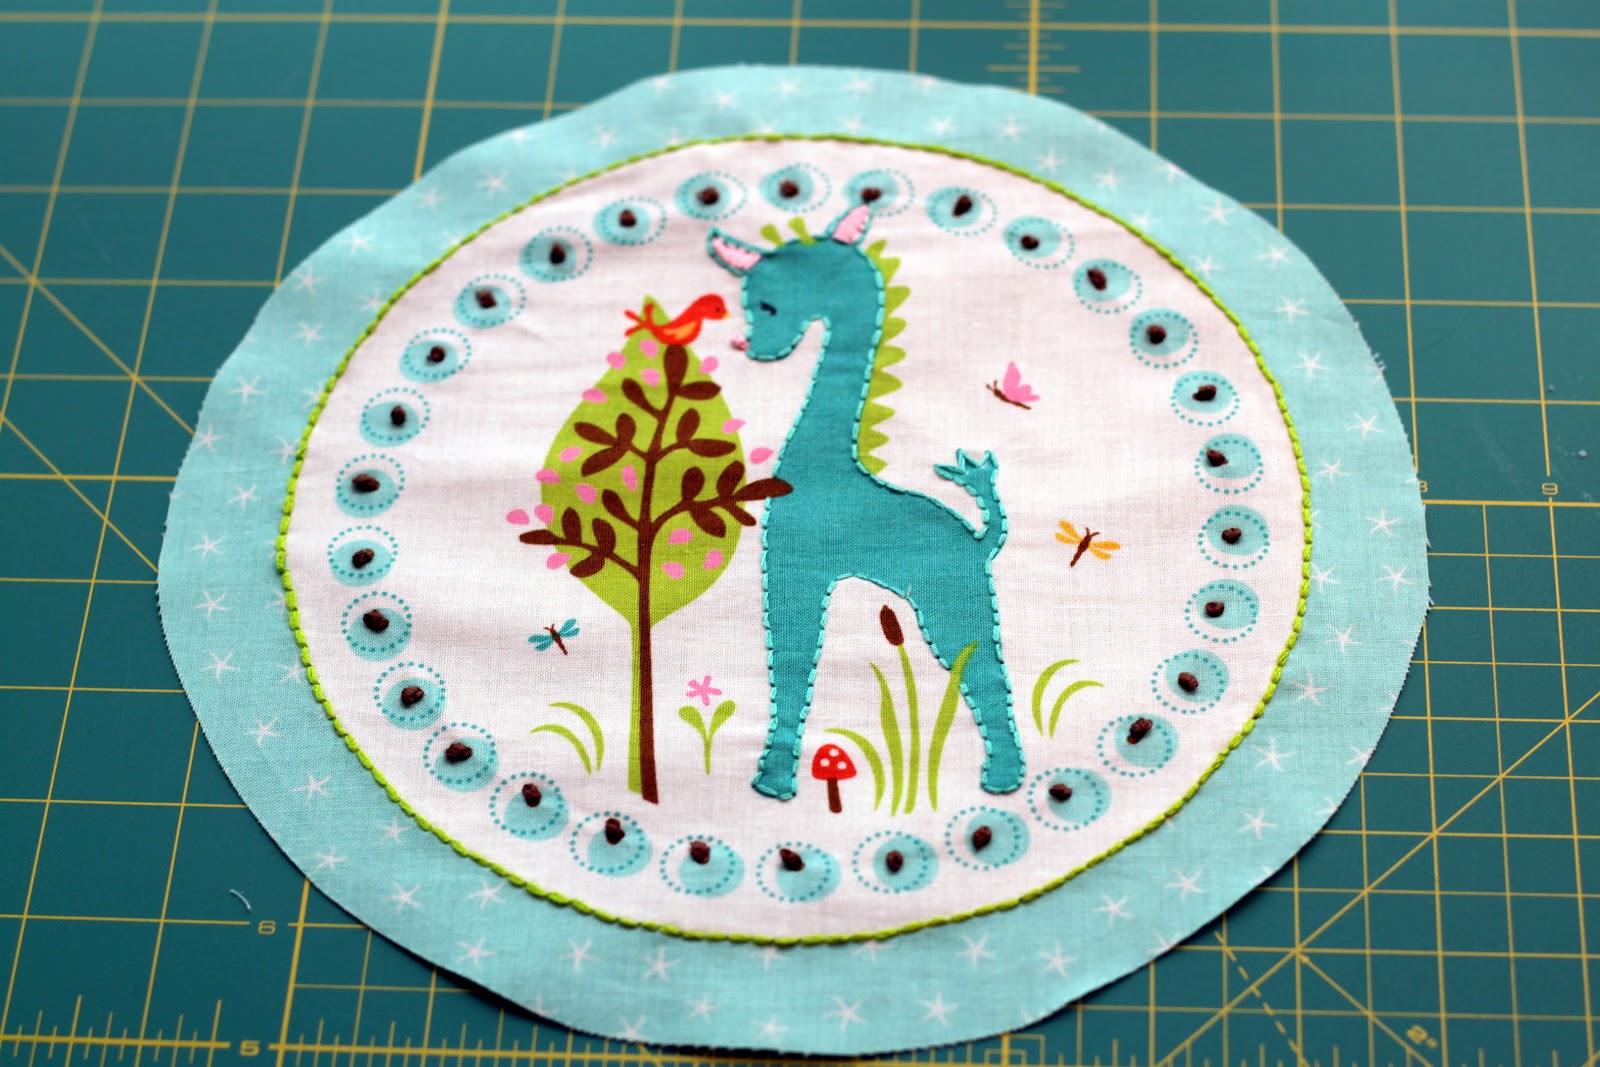
I am totally in love with this fabric, Woodland Trails. I have so many other ideas…….dresses, pillows, little aprons, ruffle pants, baby quilts and the list goes on and on.


 Lindsay Wilkes is the owner and designer behind The Cottage Mama. She creates timeless, vintage inspired sewing patterns for children’s clothes. She is also a fabric designer for Riley Black Designers / Penny Rose Fabrics, author of the book ‘Sew Classic Clothes for Girls’ and can be seen teaching nationwide and online in her video series ‘Lessons with Lindsay’ sponsored by Baby Lock Sewing and Embroidery machines.


