I’ve been working on getting my sewing room all neat and organized since we moved into our new house last August. Seeing as though it is ‘my space’, it seems to have taken a back burner to all of the family spaces in the new house. There’s something so hard about committing to putting holes in the walls of freshly painted drywall. But I’ve gotten tired of not having my sewing room looking and feeling the way I wanted, so I’m slowly, but surely getting things up on the walls! I can’t wait to share my entire sewing room with you (if you’re following @thecottagemama on Instagram then you’ve seen some peeks), but it’s not completely ready yet for a full reveal.
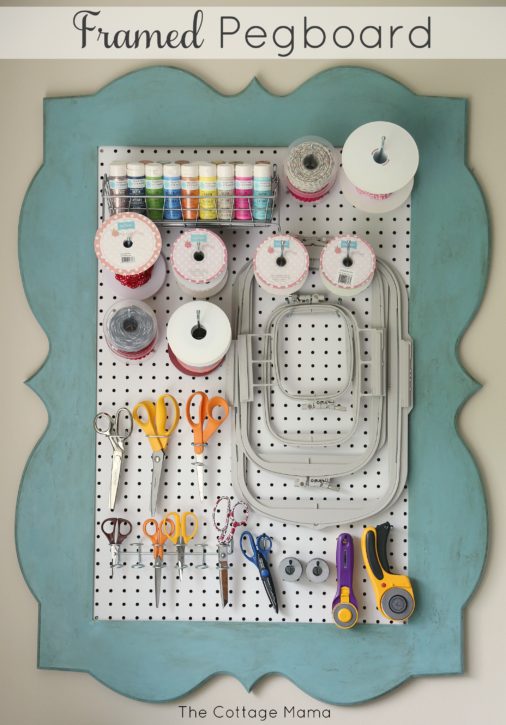
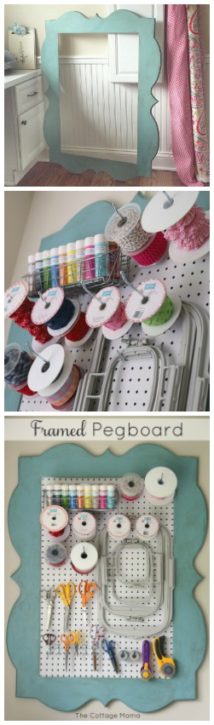
First up, I decided I wanted a Framed Pegboard! Pegboards are such a great organization tool, but they always seemed a little too utilitarian for my liking. They look great just as they are in garages or more modern spaces, but not in The Cottage Mama studio. I decided that if I put a frame around a pegboard it would go with my style a little bit more.

Pictures via @thecottagemama on Instagram
I purchased a half sheet of pegboard at our local Home Depot that was 24″ x 36″. This one was already white, so I didn’t paint it since it looked pretty good and matched the white of my studio cabinets.
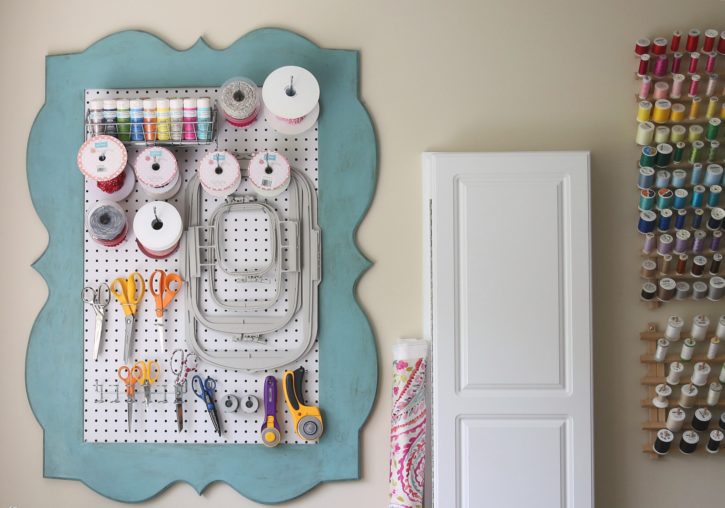
(That’s my built in ironing board next to the pegboard, but more about that later)
I went to Hobby Lobby to try to find a frame. They have a huge aisle of empty frames, so I wanted something that was going to fit the pegboard somewhat. I thought about something more traditional and ornate, but when I came across this beauty, I knew that she was it! I love the whimsy of this frame and that it’s nice and big. The frame came in sort of a strange cream color. It completely clashed with my walls, which was fine since I knew I wanted to paint it anyway. It wasn’t super cheap, but usually they have half off sales and if not, just use your 40% off coupon!
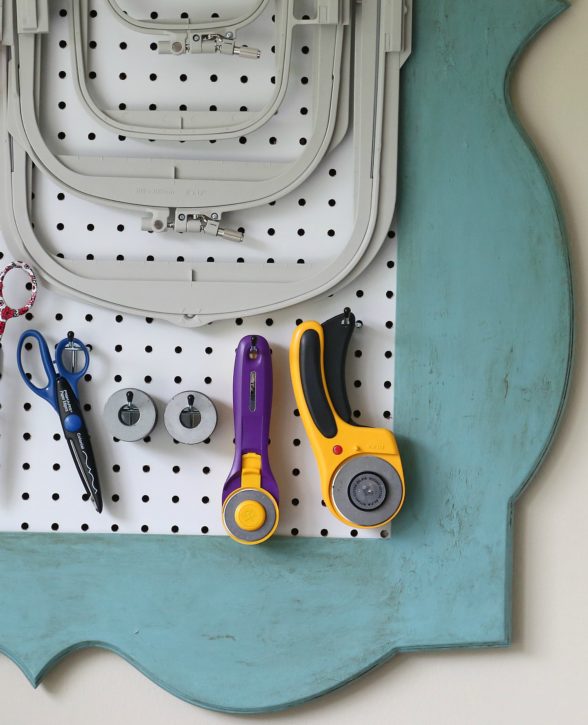
I used Annie Sloan Chalk Paint in Provence. I’ve used chalk paint once before on a special piece that I finished for Josephine’s room and I really enjoyed the process. I love that you don’t have to sand the piece prior to painting and can get started right away. This frame took about 2.5 coats of paint to get the coverage I wanted. Then I used the clear and dark wax to give it a more antiqued look. I have a giant piece in our garage that I plan to refinish in another color of chalk paint……it is going to be a bookcase / display case in our family room. But I digress, anyway, I really enjoy this paint and if you haven’t tried it, give it a go…….it’s super easy to use!
My husband had to make one cut in the pegboard to cut the length down to size to fit in the frame. I think the frame was 24″ x 32″, so we needed to cut 4″ off the pegboard. Luckily for me, he has all the saws for that type of thing, but I know Home Depot will make cuts for you too, if you know what dimensions you need. He secured the pegboard into the frame with screws.
Another thing that I didn’t consider was the fact that a pegboard needs to sit away from the wall a bit in order for the organizers to be used through the holes. Whoops! Again, luckily my handy husband added some spacers (just scrap wood) to the back of the frame so that it’s not directly flat against the wall. They weren’t very large, so it appears to be on the wall, but it’s far enough away to use the organizers. You could also build a frame around the back to get it even farther way from the wall, but his spacers did the trick!
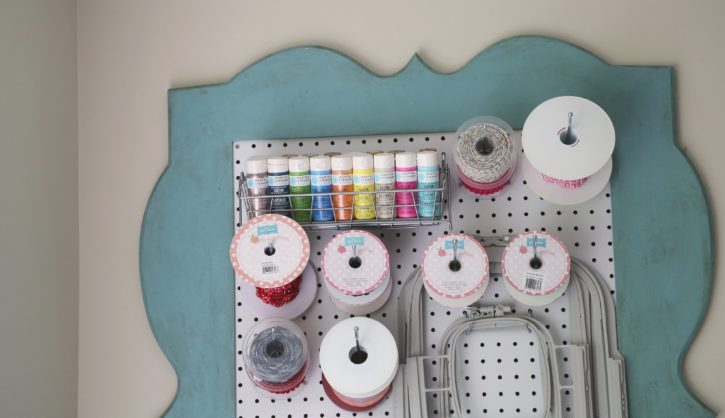
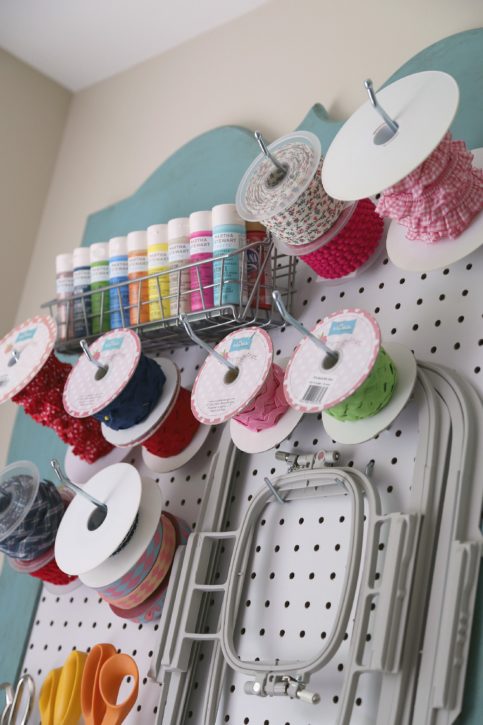
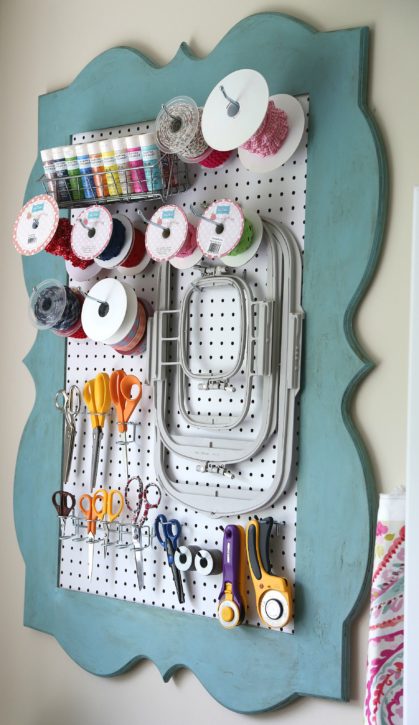
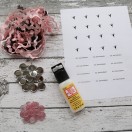
I’ve always found it hard to find a good storage place for my embroidery hoops. The big ones are so large that they really don’t fit in my drawers and they are kind of awkward. So I knew I wanted to store those on the pegboard as well as some of my other scissors, rotary cutters, pattern weights (which are just washers from the hardware store), etc. I’m still not sure if this is how I want the layout, but I’m liking it so far. It’s really nice to have my tools right there next to my machines. All the organizers on the pegboard were from Home Depot, with the exception of the craft paint storage which is from IKEA.

So there you have it…….a DIY Framed Pegboard. Pretty and functional, all wrapped up into one!


 Lindsay Wilkes is the owner and designer behind The Cottage Mama. She creates timeless, vintage inspired sewing patterns for children’s clothes. She is also a fabric designer for Riley Black Designers / Penny Rose Fabrics, author of the book ‘Sew Classic Clothes for Girls’ and can be seen teaching nationwide and online in her video series ‘Lessons with Lindsay’ sponsored by Baby Lock Sewing and Embroidery machines.


I love this idea. May have to try it in my craft room! Thanks for sharing
What an awesome idea for attractively storing so many different sized tools. I especially like being able to hang those expensive embroidery hoops. (Mine are currently piled on the floor.) I will attempt this project soon! thank you!
Looks great! Can’t wait to see the big reveal!
I love love love this!!!!!I was wondering how it is hung on the wall, as I am assuming that the hardware on the back couldnt be used due to the attachment of the spacers. . Is it hung from the spacers? I dont have a handy husband so will be doing myself. thank you
Hi Carla! Yes, there are spacers behind each corner of the pegboard. Not super thick, maybe about 1/2″ wide. This is one of my favorite things in the studio. You could probably get Home Depot to cut the pegboard for you if you know what size you need. They seem to be really helpful with stuff like that!
So what did you use to hang it on the wall? I found this frame at Hobby Lobby, but was wondering after the spacers were attached how to hang it securely on the wall. Did you put anchors in the wall with screws that were LONG enough to go securely in the wall AND extend out far enough to utilize the hangers that come on this frame?
Thank you so much for your time!!