When we purchased the New Cottage Home, there were not a lot of things in the house that I wanted to save……especially in the lighting and wallpaper department. As I’ve mentioned before, this home was a foreclosure and the previous owners left years before we purchased the home back when the bank took possession. The old owners had taken all the things they wanted when the house was foreclosed on…….i.e. all the shelving in the closets, pantry and other things.
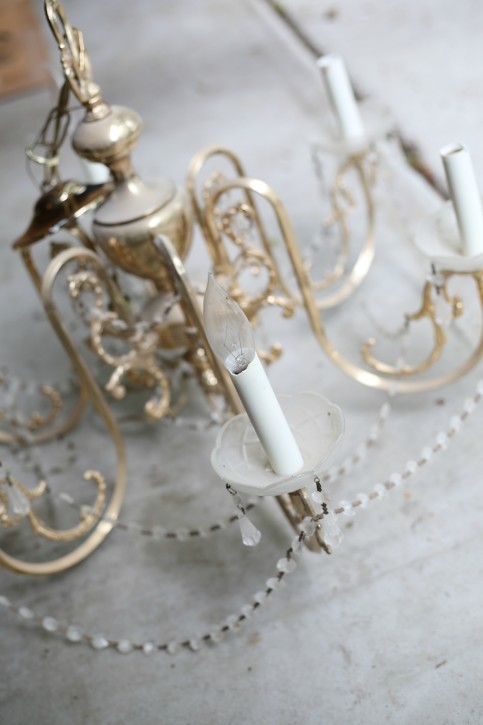
The fixtures were very outdated, rusted and old and there was a really ‘unique’ antler chandelier in the great room. And I know there can be some gorgeous antler chandeliers, but this was not one of them. The room that the old owners were using as a dining room, we decided to use as our formal living / music room and we moved the dining room to a larger space. There was a chandelier in the dining room that I actually liked the shape, but it was shiny brass and the crystals looked like plastic (it hadn’t been cleaned in a very long time). Anyway, rather than getting rid of that chandelier, I decided I would try my hand at making it over for my two oldest girls, Savannah and Matilda. I figured, if it didn’t turn out, no biggie, we’d just buy a fixture for their room, but it would be fun to try!
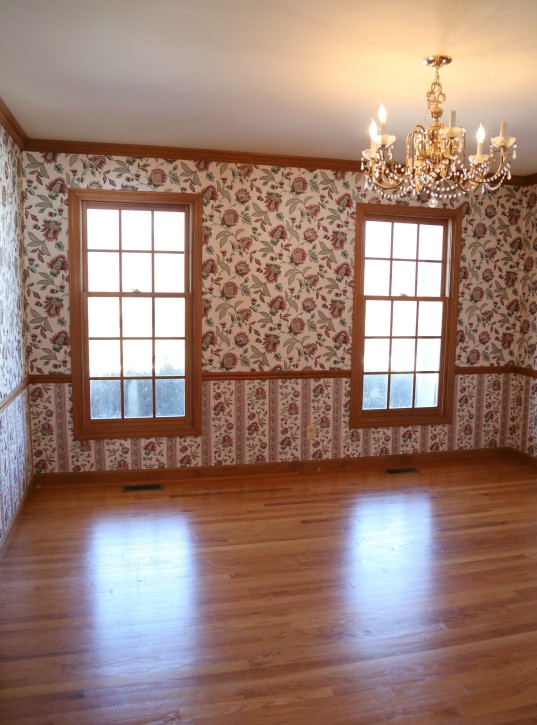
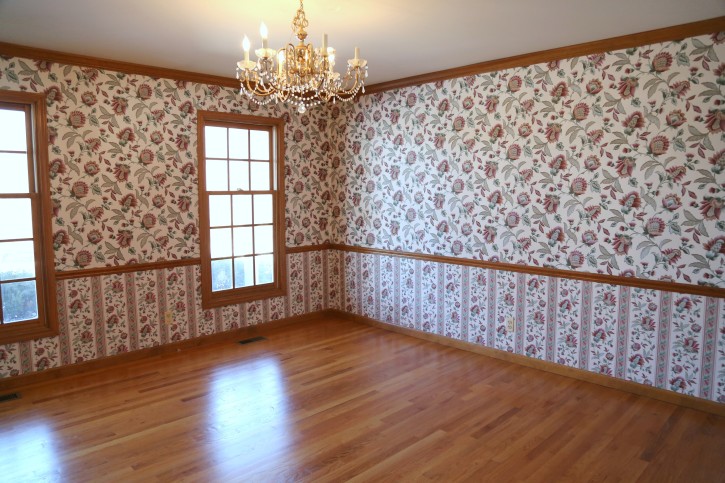
So the two pictures above are of the dining room before. I know you want that wallpaper, don’t you? I’m sure it was the trend in the 90’s but it just didn’t really suite our style. So I’m not ready to show you what we did with that space (it’s not finished yet), but I can share the chandelier makeover!
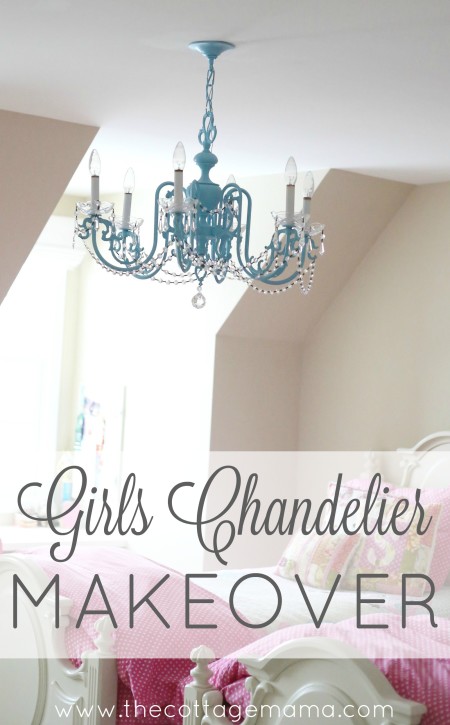
Girls Chandelier Makeover
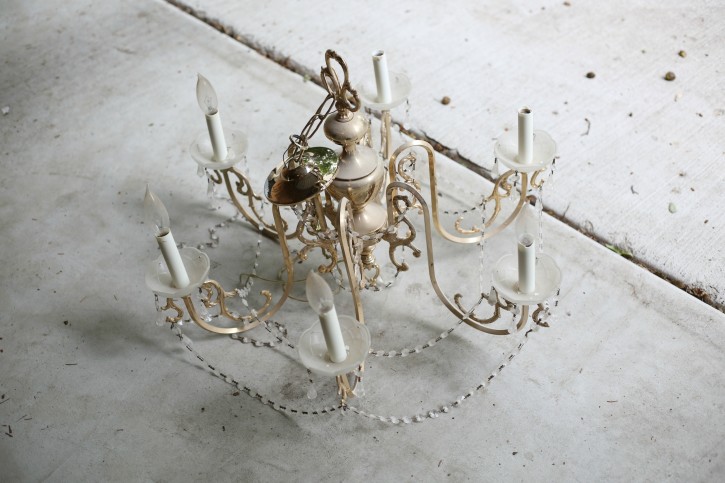
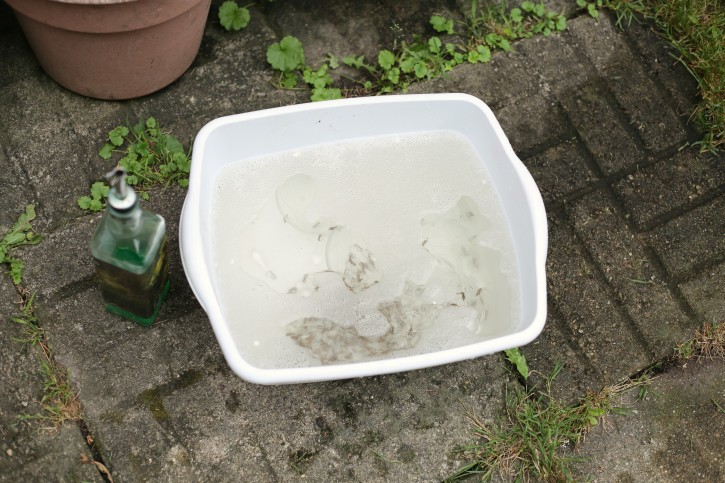
I had our builder remove the chandelier and my first task was to clean the whole thing. I removed all the crystals (which I thought were cheap plastic) and soaked them in some dish washing soap and warm water. I thought that if they didn’t look good, I wouldn’t use them. I left them to soak for about an hour while I scrubbed down the main part of the chandelier. I was really surprised that when I took the crystals out of the water, they were really beautiful! They weren’t plastic at all, they had just looked really cheap because they were dirty! So that was a very happy discovery.
Once the chandelier was clean and dry, I removed the plastic candle looking things. Some of those were old and cracked. I bought some new ones at Home Depot for a fresh look. Plus I liked the look of white.
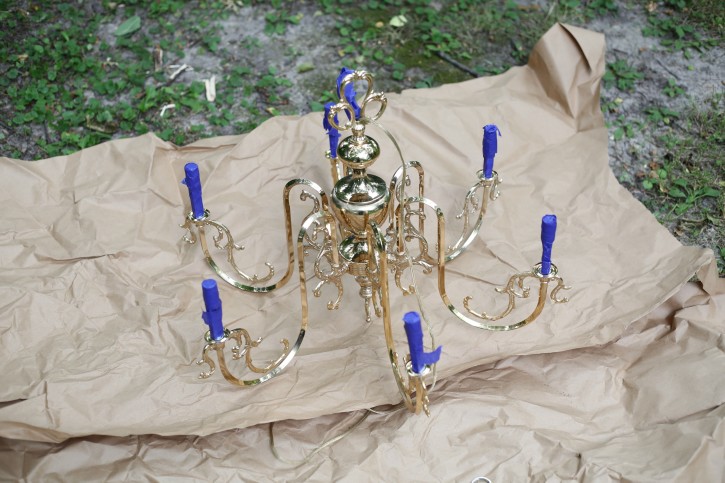
Then I used painters tape to cover up any electrical since I didn’t want that to get covered in paint.
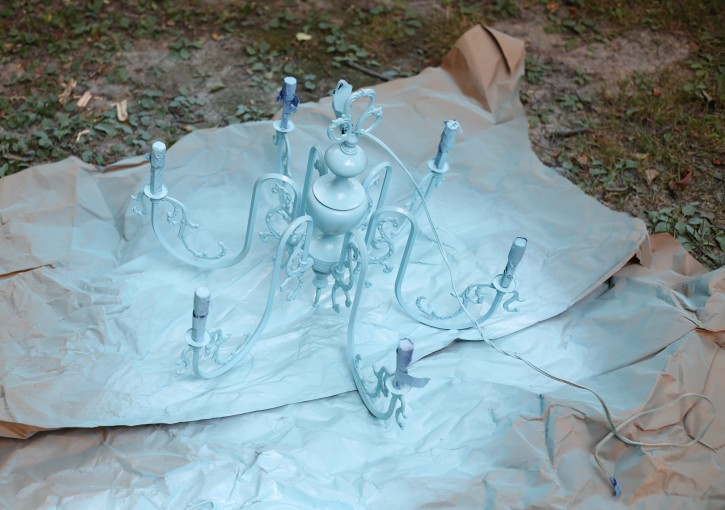
I purchased two cans of spray paint (paint and primer in one) and sprayed the main part of the chandelier and the chain hardware. It took two coats to get the right coverage. I think I waited about two hours in between coats, but the spray paint dries pretty quickly.
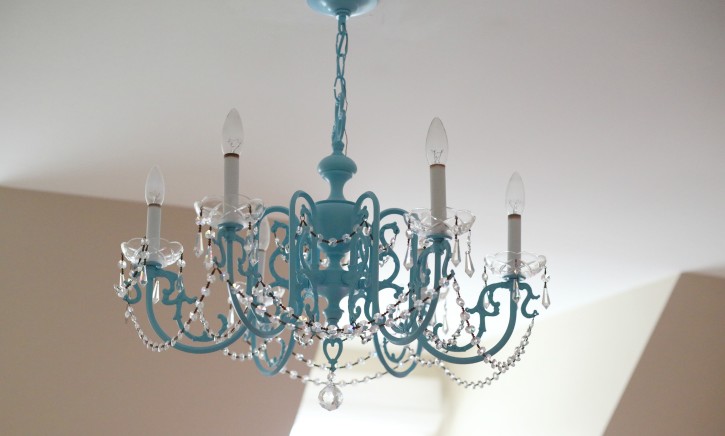
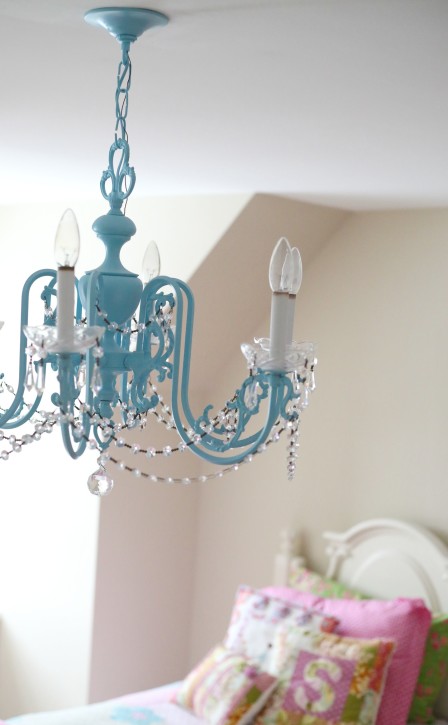
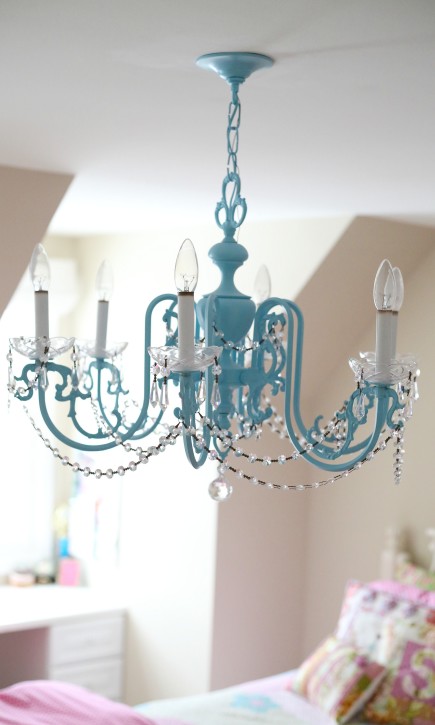
Once the chandelier was all painted, it was time to put it back together. I added the new plastic candlesticks and the crystals back where they were originally. Then the electrician hung the chandelier in the girls room. The girls LOVE it! And I love it too!! It’s a really fun, unique piece for their room. It adds some color, whimsy and glam to their shared bedroom. All their friends that come over to visit are always amazed that they have that beautiful chandelier in their bedroom. The plastic candlesticks have discolored a bit up at the top, but you really can’t tell when you’re looking up at the chandelier from standing on the ground.
Some people pay a lot of money for girls bedroom chandeliers from the different home decor stores, but this literally cost maybe $15-$20. So I encourage you to check out your local thrift stores and antique stores and see what kind of shiny brass fixtures people have gotten rid of that you might be able to makeover. We made over the dining room chandelier in our old house with some oil rubbed bronze spray paint and it turned out amazing! Or maybe if you are looking to update some of your current fixtures, just take them down and spray paint them. So easy and inexpensive!
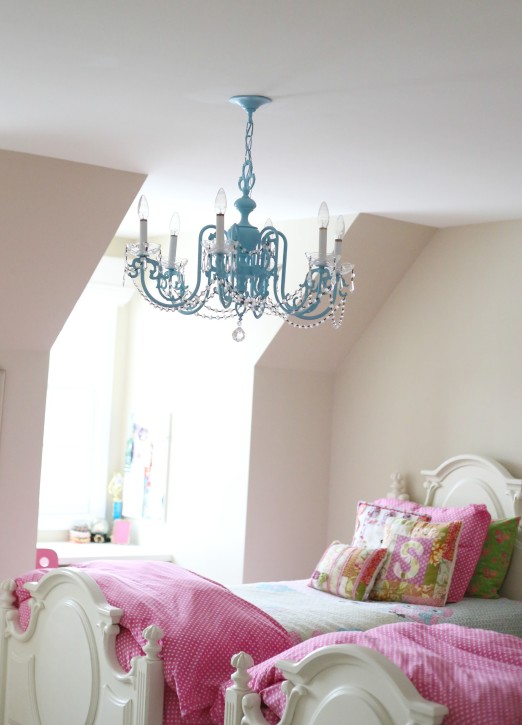
We haven’t finished the girls room yet, we’ve barely hung anything up on the walls. But once the room is ready, I’ll share the girls new shared bedroom!
Happy Decorating!


 Lindsay Wilkes is the owner and designer behind The Cottage Mama. She creates timeless, vintage inspired sewing patterns for children’s clothes. She is also a fabric designer for Riley Black Designers / Penny Rose Fabrics, author of the book ‘Sew Classic Clothes for Girls’ and can be seen teaching nationwide and online in her video series ‘Lessons with Lindsay’ sponsored by Baby Lock Sewing and Embroidery machines.


Wow! You’re such a Genius!!!. So adorable. BTW I did see your videos on gathering and you did a really great job. So confident. I am so happy BL is starting to provide sewing education now…for everyone! Thanks again.
Lovely chandelier, love the colours in the girls room.