Archives for June 2013

Scalloped Envelope Clutch ~ Free Pattern and Tutorial

This was a project I shared a while back over at Riley Blake Designs and in case you missed it, I’m bringing it home.
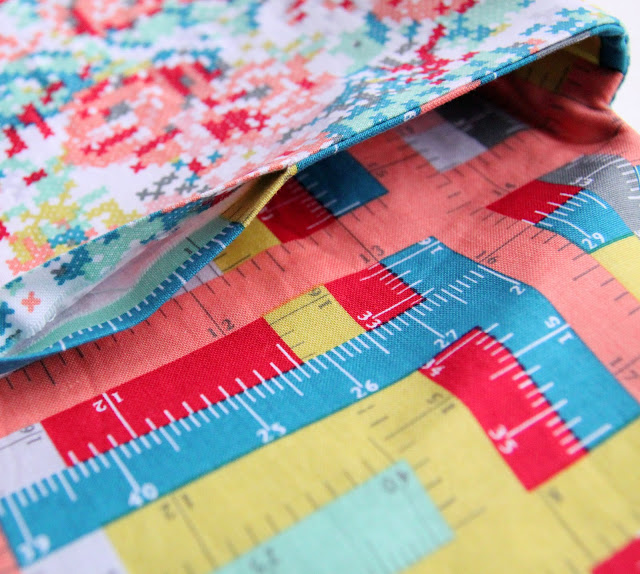
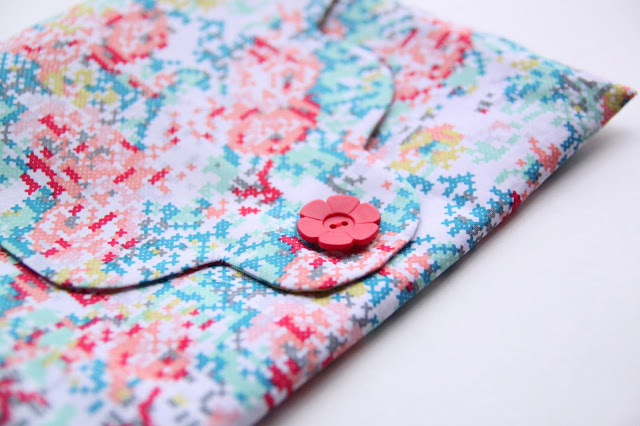
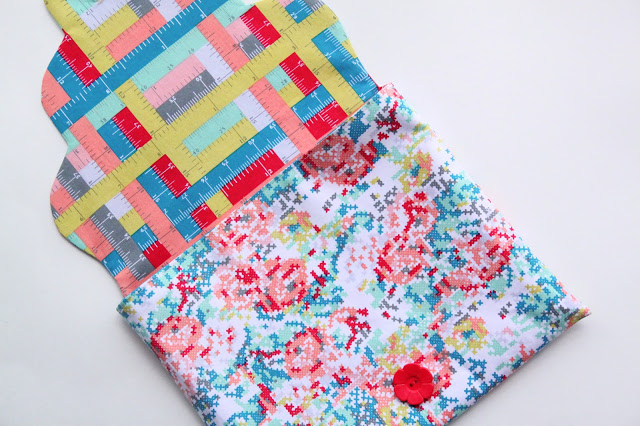
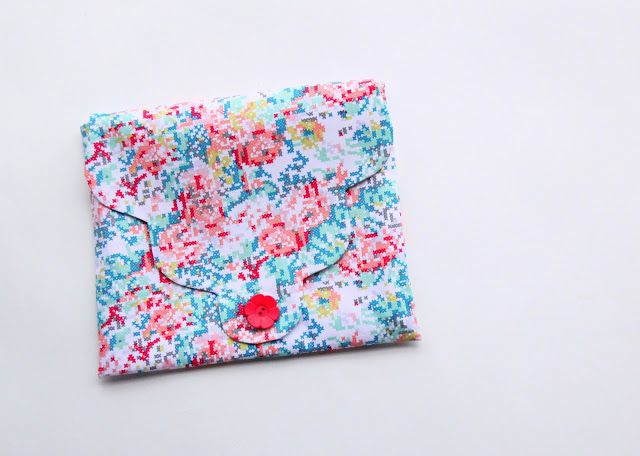
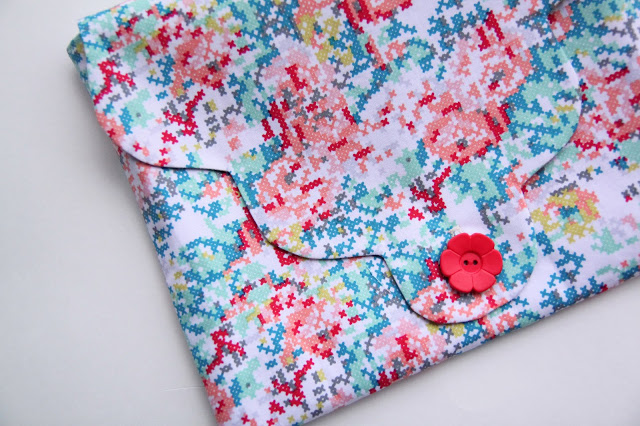
When I came across this printed cross-stitch fabric, I just new it would be perfect for some type of bag. It’s from the ‘Hipster‘ cotton line and I’m absolutely in love with these prints. Envelope clutches seem to be all the rage right now and I have a thing for scalloped edges, so put them together and what do you get? A Scalloped Envelope Clutch Tutorial. Let’s get started…….
Scalloped Envelope Clutch Tutorial
by Lindsay Wilkes from The Cottage Mama
Supplies:
1 yard exterior fabric
1 yard lining fabric
**if you have a non-directional print you can get away with only a half yard of each print and cut the pattern on the horizontal.
1/2 yard fusible interfacing
1 button
Free pattern piece found HERE

Instructions:
ALL SEAM ALLOWANCES 1/2″, UNLESS OTHERWISE NOTED.
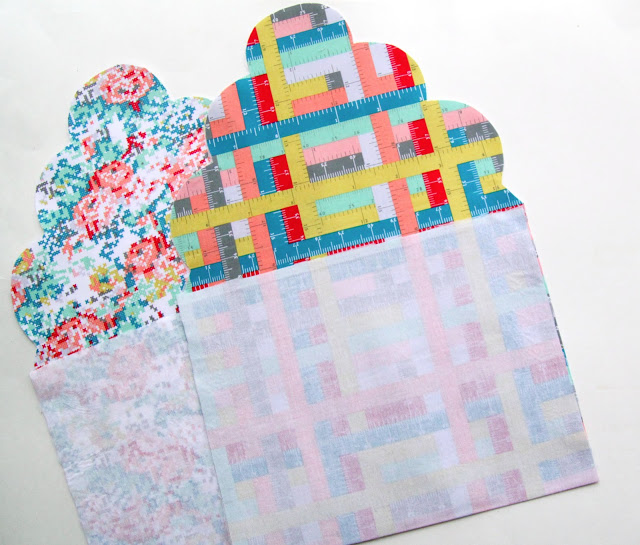
Step 1: Assemble your pattern. This pattern is very easy. All you need is 8.5″ x 11″ sheets of paper. Print out your scallop piece from the free pattern included above in the supplies list and cut it out. Then place two 8.5″ x 11″ sheets with the longs sides flush next to each other and tape them together, then place the straight edge of the scallop piece flush up against one of the sheets of paper and tape them together. Now you have your Scallop Envelope Clutch pattern. You may need to angle cut the paper attaching to the scallop piece depending on how your printer prints out the pattern piece.
Step 2: Apply fusible interfacing to the back of the two fabrics you are using. Do so according to manufacturers instructions. You can use any interfacing you would like, but just remember that the thicker the interfacing, the sturdier this will be as a clutch.
Also, if you would like to use this as a case for a kindle or other electronic device, you could apply fusible fleece to the backsides of the fabric as well. 
     
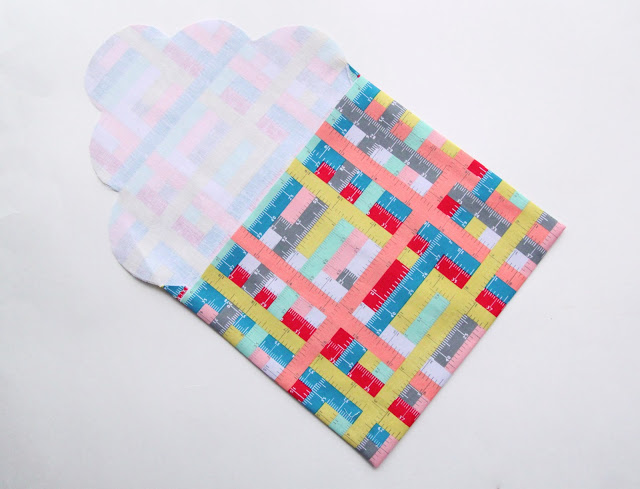
Step 3: Cut out your pattern pieces. You need one in the exterior fabric and one in the lining. Fold up the bottom of the clutch so that it comes up to the bottom of the scallops with the right sides together.

Step 4: Sew along both straight sides. Do this for the lining and exterior pieces. Clip the corners at an angle to remove bulk.

Step 5: Turn the interior lining piece right side out and press.

Step 6: At this point the exterior piece is still wrong side out. Take the lining piece and tuck it down inside the exterior piece. This will make it so that the right sides are together.

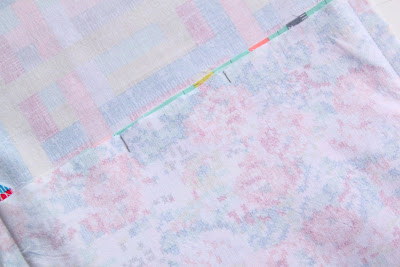
Step 7: You’ll need to leave a little part open across the front of the clutch so go ahead and mark this with your fabric marking pen so you won’t forget.

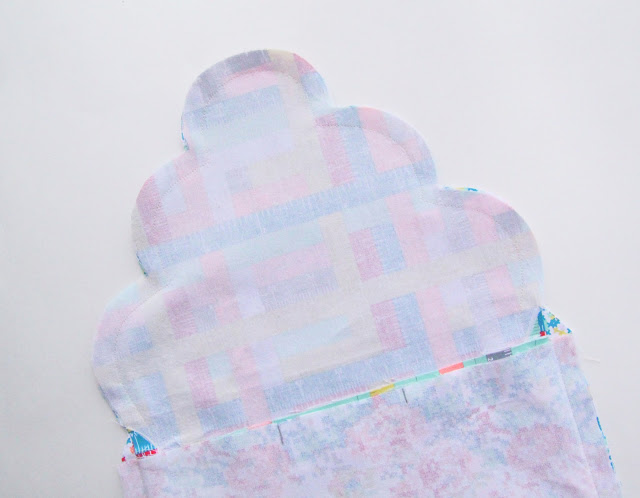
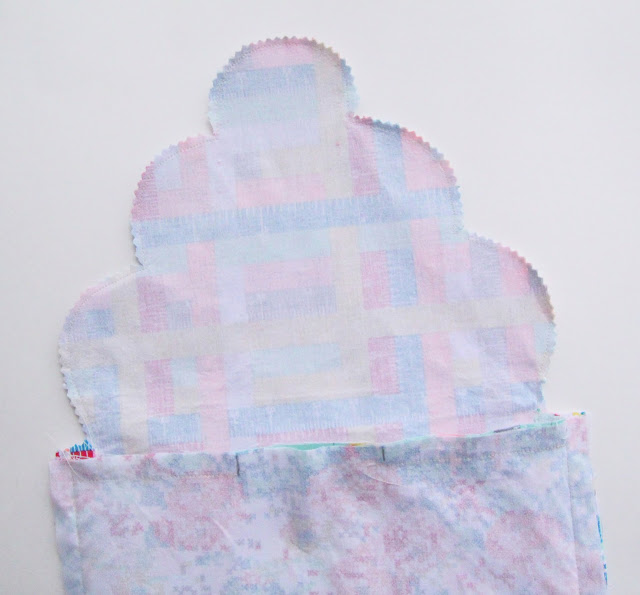
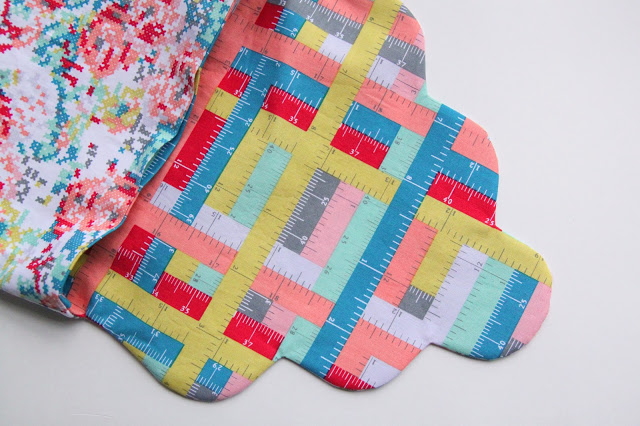
Step 8: Sew the exterior and the lining together all the way around the scallops. Start where the side seams end and go all the way up, around and back down to the other side seam.

Step 9: Clip around the scallops. Use pinking shears or scissors and clip the seam allowance down and cut each dip in the scallop. You need to cut almost to the stitching at the dips of the scallops, otherwise they will not turn out nicely. If they aren’t laying flat when you turn your clutch right side out, that is probably the problem.

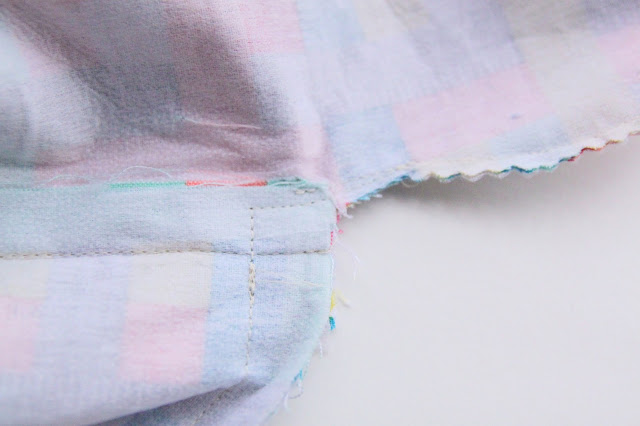
Step 10: Sew across the front of the clutch, making sure to leave that one section open that we already marked. Your stitches across the front should meet up with the stitches you did for the scallops. Clip out the extra fabric in the corner so that it turns out nicely. Cut down to the stitches, but making sure not to go through them. Make sure to move the back of the clutch out of the way so you don’t catch it in your seam.

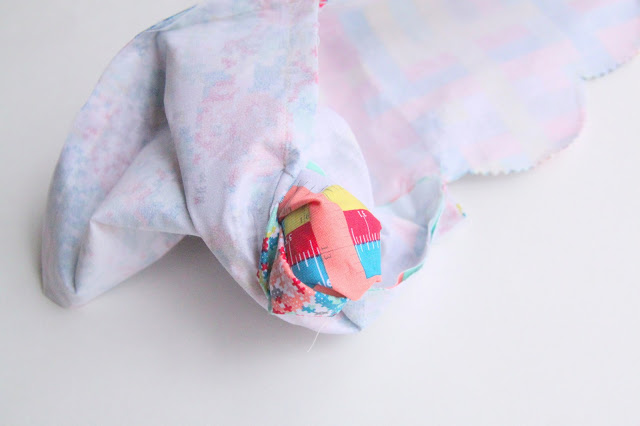
Step 11: Turn the clutch right side out by pulling the fabric through the opening. Tuck the lining down into the exterior, making sure to neatly tuck in the corners.

Step 12: Press out the scallops. Sometimes you really have to ‘work out’ the scallops with your iron to make them look nice. Try rolling the seams out with your fingers……that always works well for me. And press, press, press!

Step 13: Press under the little section you left open so that it is in line with the center front of the clutch.

Step 14: Run a row of topstitching across the front of the clutch to close the opening. You could also topstitch around the scallops as well, but make sure you go slowly because if those stitch lines don’t look good, they will definitely show on the front side of the clutch.

Step 15: Make a buttonhole on the center scallop based on the size of your button and according to your machines instructions. Open the buttonhole.

Step 16: Close the top scallop piece and mark for your button placement. Hand or machine sew your button in place.

 And now look……you have a completed Scalloped Envelope Clutch!
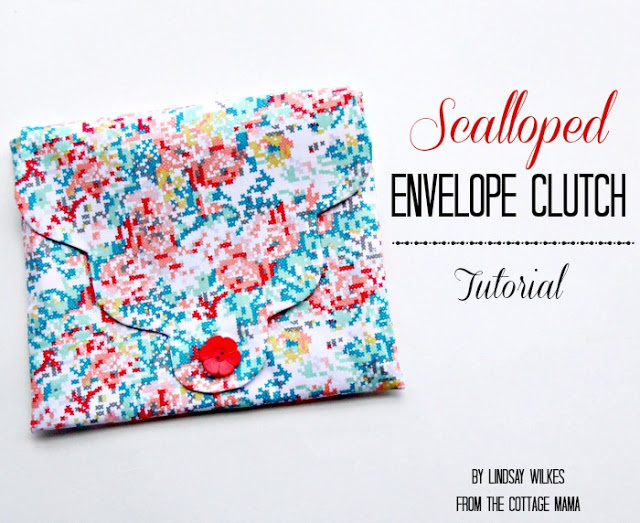
Feel free to adjust the measurements. Wouldn’t this make an adorable case for your ipad using fusible fleece for padding? So many options!
I hope you enjoyed this tutorial!
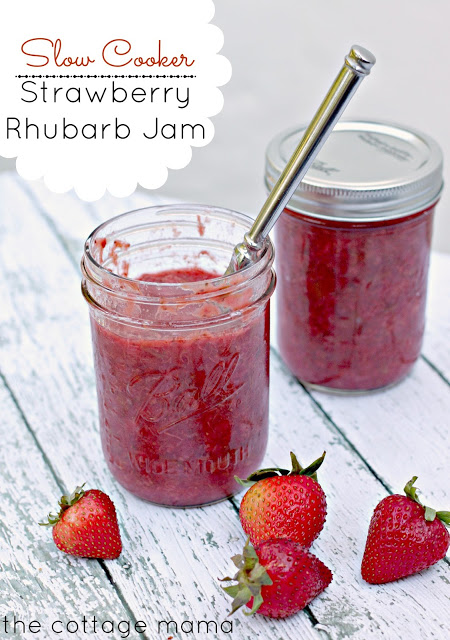
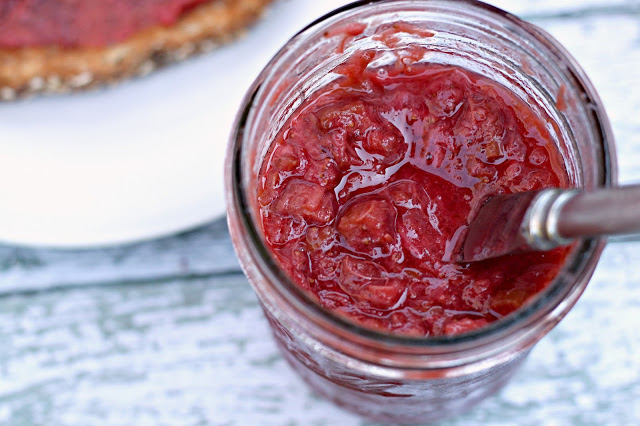
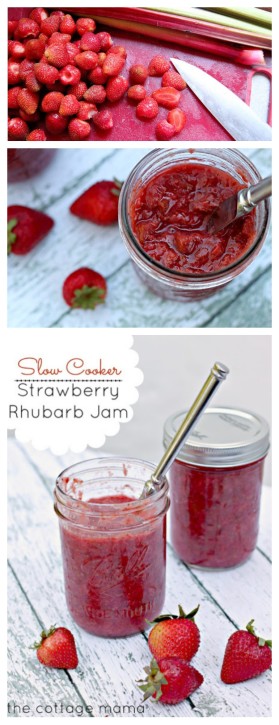
Slow Cooker Strawberry Rhubarb Jam ~ Recipe

So last week the kids and I went strawberry picking. We picked a ton of beautiful strawberries and I have really been wanting to try my hand at making some freezer jam. I was searching around for some recipes and couldn’t quite find what I was looking for. Many recipes called for fruit pectin, which I didn’t have on hand and some of the others required you to cook the jam on the stove-top all day. Nope…….I don’t have all day around here with three little ones. And then it dawned on me…….how about using my trusty slow cooker! So that’s what I did………

Slow Cooker Strawberry Rhubarb Jam

 
Ingredients:
3 lbs. fresh strawberries
2 lbs. rhubarb
1 cup sugar
1/2 tsp. cinnamon
Directions:
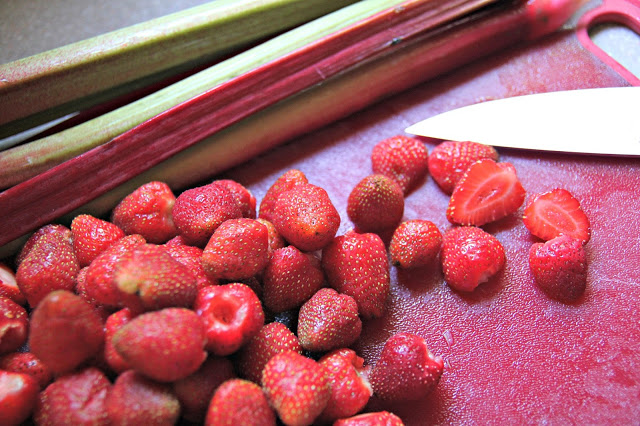
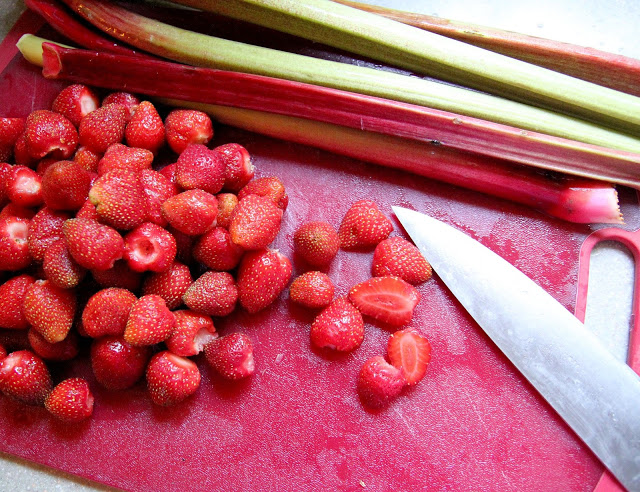
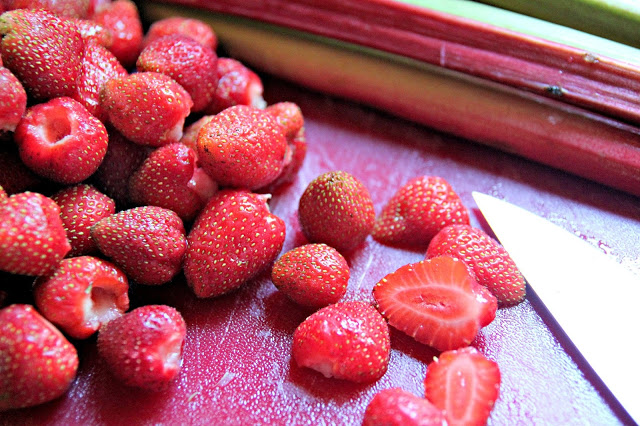
Step 1: Grab your strawberries and rhubarb and start cutting them into large chunks. The farm where we went strawberry picking sold rhubarb as well so it worked out perfectly for this recipe.

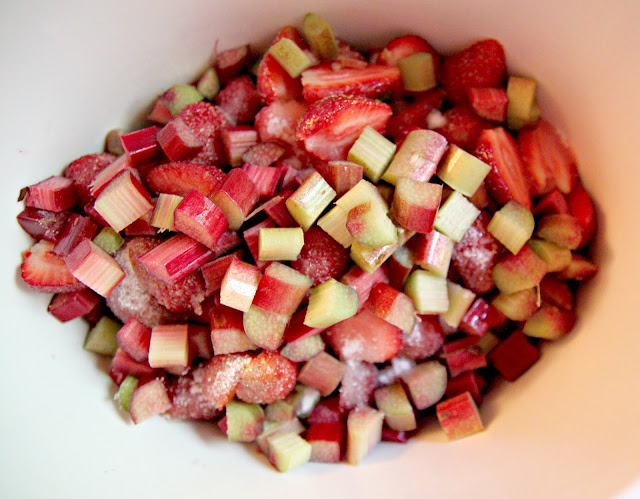
Step 2: Place half the strawberries and rhubarb in your slow cooker and sprinkle with half a cup of sugar. Then add the other half of the strawberries and rhubarb and sprinkle with the remain sugar and cinnamon.

Step 3: Set you slow cooker on low for 6 – 7 hours. After four hours of cooking, remove the lid but allow the mixture to continue to cook. This will cause some of the liquid to evaporate out.

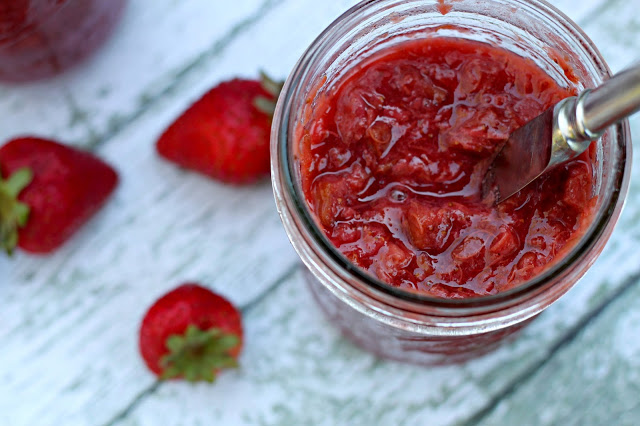
Step 4: Around 5 hours cooking time, get out your potato masher and mash up the mixture as best you can. I like the jam to be nice and chunky, but if you prefer a smoother consistency then you could always transfer the mixture to your blender.

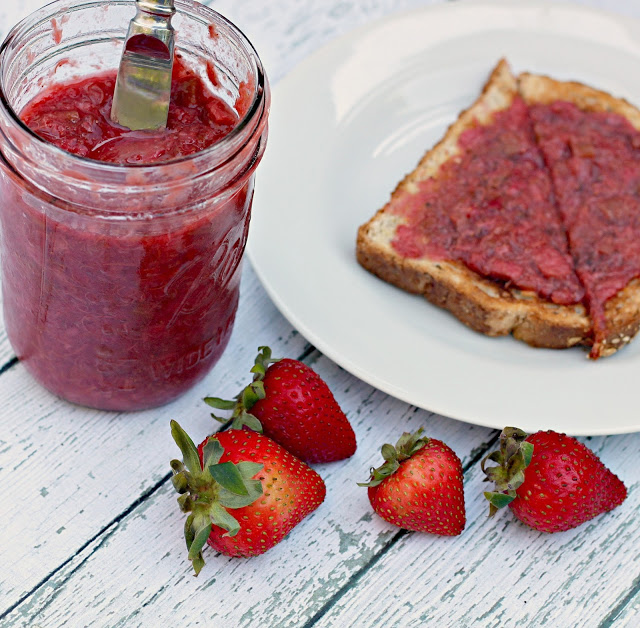
Spread your strawberry rhubarb jam on toast or serve it warm over vanilla ice cream or add it to your favorite yogurt and granola.

I put some of the jam in our refrigerator in glass jars (it will save for 1 – 2 weeks) and the rest of it I put in freezer safe containers in the freezer.

Also, I really love the tart and sweet taste of strawberry rhubarb jam; however, if you prefer things on the sweeter side, then you will definitely want to add more sugar to this recipe. My oldest daughter Savannah tried this and she said it was ‘JUST right!’. She’s a pretty tough critic, so I’ll take that to mean that it’s pretty darn good.
Slow Cooker Strawberry Rhubarb Jam
Author: 
Prep time: 
Cook time: 
Total time: 
Serves: 36
 
Ingredients
  • 3 lbs. fresh strawberries
  • 2 lbs. rhubarb
  • 1 cup sugar
  • ½ tsp. cinnamon
Instructions
  1. Grab your strawberries and rhubarb and start cutting them into large chunks. The farm where we went strawberry picking sold rhubarb as well so it worked out perfectly for this recipe.
  2. Place half the strawberries and rhubarb in your slow cooker and sprinkle with half a cup of sugar. Then add the other half of the strawberries and rhubarb and sprinkle with the remain sugar and cinnamon.
  3. Set you slow cooker on low for 6 - 7 hours. After four hours of cooking, remove the lid but allow the mixture to continue to cook. This will cause some of the liquid to evaporate out.
  4. Around 5 hours cooking time, get out your potato masher and mash up the mixture as best you can. I like the jam to be nice and chunky, but if you prefer a smoother consistency then you could always transfer the mixture to your blender.
  5. Spread your strawberry rhubarb jam on toast or serve it warm over vanilla ice cream or add it to your favorite yogurt and granola.
Slow Cooker Strawberry Rhubarb Jam - The Cottage Mama
Enjoy!

A Trip to the Strawberry Patch: 2013

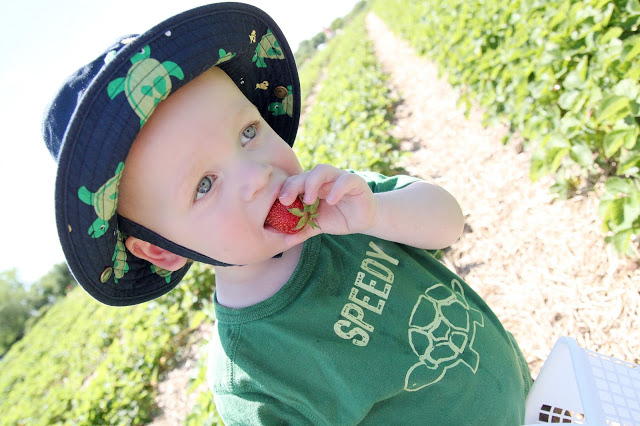
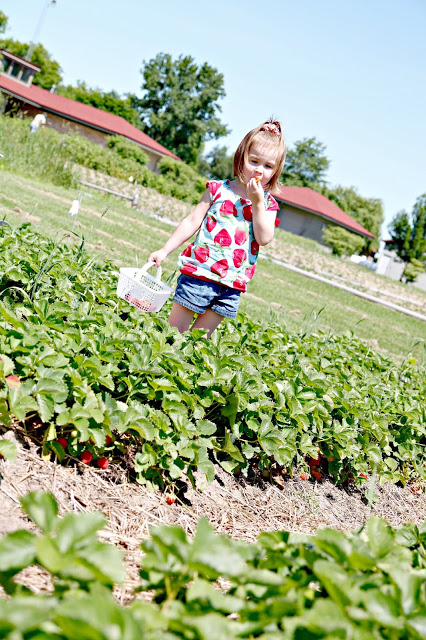
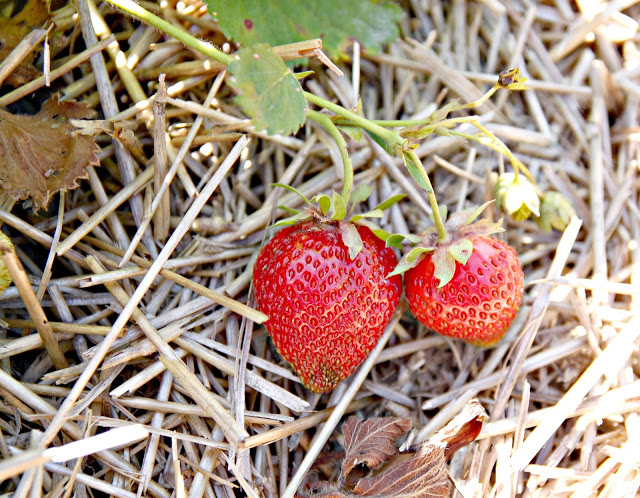
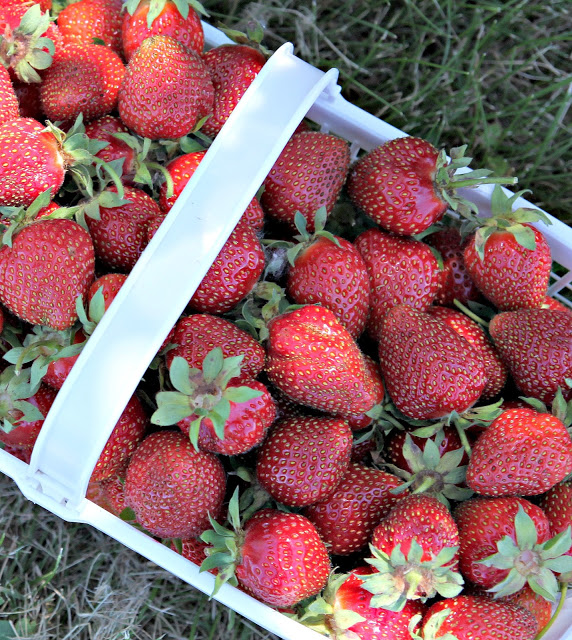
It’s strawberry season here in Chicago. On Monday I was trying to decide what the kids and were going to do for the day and I thought……’I bet it’s strawberry picking time.’ I called our local berry farm to see if they had berries this year (since the weather has been so strange) and it turns out Monday was the first day they were open for picking! Well that sealed the deal. The kids and I were going to go strawberry picking and get the first pick of the season!

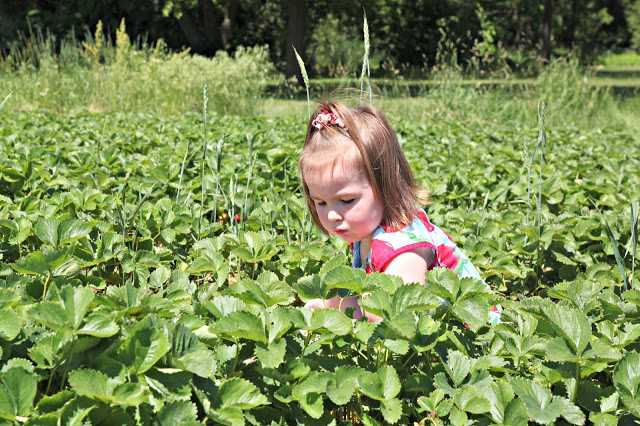
Miss Savannah was really into making sure she picked the very best strawberries she could find. This girl has high standards when it comes to berries………she passed over many berries before she picked just the right one. She was our quality control manager.

This is what Mr. Caspian did the entire time. He had a feast and didn’t get a single berry in his basket. I tried to look past the fact that the berries weren’t washed and just let him have a good time. He really enjoyed himself since he absolutely loves berries. You could just see his eyes light up when he realized what we were doing. He was in hog heaven.

Miss Matilda was kind of in between girl. She spent a good amount of time eating and a good amount of time picking berries for her basket. When I told her we were going strawberry picking she said ‘I know what shirt I’m going to wear!’ And it was just perfect.

We spent about an hour picking our berries and then went and had a picnic lunch under a nice shady tree. It was such a gorgeous day out and I just spent the whole time we were out there feeling so incredibly grateful for all these little blessings in my life. Nice weather will do that for you.

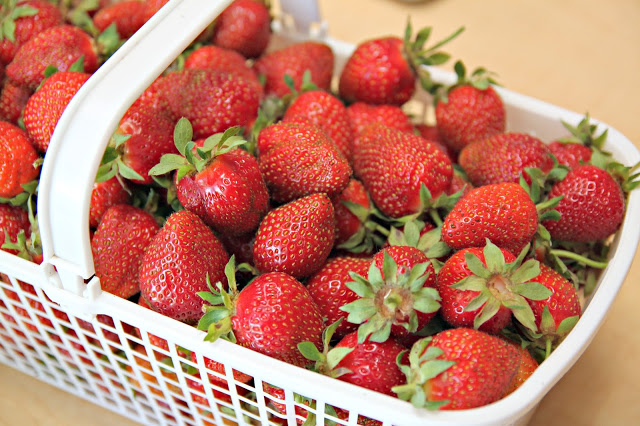
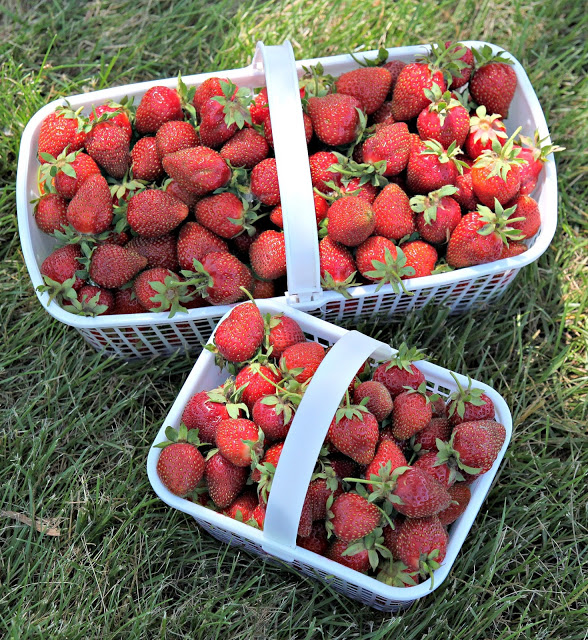
We got a really good amount of berries, but I will tell you that a majority of them were gone by the end of the day. I seriously think strawberries are one of the greatest little treasures……so sweet and delicious!

And this is what the kids looked like after our picnic and strawberry eating fest. And this is why we never wear fancy clothes to pick strawberries……..it always ends with a strawberry face or strawberry body.

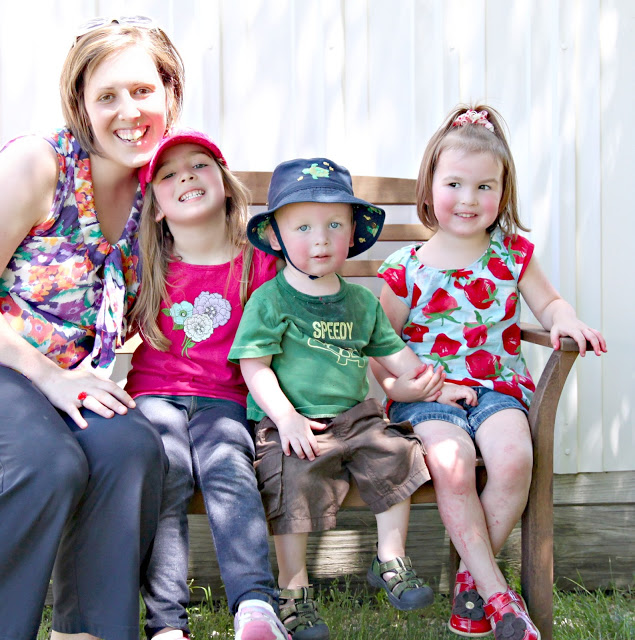
A nice man saw me trying to take pictures of the kids and offered to take a group picture of us. Don’t you just love when that happens? So here’s our strawberry picking crew…….it’s a miracle that everyone’s faces are pointing towards the camera……seriously……..a miracle.

A couple years ago I made some really delicious Cinnamon Strawberry Muffins (recipe found here) and this year I decided to try something new. If you follow me over on Instagram (@thecottagemama) you might already know what it is……….it turned out so yummy……I can’t wait to share!

Strawberry picking has become an annual tradition for us. I took the girls picking when I was pregnant with Cass, we went last year when he was just a baby and I carried him on me in the Ergo carrier and now look at the three of them. It’s amazing how time flies!

Riley Blake Fabric Fest Blog Hop and Fat Quarter Bundle Giveaway!


So I know I mentioned it quite some time ago, but this September I will be heading to Las Vegas to teach at Riley Blake DesignsFabric Fest‘! I’m so excited about this opportunity. I have really enjoyed working with the folks at Riley Blake Designs and I know their first conference is going to be amazing. There are going to be so many great classes and teachers during this conference…….if you haven’t signed up, you definitely should. There is something for everyone!

I will be teaching three hands-on sewing classes during the conference and will be on a panel for one lecture class about finding your signature style. So what exactly am I teaching in the hands-on classes?

CLASS 1 – EMBELLISHING GARMENTS WITH TRIMS:
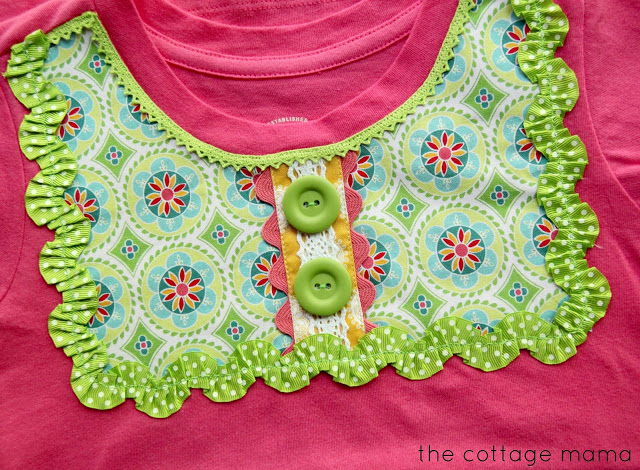
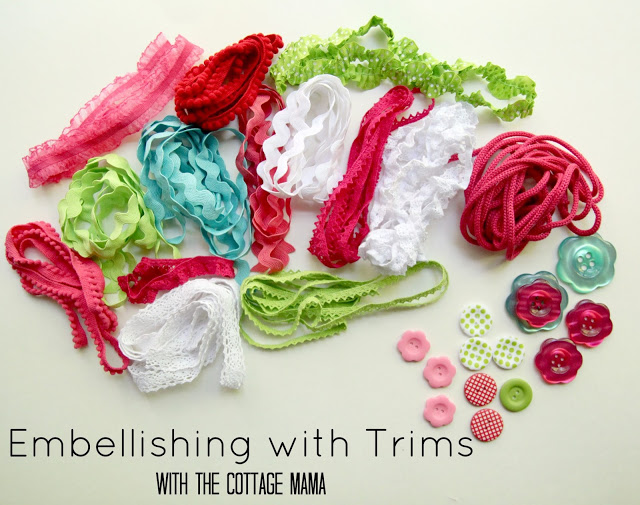
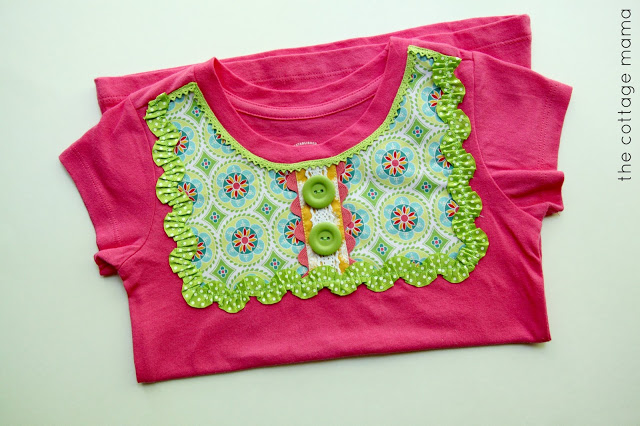
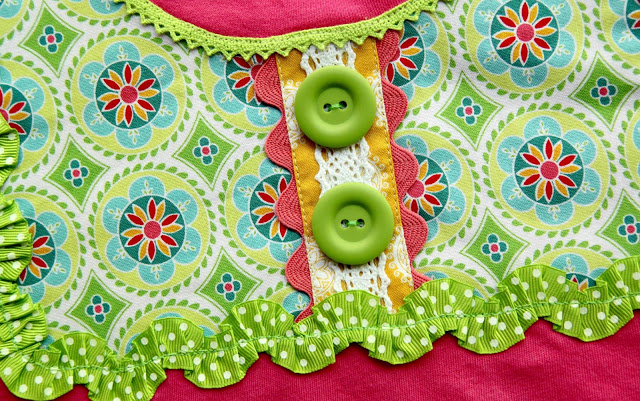
My 1st class is ‘Embellishing Garments with Trims’ and you all know how much I love trim! In this class we will be talking about using trims to embellish garments and how to use trims to pull a look together.

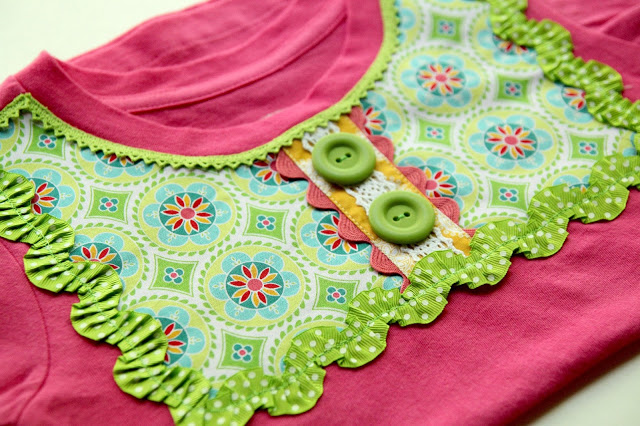
We will also be creating an embellished t-shirt during the class using all of the adorable trims from Riley Blake Designs.

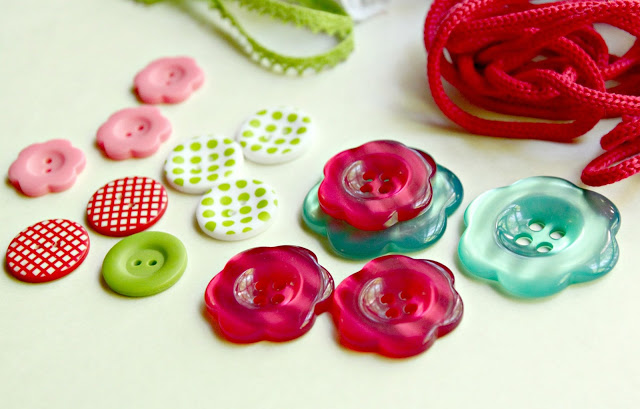
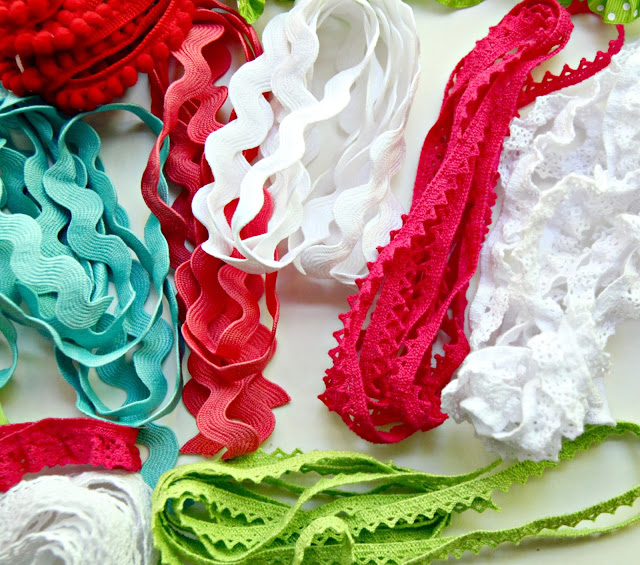
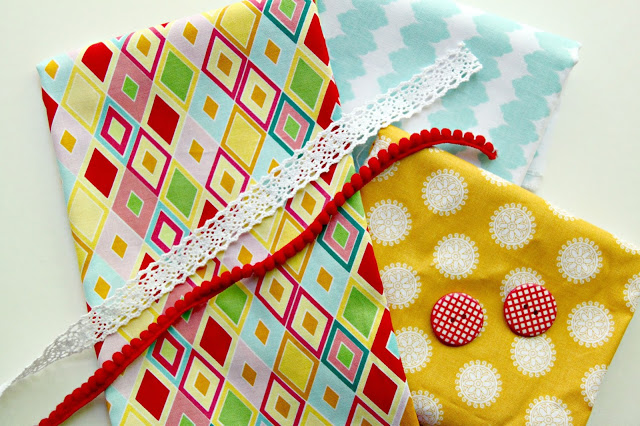
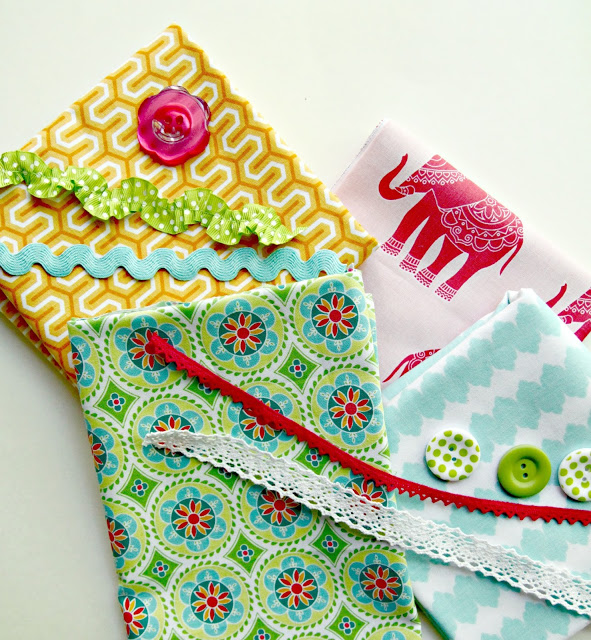
Riley Blake Designs really has some of the best trims for embellishing! From every color rickrack, to different lace and crochet elastics, to picot edging and the most adorable buttons in all shapes, sizes and designs. For those students that sign up for the kit for the class, they will be receiving a sampling of trims from Riley Blake Designs!

My hope is that the take-away from this class will be how trims and the proper fabric pairing really can pull an entire look together and take a garment from ordinary to extraordinary!
CLASS 2 – LINED GARMENT CONSTRUCTION:

My second class is ‘Lined Garment Construction’. This class makes me so excited because I get to teach some of my very favorite techniques for finishing the inside of lined garments including armholes and the hems of lined garments. These are all techniques that can be applied to some of my own, The Cottage Mama, sewing patterns and can be incorporated into other patterns as well.
Personally, when I sew a pattern from another designer, I don’t always follow their construction instructions because I have a specific way I like to finish the insides of garments. I’m hoping the students will take away the techniques from the class and apply them into their everyday sewing. To help us learn the various techniques, we will be sewing the basic variation of The Cottage Mama ‘Janey Jumper‘ pattern using some gorgeous Riley Blake Fabrics!
CLASS 3 – SEWING WITH PATTERNS:
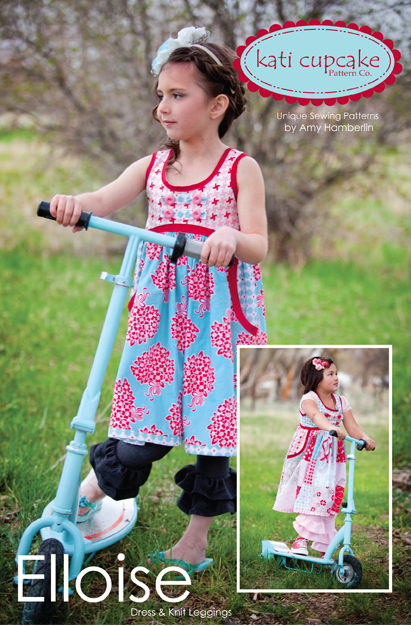
My final hands-on class will be ‘How to Sew with Patterns.’ I know there are many people who just don’t care to sew using commercial patterns. Either they have had a bad experience or just aren’t quite sure how to interpret the different symbols and wording in a pattern. In this class we will be talking about sewing using paper patterns and PDF printable patterns, how to preserve paper patterns, transferring pattern markings and explaining what all the different markings mean…plus more. Students will leave this class feeling confident about being able to sew garments using patterns. We will be using the Katie Cupcake ‘Elloise’ pattern and students will leave with the garment cut out and ready to sew!

FAT QUARTER BUNDLE GIVEAWAY:
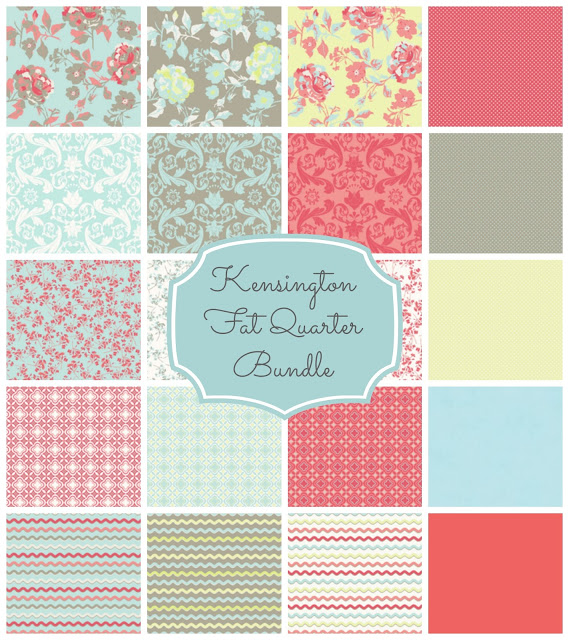
And because we are having so much fun talking about Riley Blake Designs Fabric Fest, I’ve got a great giveaway of one of their beautiful Fat Quarter Bundles (Kensington by Emily Taylor Designs for Riley Blake Designs)!
You can enter the giveaway via the Rafflecopter at the bottom of the blog post!


During the blog hop, these great sites will be blogging all about Fabric Fest and the wonderful classes they are teaching. They will also be giving away some great prizes, so you’ll want to keep this list close by!

Wednesday, June 5
Jina Barney of Riley Blake Designs
Thursday, June 6
Lori Holt of Bee in My Bonnet
 Friday, June 7
Elizabeth and Liz Evans of Simply Simon & Co
Saturday, June 8
Nancy Zieman/Deanna Springer of Nancy Zieman.com
Monday, June 10
Melissa Mortenson of The Polka Dot Chair 
Tuesday, June 11
Carolina Moore of Always Expect Moore
Wednesday, June 12
Paige Hill of Riley Blake Designs, Jennifer of Tatertots and Jello,
Becky & Kari of U-Create
Thursday, June 13
Amanda Herring of The Quilted Fish
Friday, June 14
Kim Christopherson & Kris Thurgood of My Girlfriends Quilt Shoppe
Saturday, June 15
Bonnie Bailey on Riley Blake Designs
 Monday, June 17
Lila Tueller of Lila Tueller Designs
Tuesday, June 18
Amy Smart of Diary of a Quilter
Wednesday, June 19
Lindsay Wilkes of The Cottage Mama
Thursday, June 20
Sue Daley of Sue Daley Designs
Friday, June 21
Eleanor Burns/ Sue Bouchard of Quilt in a Day
Saturday, June 22
Jenny, Natalie, & Sarah of Missouri Star Quilt Company
 Monday, June 24
Andrea Goddard of And I Sew
Tuesday, June 25
Becky, Brooke, Jamie, Kirsten, & Nikkala of The Crafting Chicks
Wednesday, June 26
Deonn Stott of Quiltscapes 
 Thursday, June 27
Sandy Workman of Pine Mountain Designs
Friday, June 28
Sydney Haglund of Memory Quilt Maker

a Rafflecopter giveaway

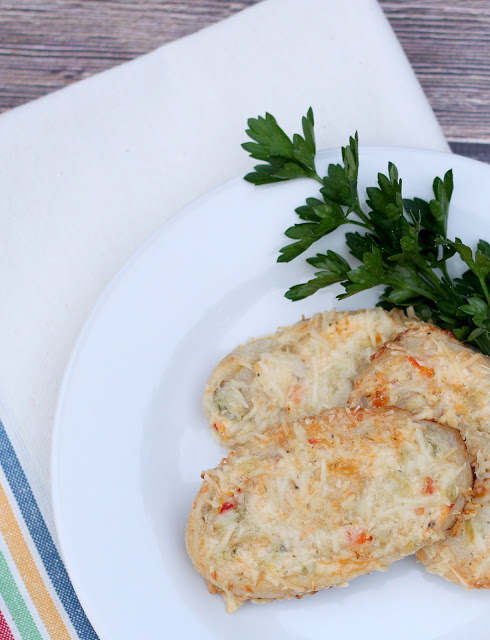
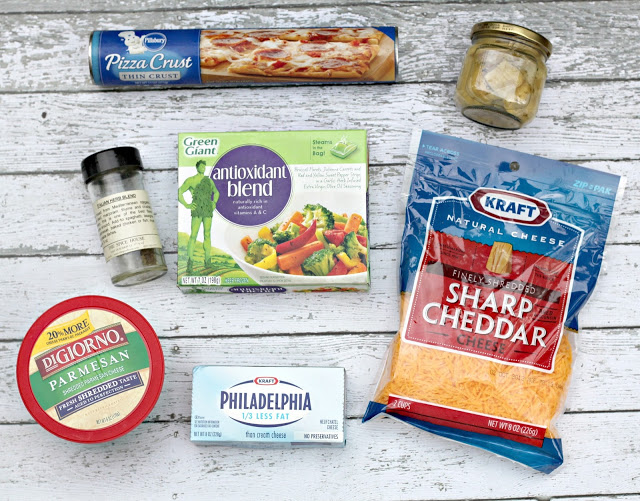
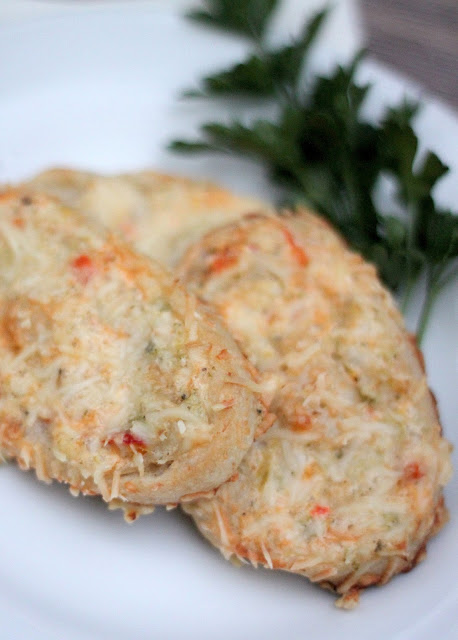
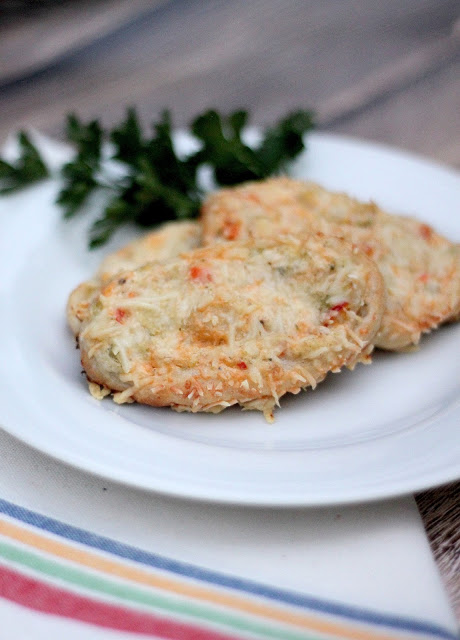
46th Annual Pillsbury Bake-Off Contest Recipe: Parmesan Crusted Veggie Spirals

So guess what? Remember last year when my mom (Grandma Jane) made it into the finals of the 45th Annual Pillsbury Bake-Off Contest (see post here)? She flew to Orlando, FL to compete for the $1 million dollar prize and unfortunately, she didn’t win with her Biscuit Corn Cakes with Goat Cheese in Blackberry-Thyme Sauce. However, that didn’t stop her from wanting to go again this year! She entered several different recipes into this years competition (46th Annual Pillsbury Bake-Off Contest) and she has made it into the semi-finals with her Parmesan Crusted Veggie Spirals! Yay!

They are doing things a little bit differently this year and they are choosing the finalists based on online voting rather than picking finalists in-house like they did last year. So, with that being said…….Grandma  Jane NEEDS your vote! The online voting is only open for 10 more days (through June 27th) and I would absolutely love if you would head over and vote for her recipe: Parmesan Crusted Veggie Spirals.

I decided I had better try this recipe myself and thought I would share it with you all here on the blog.
You are going to love it!

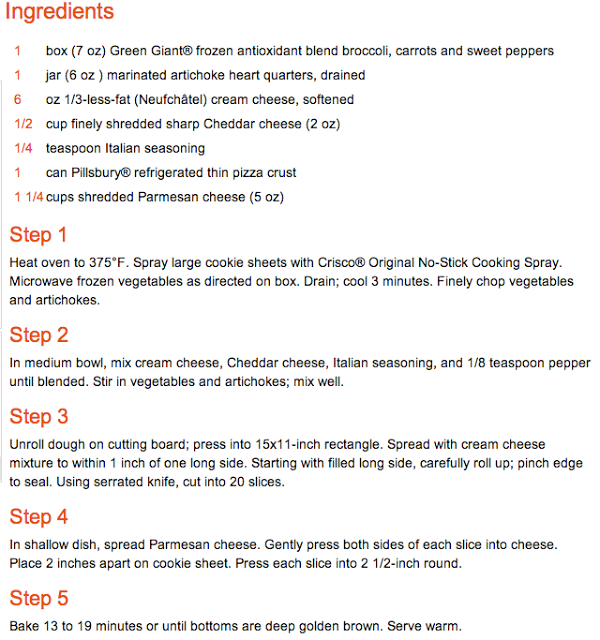
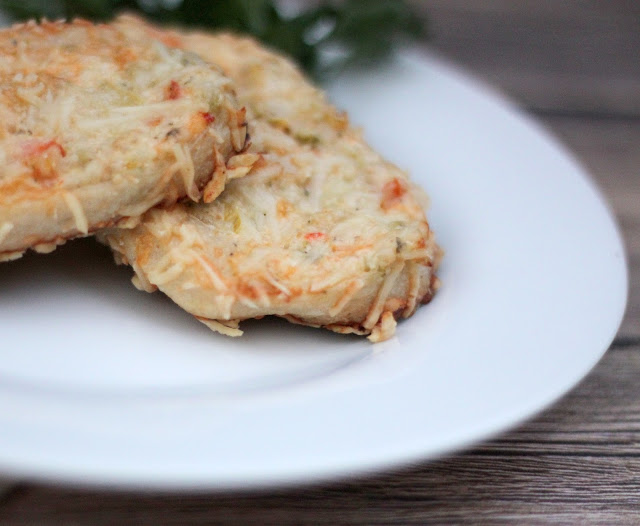
Parmesan Crusted Veggie Spirals
MAKES 20 SPIRALS

I guarantee that this will be a go-to appetizer recipe for your family! You can also change up some of the filling ingredients and really get creative with this recipe to make it your own.

So will you help a girl out and help me send my mom (Grandma Jane) to the finals of the 46th Annual Pillsbury Bake-Off Contest? I would really, really appreciate it! And so would Grandma Jane.
You can go over and vote for her recipe (Parmesan Crusted Veggie Spirals from Jane Michel from Houston, TX) by clicking HERE. You will have to fill in your email address to enter, but they won’t start sending you things unless you opt in. Feel free to ‘pin’ this recipe, share on facebook or twitter or anywhere else you can think of that would help spread the word.
Thank you so much and I hope you’ll give this recipe a try.
You’re going to love it!

Daphne Wrap Dress and Top Pattern from The Cottage Mama: Now Available!


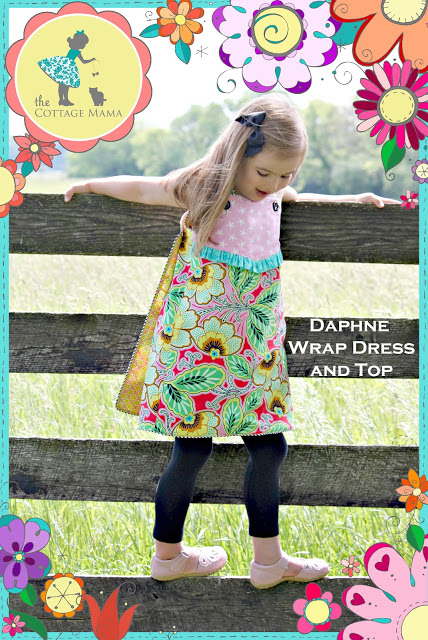
And here it is……..the final pattern in The Cottage Mama summer collection of sewing patterns. The Daphne Wrap Dress and Top (size 6 month – size 10) is now available in PDF and will be available in paper around the end of June!

Daphne Wrap Dress and Top
SIZE 6 MONTH – SIZE 10
DESCRIPTION:

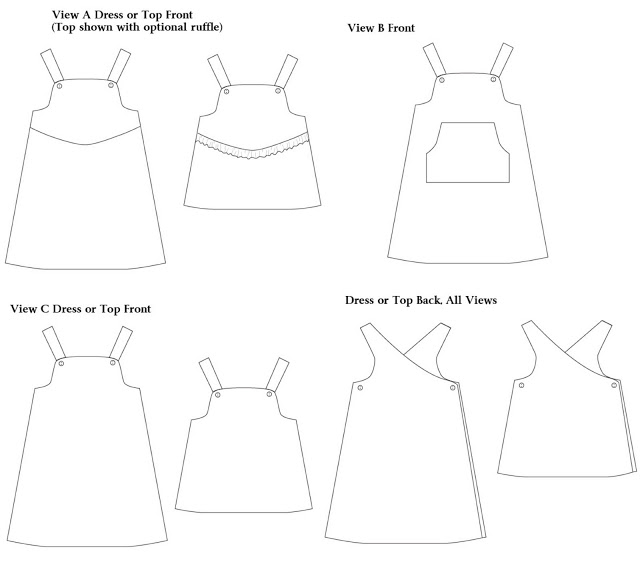
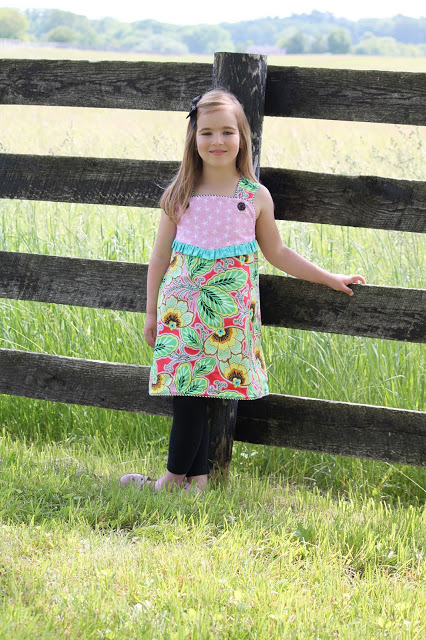
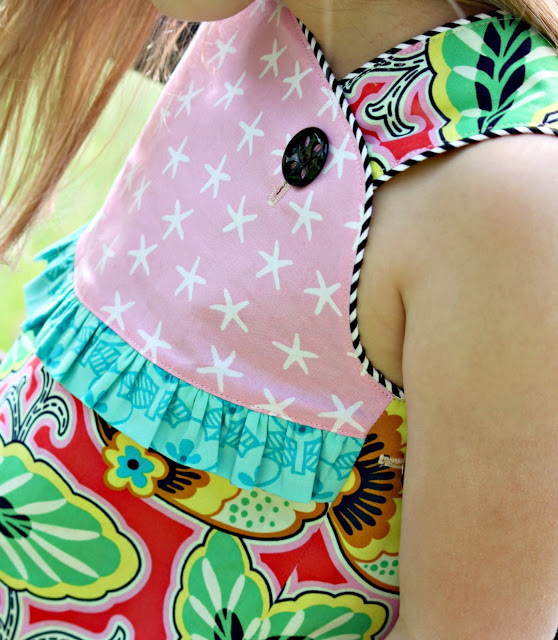
The Daphne Wrap Dress and Top is the perfect casual wardrobe essential for your little one. It is a semi-fitted, A-line, wrap dress that is fully lined, wraps around back and is secured with two buttons in back and two buttons in the front. View A can be made as a dress or top and has a pieced front with a curved yoke and an adorable ruffle or piping added into the seam. Optional piping trims the entire dress for amazing attention to detail. View B, the Daphne pocket dress, has a solid dress front with a sweet kangaroo style pocket. And View C, is the solid dress variation, which can easily be made reversible with the addition of more buttons or snaps on the lining. View C can also be cut as a top for perfect pairing with pants or capris.

All design variations are fully lined with contrasting fabric for total comfort for your little one. This is great pattern for confident beginner sewers and offers many ways to get creative with your design!

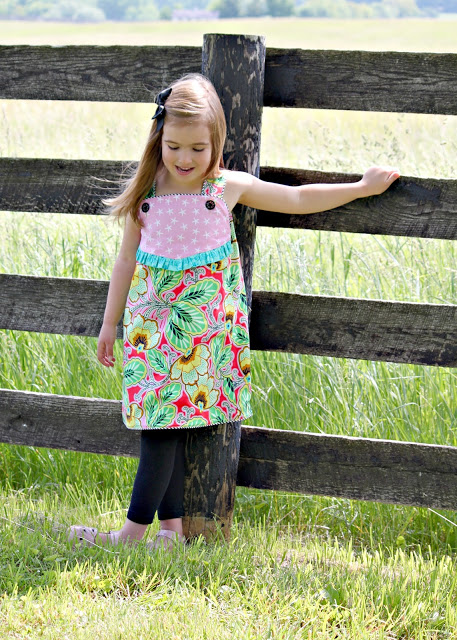
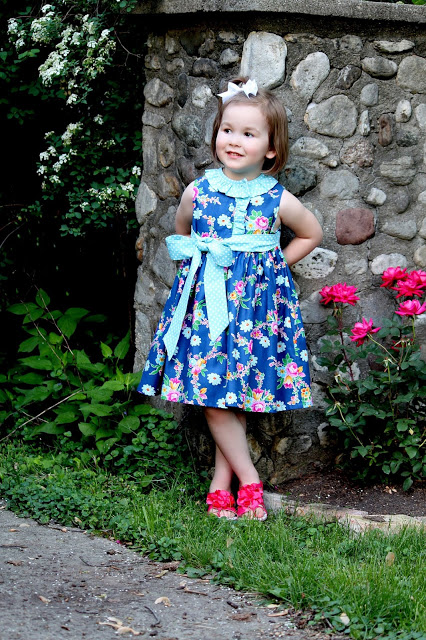
Here is my sweet Savannah Rose wearing the new Daphne Dress (View A) that I made for her. This piece is perfect for spring and summer and will transition beautifully into fall and winter by layering it with long sleeves and tights or leggings.

The Daphne Wrap Dress and Top Pattern has so many different possibilities. You can make it as a dress or top. You can do a solid front, or a pieced front with ruffle or piping or do a solid front with a kangaroo pocket. The pattern also includes tips and tricks on how to use piping throughout the entire garment. Piping is entirely optional, but it’s a sweet little way to add some interest and detail!

This pattern is a really quick sew. I think you will be surprised how quickly it comes together!
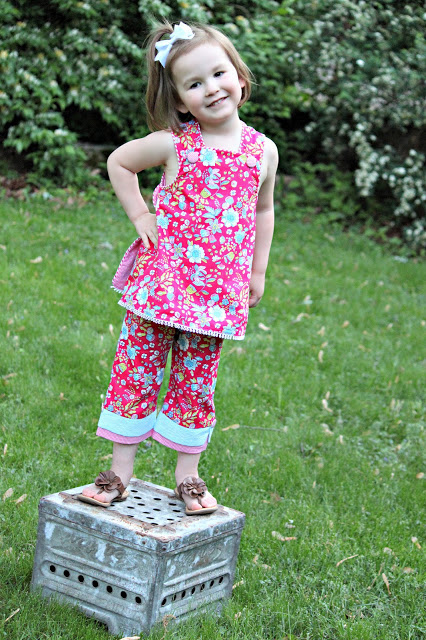
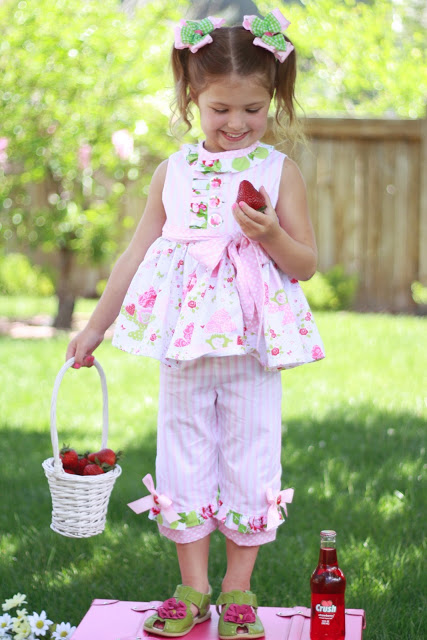
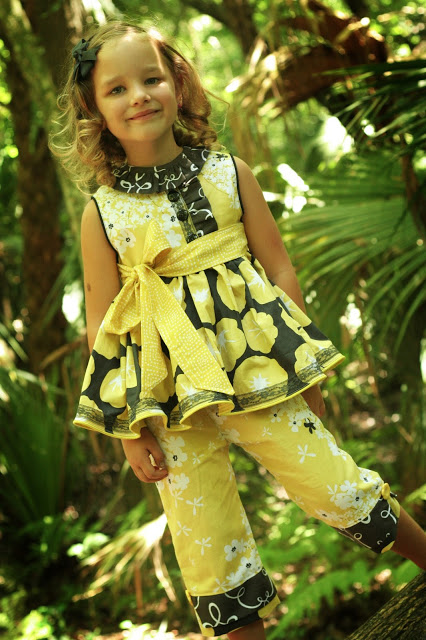
Here is my little Matilda sporting her new summer play outfit. You can pair the Daphne Wrap Dress and Top with the new Skip and Play Pants and Capris Pattern (Size 6 month – size 10) from The Cottage Mama. This version was made using piping around the top of the garment and an additional loopy trim around the hem. The capris are made from woven cotton and seersucker.
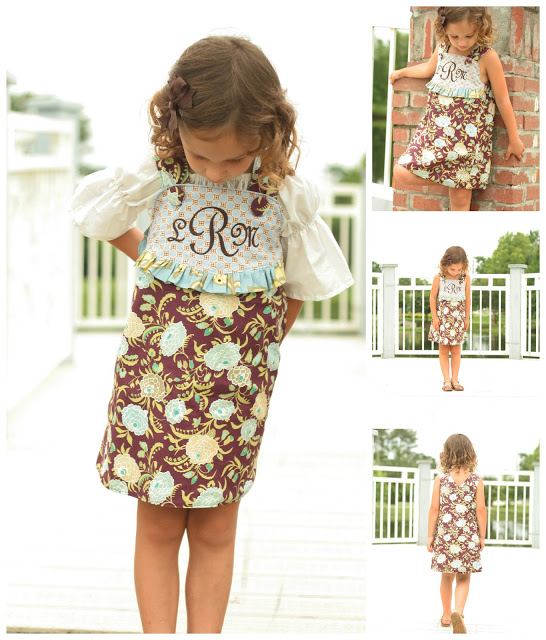
The front yoke on View A of the Daphne Wrap Dress and Top offers a great spot for embellishment. Here is a version from Katie Romagosa (Leave You In Stitches) where she added a machine embroidered monogram. You can also see how adorable this dress is layered with long sleeves!

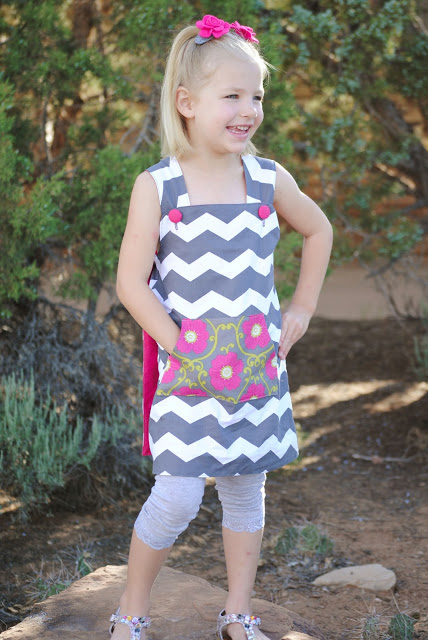
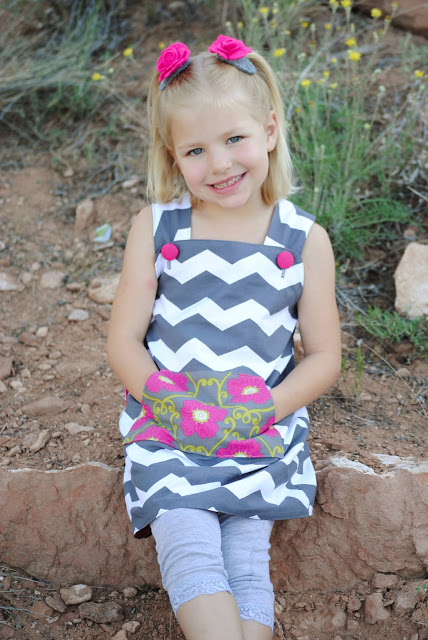
The Daphne pattern also has a kangaroo style pocket (View B).  This is another fun variation that gives the dress an entirely different look! The two above are from Katie Romagosa (Leave You In Stitches) and Ellen Balzer (Ellzabelle).
This little cutie is wearing the Daphne Wrap Top with the Skip and Play Pants and Capris. This outfit was designed by Tanya Coffey (Sidewalk Chalk Designs).

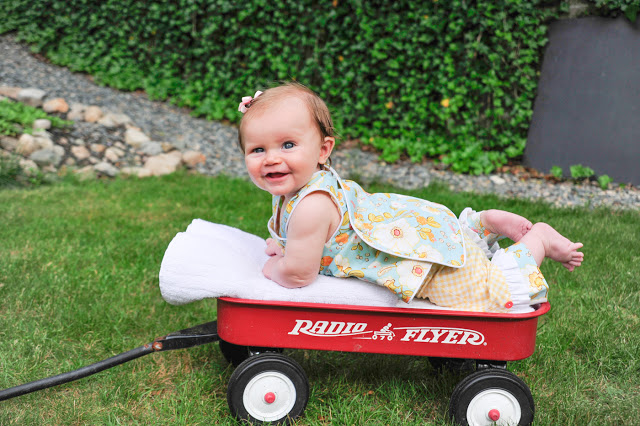
And finally, I’ll leave you with this little cutie from Crystal from Stitched by Crystal. This sweetie just melts my heart. She is absolutely precious in her Daphne Wrap Dress!
If you would like to purchase your own copy of the Daphne Wrap Dress and Top Pattern (Size 6 month – size 10), you can find it HERE.

Skip and Play Pants and Capris Pattern from The Cottage Mama: Now Available!

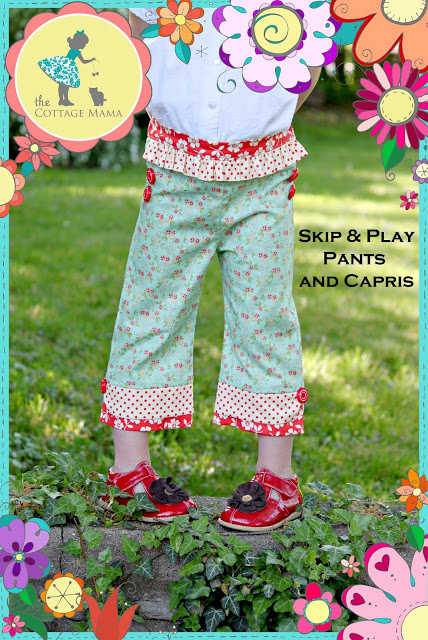
I am pleased to announce the third pattern from The Cottage Mama Summer Collection, the Skip and Play Pants and Capris (Size 6 month – size 10)!
These are the first pair of pants and capris offered from The Cottage Mama. You can layer these under dresses and jumpers or pair them with a little t-shirt and cardigan. However, your little lady decides to wear them, they will surely get noticed!
Skip and Play Pants and Capris
SIZE 6 MONTH – SIZE 10
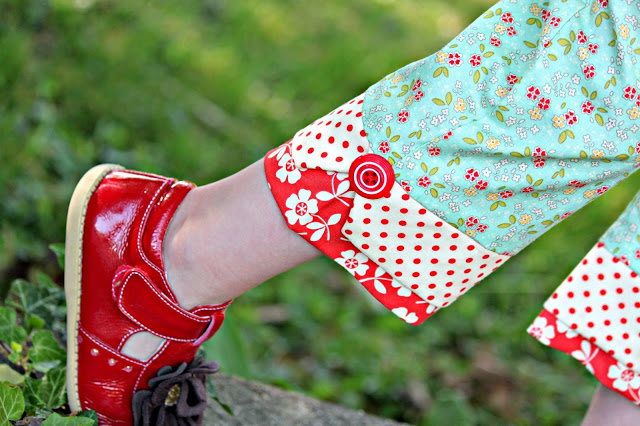
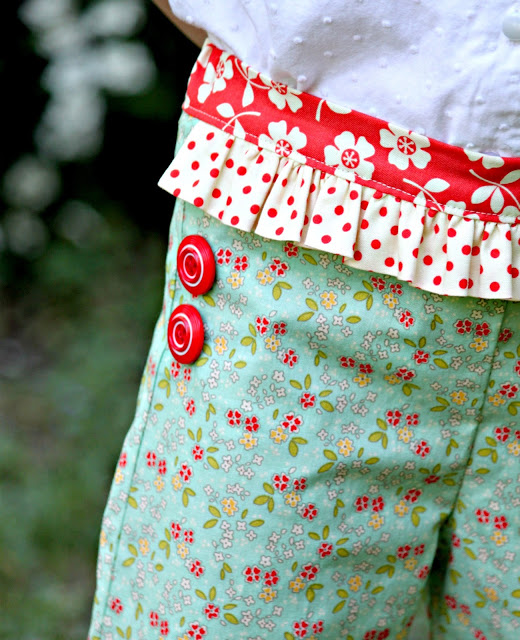
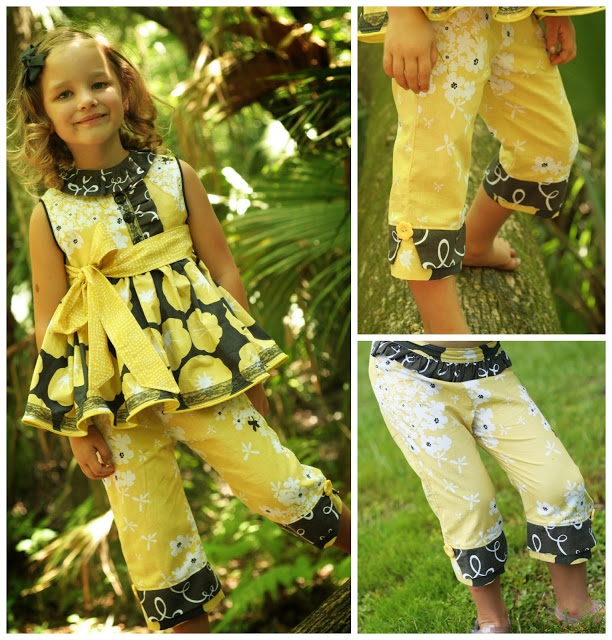
DESCRIPTION: The Skip and Play Pants and Capris are the perfect wardrobe essential for your darling little one. The pants and capris feature a flat front waistband with elastic in the back, several contrasting cuff options and a sweet ruffle in the waistband for added whimsy and detail. View A, the double wrap cuff variation, features a bottom cuff with a wrap around top cuff that can be trimmed out with a button on each side. View B is a ruffle cuff variation that mimics view A; however an adorable ruffle replaces the wrap around cuff. And View C, the basic variation, eliminates the ruffle in the waistband and is perfect for an older girl who might prefer a more mature style pant or capri. No matter what variation you choose this pattern will take your child through all seasons.

This is great pattern for confident beginner sewers and offers many ways to get creative with your design. Consider mixing and matching these pants and capris with many other designs from The Cottage Mama collection of sewing patterns!


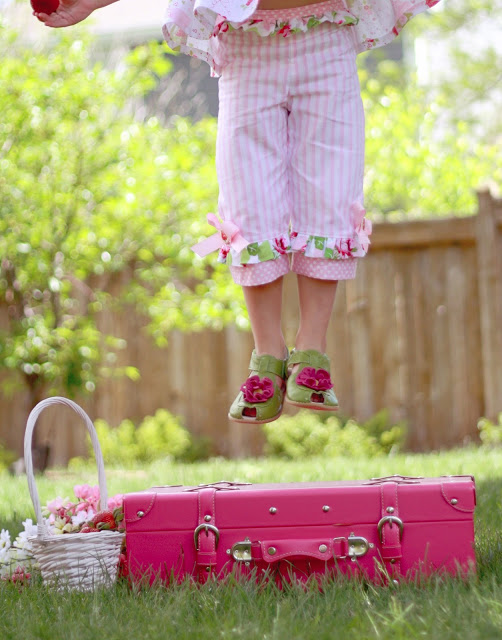
There are two different cuff options with these pants and capris. View A is shown in the picture above.

The top waistband of the pants and capris has a sweet little ruffle; however, View C can be made without the ruffle for a slightly older girl or for those that don’t care much for the ruffle look.

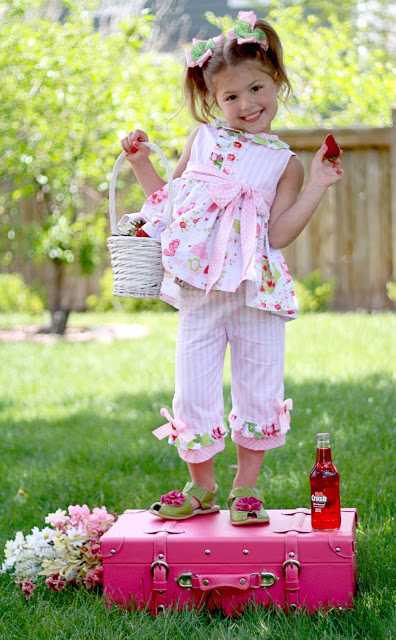
These are View B from the Skip and Play Pants and Capris pictured with the Miss Matilda Dress and Top pattern. This outfit was created by Melissa Myers and features a side bow embellishment in addition to the buttons on the capris.
Here is another variation of View A in the capri length paired with the Miss Matilda Dress and Top (Size 6 month – 10 years) made by Katie Romagosa from Leave You In Stitches.
FIT: The fit is probably my favorite part of these pants. They are a flat front pant and capri with elastic in the back waistband. These pants are a more slim fit through the hip. The goal was too create a more fitted pant which is  a little bit harder in the sewing pattern market today. All of the testers really loved the look. It is important to mention that when selecting the size for your little lady, you will need to pay careful attention to her waist measurement. Select the size based on waist and adjust for length. Doing so will ensure a perfectly fitting pant or capri!
To purchase the Skip and Play Pants and Capris Pattern, please click HERE.
PS: I will have more pictures of the pants and capris once the final pattern is released. They look so darn cute with the final piece in this collection!

Summer Rag Flip Flop Tutorial

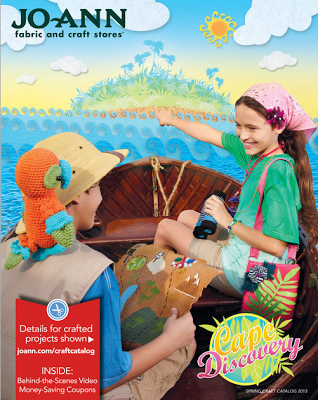
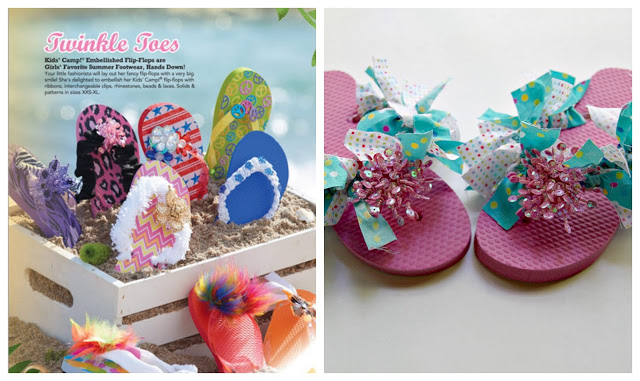
So it’s finally summer around here and I was asked by the folks at Joann Fabric and Craft stores to come up with a summer craft project inspired by their new summer catalog, Cape Discovery. If you like crafting with your children, this is a great place to gather up some new ideas. The girls and I flipped through this catalog to find our inspiration project:

After looking at all the different project ideas in the Cape Discovery Catalog, we chose to create some ‘Summer Rag Flip Flops’ for the girls. My girls definitely love a good craft!

These were such an easy, inexpensive craft project that is perfect to work on together with your little one. This project takes a small amount of fabric and a few other supplies found at Joann’s and you’ve got a pair (or two) of festive shoes for the summer!

Summer Rag Flip Flop Tutorial
from The Cottage Mama
Supplies:
1 pair flip flops
1 – 2 fabrics (fat quarters or 1/8 yard each)
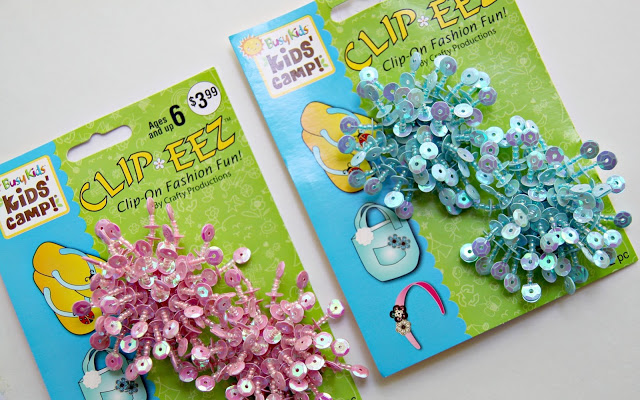
1 set Clip-Eez sparkle clips (found at Joann’s)
Scissors or rotary cutter
Instructions:
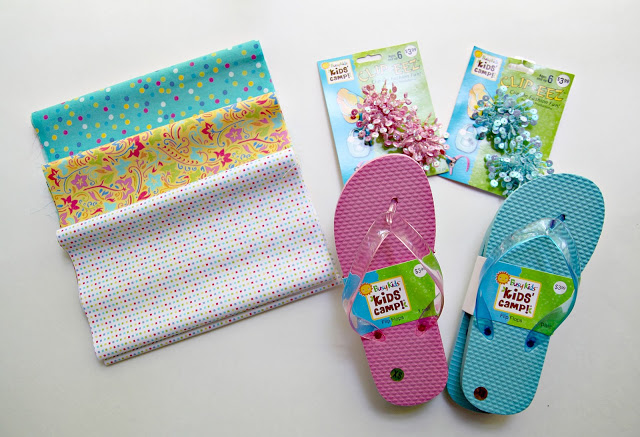
Gather your supplies.
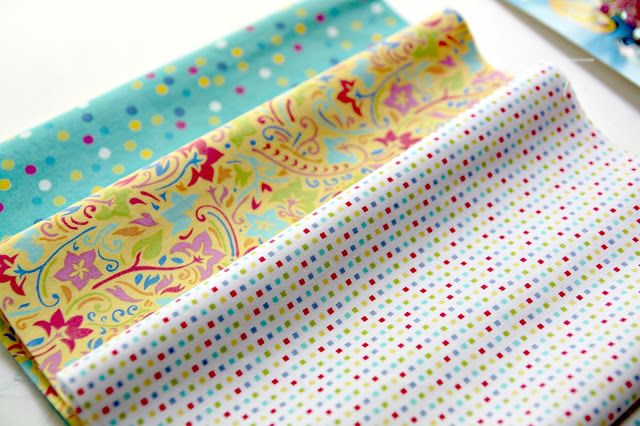
I selected three ‘Lisette’ fabrics from Joann’s. Since I was trying to be good (I’m currently on a fabric diet), I only purchased a 1/4 yard each (since that’s the smallest amount you can have cut). I kind of wish I had more since I really love these colors.
The girls loved these sparkle clips when we were shopping at Joann’s. And they were 40% off that day, so they were a real deal. They had tons of other different styles of clips that were really cute.
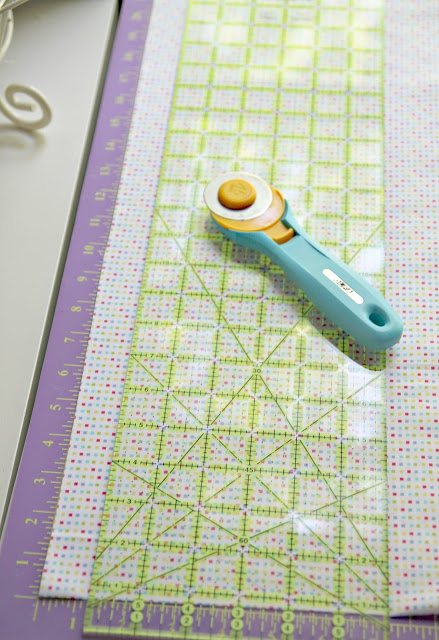
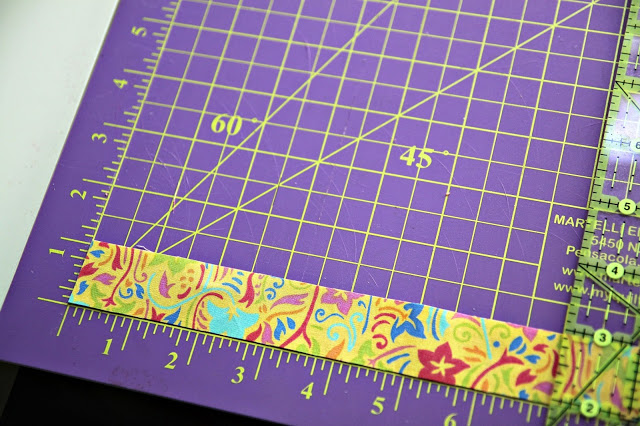
Cut your fabric on the fold into 1″ strips. I used 8 strips per pair of flip flops, but I’m sure that will vary depending on the size sandal you are using.
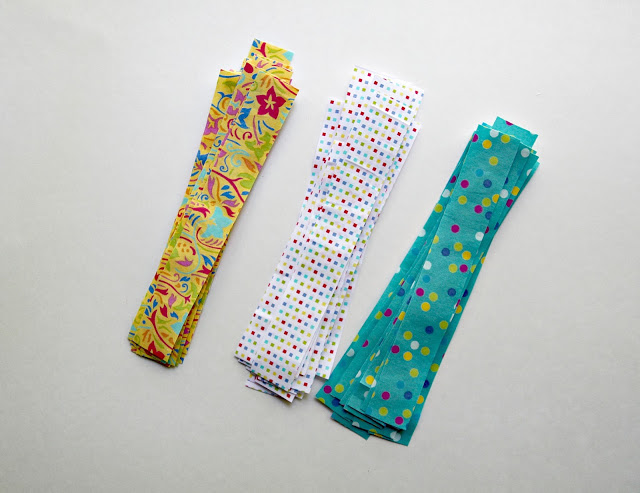
Cut your 1″ strips of fabric into 7″ pieces.
Pile up your fabric strips and get ready to embellish your flip flops!
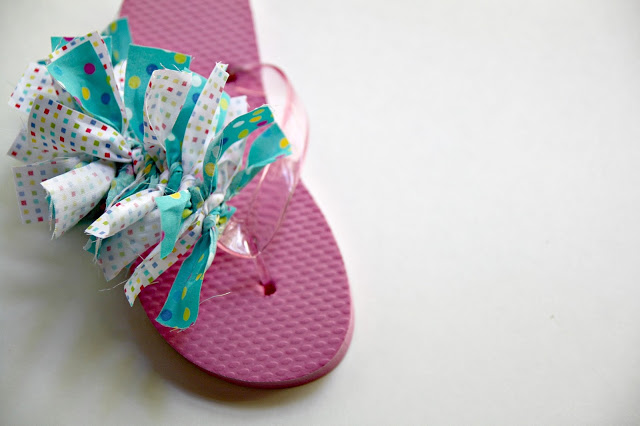
Start tying knots on the straps of the flip flops with your different fabrics. You can use one print or many……it’s entirely up to you. Leave a little room at the very front for your sparkle clip. This is a great step to work on together with your little one. If they can tie a knot, they can do this project!
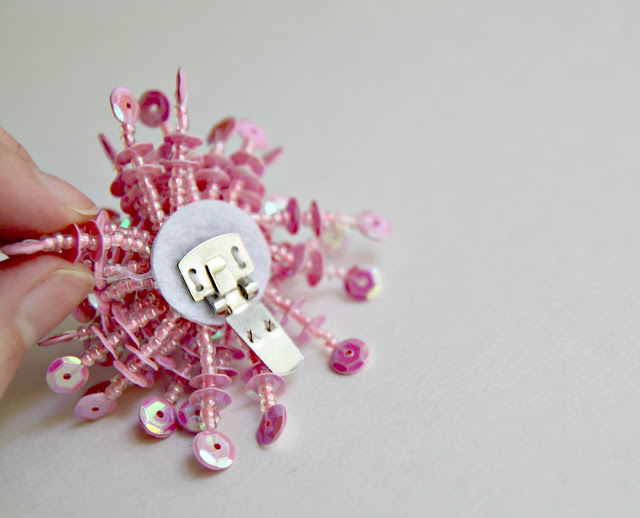
Once you’ve finished both sides of the flip flops, you will need to add the sparkle clip to the center. Open up the clip to apply.
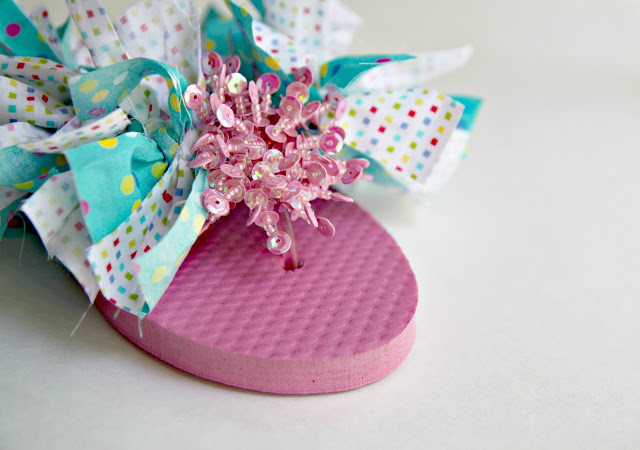
Here is what the front of your flip-flop will look like after you have applied your pretty sparkle clip.
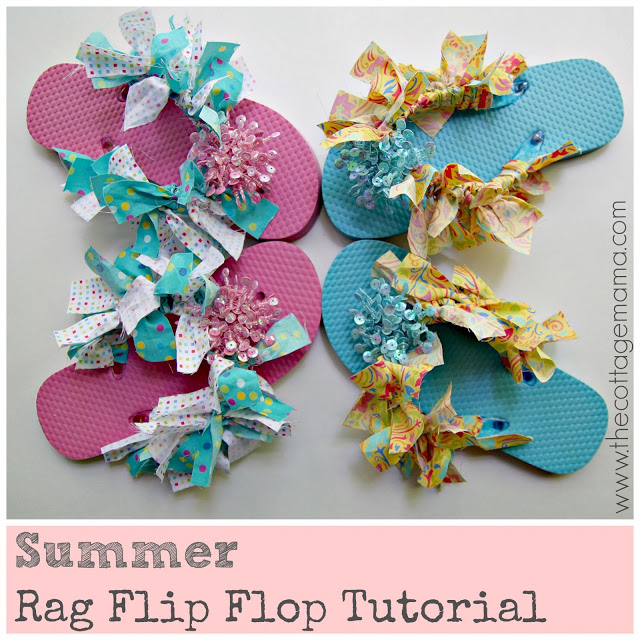
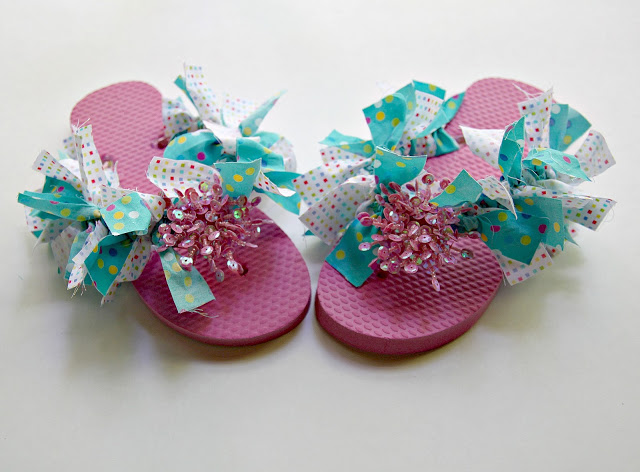
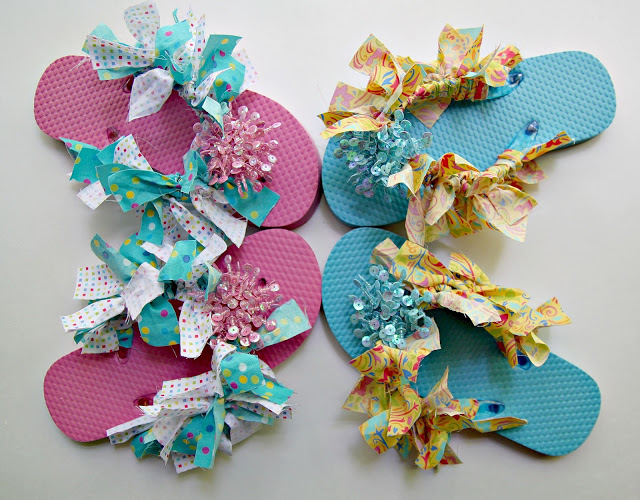
And here are both of your completed ‘Summer Rag Flip Flops’ with sparkle clip and all!
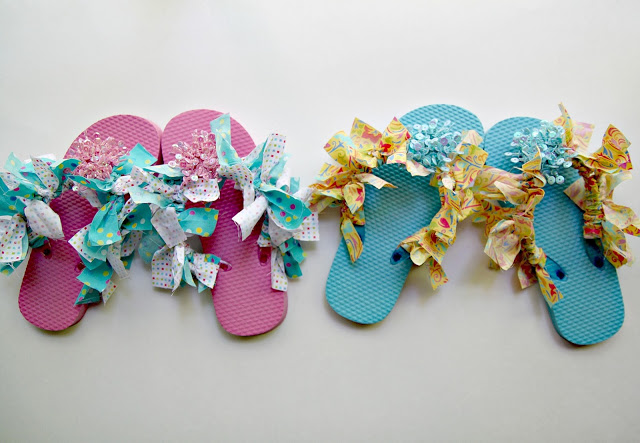
And if you have two girls, you might need to make two pairs……..we don’t want anyone feeling left out now, do we?
Here is a little side-by-side shot of the inspiration sandals from the Joann’s catalog.
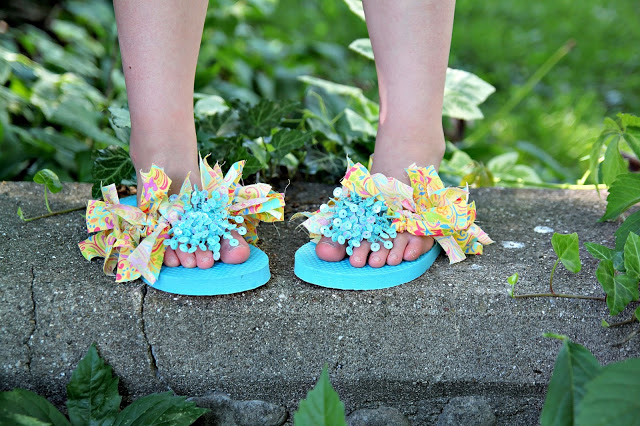
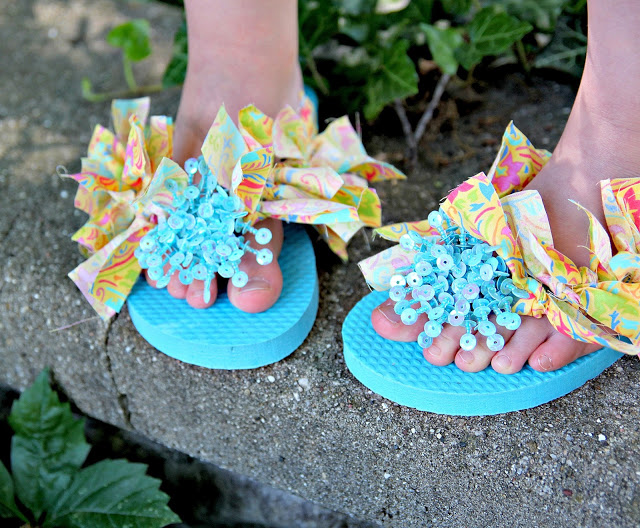
Then let your girly pick her favorite pair to wear this summer!
We had a great time making these flip flops and there are plenty of other Summer Fun projects that I would like to do with my kids this summer break. Don’t you just love summer? I’m so glad it’s here!
You can check out plenty more summer DIY projects to do with your little ones in the Cape Discovery Catalog from Joann’s. And if you want to stay up to date with Joann’s, sign up for their Discover Connect and you will receive a 20% off coupon. Pretty nice, I’d say. You can sign up HERE.
Happy Summer!

Miss Matilda Dress and Top Pattern: Testers

I have such an incredible group of women behind the scenes that have been helping me test all my patterns to ensure a perfect pattern for our customers. Like I mentioned last week, they are an incredibly talented group of women and I am so proud to share some of their darling creations with you.

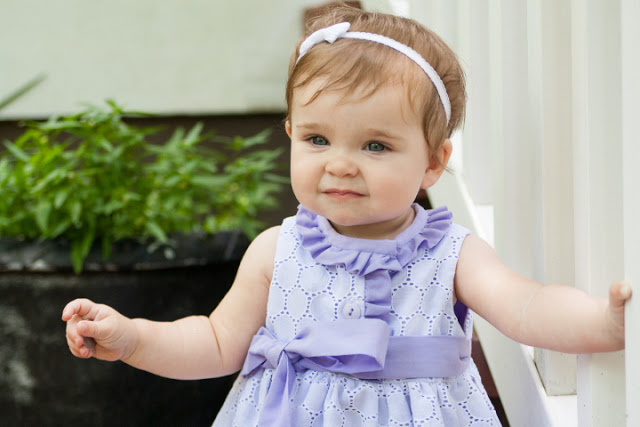
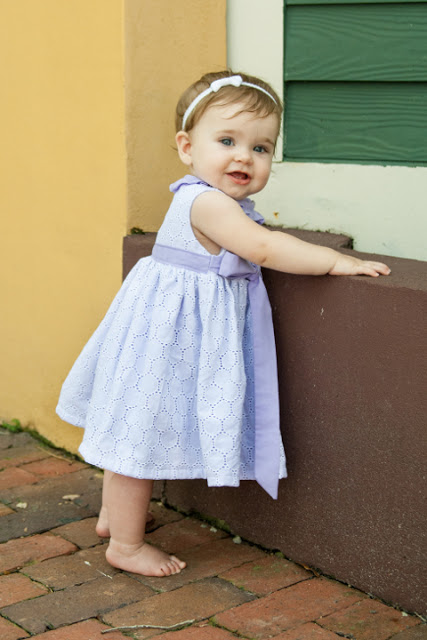
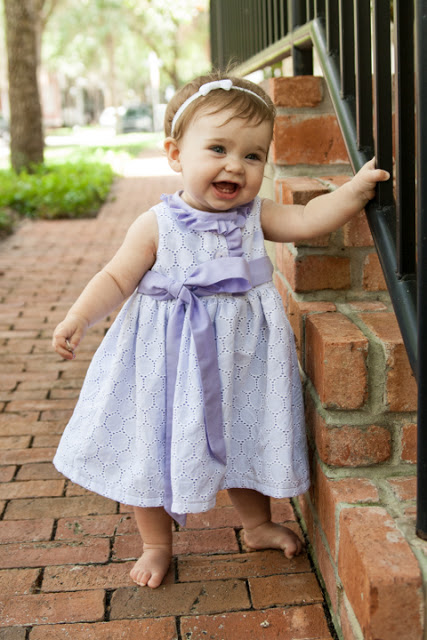
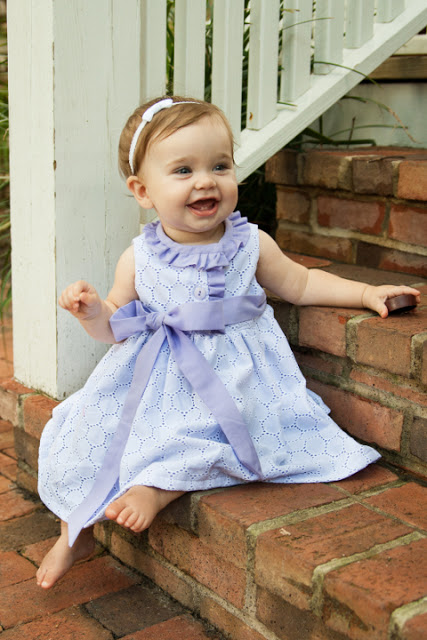
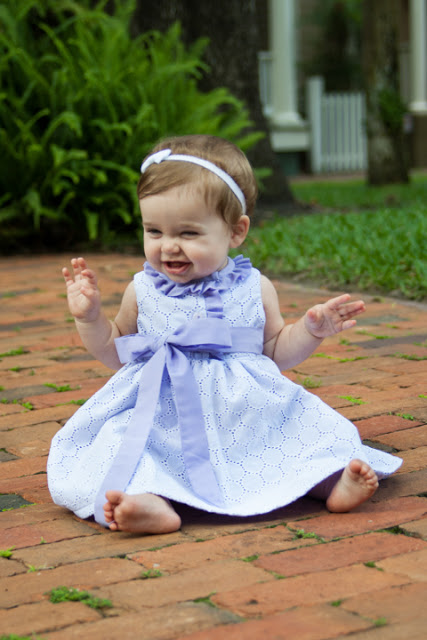
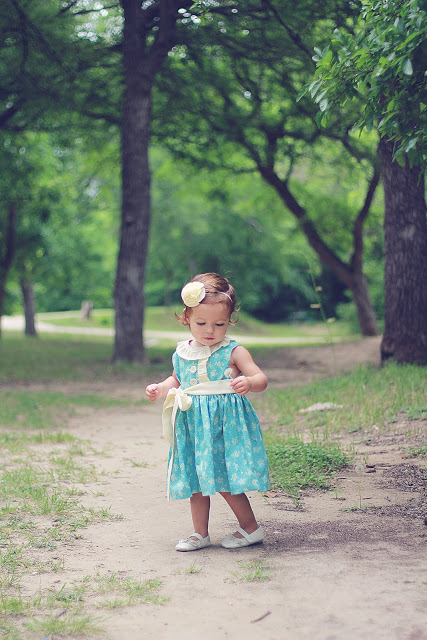
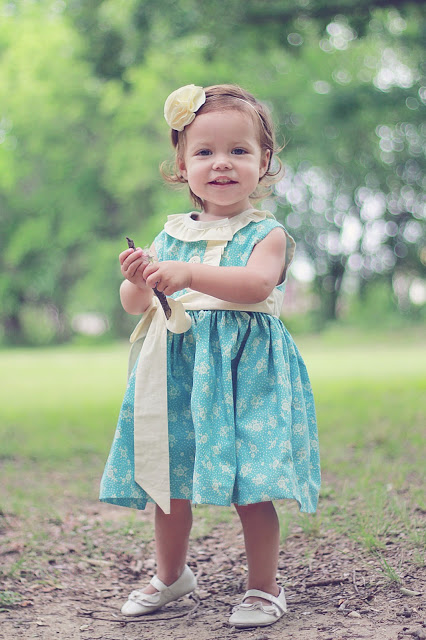
This is Crystal’s (Stitched by Crystal) little cutie wearing the Miss Matilda Dress in size 12 month. We shortened the sash a little bit since these pictures were taken so that it didn’t extend beyond the hem of the dress. Crystal chose a gorgeous eyelet fabric with solid lavender accents. So perfect for this sweet little lady!

This darling little outfit was created by Katie Romagosa from Leave You In Stitches. Her Miss Matilda Top is pictured with the Skip and Play Pants and Capris (Size 6 month – 10 Years) that will be released this week as well. Katie used several different patterned fabrics and added lace detailing to the top for added interest.

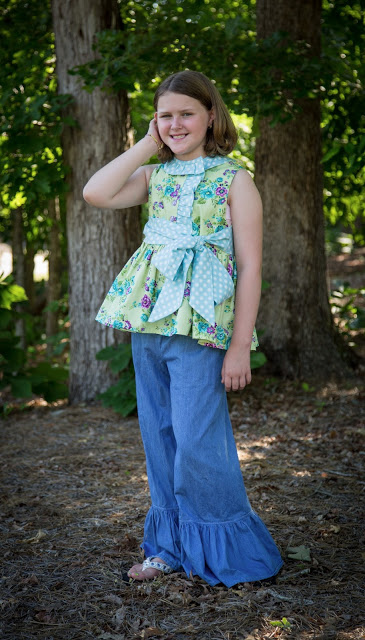
Here we have our size 10 tester, Christie Jones, who sewed this darling top for her daughter, Cate. My favorite part about this dress / top is that it looks sweet on a little baby girl and classy and sophisticated on a little bit older girl.

This beautiful blue and cream colored dress is from Serena GarciaDiaz. Serena had posted a picture over on Facebook of a dress she had made using the free ‘Summer Picnic Dress‘ and I fell in love with her work. Her photography is just beautiful and the contrasting colors in the dress really bring great attention to the ruffles and sash.

Here we have the most adorable creation from the very talented Melissa Myers. This is the Miss Matilda Top paired with another variation of the Skip and Play Pants and Capris (Size 6 month – 10 years) that will be released this week as well. Melissa did such a wonderful job pairing all these different patterned fabrics and the buttons pull it all together!

The beautiful purple and blue creation pictured above is from the love, Trisha Parker from Sweet N Sassy Girls. Trisha did a re-test on our size 7 just to make sure we had nailed down a few details with the fit and I absolutely adore what she came up with for her little girl!

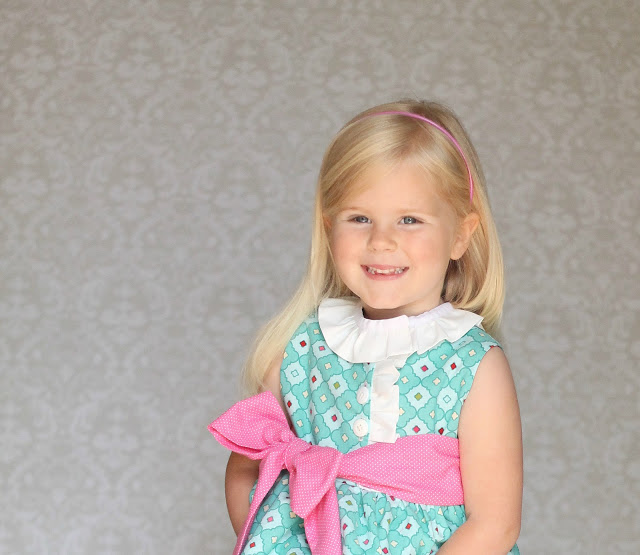
And finally, I’ll leave you with the very talented Hayley from Mouse House Creations. Hayley used an additional fabric and incorporated it into the sash. The white ruffles and the pink sash are the perfect accents for this beautiful blue fabric!

Whew! That’s a lot of cuteness going on! I wish I could share them all with you, but I’m sure this has been enough Miss Matilda inspiration for one day. I can’t say it enough…….these ladies are just incredible and I am so thankful for the time and energy they put into helping me with these patterns.

If you would like to purchase the Miss Matilda Dress and Top Pattern (Size 6 month – 10 Years), you can find the pattern HERE.

Miss Matilda Dress and Top Pattern from The Cottage Mama: Now Available!

Today is very happy day for me where I get to announce another new pattern from The Cottage Mama summer collection…………

The Miss Matilda Dress and Top
SIZE 6 MONTH – 10 YEARS

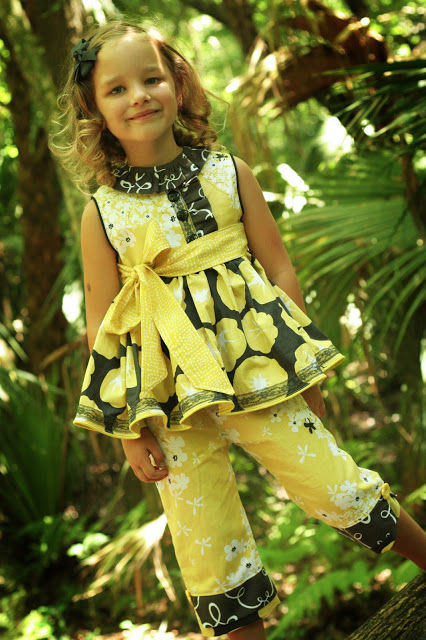
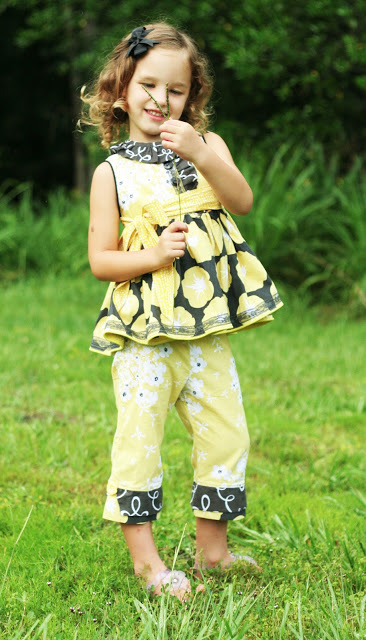
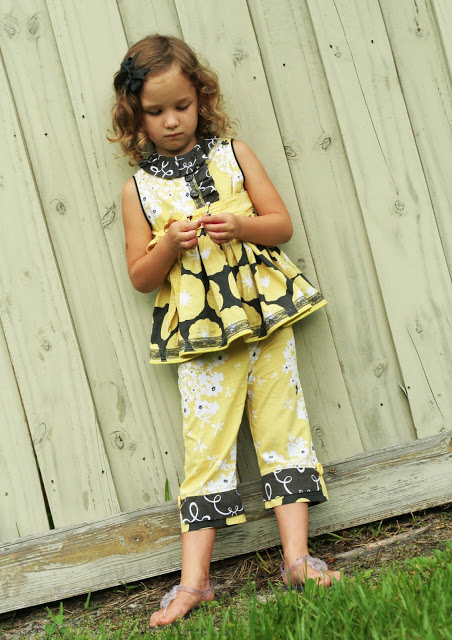
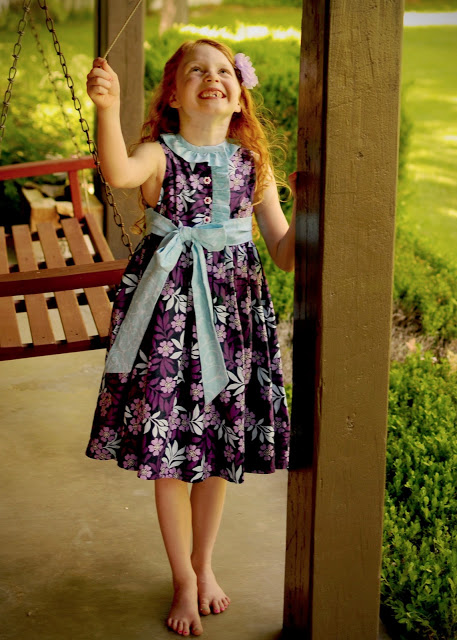
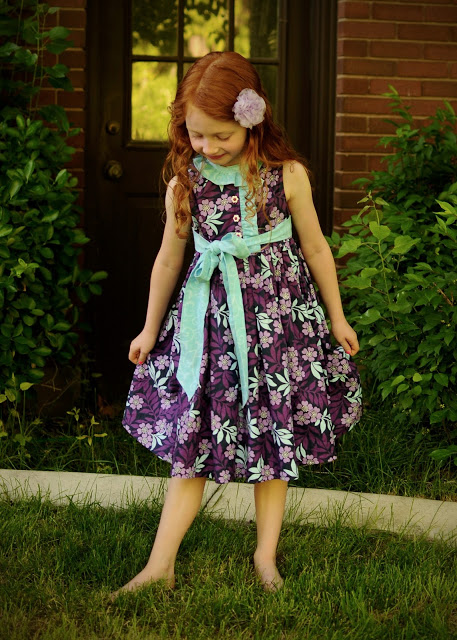
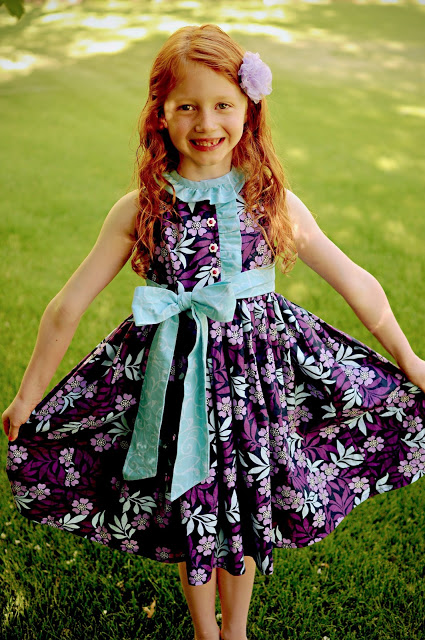
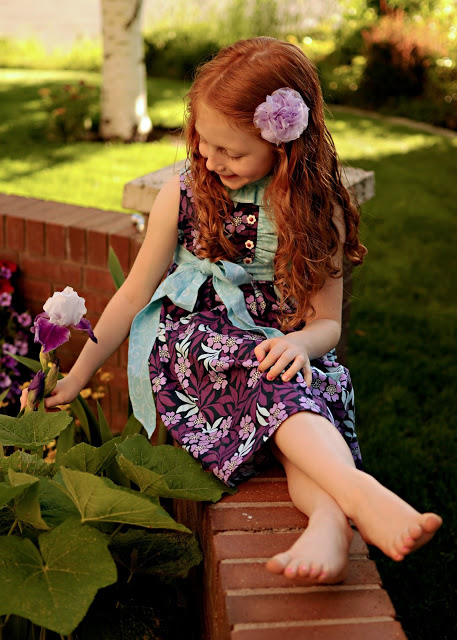
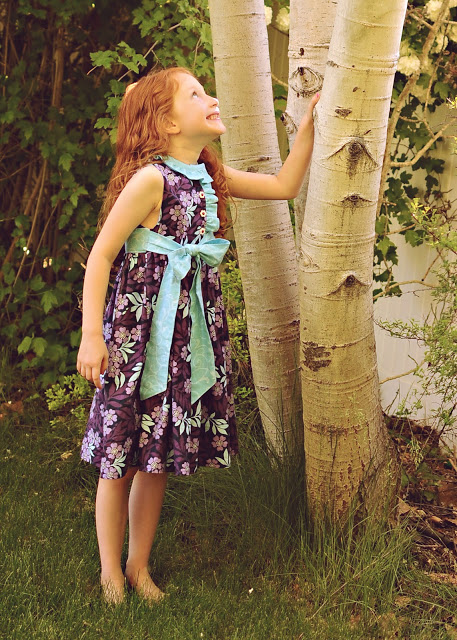
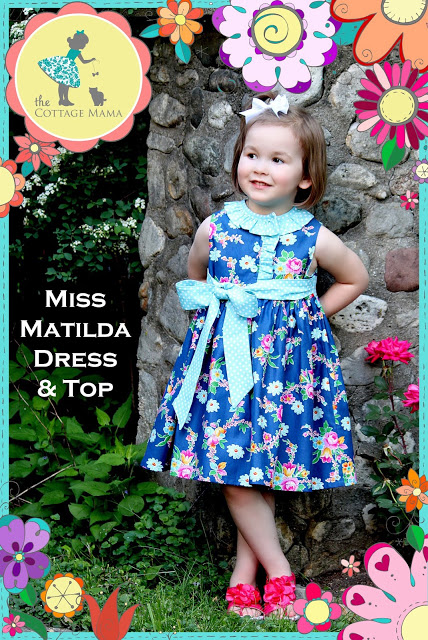
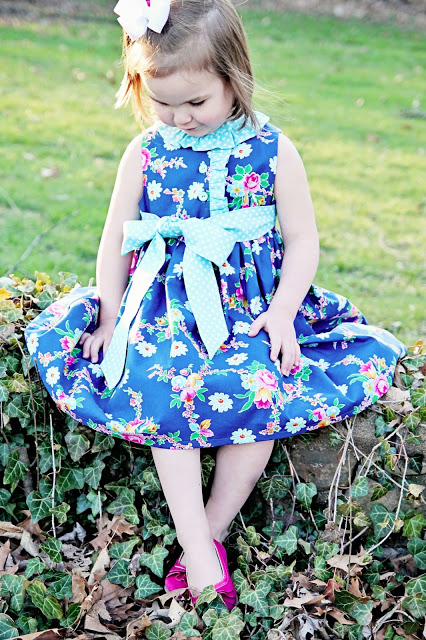
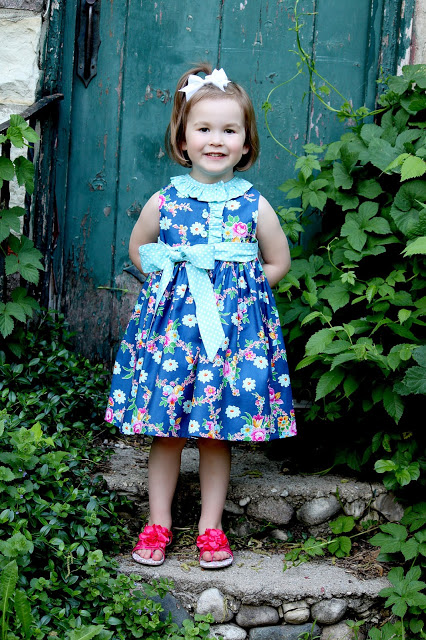
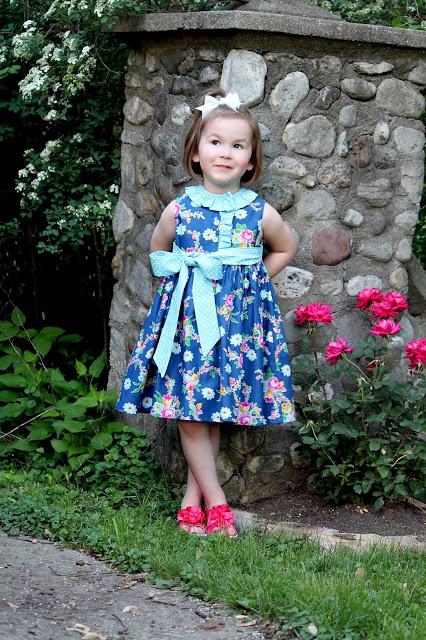
The Miss Matilda is named after my own little Matilda (seen in these pictures) and is available right now in PDF and will be available in paper at the end of June. Like I said when I released the ‘Georgia‘ pattern, I have been working behind the scenes on these patterns for months and am so thrilled to finally be able to share these designs with you.

If you would like to purchase this pattern, you can find it HERE.

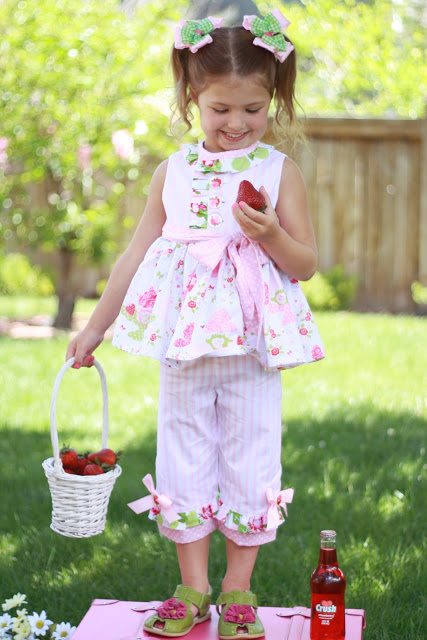
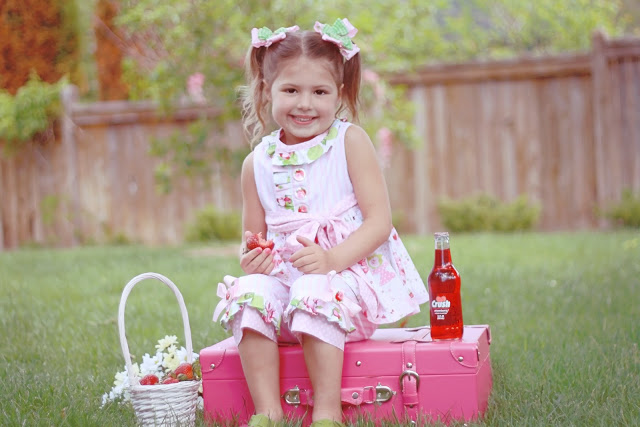
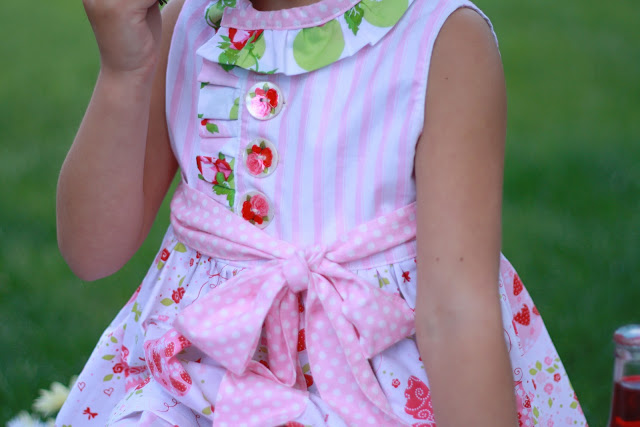
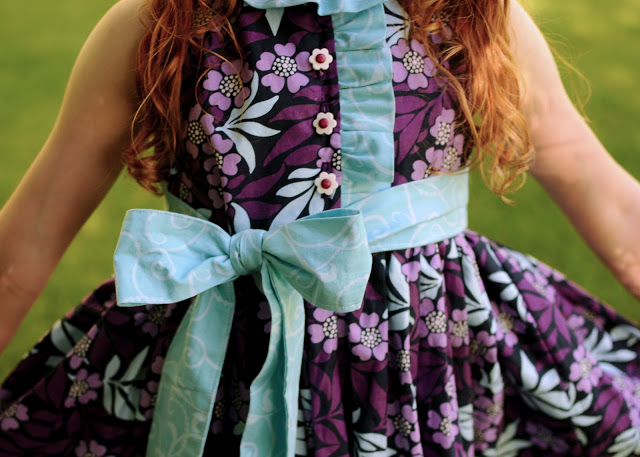
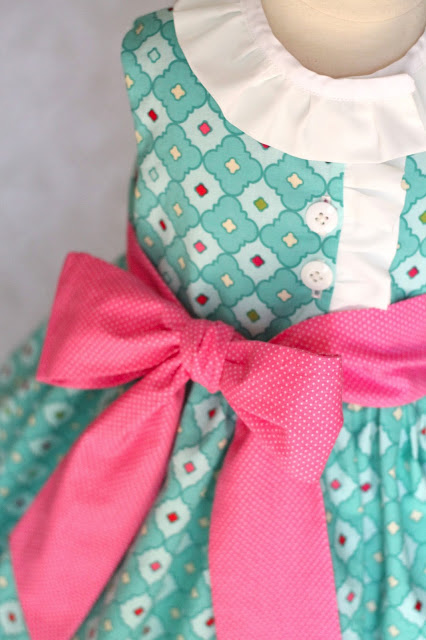
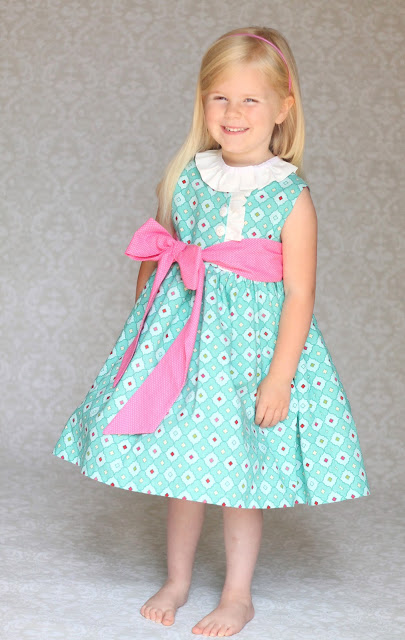
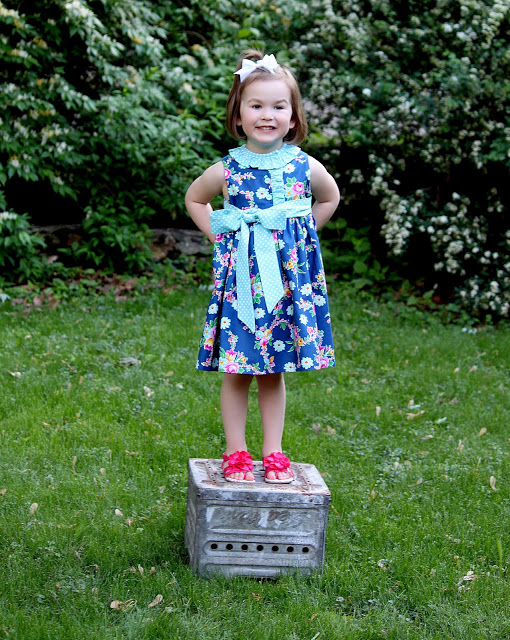
MISS MATILDA DESCRIPTIONThe Miss Matilda Dress and Top is the perfect, classic outfit for your darling little lady. It is feminine and sophisticated while still casual enough for every day. View A, the Miss Matilda Dress, is a knee length gathered skirt dress with a small ruffle running down the front bodice and around the neck. The dress buttons in the front and has a waist sash that ties in the front off to one side. View B, the Miss Matilda Top, features all the sweet details of the Miss Matilda Dress, but is cut at shorter length, below the hip, and can be paired with pants, leggings, shorts or jeans. View C, the Miss Matilda Dress simple variation, is a simplified version of the dress and top pattern. The simple variation eliminates the ruffles around the neck and along the front. This variation could be made with or without the waist sash and with piping throughout different seams in the garment.

All design variations have a fully lined bodice with contrasting fabric and French seams in the skirt for total comfort for your little one. This is great pattern for confident beginner sewers and offers many ways to get creative with your design!

And just so you can see how this dress transforms into a top, here are a few pictures from our testers (more to come later this week):

Miss Matilda Top and Skip and Play Capris
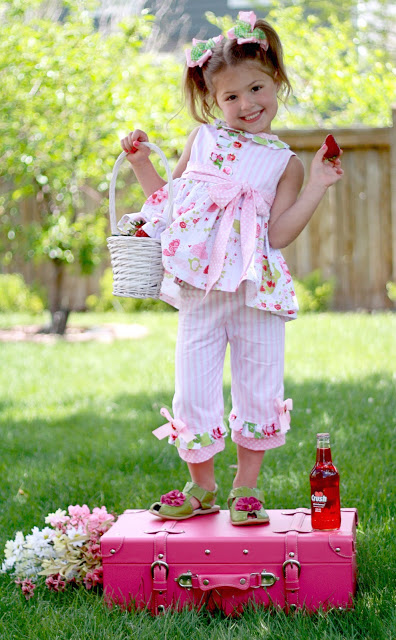
This darling outfit was created by Katie Romagosa from Leave You In Stitches. She used several different printed fabrics and lace trim accents. And do you see those capris? Those are the Skip and Play Pants and Capris (Size 6 Month – 10 Years) and they will be released later this week.
This Miss Matilda Top and Skip and Play Pants and Capris is from the talented, Melissa Myers. More pictures of the darling outfit she created coming later this week!
So there you have it……the second (and sneak peek of the third) out of four patterns in The Cottage Mama summer pattern collection. I hope you like them!
If you would like to purchase the Miss Matilda Dress and Top (Size 6 Month – 10 Years), you can find it HERE.