National Serger Month: Ruffle Dishtowel Tutorial

Did you know that April is National Serger Month? My wonderful machine sponsor, Baby Lock Sewing and Embroidery Machines, has decided that the serger needs to be celebrated with a month dedicated to all things serger and I am in total agreement! There are very few things that I sew where I don’t use a serger, even though I try to do projects on the blog where you don’t need a serger. A serger is one of those tools that you might think you don’t need, but then once you get it, you will be saying, ‘Where have you been my whole life?’.

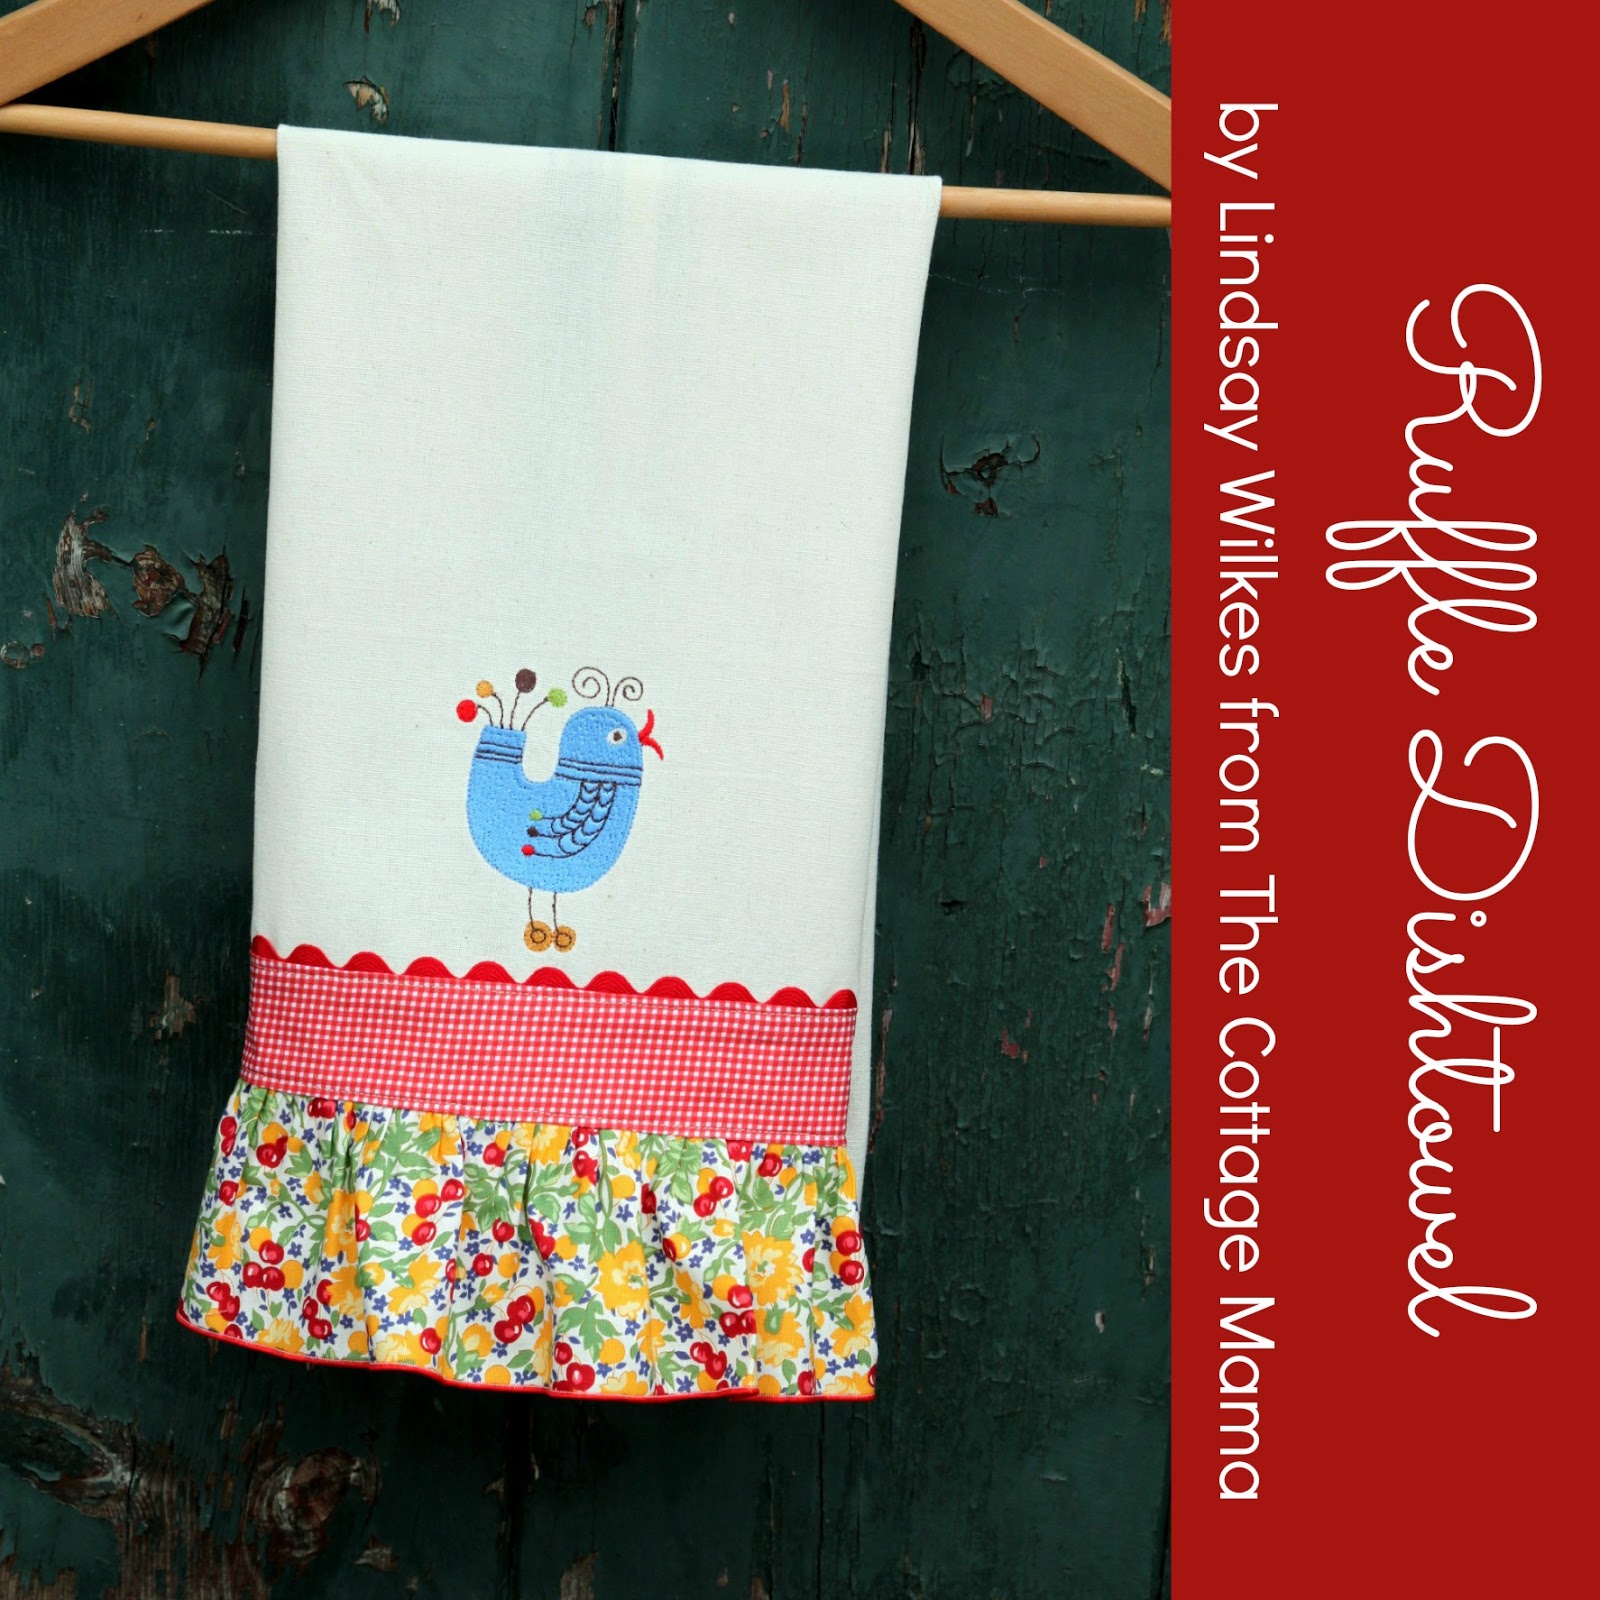
I am lucky enough to sew on the gorgeous Baby Lock Evolution serger and was asked by the folks at Baby Lock to share an easy project using one of my favorite features on a serger, differential feed. I chose to create an easy Ruffle Dishtowel. Throughout the month of April you can check out the National Serger Month website to check out a bunch of free projects made with sergers, learn more details about what they can do and enter to win your very own serger. And let me tell you…….Baby Lock sergers are the BEST!


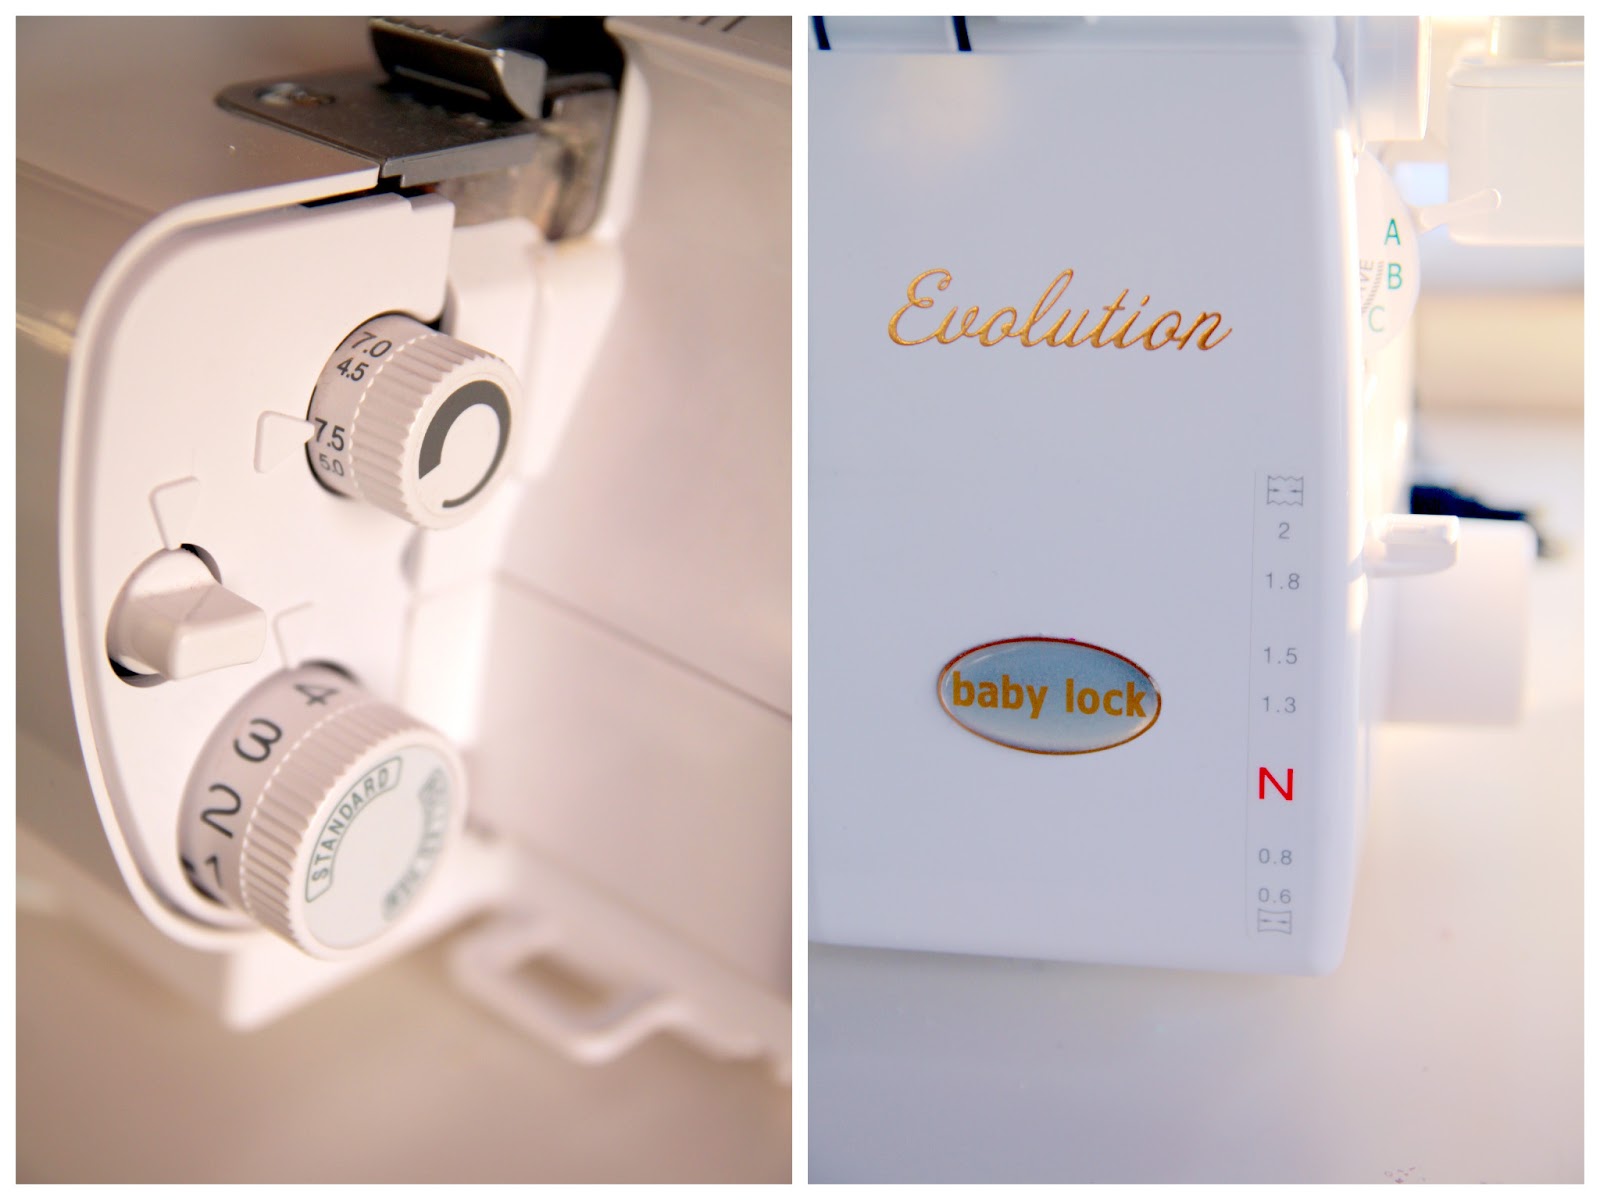
Differential feed is a really fun component of your serger that you may not have thought about much…….until now. Your serger is set up with two sets of feed dogs; the differential feed dogs are in the front and the other set of feed dogs are in the back. When you are doing a regular 3 or 4 thread overlock stitch, your differential feed is set in a somewhat neutral position (N), meaning the feed dogs at the front are moving at the same pace / speed as the feed dogs in the back.

 
When you adjust your differential feed up and down, it will change the speed in which the differential feed dogs push the fabric through the machine. Increase the differential feed and your machine will push your fabric through at a quicker rate, causing it to ruffle!
 
Generally for a nice ruffle, I set my differential feed up to 2.0 (it is normally set a N). However, if you don’t want to gather your fabric as much, then you could set it at 1.8 or 1.5. Different weights of fabric will gather differently, so it is always important to give your adjustments a test run before actually sewing on your project.
 
The Ruffle Dishtowel is an easy, everyday project to add that special touch to that regular kitchen dishtowel you have hanging around. These also make great gifts!
 
 
Ruffle Dishtowel
By Lindsay Wilkes from The Cottage Mama
for Baby Lock Sewing & Embroidery Machines
 
Supplies:
1 standard dishtowel
1 strip of fabric 2.5” wide x width of the dish towel + 1”
1 strip of fabric 4” wide x 2.5 times the width of the dish towel
1 piece rick rack trim as wide as the dish towel
Coordinating thread
Embroidery thread (optional)
 
Instructions:
 
Step 1: If you would like to embroider a design on your dishtowel, now is the time to do so. Follow the instructions for your sewing machine in regards to the design you have selected. The bird design (seen here) is a built in machine design on the Baby Lock Unity. You definitely do not need to do an embroidery design, so it’s up to you if you would like to add that detail or not.
 
Step 2: Prepare the strips of fabric. Cut the fabric that is not being ruffled at 2.5” wide x the width of your dishtowel + 1”. Cut the fabric that is going to be ruffled 4” wide x (2 – 2.5 times) the width of your dishtowel.
 
Step 3: Prepare your serger for a rolled edge according to your machines instructions. On the Baby Lock Evolution, you should remove the left needle, set the stitch selector to D, the stitch width at 4 and the differential feed in the N position. I like to use Bulky Nylon on the upper looper for a fuller rolled edge. You do not need to do this but it adds a nice edge. Leave all other threads the same.


Step 4: Run the fabric that you plan to use for your ruffle through the serger to make a rolled edge on one side.
 
 
Step 5: Prepare your serger for gathering. This is where our differential feed will come into play. Every serger is different, but on the Baby Lock Evolution, you want to re-insert your left needle because both needles are used for gathering.  Set your stitch selector to A, your stitch length to 4.0, your width at M – 7.5 and the differential feed at 2.0.


For this project I decided to use my gathering foot on the serger, but the settings are just the same if you aren’t using the gathering foot. To use the gathering foot, place the fabric to be ruffled with the right side up underneath the foot, place the fabric that is not being ruffled on top with the right side down. Slide the fabric through the middle of the foot. I like to use the hand-wheel a couple of times to make sure I’ve caught both fabrics with the needles, before I start sewing.


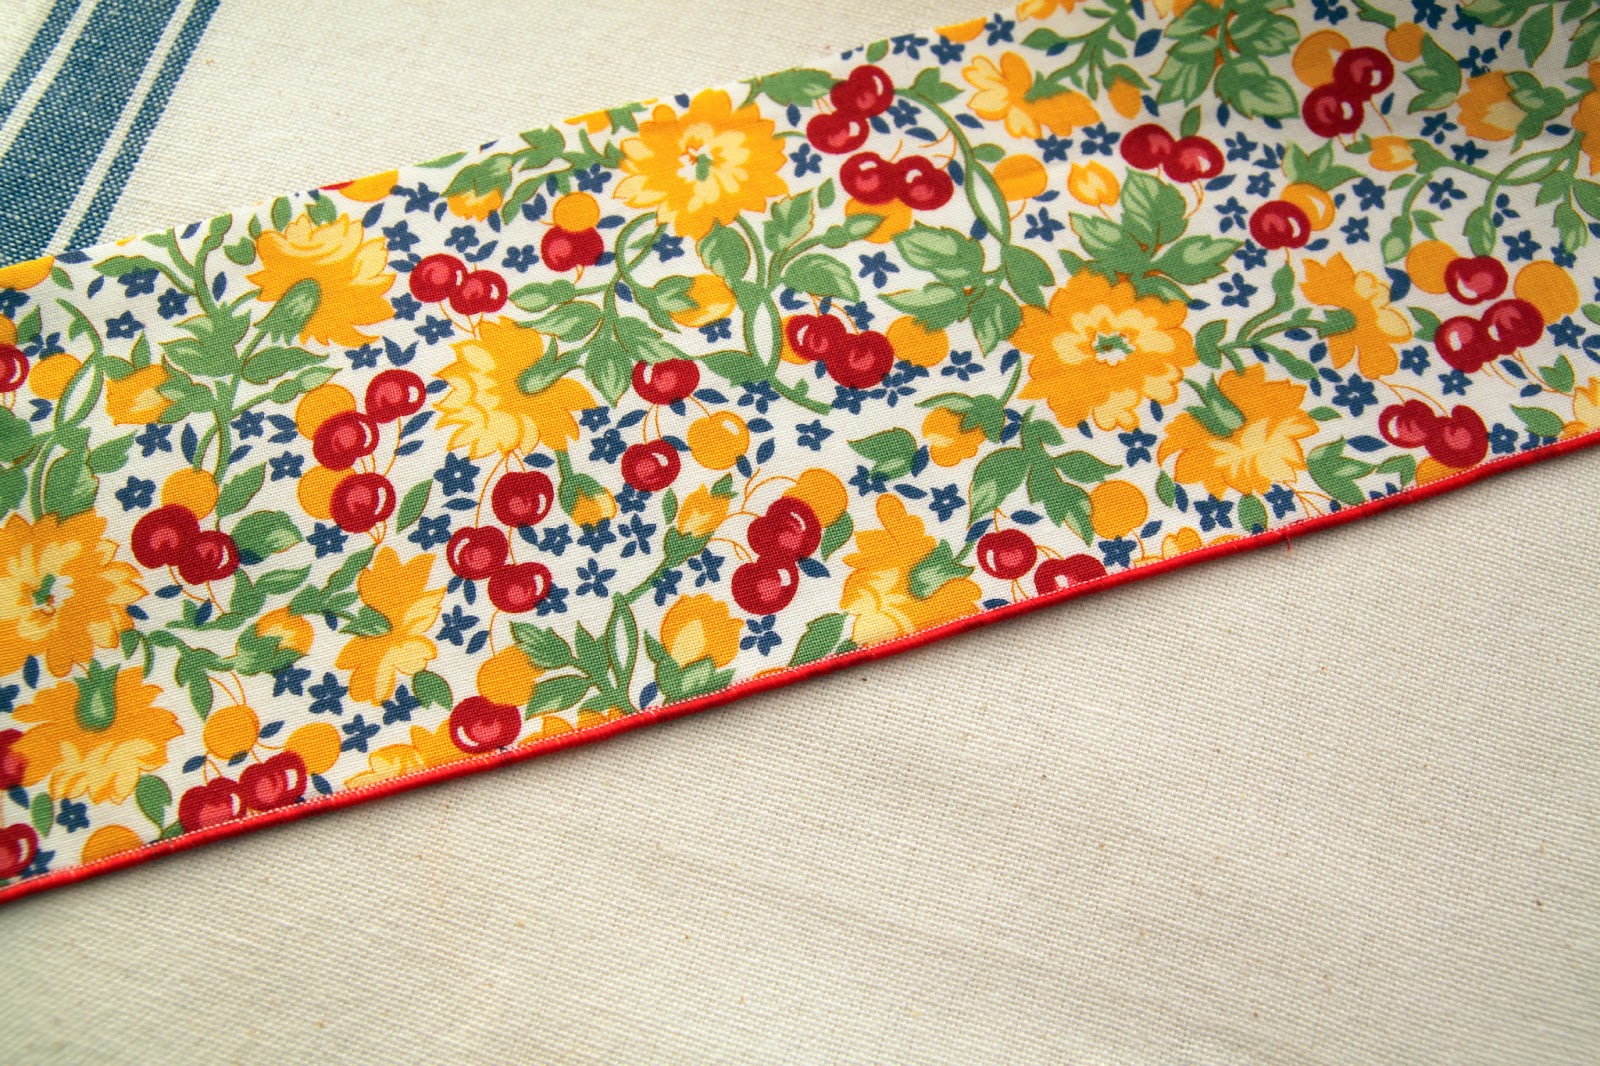
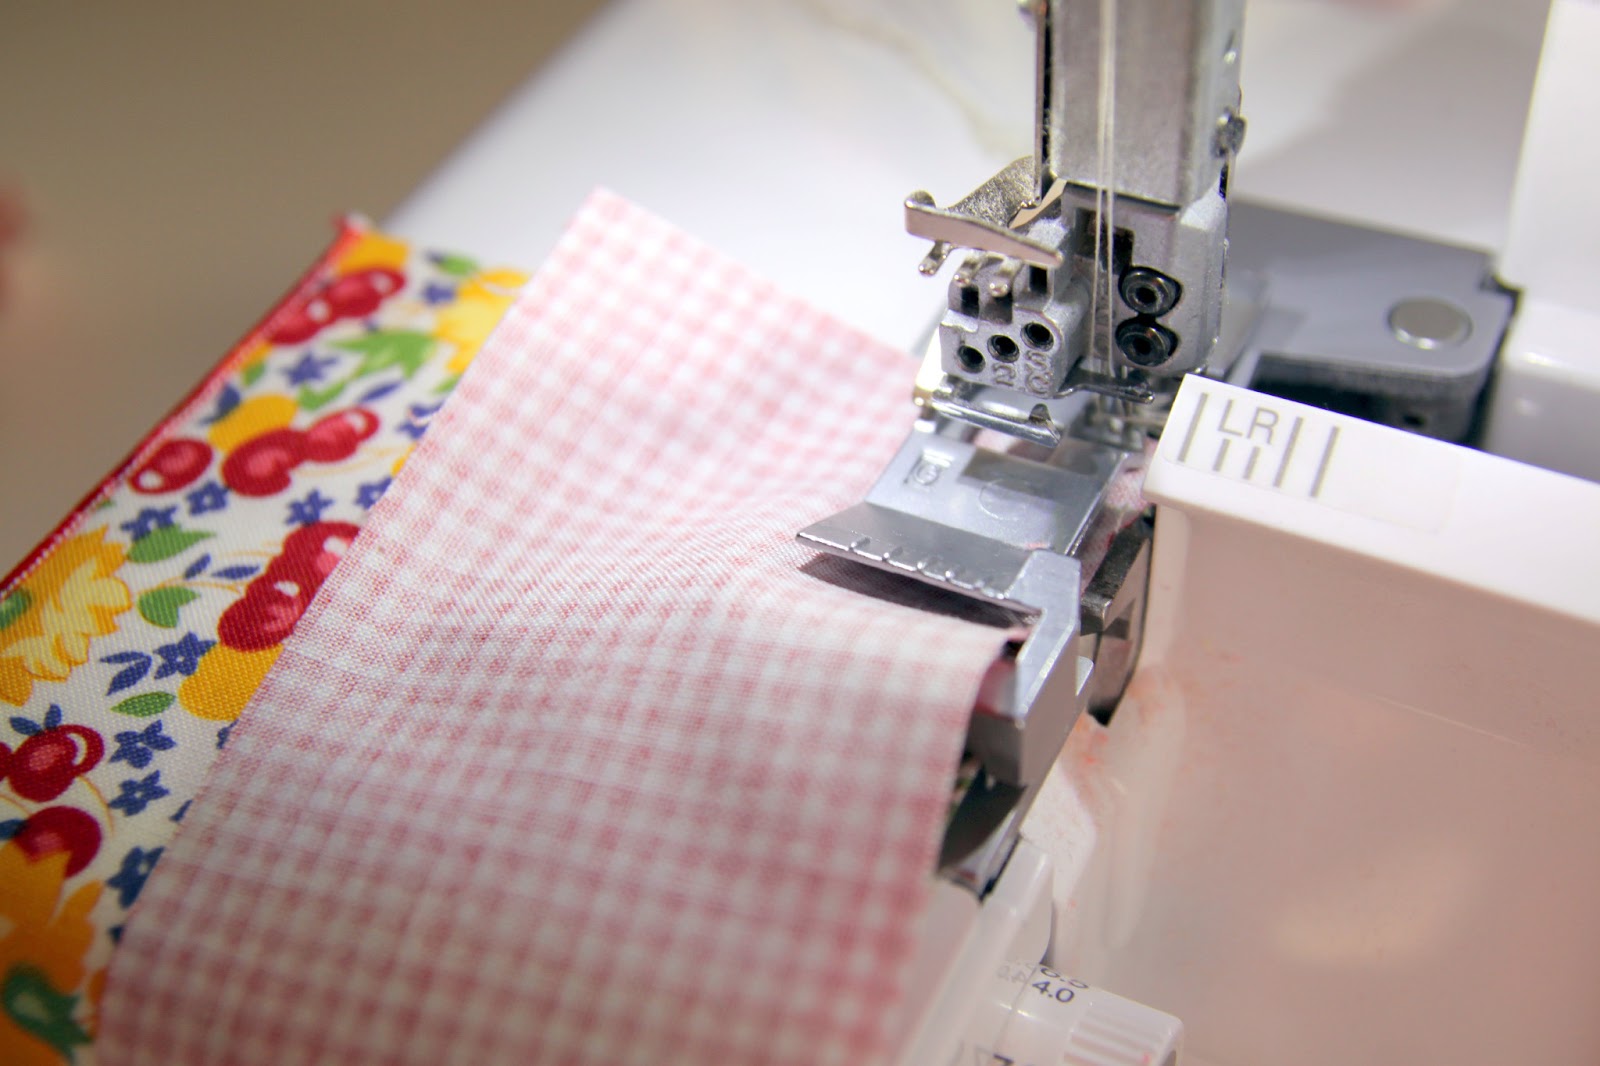
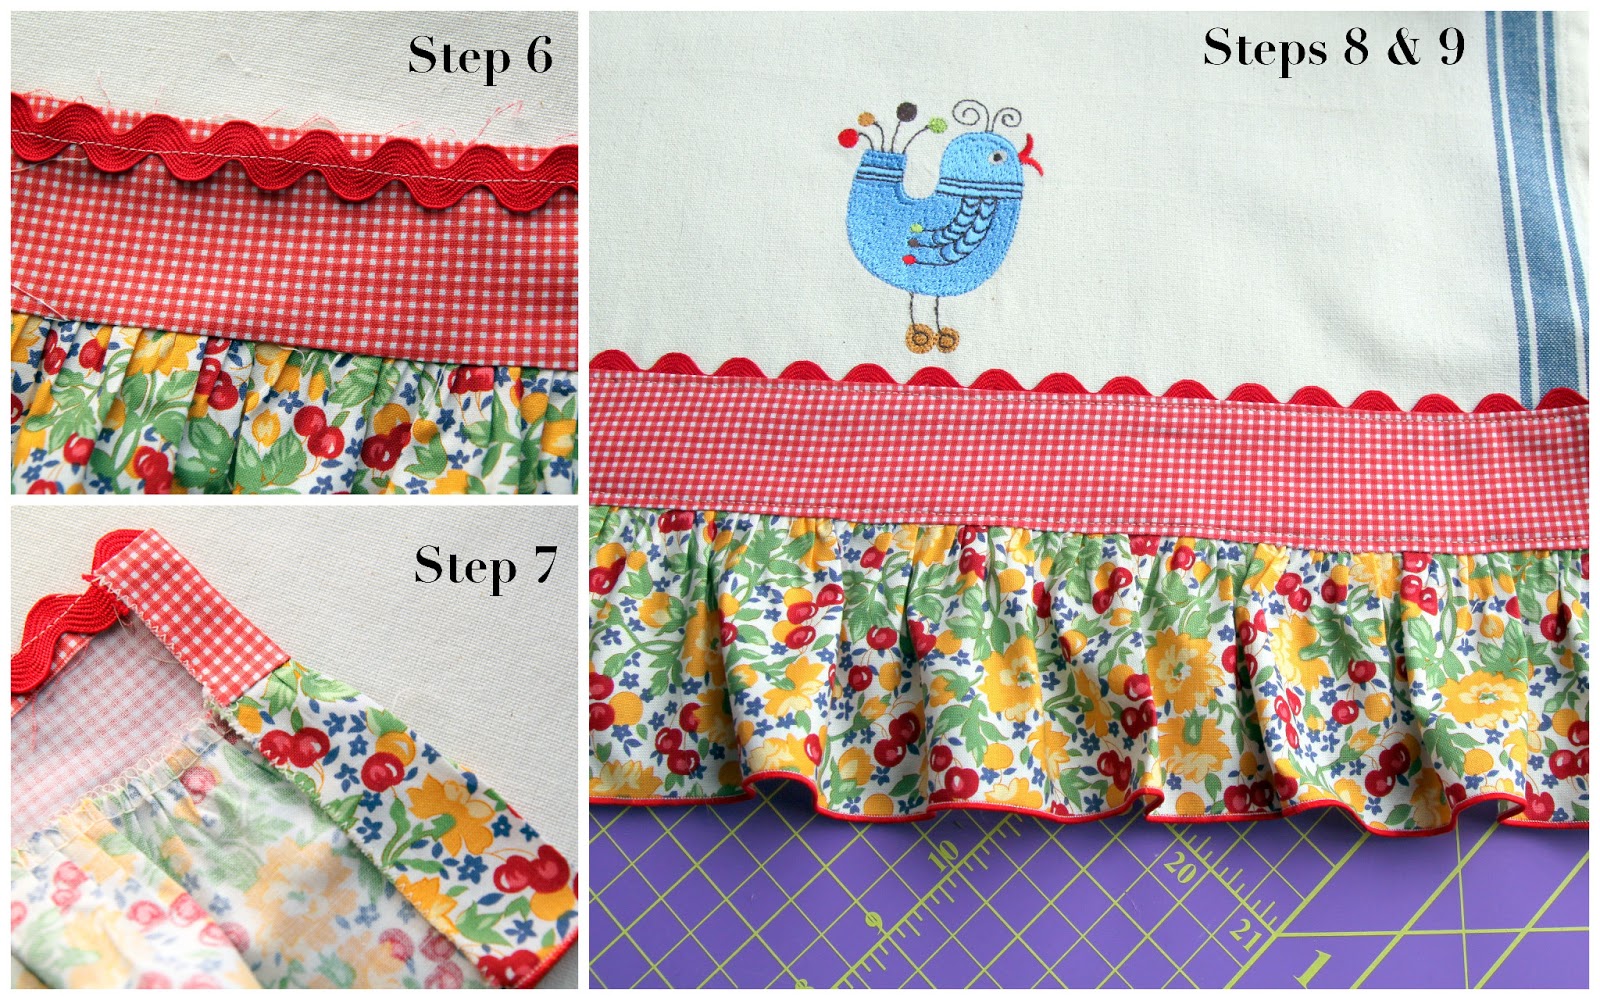
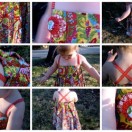
Begin serging. Your fabric on the bottom will gather and attach to the fabric on top. For tighter gathers, add a little tension to the top fabric by pulling ever so slightly. If you’ve only cut your fabric to be ruffled 2 times longer than the fabric not being ruffled, you probably don’t want to add any tension to the upper fabric. If you would prefer to have more ruffles, cut the ruffle fabric 2.5 times longer and you should be able to achieve a tighter gather. Always test before sewing on your actual project. It’s better to have too much fabric when gathering, than not enough…..you can always square it up if there is too much.

 
If you are not using the gathering foot, just run the fabric to be gathered through the serger and it will gather it for you based on the settings I gave you above. Then you will have one more additional step and need to attach the ruffle to the non-ruffle fabric using a ½” seam allowance. Place the two fabrics with the right sides together, lining up the raw edges and sew together on one long side.


Step 6: Add the rick rack trim. Using a medium size rick rack trim, line up the edge of the rick rack with the raw edge of the non-gathered fabric. Sew rick rack to fabric using a ½” seam allowance. Fold the rick towards the wrong side of the fabric and press.
 
Step 7: Serge or zig-zag stitch both raw sides of the rick rack, ruffle piece. Fold the raw edges towards the wrong side of the fabric making sure that they are the same width as the dishtowel. Sew both sides.
 
Step 8: Attach the ruffle piece to the dishtowel. Line up the ruffle piece so that it is straight and hangs below the edge of the dishtowel. This is going to be different for everyone depending on the size dishtowel you have selected. You just want it to look nice and straight.
 
Step 9: Sew all the way around the non-gathered fabric using a ¼” seam allowance.


Once you have sewn your ruffle piece to the dishtowel, just trim up any stray threads and your dishtowel is ready to go!
If you get a chance, definitely go check out the Baby Lock National Serger Month website, it is really a great resource for anything and everything about sergers. Plus while you are there, you can download a really nice printer-friendly version of this tutorial!
 

Like this post? Want even more?
Sign up below and receive all my tutorials, recipes and updates directly in your email inbox.

One Comment

  1. I am having sewing machine envy big time right now!!!! Super cute dishtowel – excellent job!