First off, I apologize if I sound overly enthusiastic in the following post. But honestly if I could write this post with all caps and end every sentence with an exclamation mark, I would. Secondly, I want you to know that I have absolutely know affiliation with this company or product, I just really, really like it.
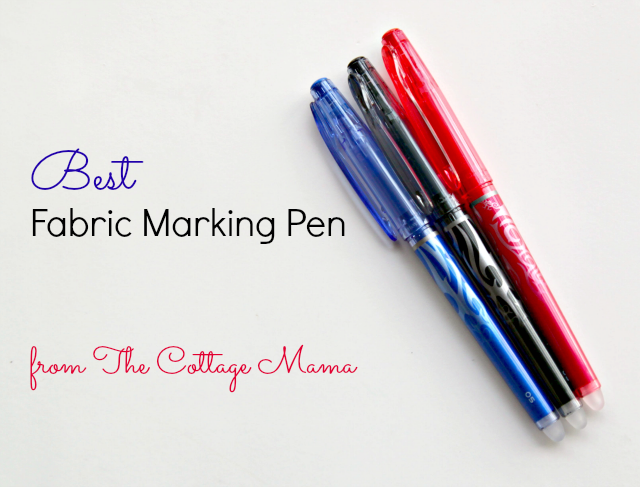
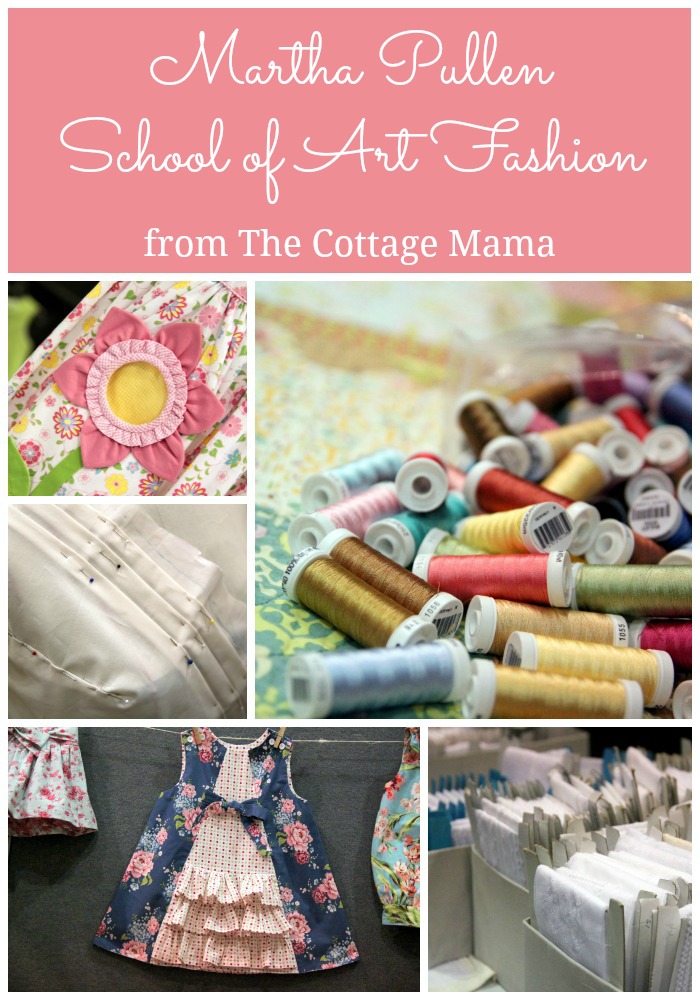
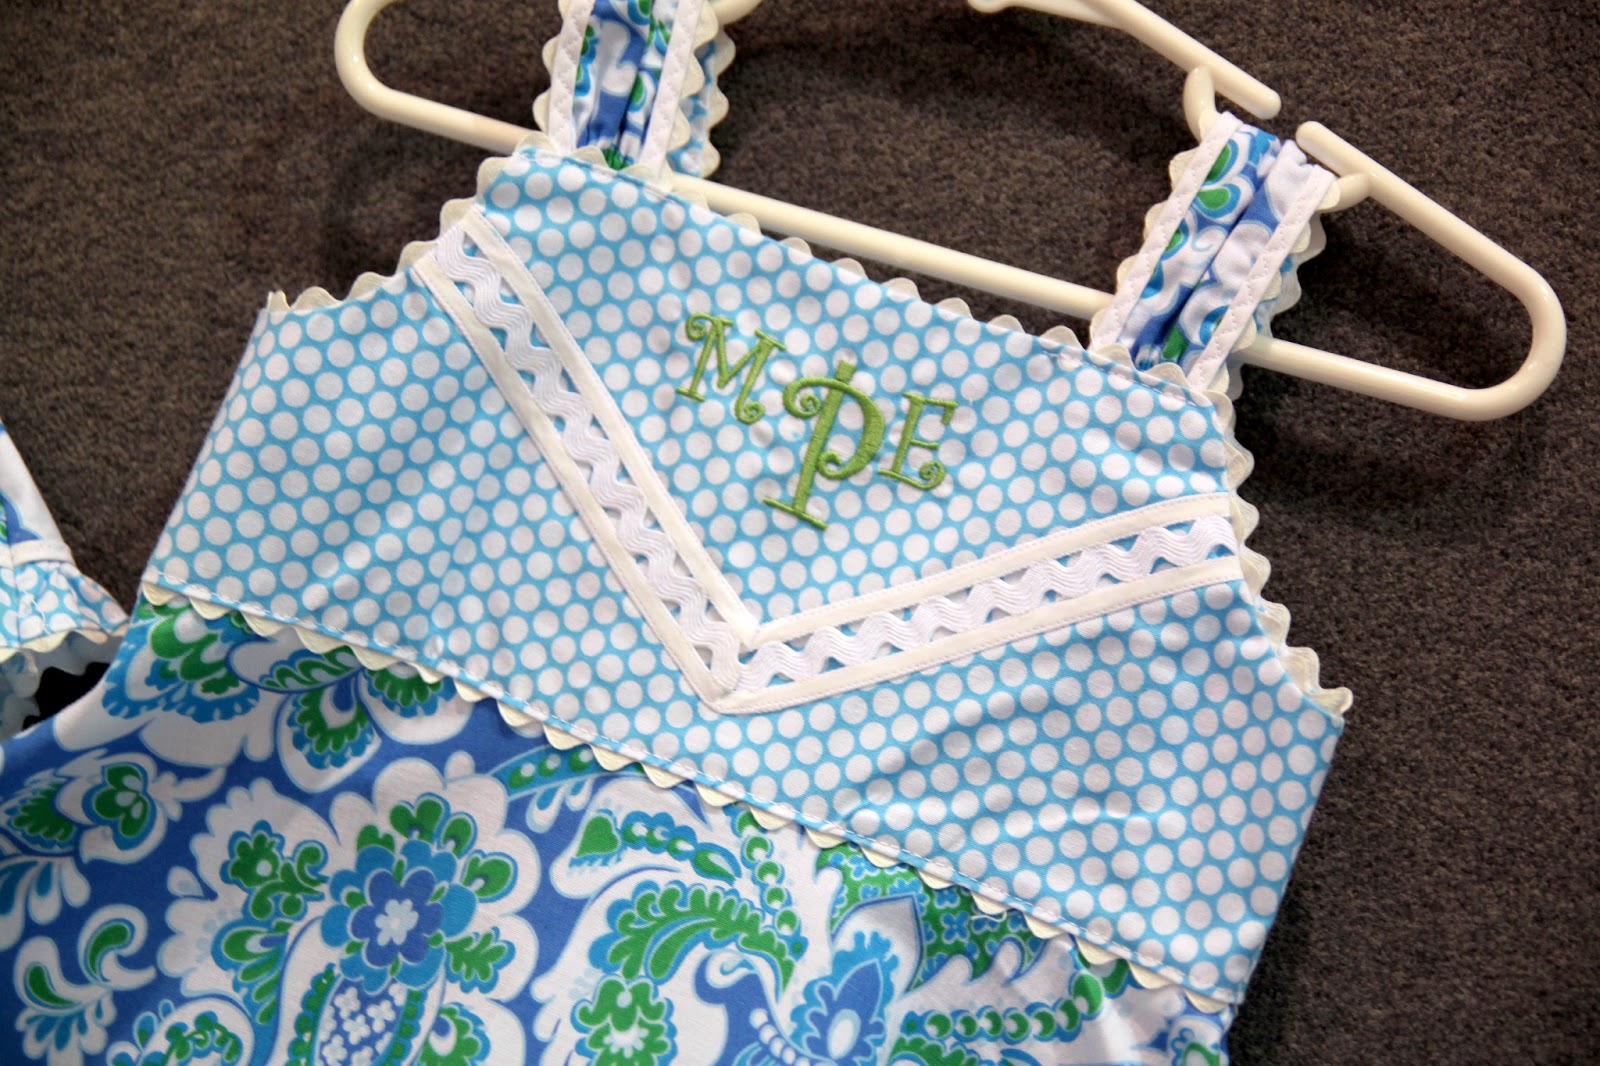
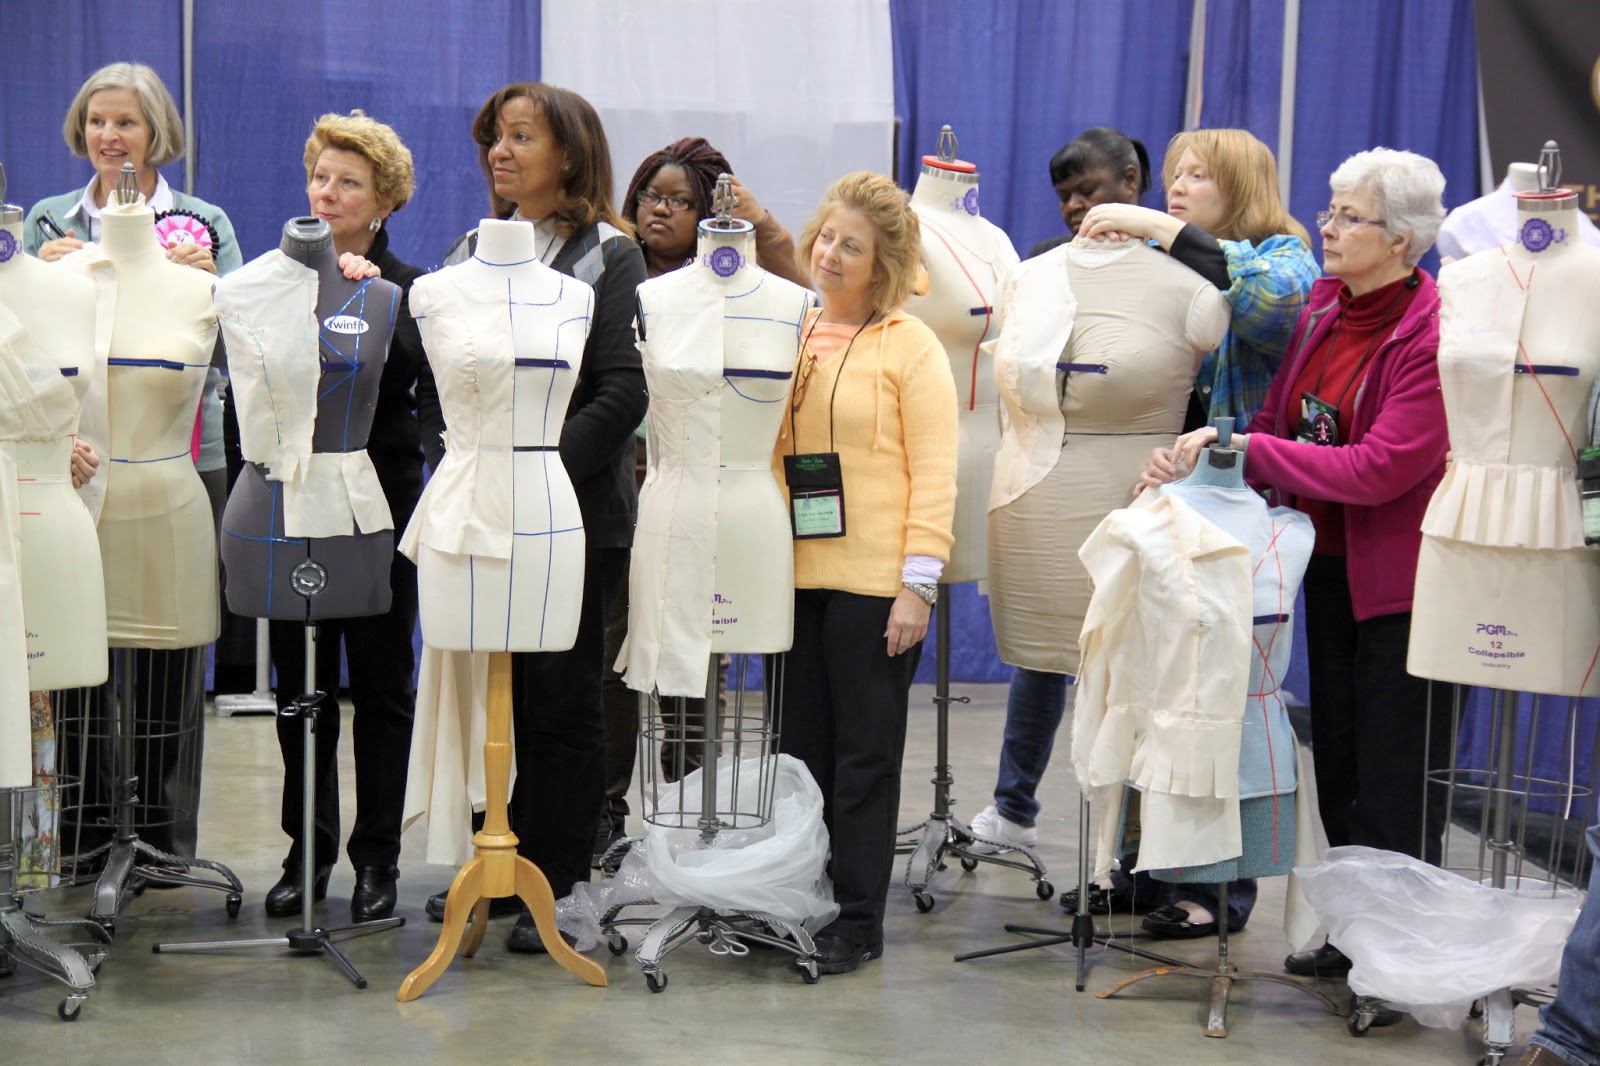
So, I didn’t get to take any classes myself when I was teaching at the Martha Pullen School of Art Fashion, but I did learn a few things. And these Pilot FriXion Erasable Gel Pens have changed my life. Maybe you’ve known about these all along and I am late to the party, but oh my goodness, these are the best fabric marking pens ever! They are not designed to use on fabric, but they work like a dream.

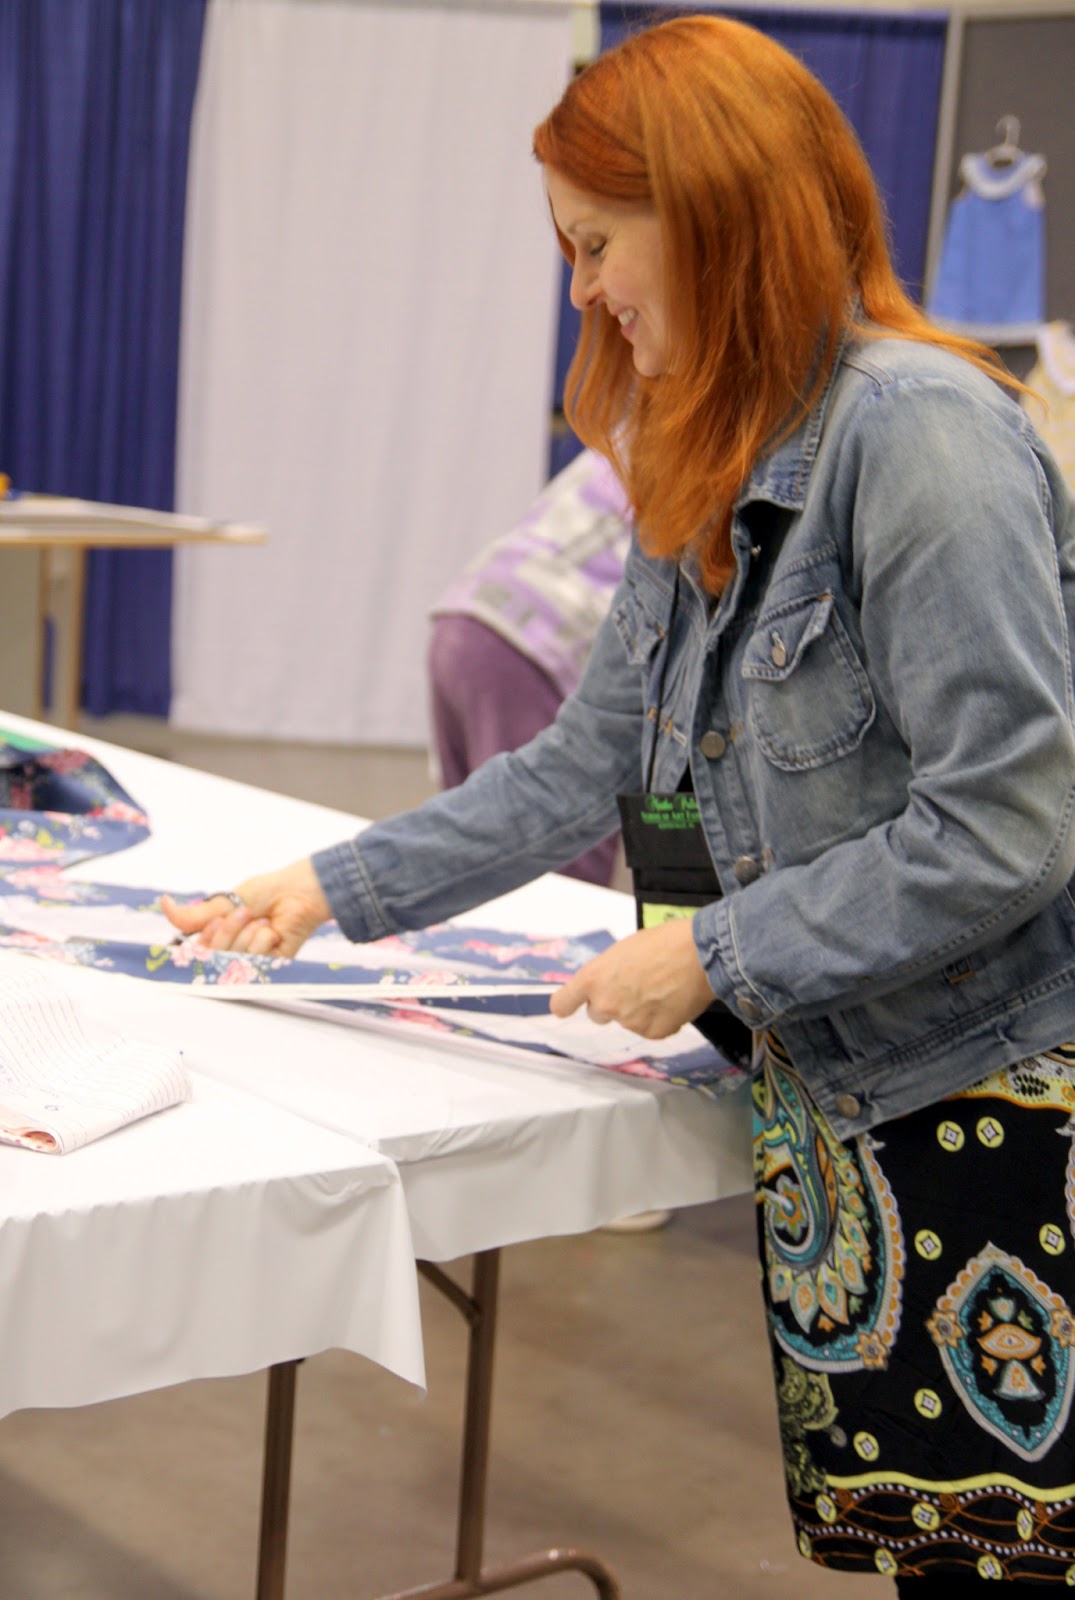
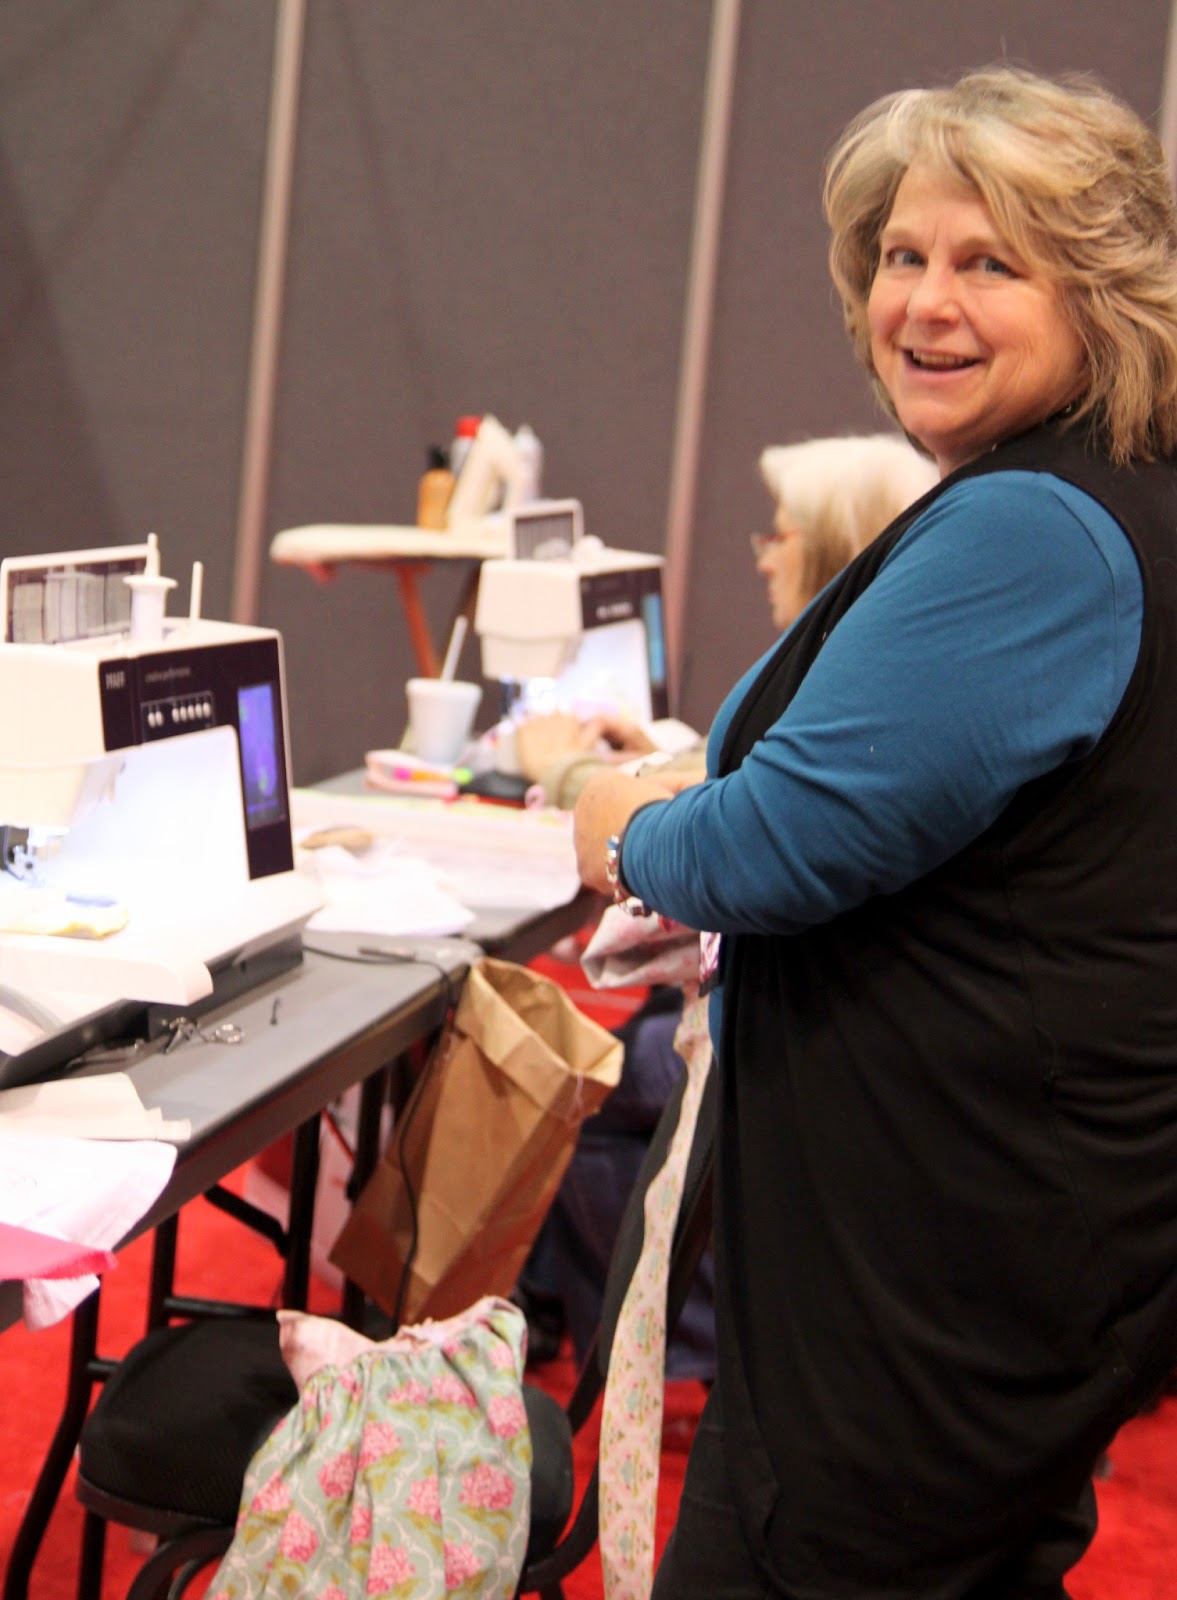
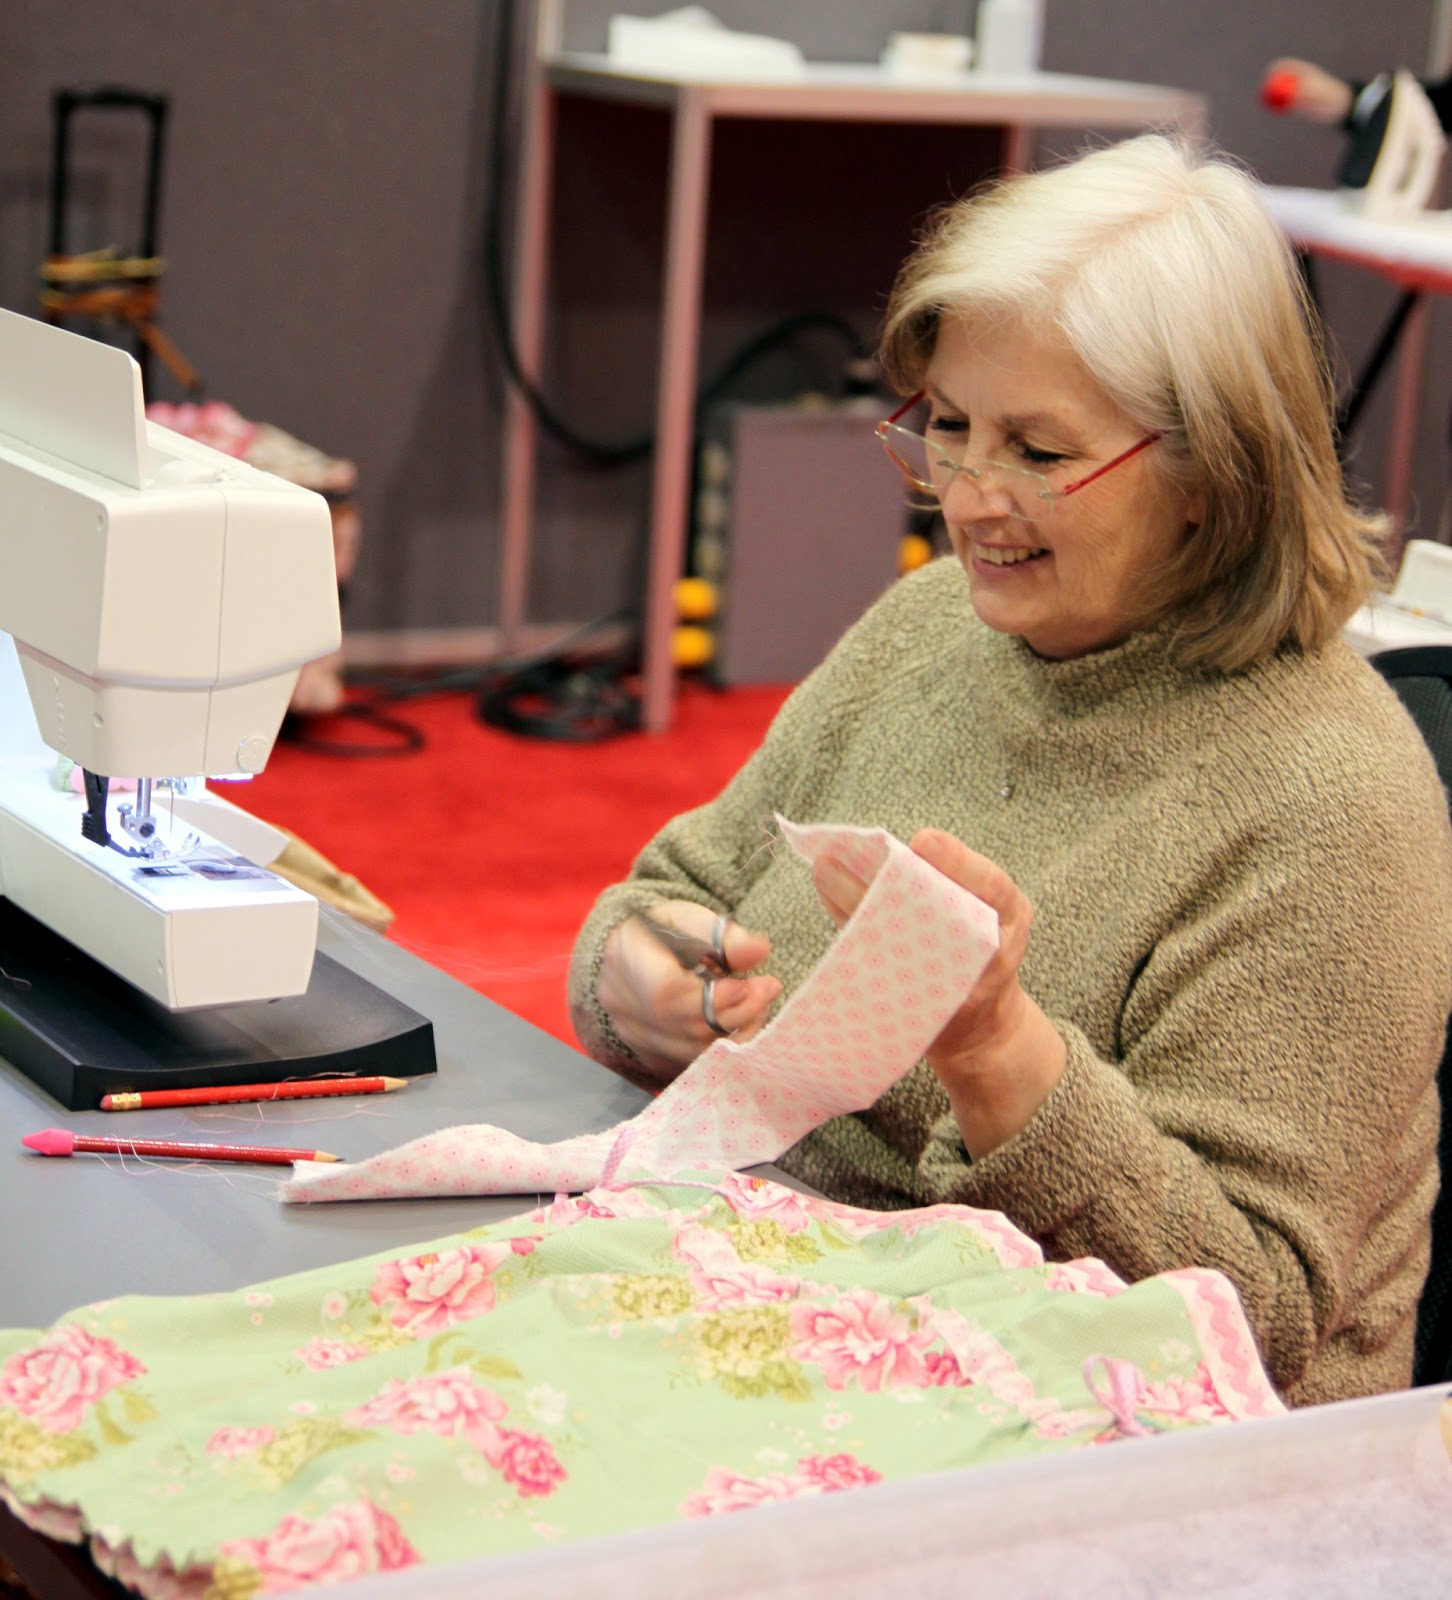
Darlene, our classroom machine educator, introduced these pens to my assistant Terri and I during class. She had one and asked us if we had ever seen these, neither of us had, so Darlene showed us how they worked. It blew our minds.
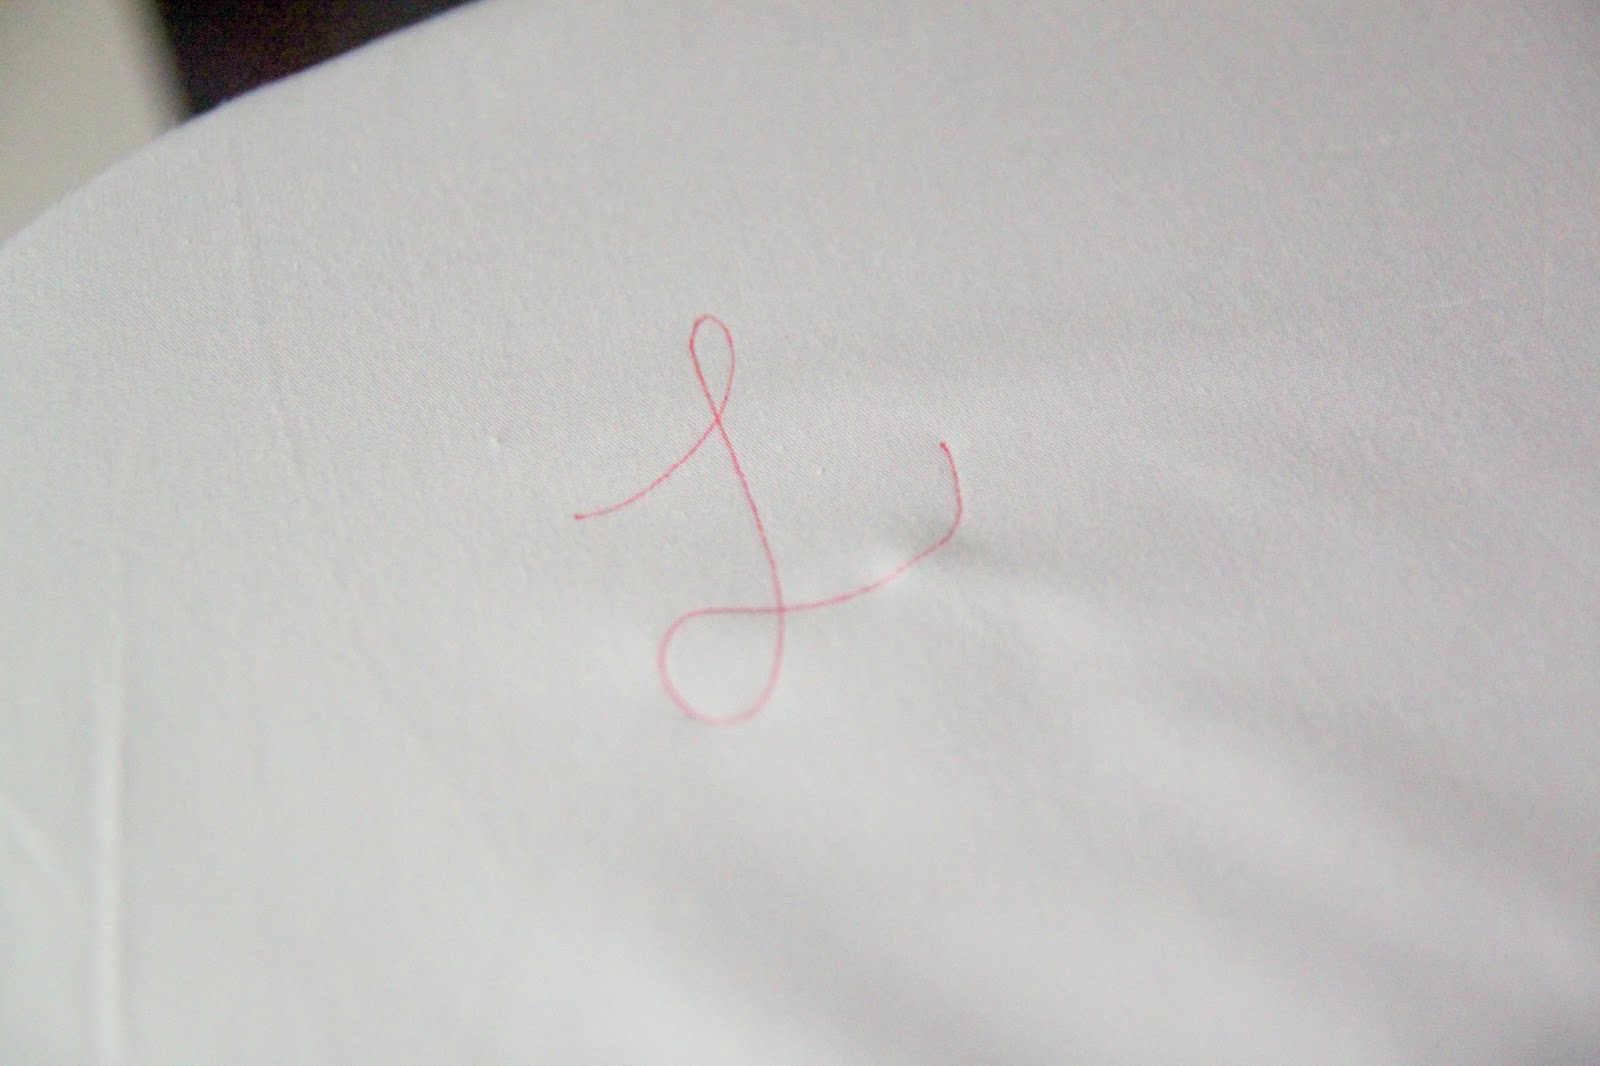
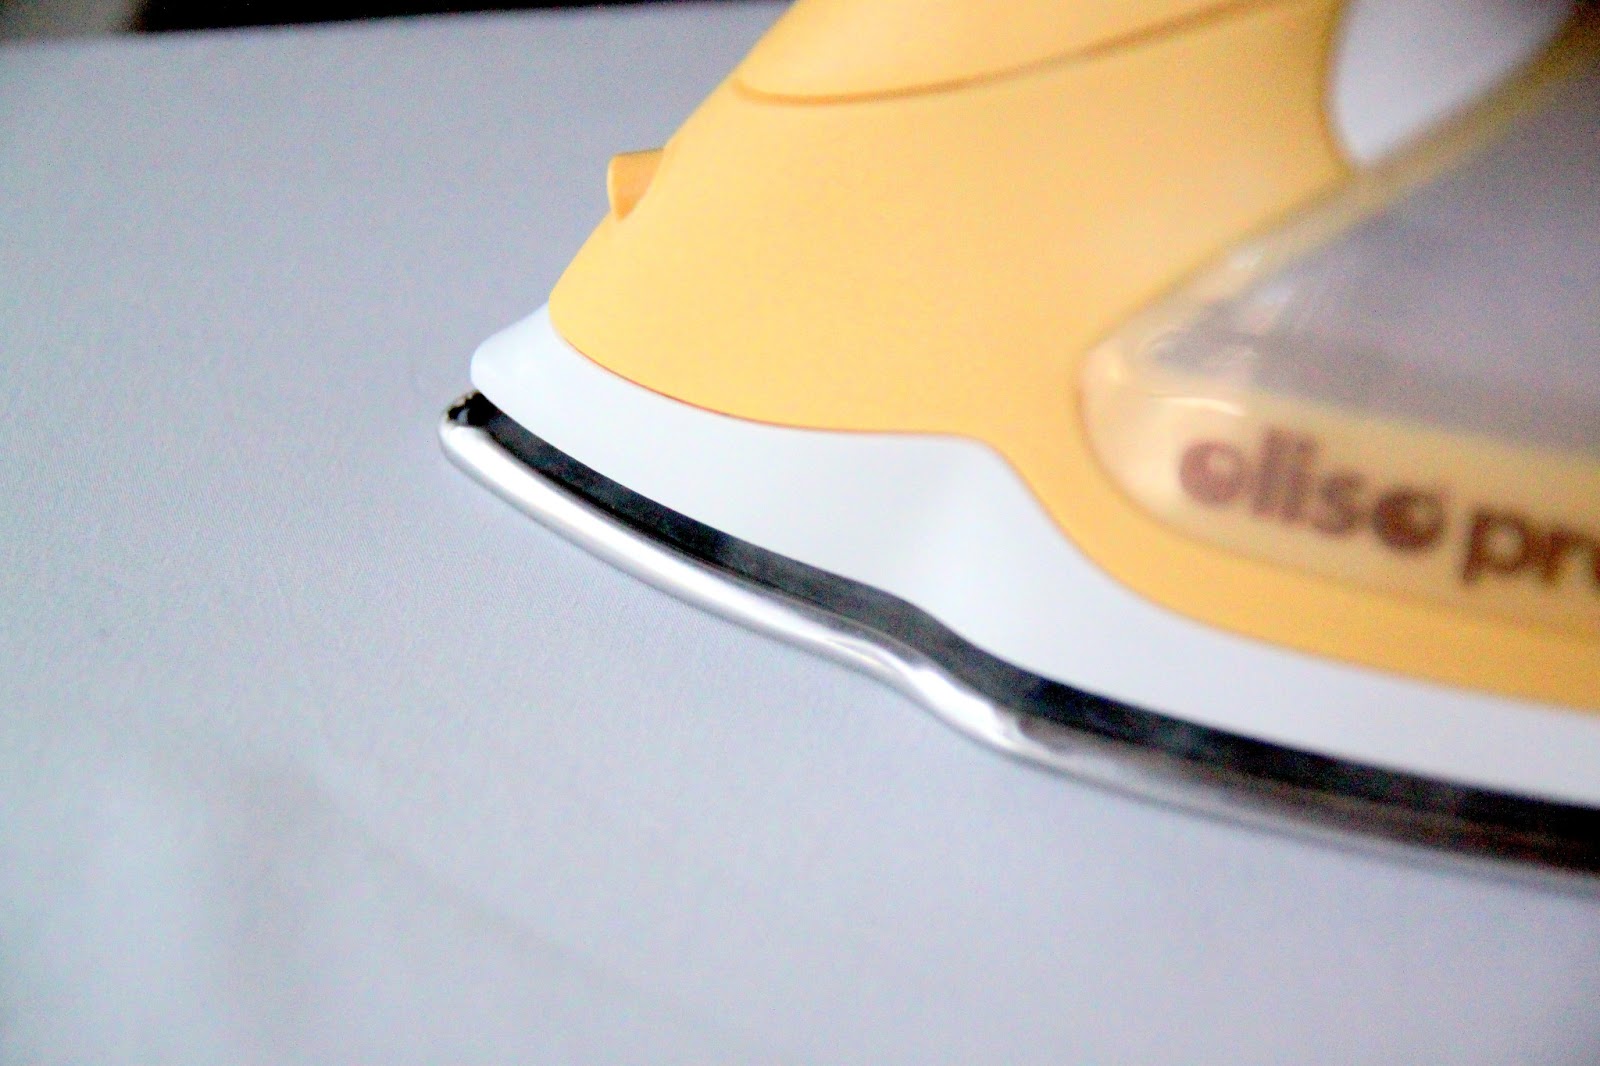
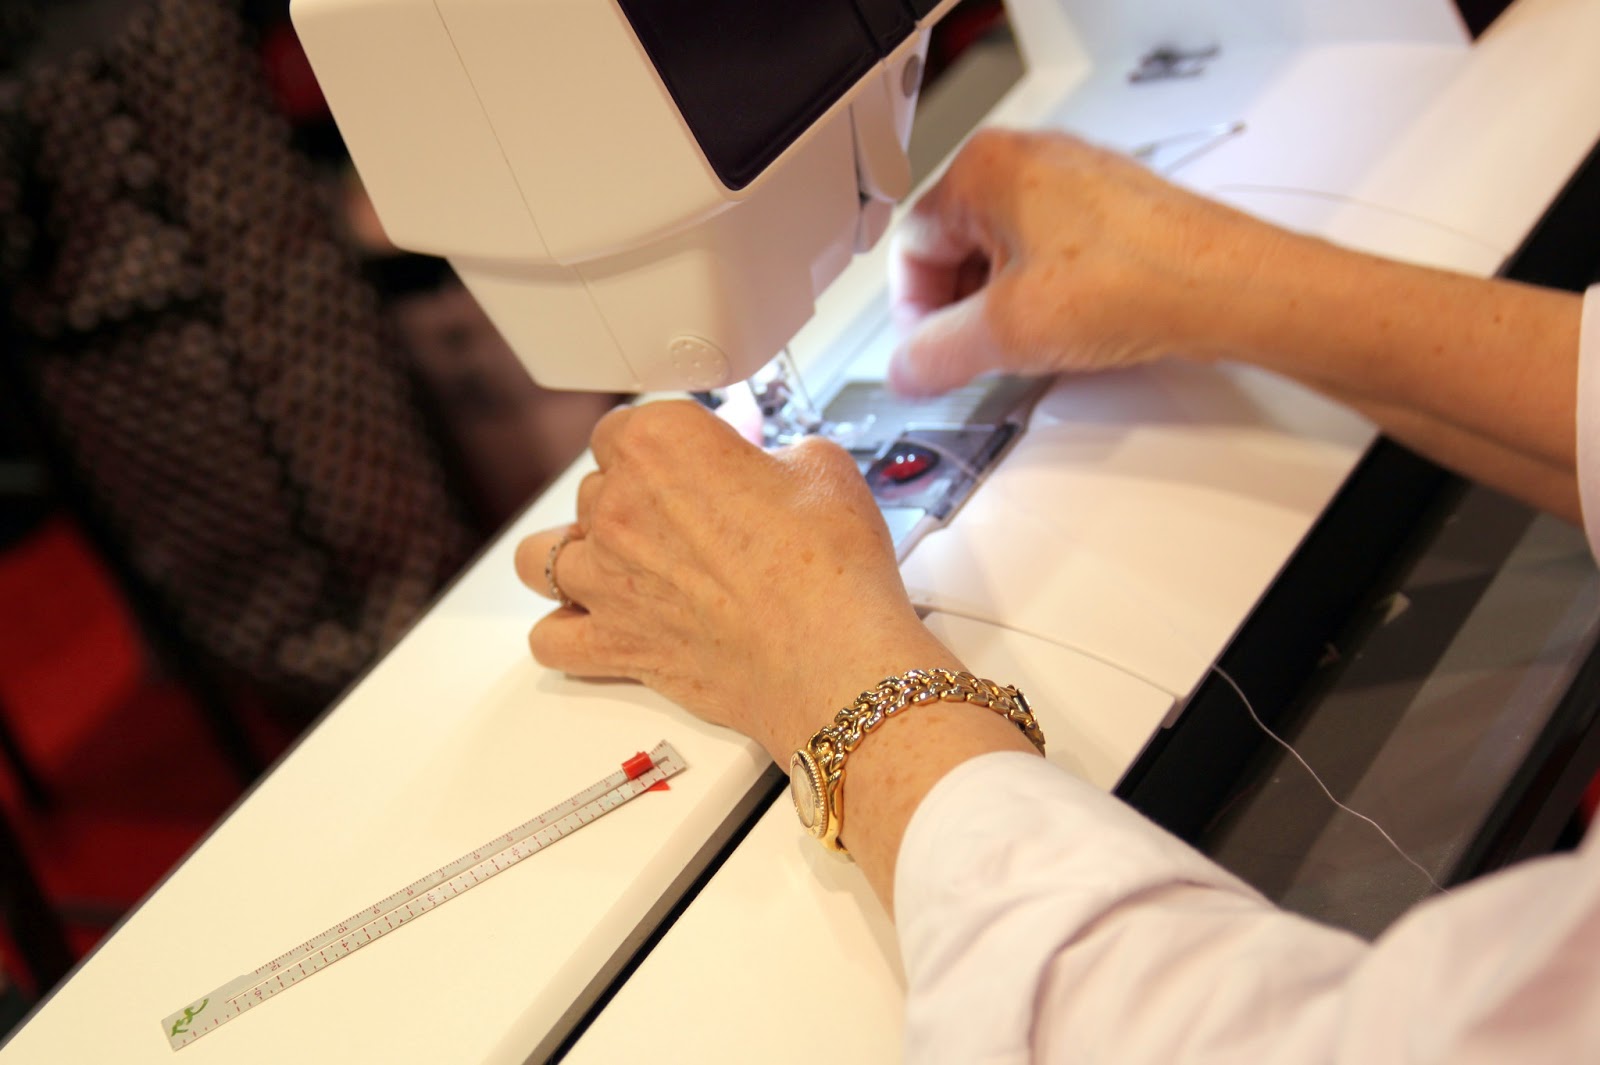
These pens glide along the fabric making a beautiful mark just as they would on paper. And guess how they disappear? With your IRON! The friction of your iron rubbed on top of the fabric makes them disappear practically on contact. There is a little eraser on the pen, but the iron works so much better.
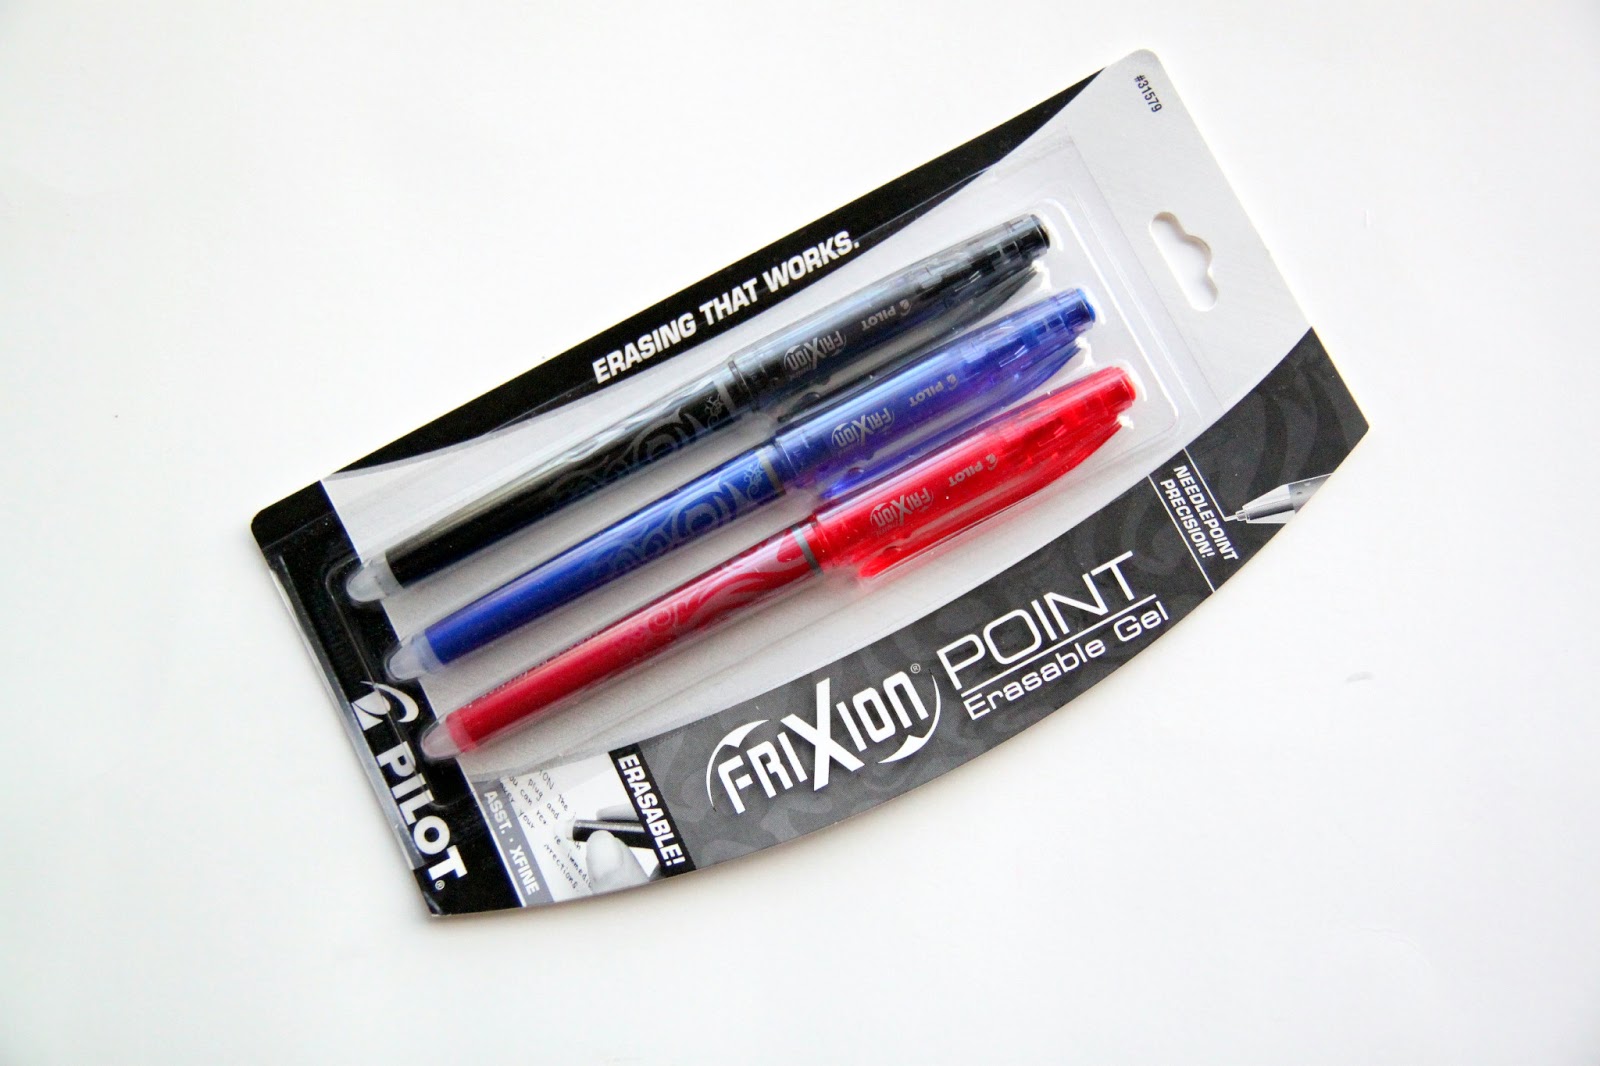
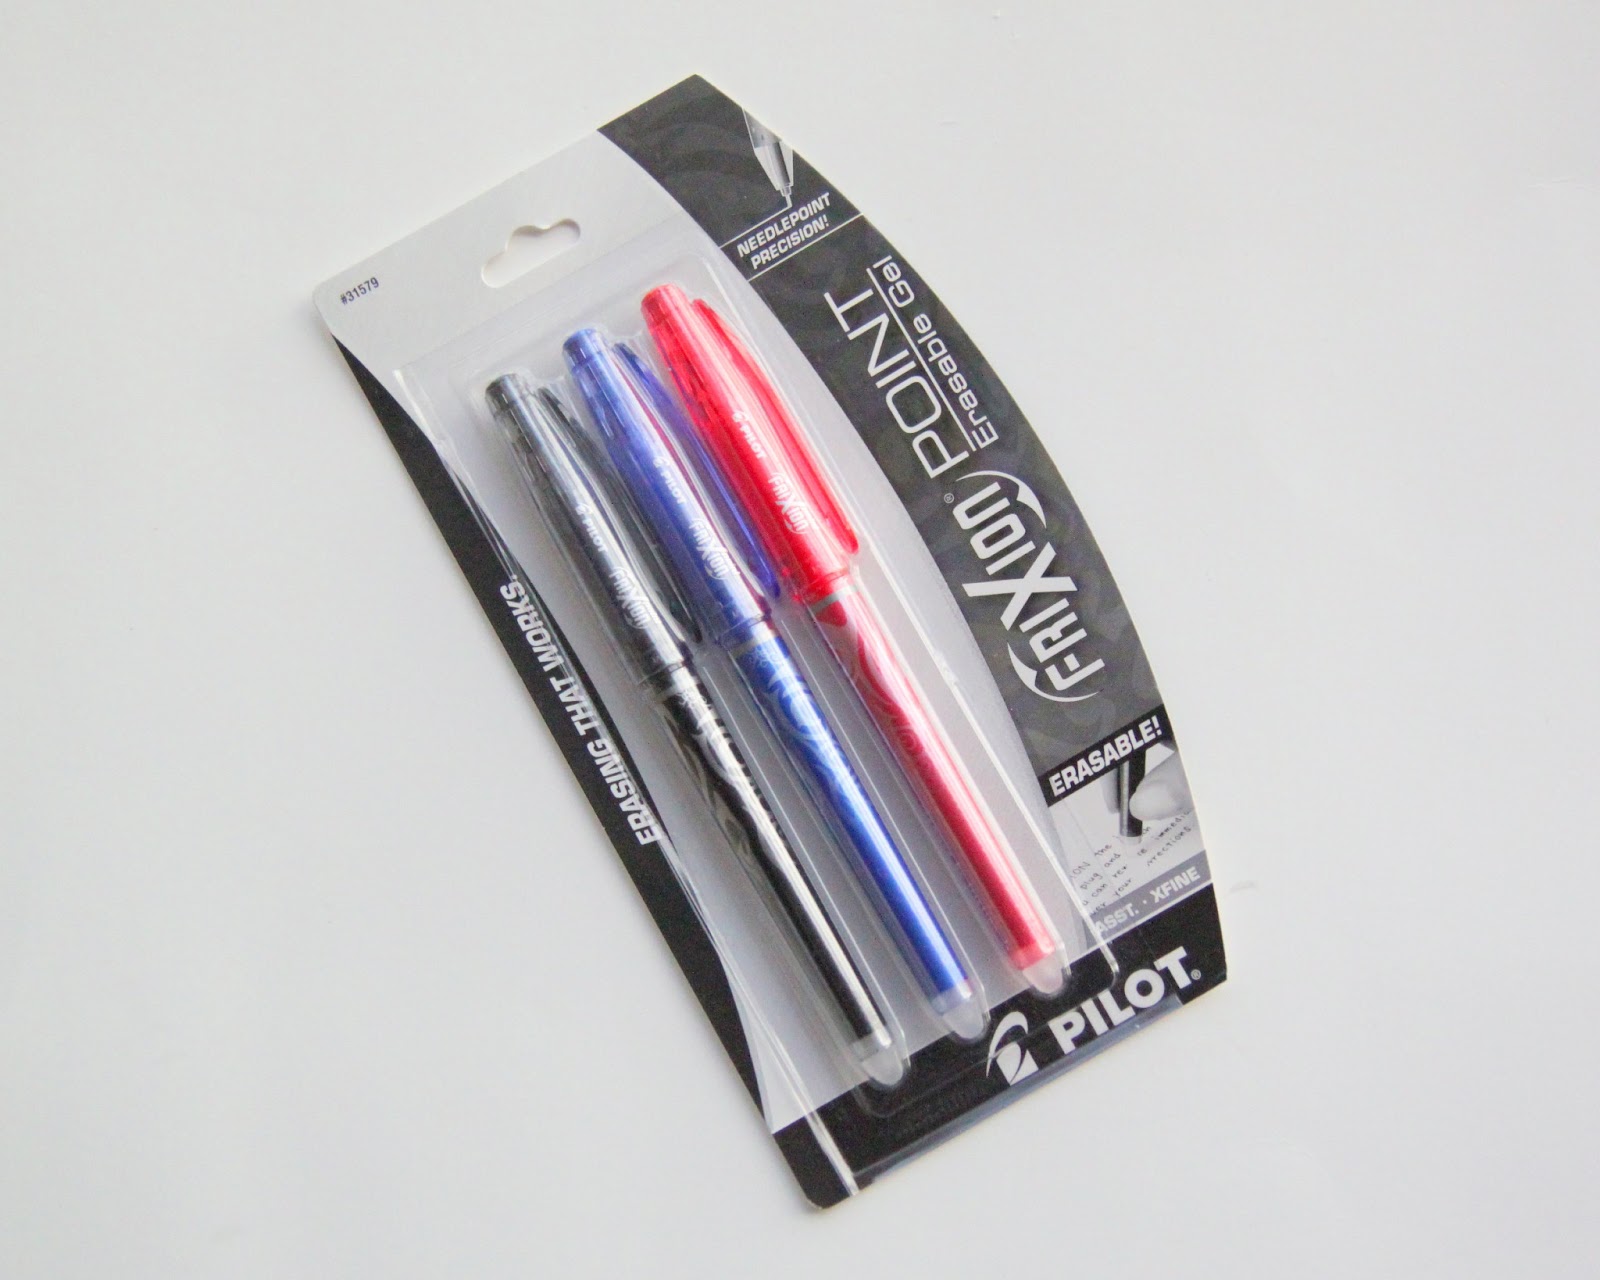
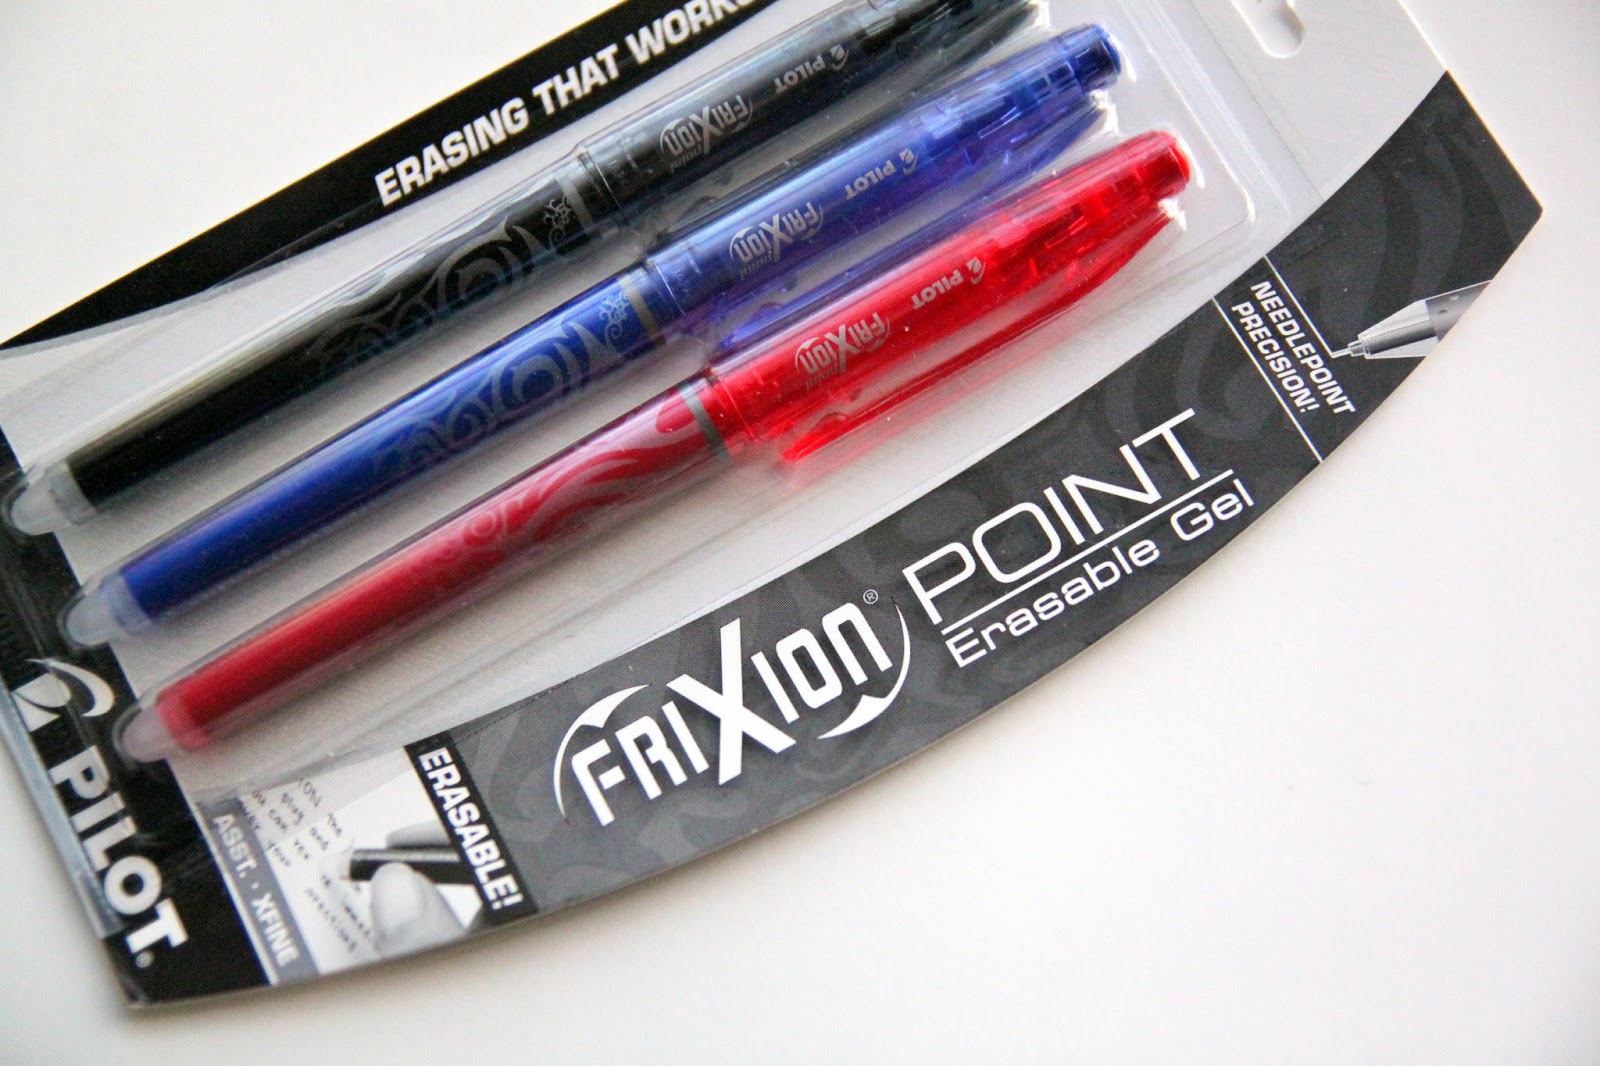
You can buy the Pilot FriXion Erasable Gel Pens at your local office supply store or online and they come in a bunch of different colors. The only problem you might have is if you are marking on black fabric, you still might need to use your white pencil or chalk, but other than that, these will be all you’ll ever need in the fabric marking department.
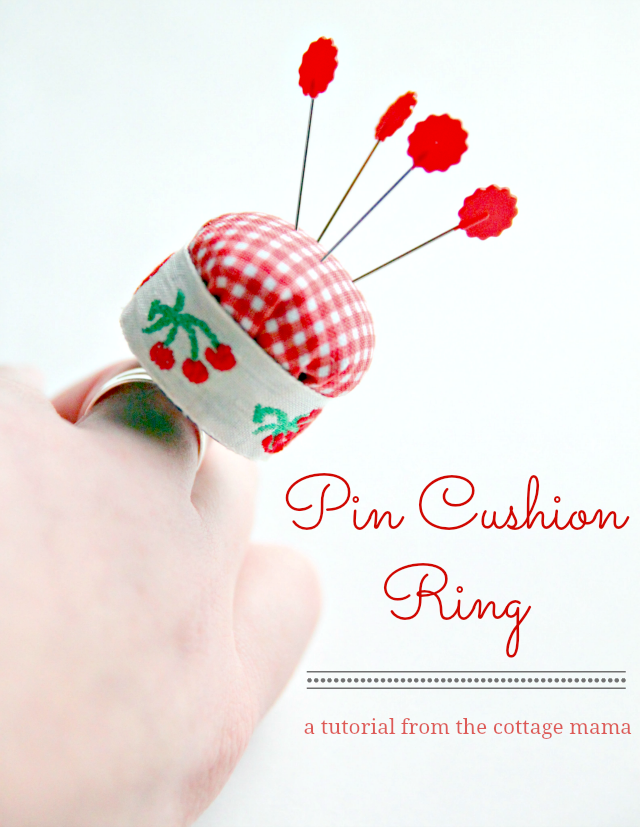
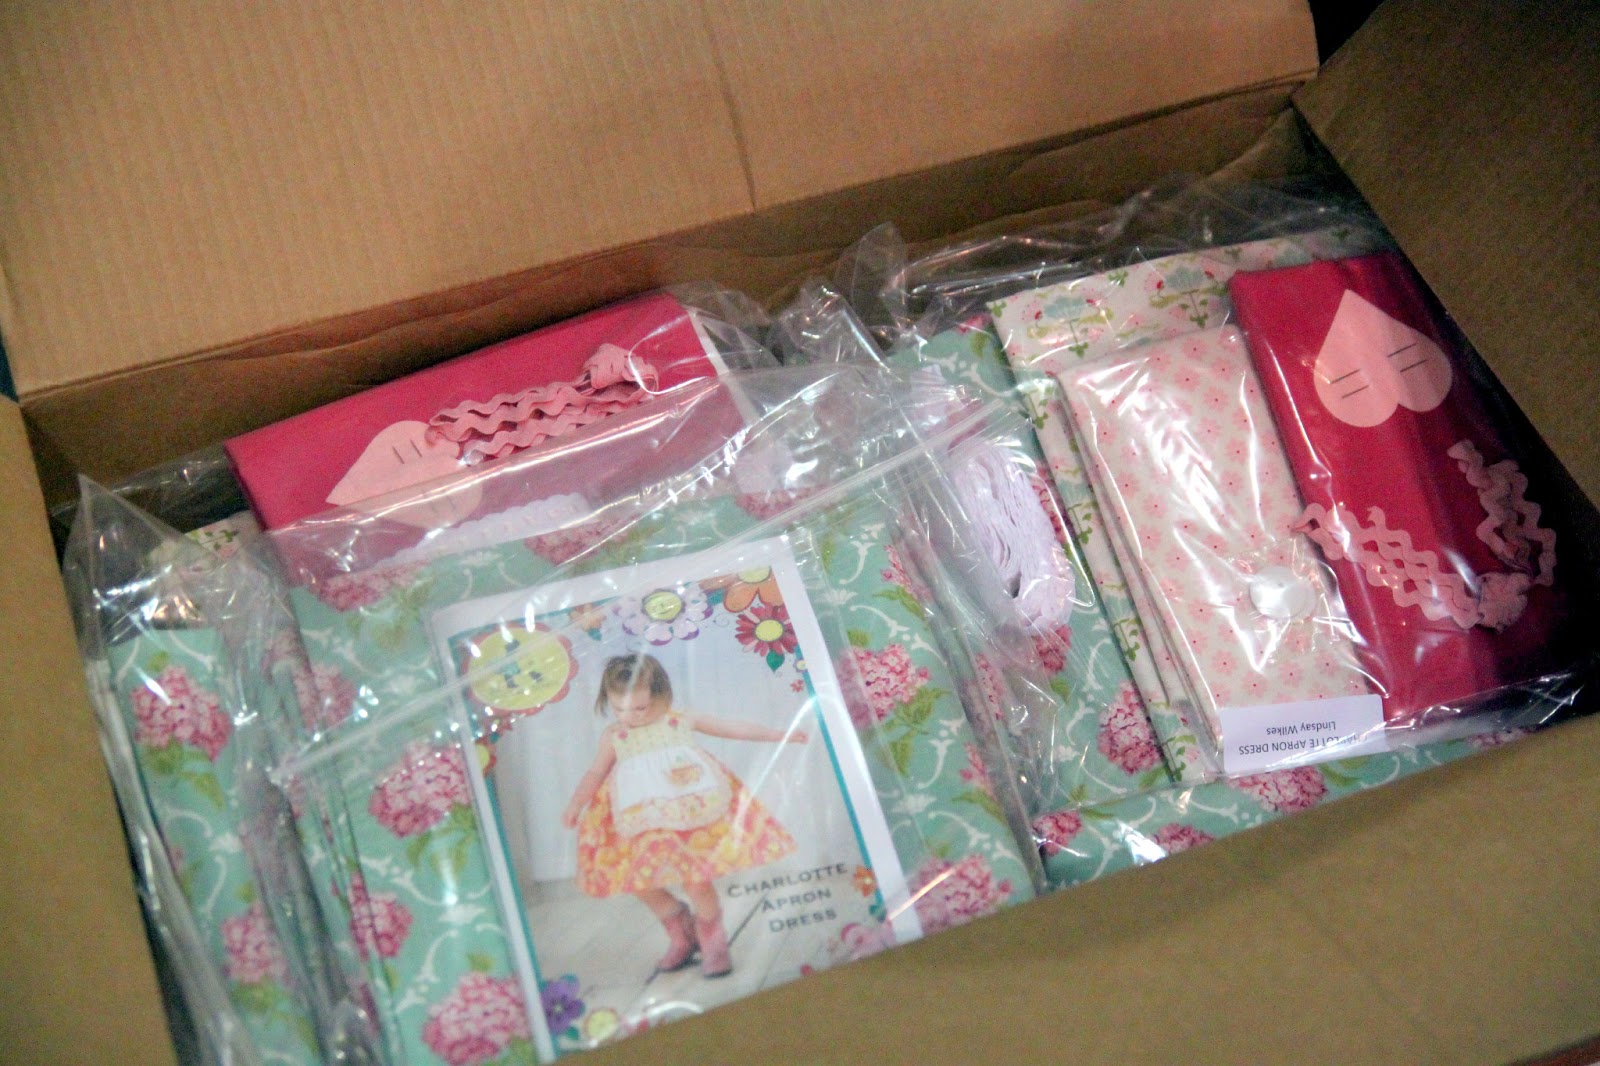
PS: The Cottage Mama’s Sewing Basket is going to be a new series of posts where I show you all the tools I love to use when I sew. Some may be ones that you’ve heard of and others may not, but I always think it’s fun to get a little glimpse inside someone else’s sewing basket.


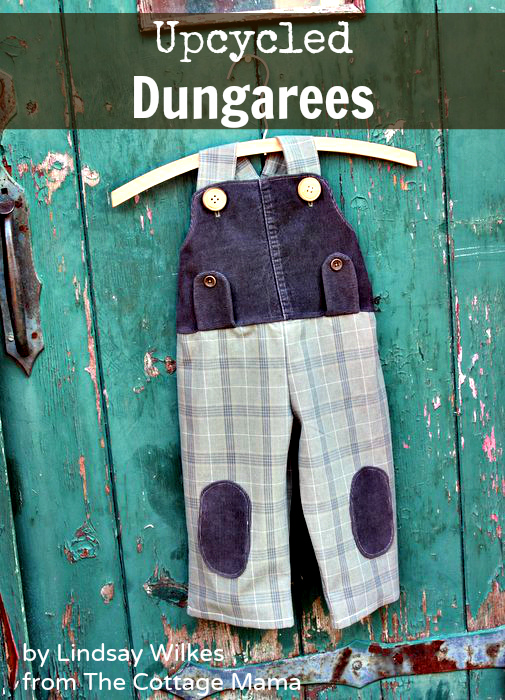


 Lindsay Wilkes is the owner and designer behind The Cottage Mama. She creates timeless, vintage inspired sewing patterns for children’s clothes. She is also a fabric designer for Riley Black Designers / Penny Rose Fabrics, author of the book ‘Sew Classic Clothes for Girls’ and can be seen teaching nationwide and online in her video series ‘Lessons with Lindsay’ sponsored by Baby Lock Sewing and Embroidery machines.


