
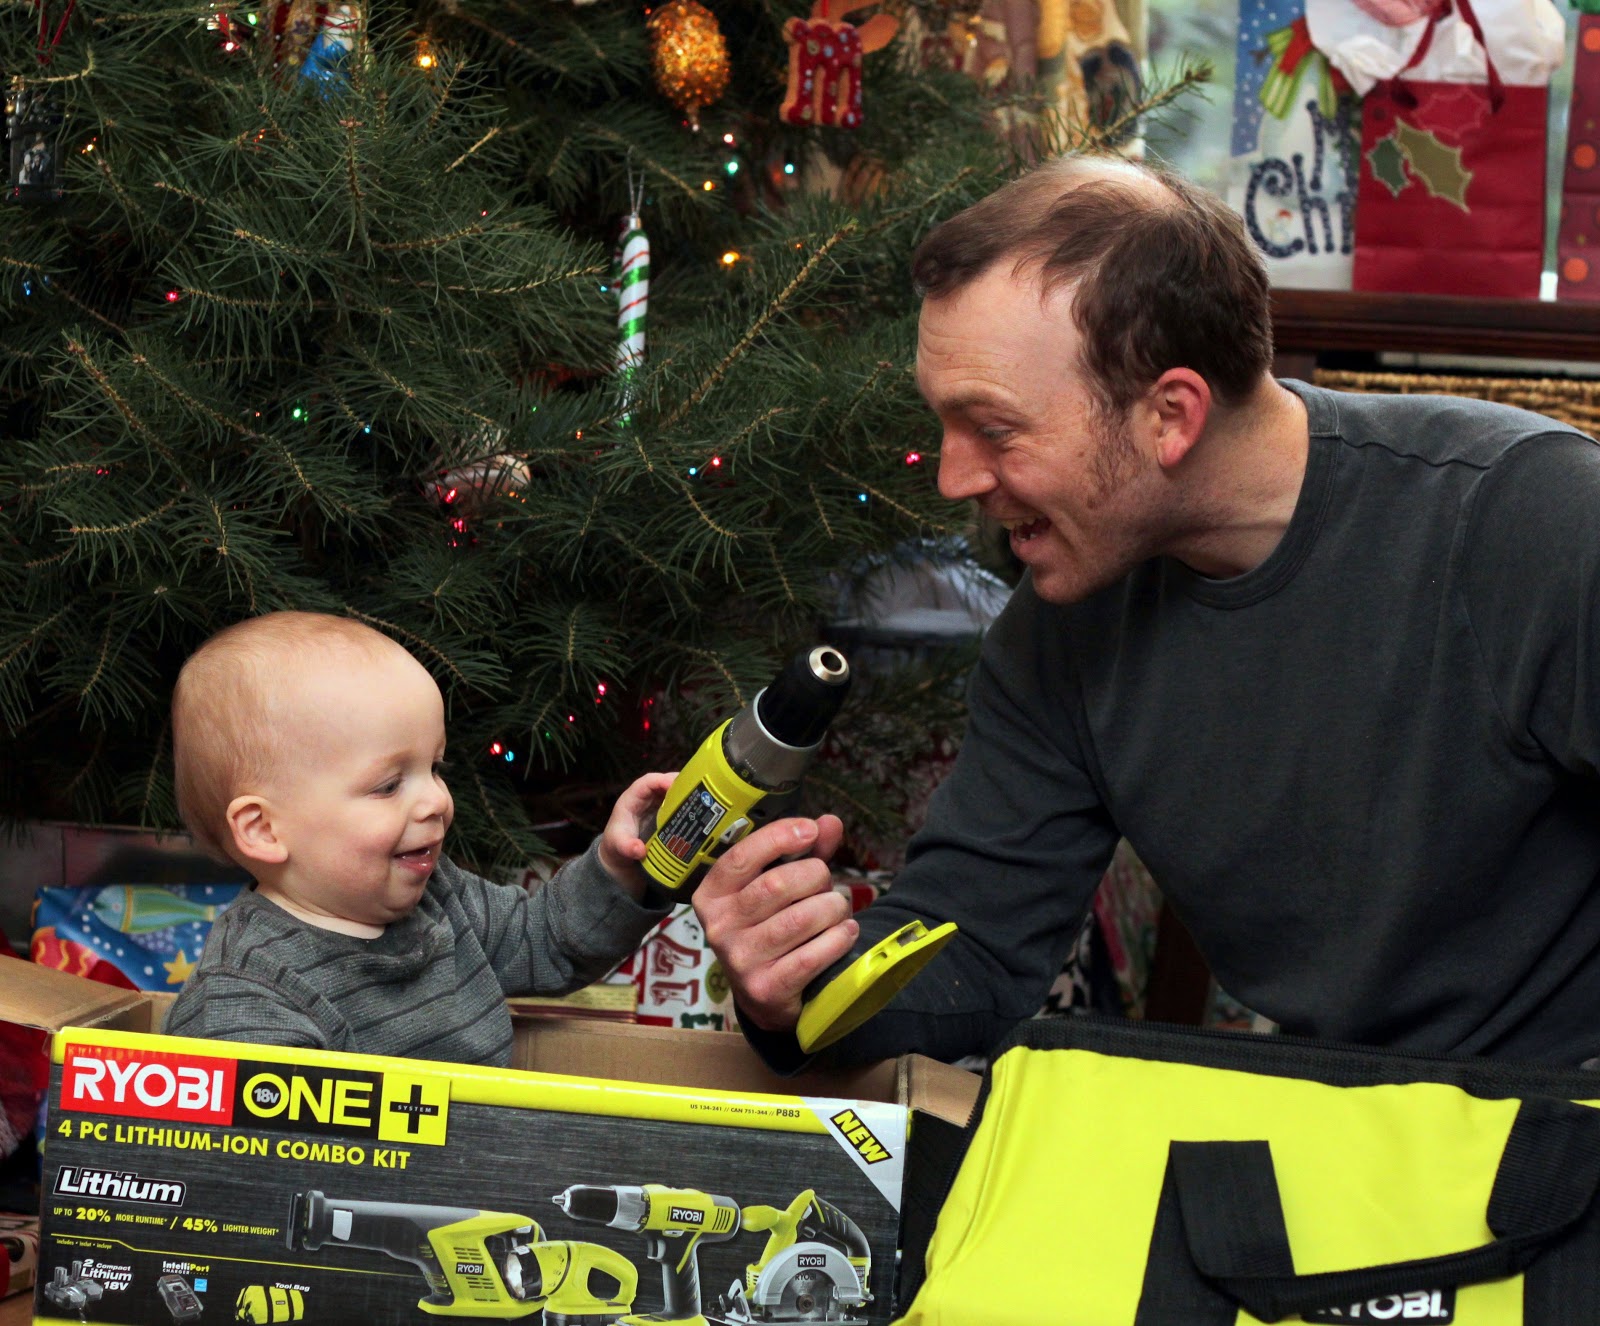
I had a feeling 2012 would be a great year, but never in my wildest dreams did I ever imagine all the opportunities that would come this year. I do not take any of it for granted and wake up every day feeling blessed and so thankful for all of this.
Now, more than ever, I believe that we have a great power in our destiny. I know my husband was rolling his eyes last year when, on the first day of 2012, I kept saying (out loud) that 2012 was going to be a great year! I believe if you put positive energy out in the world and work really hard, good things will come to you. So for the record, I think 2013 is going to be the best year yet! This might all sound a little cheesy to you and maybe it is, but give it a try and I think you’ll be surprised.
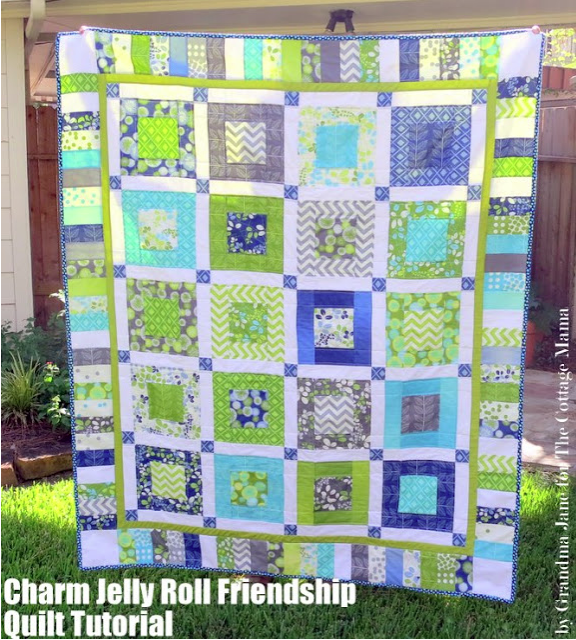
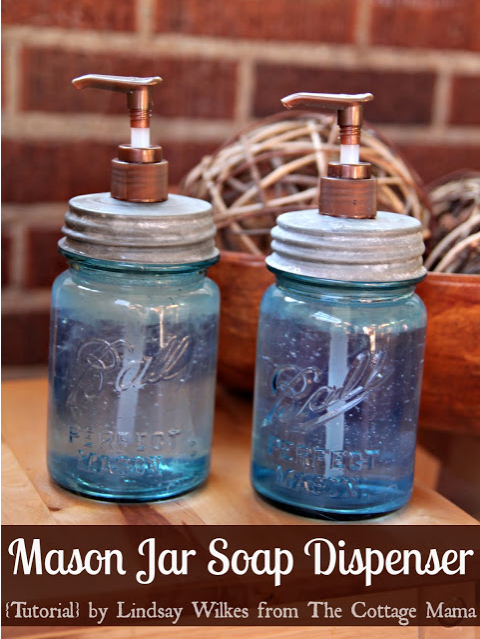
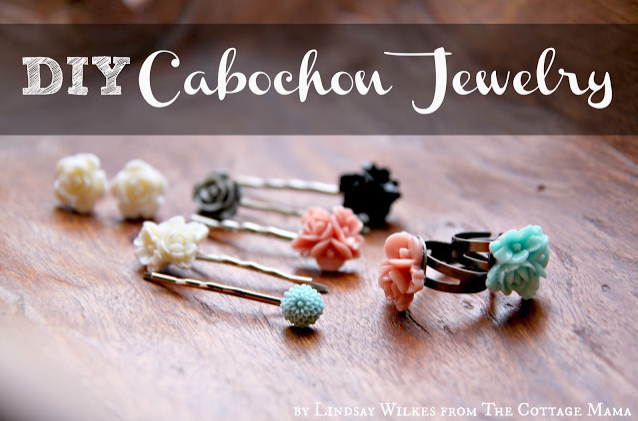
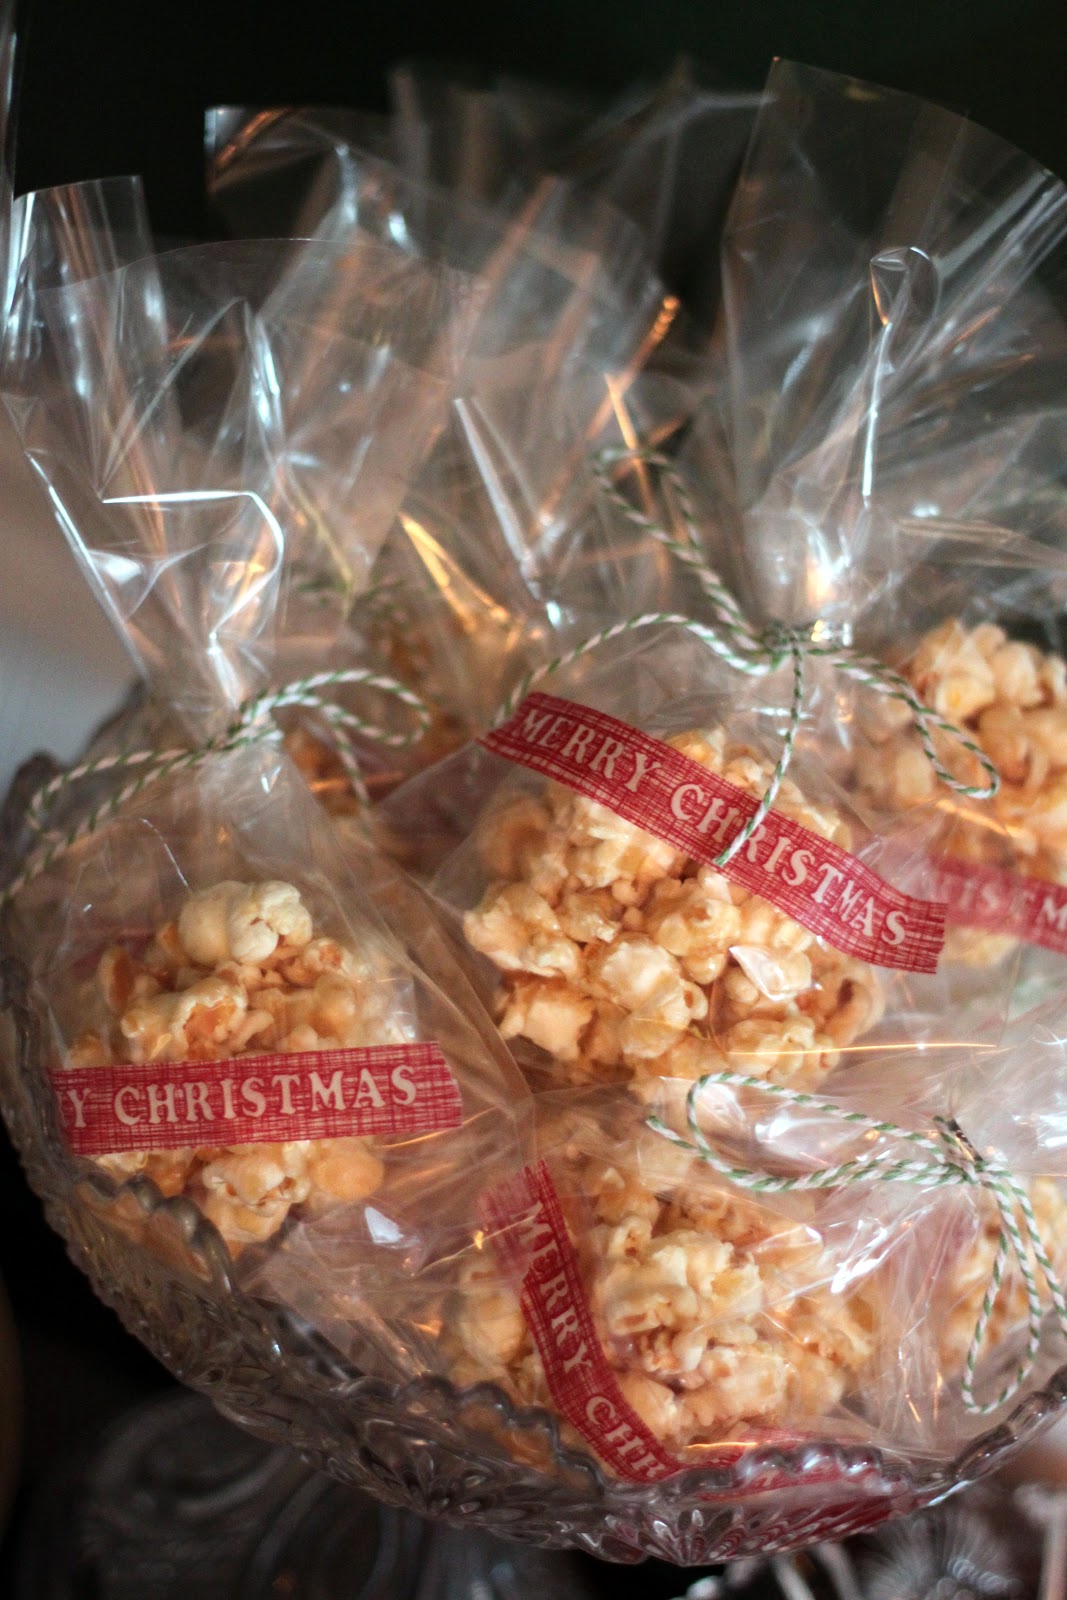
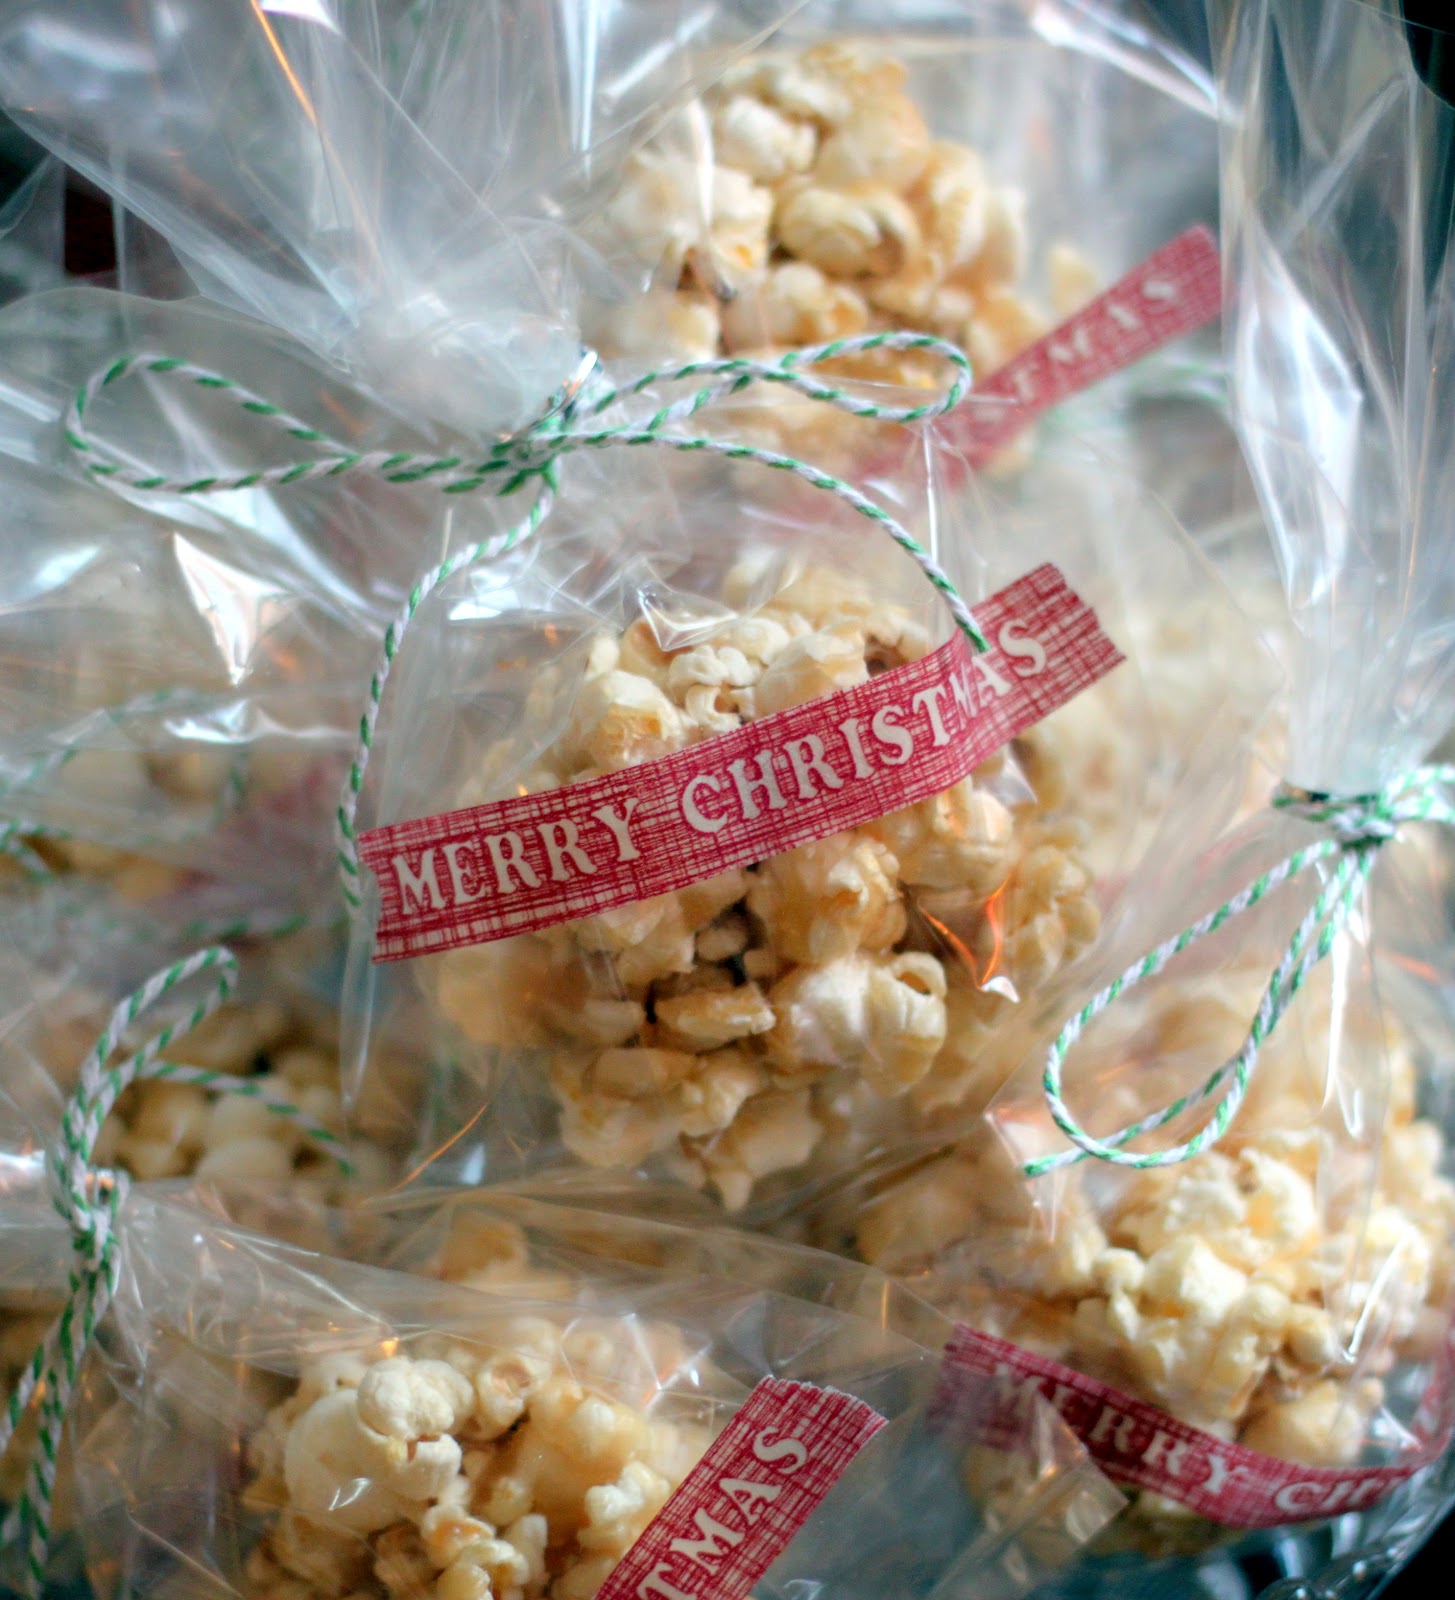
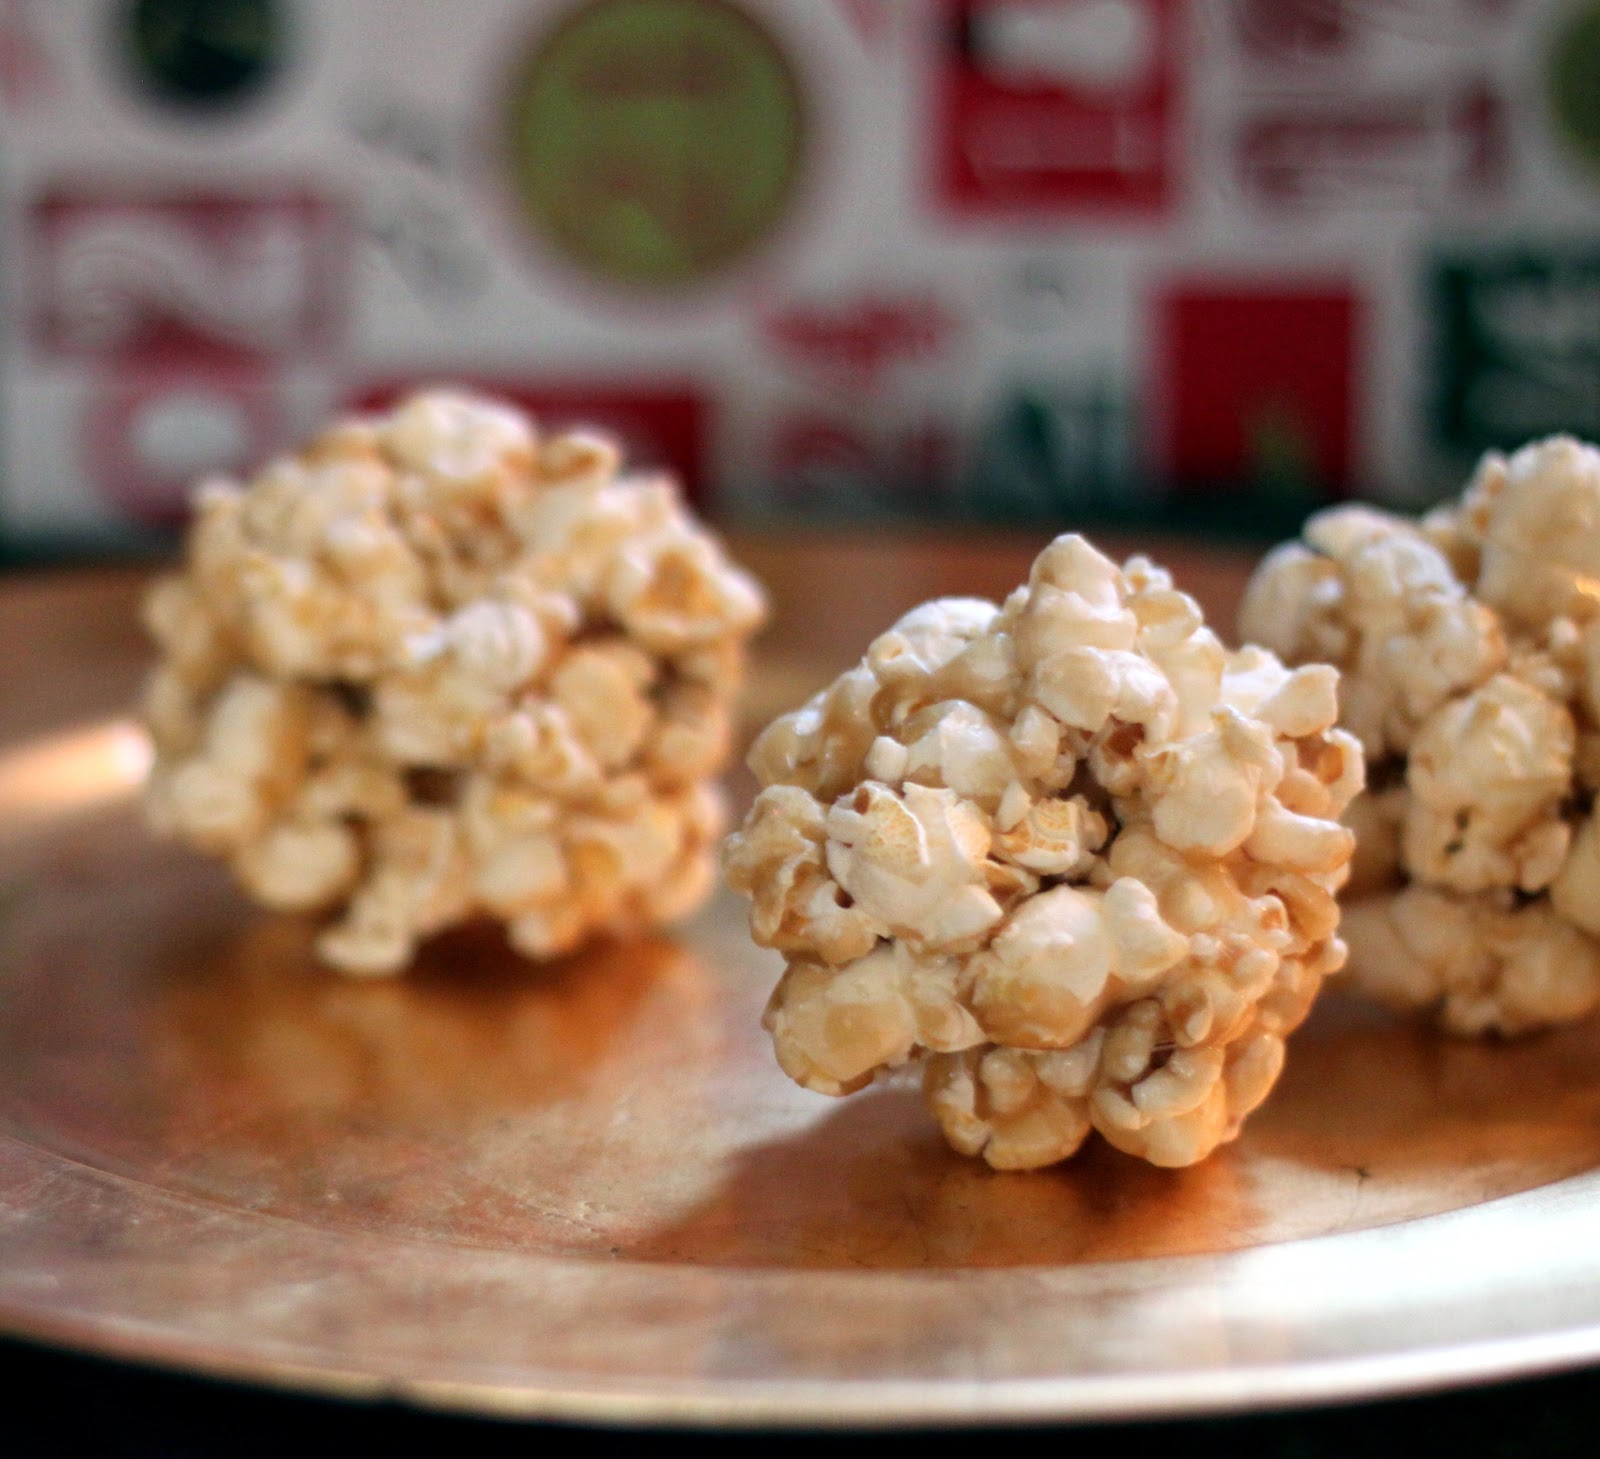
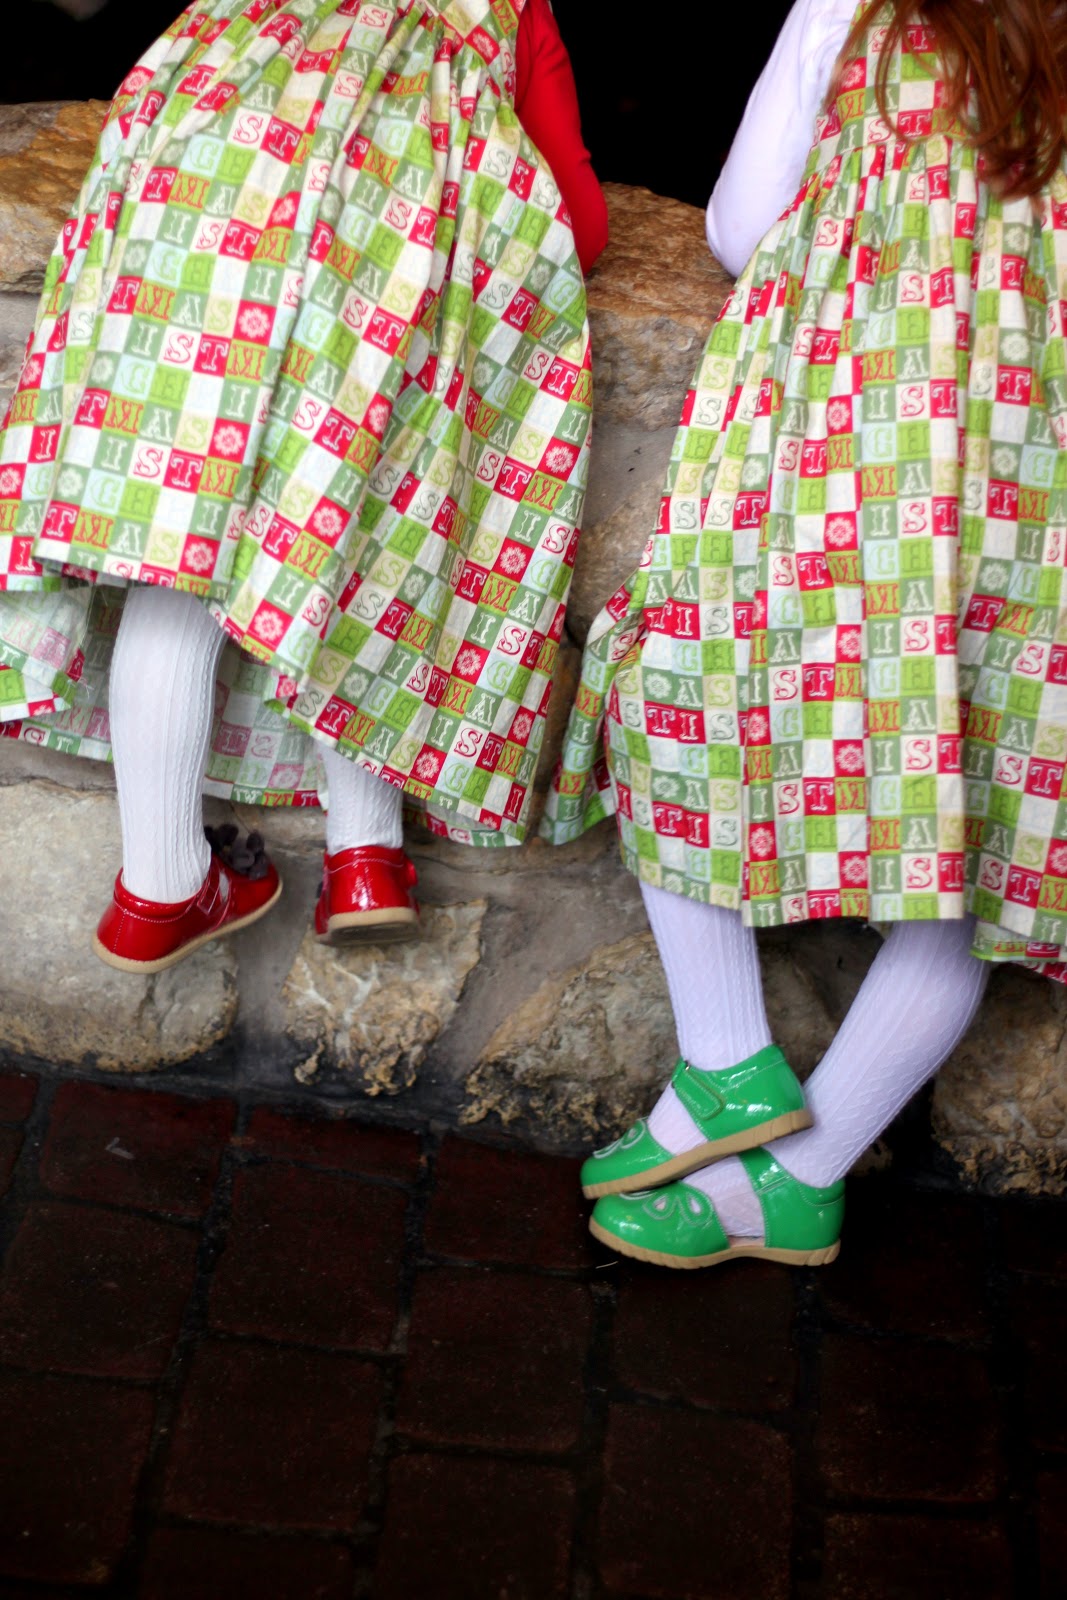
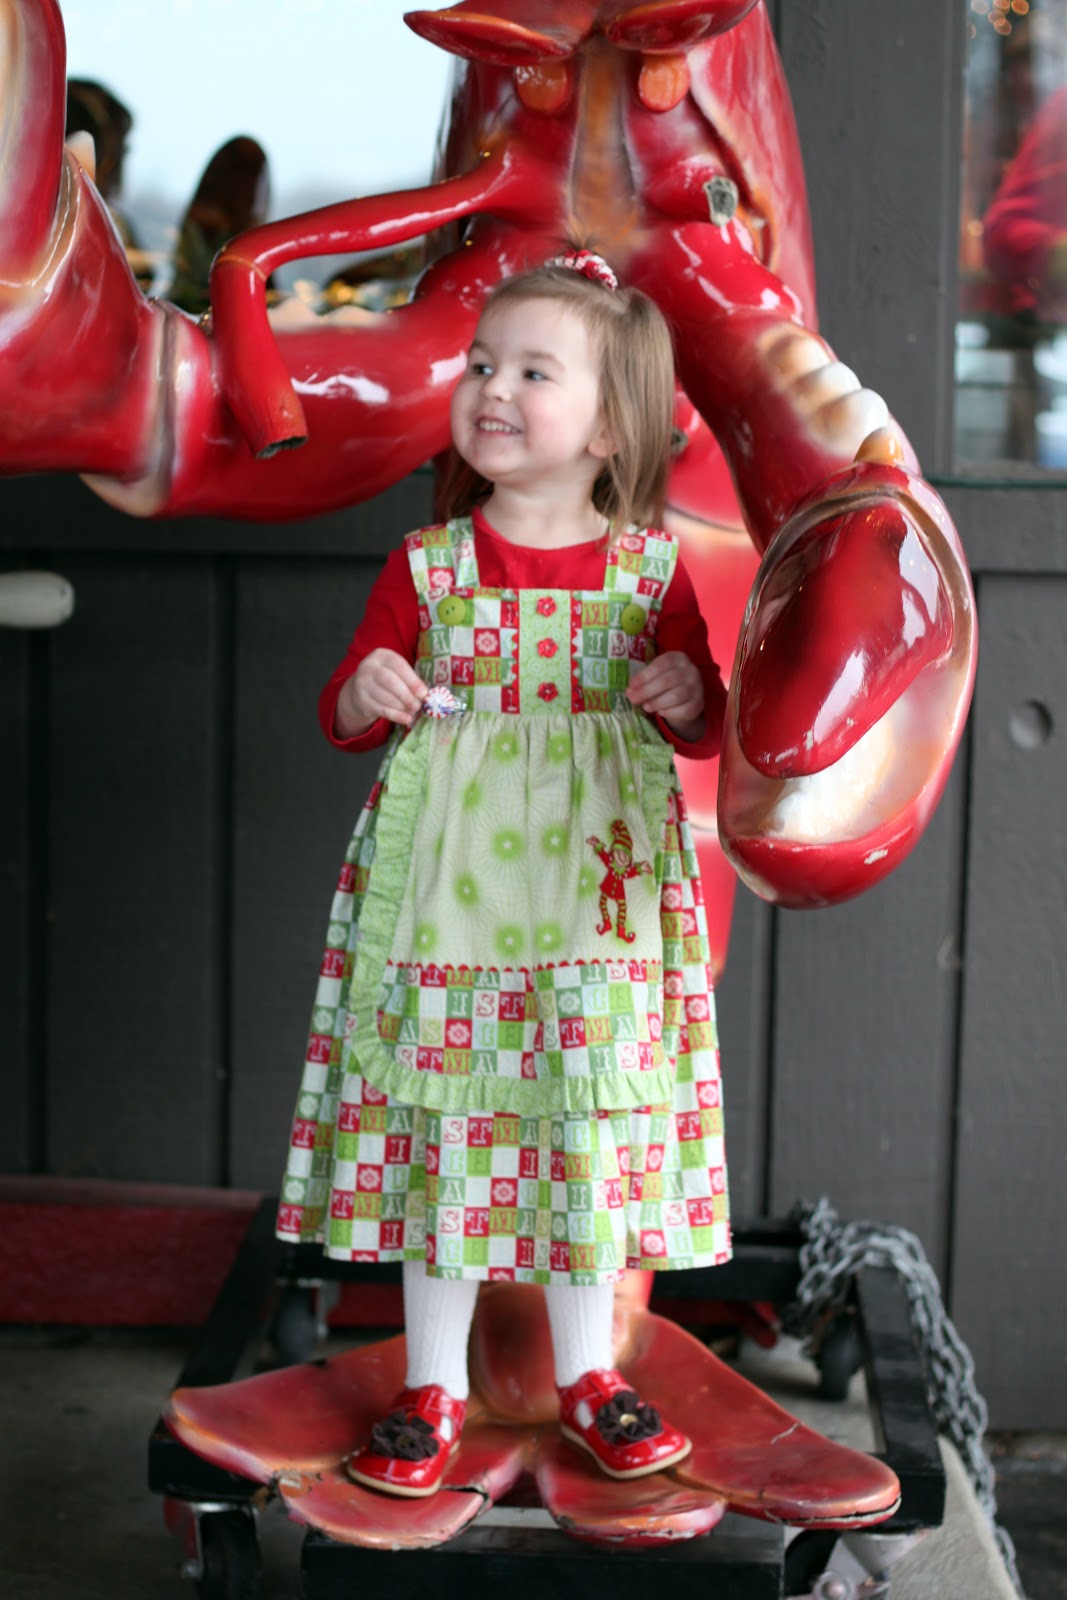
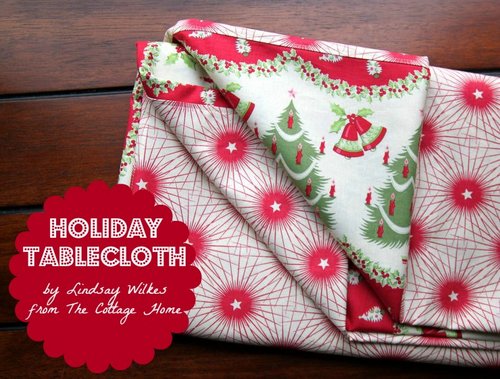
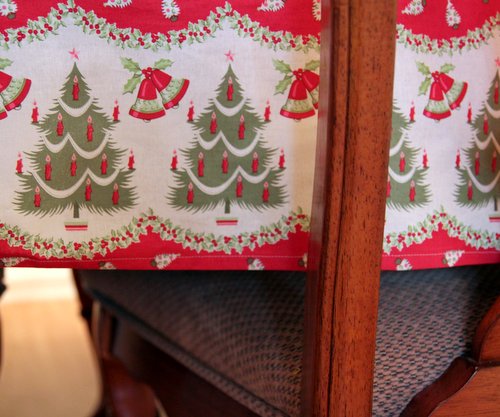
I wanted to gather some of my favorite project tutorials from this last year to share with you all. It’s always fun for me to go back through the year and look back at all that has happened here at The Cottage Home. And just in case you missed one of these projects, I’ve linked to each one below the picture.
Favorite Project Tutorials from 2012


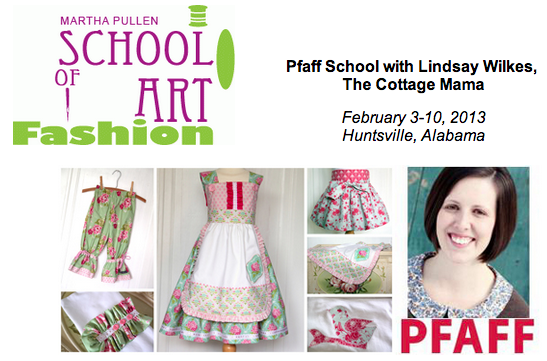


 Lindsay Wilkes is the owner and designer behind The Cottage Mama. She creates timeless, vintage inspired sewing patterns for children’s clothes. She is also a fabric designer for Riley Black Designers / Penny Rose Fabrics, author of the book ‘Sew Classic Clothes for Girls’ and can be seen teaching nationwide and online in her video series ‘Lessons with Lindsay’ sponsored by Baby Lock Sewing and Embroidery machines.


