Archives for October 2012

Holly Designs Giveaway

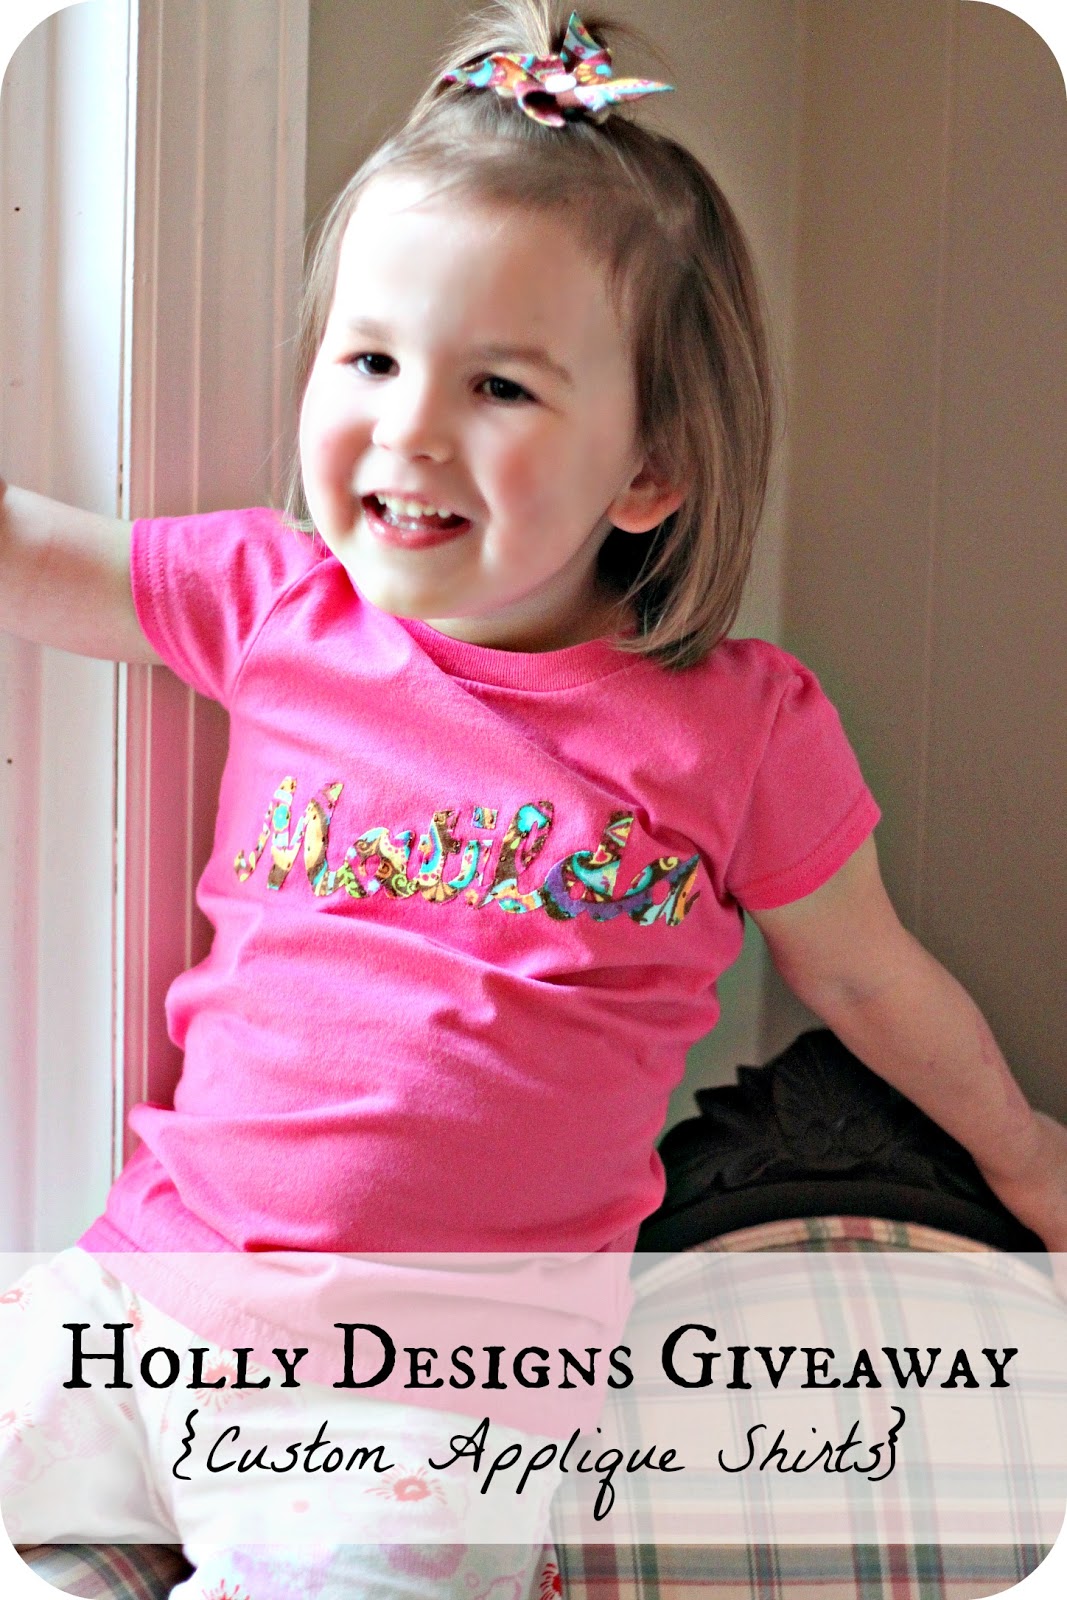
Today I’m excited to introduce you to Holly Designs on Etsy where they create custom handmade applique shirts, clothing and gifts for your little ones.

Holly offered to send me a custom shirt for one of the kids. I decided to have her do a shirt for Matilda. I kind of feel like Matilda doesn’t always get the special new things because if I have to choose, I usually will get something for Savannah in hopes that Matilda can wear it a few years later. But this time, it was all about Matilda.

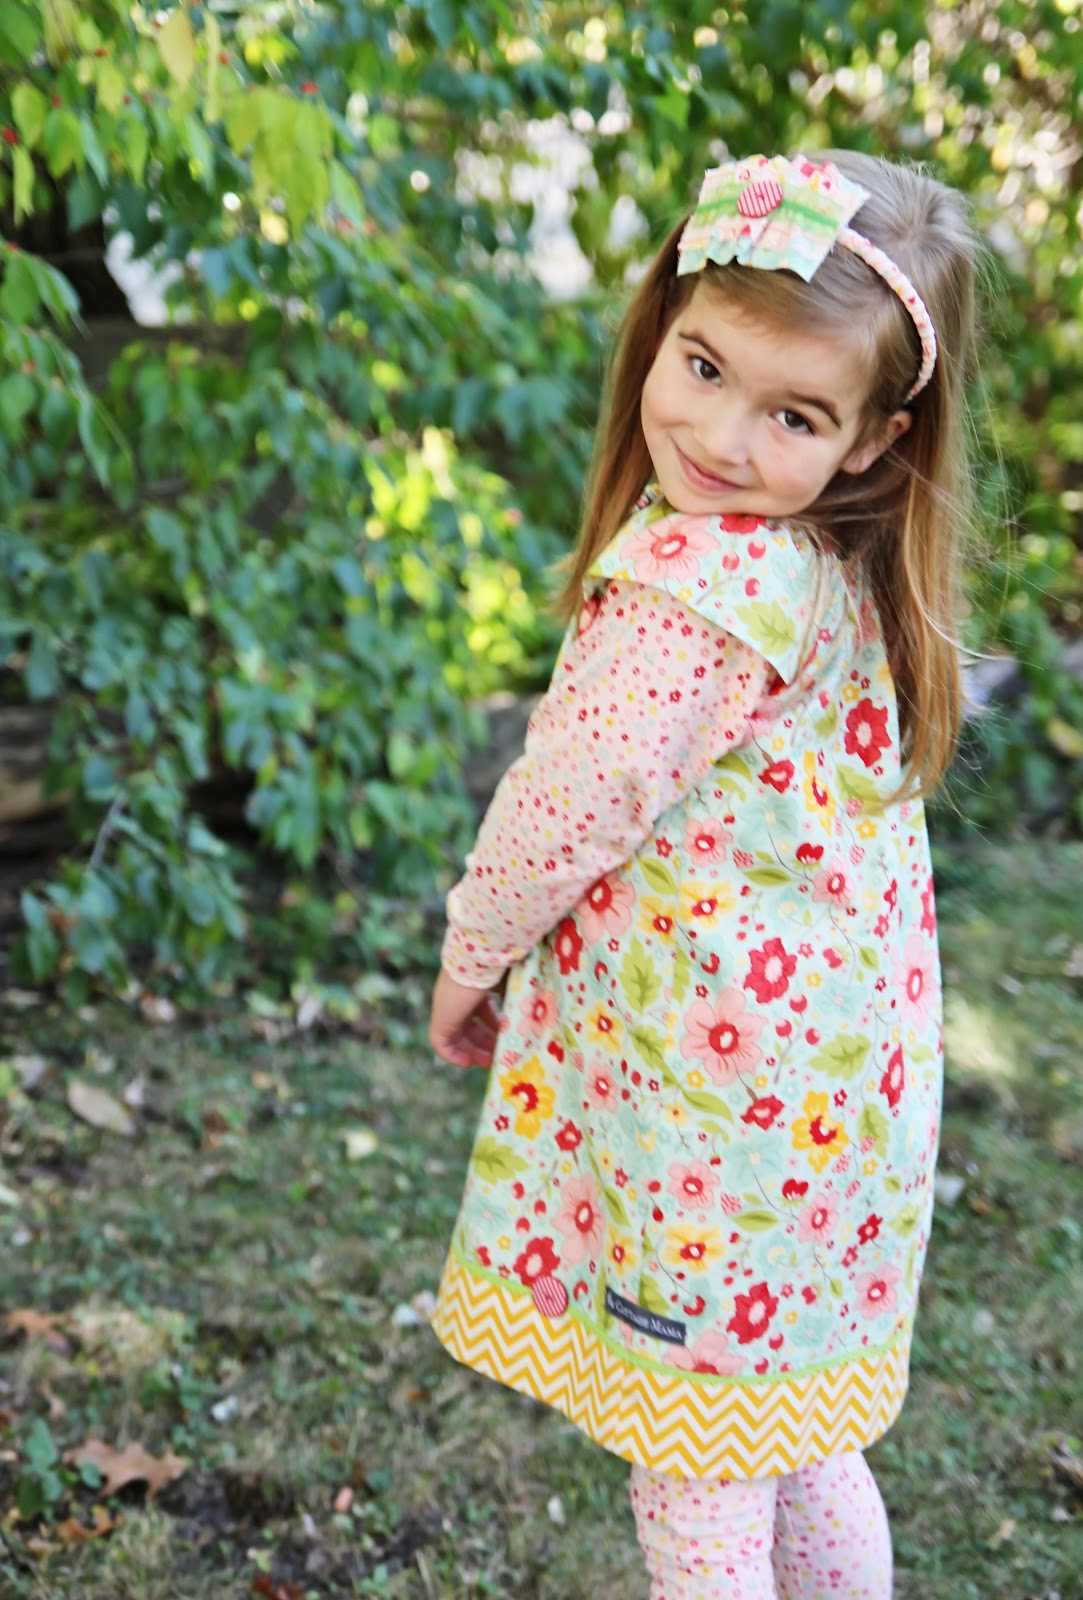
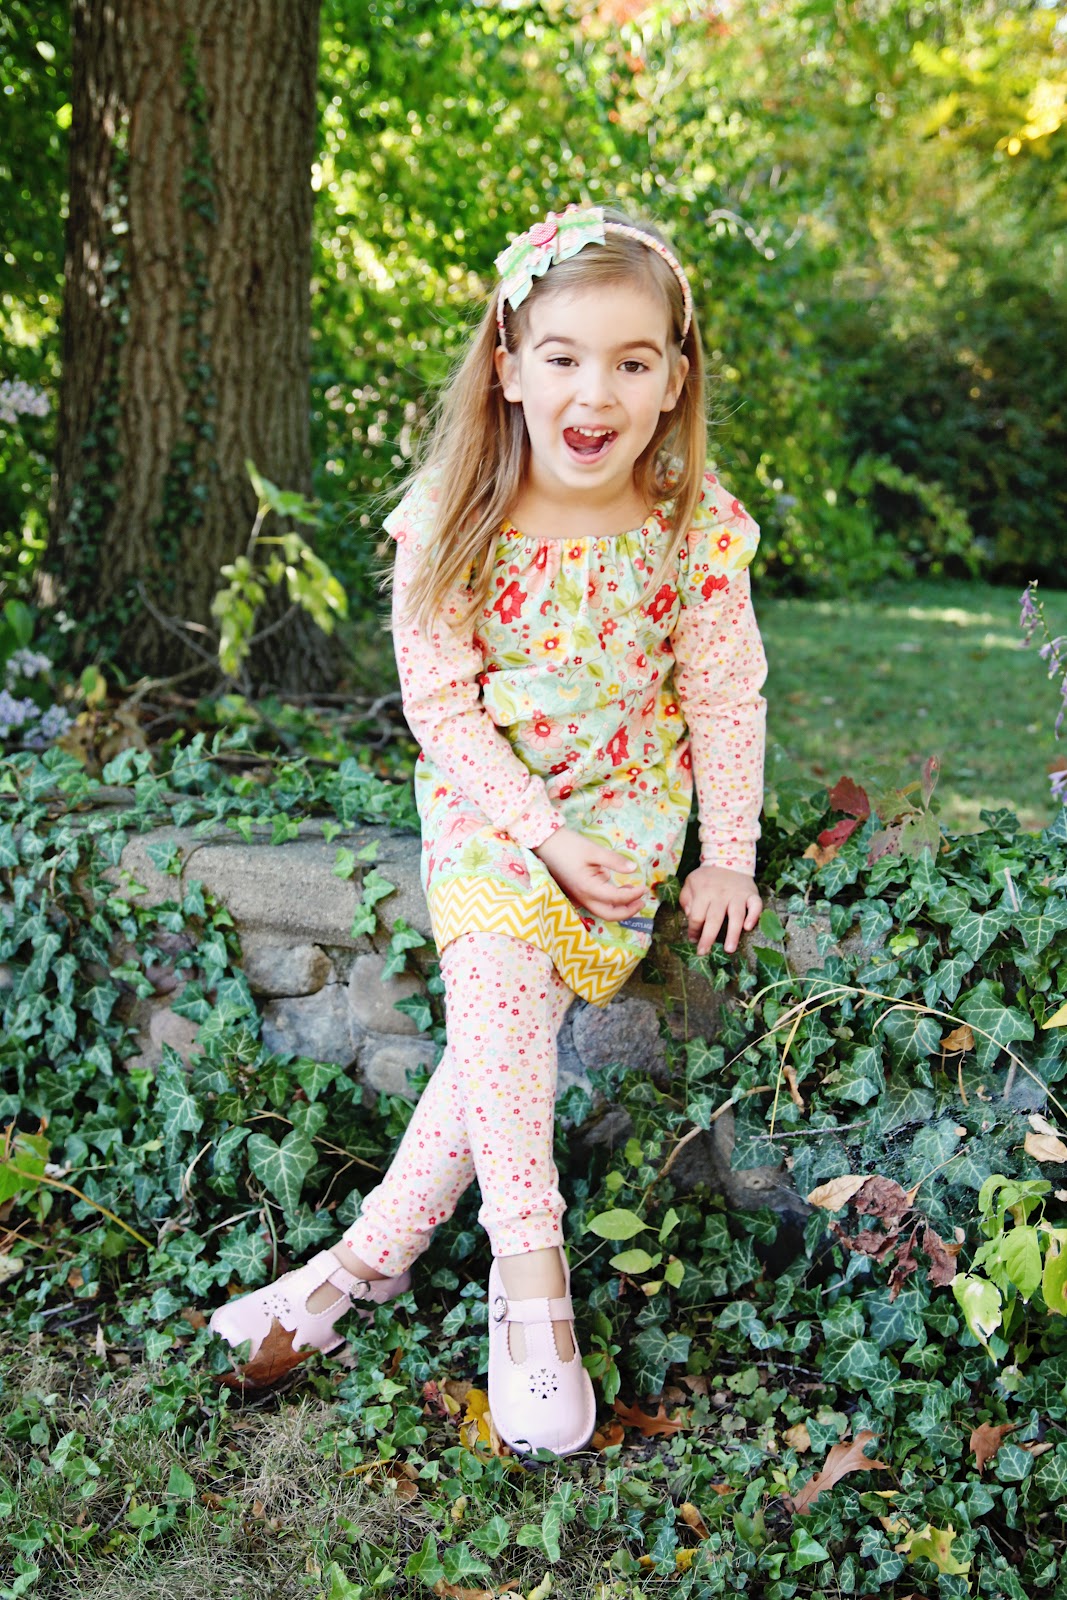
At Holly Designs, you choose the shirt color, the fabric for the applique, the font style and whatever else you might like to customize. So this is what Matilda and I decided on. She likes that the fabric is kind of rainbow-ish and pink goes with lots of her clothing.

I was really impressed by the quality of the applique and it has hand-embroidered stitching around all of the letters which was such a nice handmade touch.

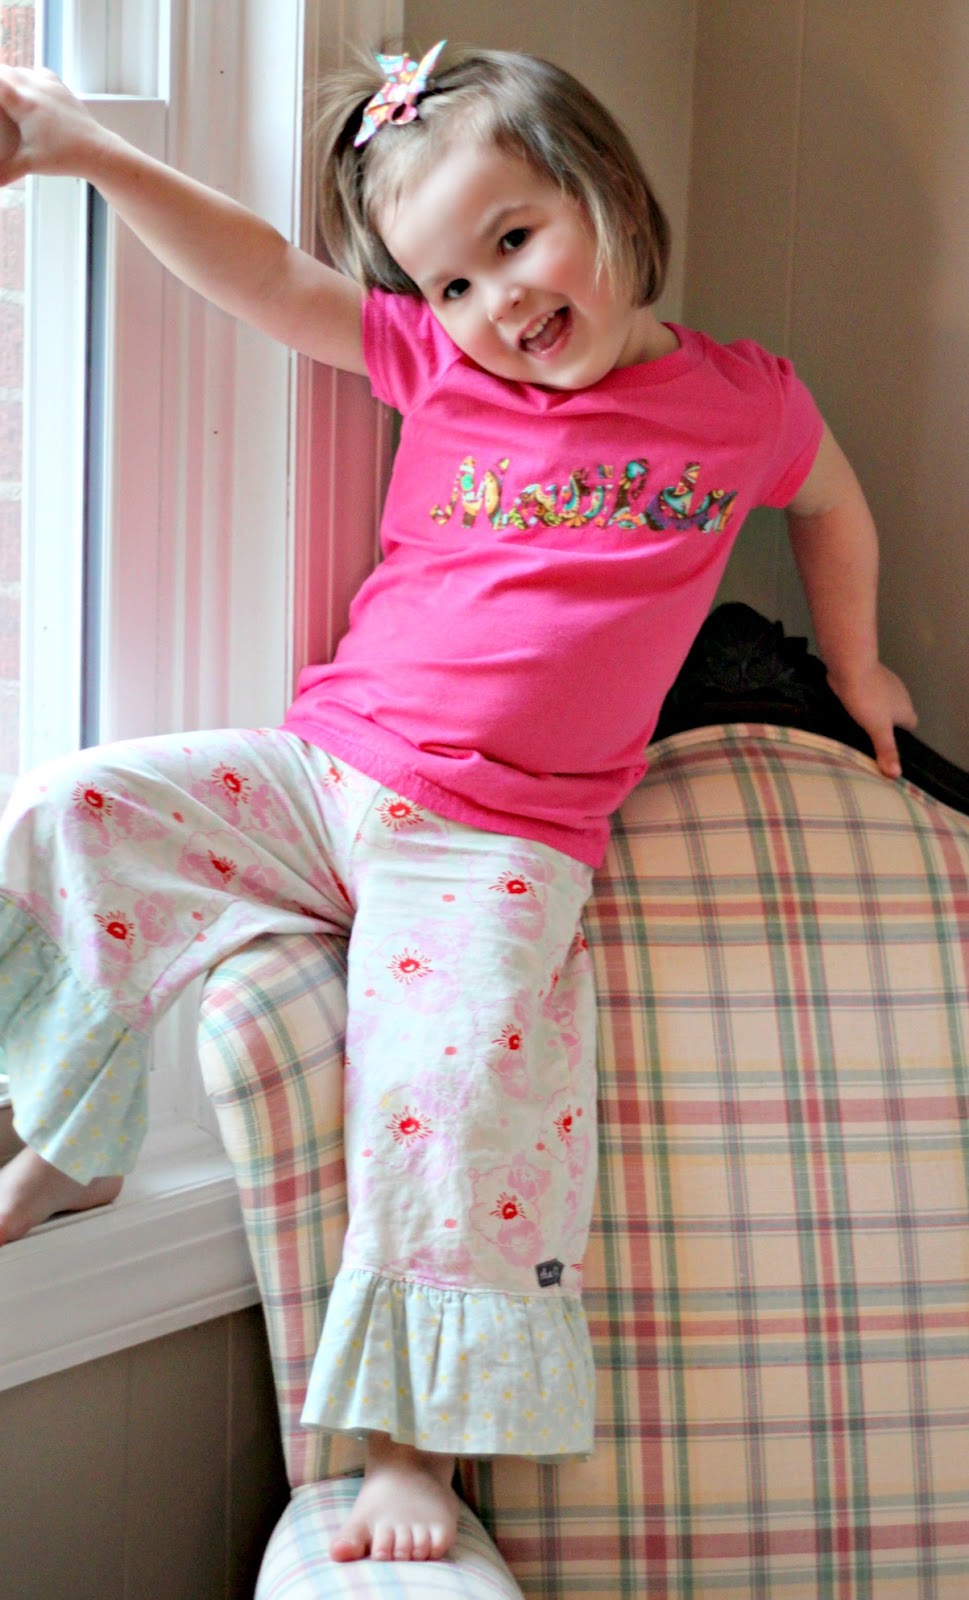
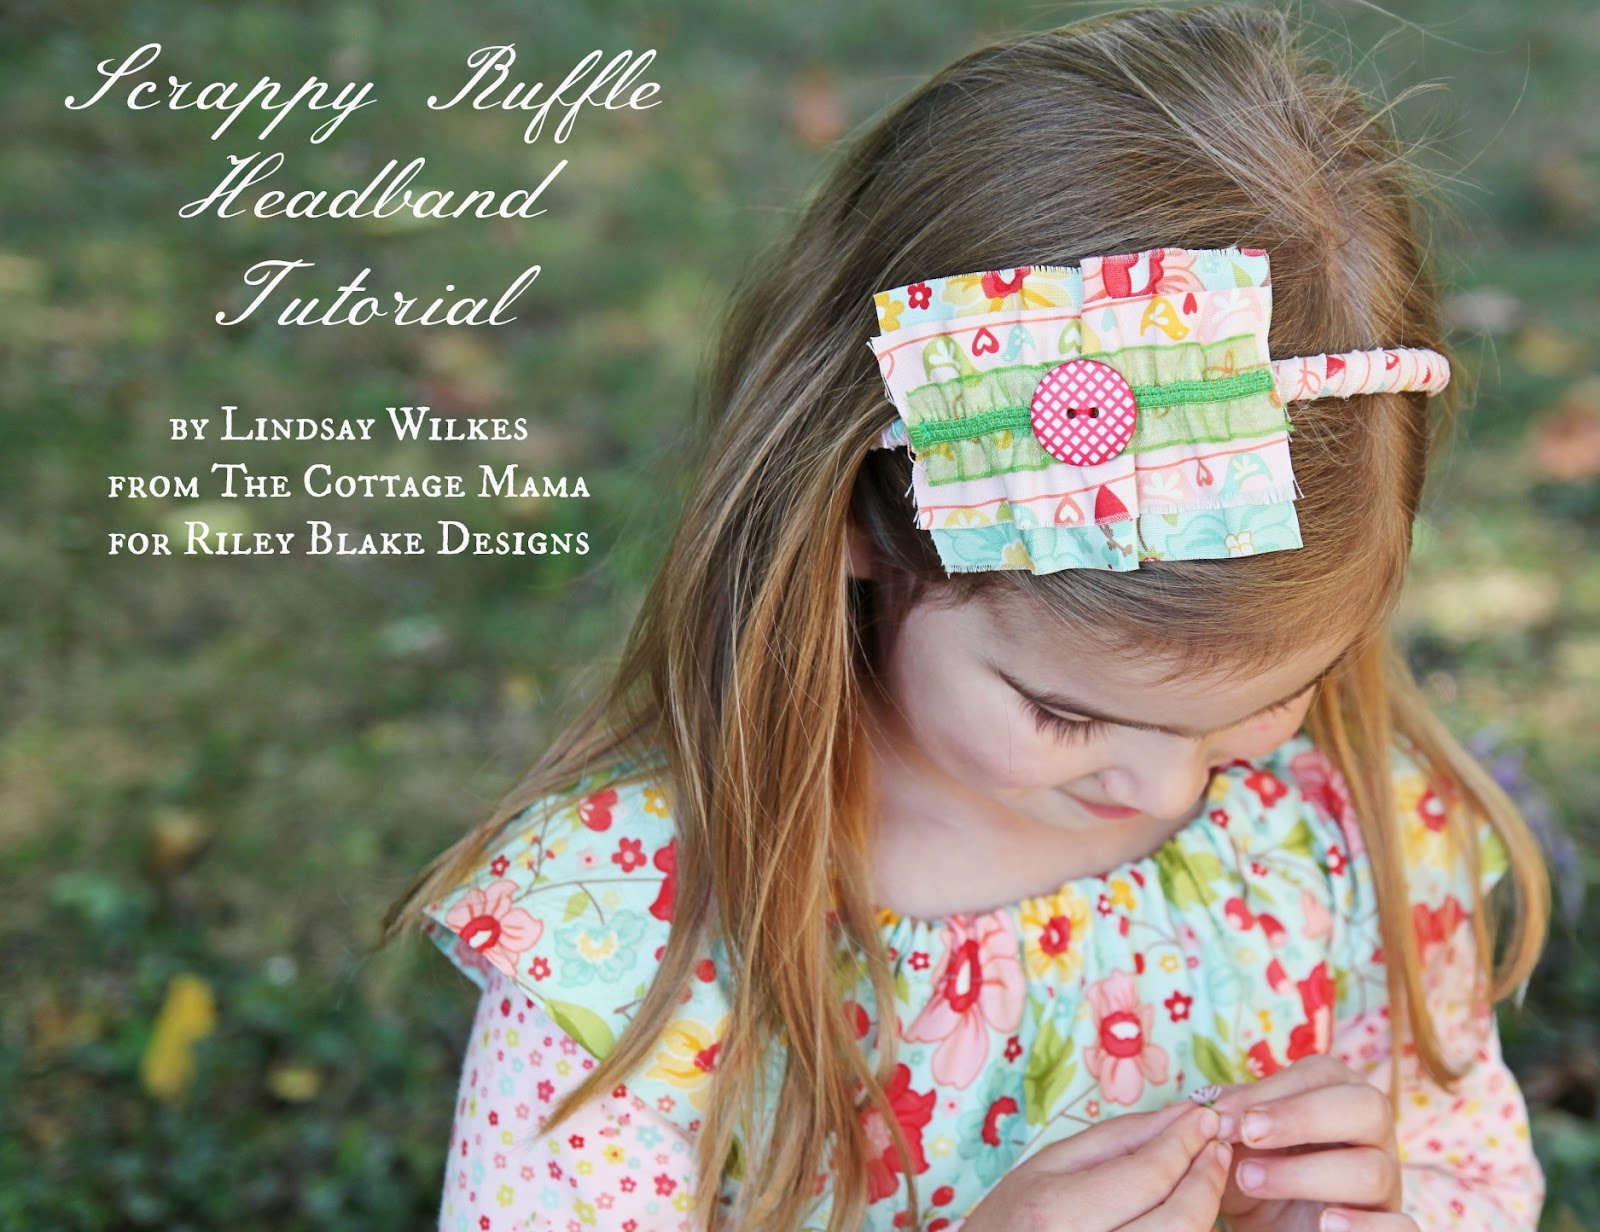
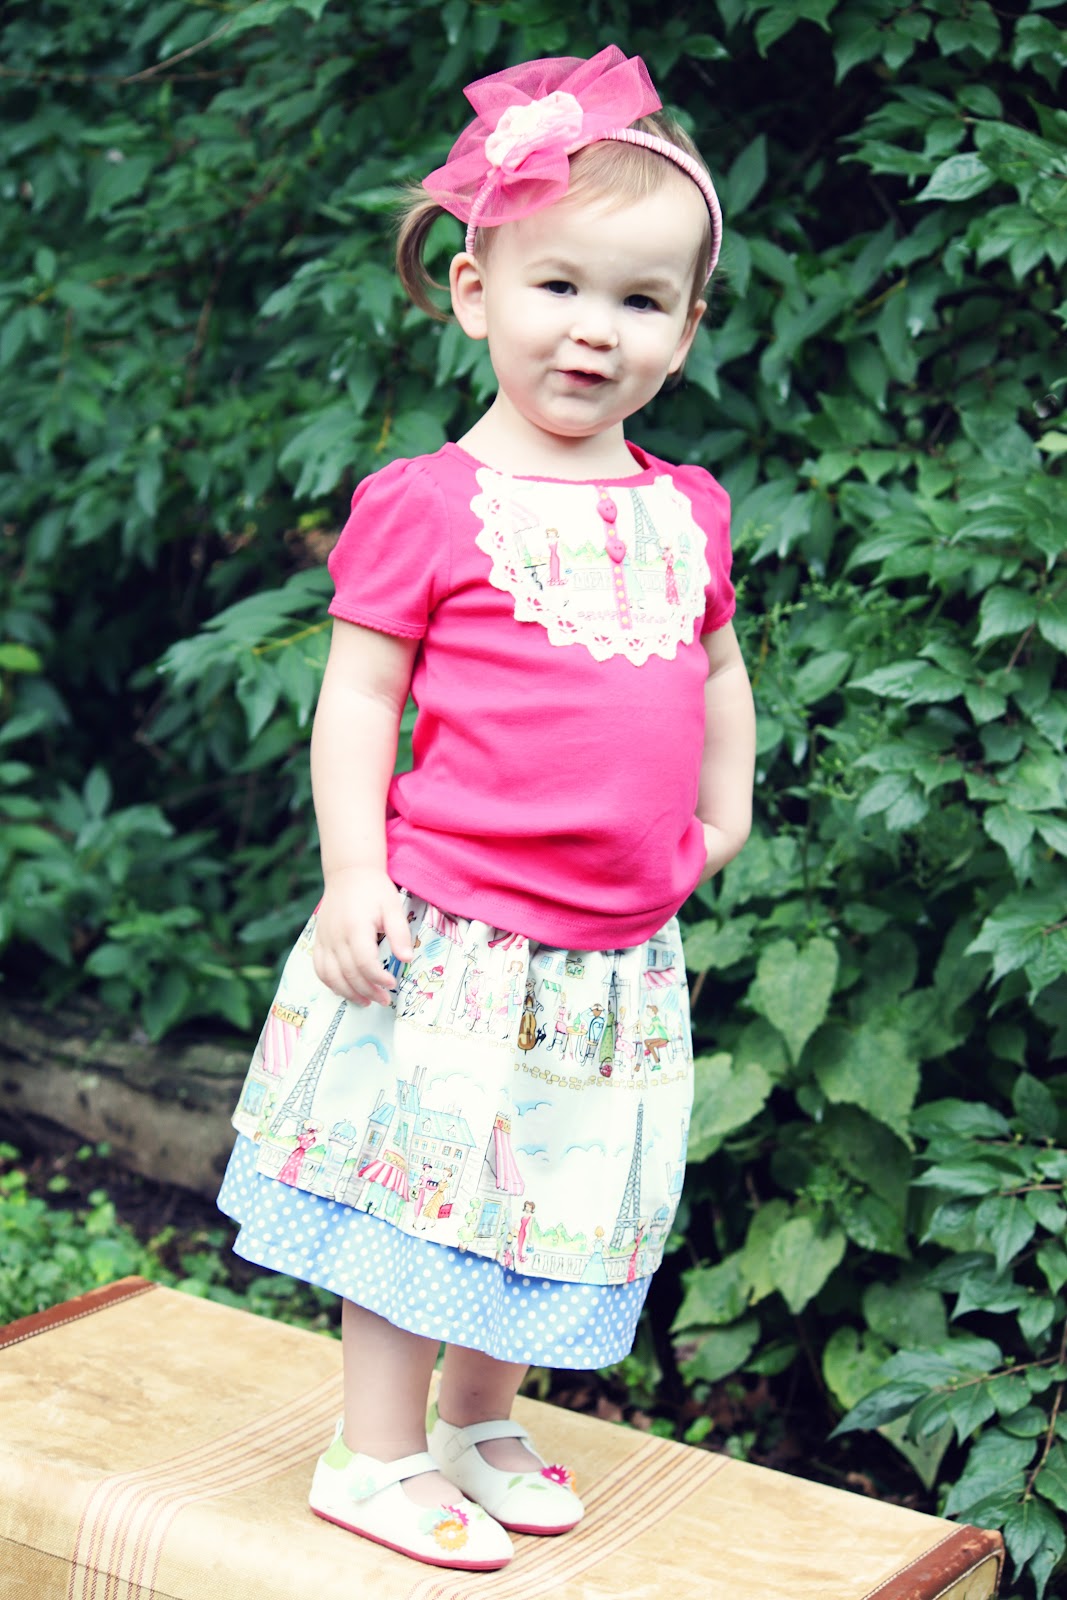
Holly also included this matching pinwheel clip that is just perfect in Miss Matilda’s ponytail that she is always sporting on top of her head.

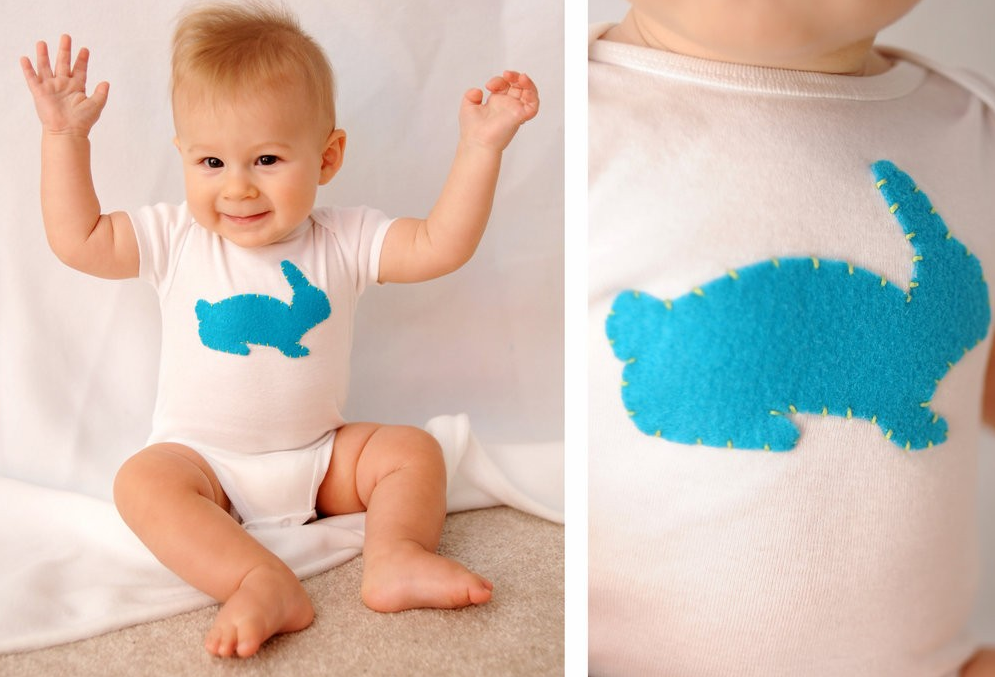
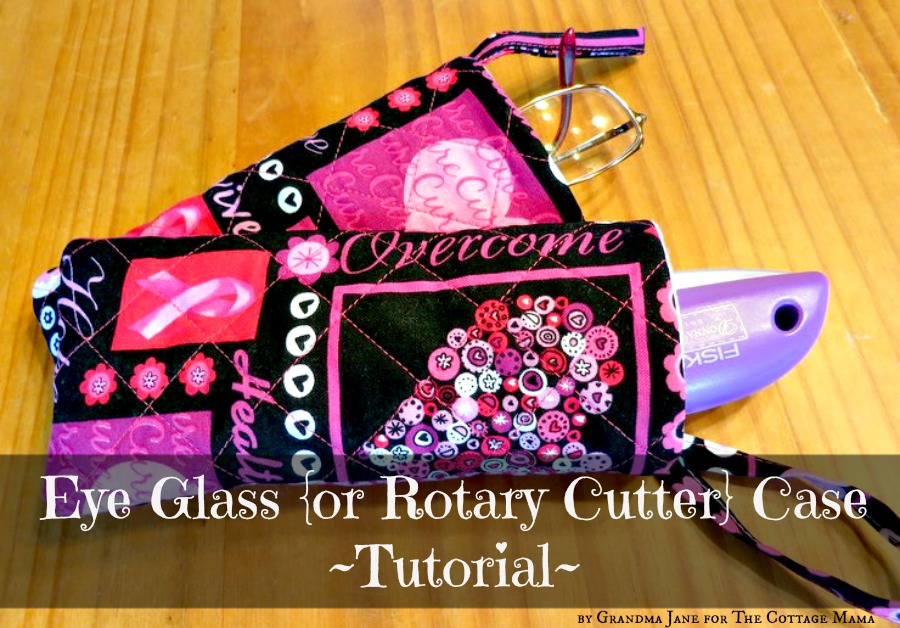
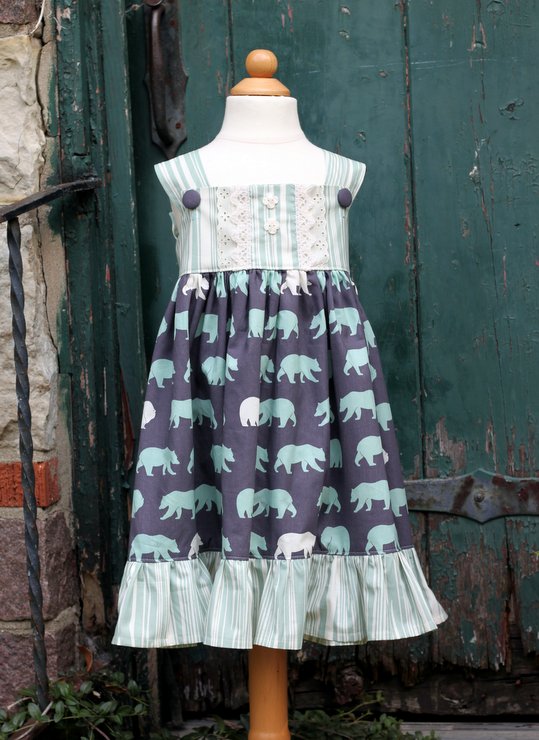
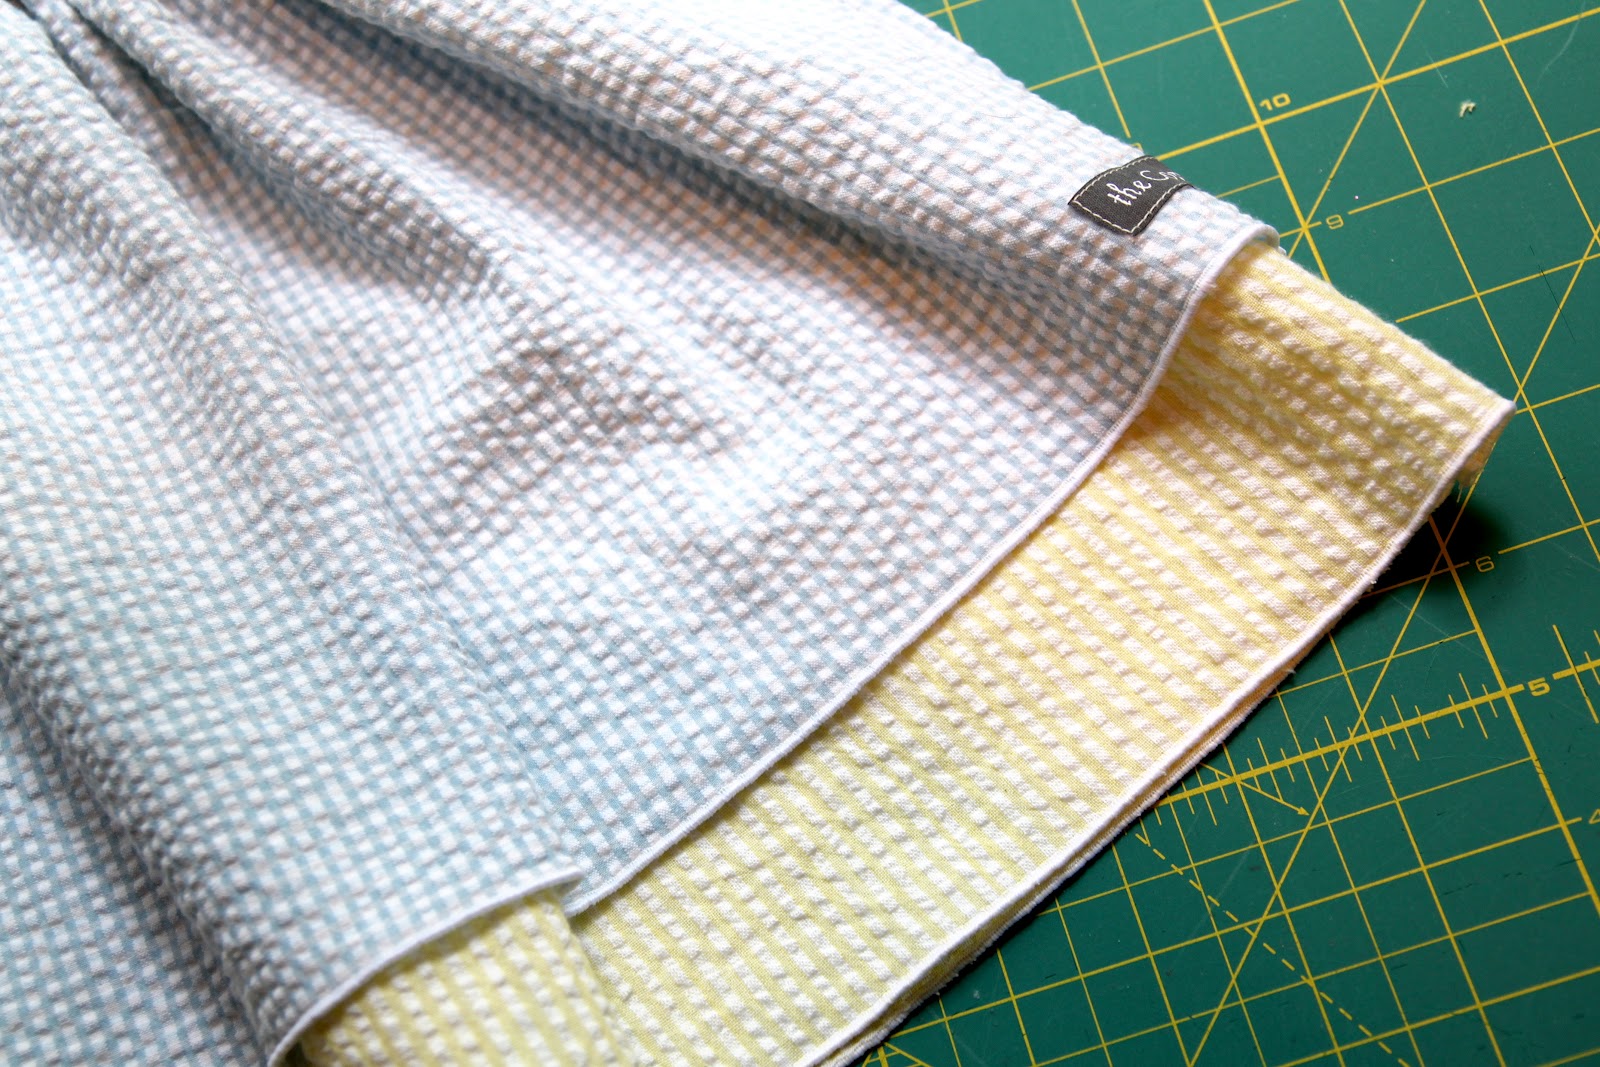
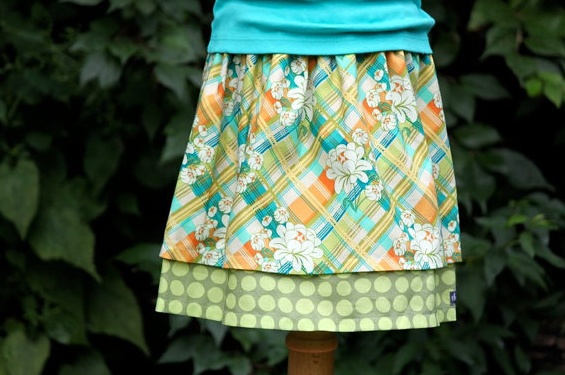
Anyway, I think you are really going to like these shirts. Here are a few other favorites from Holly Designs:

So what do you think? Would you like one of these custom applique pieces for a special little one in your life. Well, Holly Designs is giving away a $25.00 gift certificate towards anything in their shop.

Here’s how to enter…..leave a separate comment for each entry. You can do one or both of the following:

1. Visit Holly Designs and come back and leave a comment telling us what item is your favorite in their shop. Click HERE.

2. Become a fan of Holly Designs on Facebook. Click HERE.

Giveaway will be open until October 26, 2012 at Midnight (CST).

Easy Eye Glass {or Rotary Cutter} Case Tutorial

Today we have a special guest, my mom (aka Grandma Jane) with another one of her quick and easy quilting tutorials. Take it away Mom……..

I would really encourage any new quilter to find some sort of quilting group to join. It is a great way to learn from and be inspired by more experienced quilters, share quilting projects, get advice and support, and most of all, to make new friends who are as crazy as you are about quilting! There are a lot of online quilting resources out there (after all, you are reading this blog) but a group that you can physically be part of is a gift if you can find one. Most areas have quilting guilds that you can join, quilt shops may have classes and open sew times, or just gather a few of your friends together to sew up a storm.

Early morning Camp Allen and a porch just made for quiet reflection….

I returned recently from a weekend quilting retreat with a group of wonderful women! Our weekend retreat at Camp Allen north of Houston was filled with lots of sewing, sharing good food, plenty of laughter, personal reflection, prayer and fellowship. There were twenty women of all ages ranging from a 16-year old granddaughter of one of the members to a great-grandmother with 25 grandchildren and everything in between. I can’t tell you all the “details” of our weekend because what happens at Camp Allen….stays at Camp Allen… but I will say just say lots of new quilting tattoos went home. Shhhh….

I started quilting about two years ago when I was invited by my friend, Diane, to join the church quilt ministry group. The group meets several times a week with evening and daytime meetings to accommodate schedules for everyone with the focus on ministry projects for the church. These women make quilts for each baby dedicated at church, prayer blankets for hospitalized church members and recently sent 58 (yes, I said 58!) jelly roll strip quilts to missionaries in Guatemala. Margaret and Barbara, the leaders of the group, are an inspiration in many ways. Not only do they have awesome quilting skills but they are women of incredible strength and faith.

The service project that everyone worked on during our weekend, in addition to their own sewing, was a cute little glass case. The goal is to make 90 of these cases to be included in goodie bags for the breast cancer survivors being honored at a gala in March at a local hospital. October is National Breast Cancer Awareness Month so how fitting to be working on this project at our retreat. This is a really easy project that would be a great gift idea/stocking stuffer for Christmas, too. If you don’t need it for glasses—it makes a perfect holder for a rotary cutter for your favorite quilter!

This project is inspired by the Quilts and More Magazine project in the Summer 2012 issue.
Easy Eye Glass {or Rotary Cutter} Case Tutorial
by Grandma Jane for The Cottage Mama

SUPPLIES:
(1) 9 inch square of batting
(1) 7 ½ inch square of outer fabric
(1) 7 ½ inch square of lining fabric—flannel works well
(1) 1 ¾ x 9 inch strip for strap

INSTRUCTIONS:

1. Center outer fabric on batting and quilt as desired. I used a cross-hatch design that I marked with a fabric pen prior to sewing. Trim batting even with fabric.

2. Fold strap piece in half lengthwise and press. Unfold and fold in long edges to meet in the middle. Refold in half along pressed edge and edge-stitch.

3. Fold stitched strap in half cross wise. Pin to top edge of outer fabric ½ inch from left edge. Baste. If your fabric is directional—make sure to have it going the direction you want at this point.

4. Place lining fabric on top—right sides together and stitch ¼ inch seam across top, catching in strap.

5. Press open with seam allowance towards lining and edge stitch lining.

6. Fold edges together lengthwise and stitch a ¼ seam around outer edge, leaving short-end of lining open. Clip corners.

7. Turn case right side out. Turn in short edges of lining ¼ inch and press. Hand stitch or machine sew short end of lining. 8. Insert lining into case and press again! Easy!!!

Thanks so much for joining us today, Mom! It always so fun to have you here.  I definitely think these will be on my easy gift giving project list for this year!

Recipe: Uncle Bill’s Red and Green Chile Pork Tamales

My mom is in Taos, New Mexico having a sisters weekend with her three sisters and it made me remember that I never shared my Uncle Bill’s Tamale recipe with you all. We served these tamales at Caspian’s Baptism celebration and they were so good.

I absolutely adore New Mexico. If you’ve never been there, you should definitely put in on your ‘must visit’ list. I don’t even really know how to describe it, but I always feel like I’m a new world when we visit. My grandparents owned an art gallery in Taos for many years and my Grandma Marge was an amazing artist. We are lucky enough to have a few of her paintings in our own house now. I guess I would say that Taos and Santa Fe have a very artsy feeling and the beauty that surrounds these cities is incredibly inspirational which is probably why they are filled with so many talented artists.

Not only is New Mexico beautiful, but the food is out of this world! I grew up with a southwestern influence in our cooking since my grandparents lived in this region. Green chiles are definitely a staple in our house and when my mom posted a picture of the food she was eating yesterday after she arrived, I was definitely green with envy (yes, pun intended).

If you’ve never tried tamales, you should give this recipe a try. This is not a quick dish. Making these tamales is more about the process and the love that goes into cooking. There are many parts to this recipe, but it’s worth it, trust me. Consider having a tamale making party and enjoy the company of your friends as you make these hand-crafted Red and Green Chile Pork Tamales

Uncle Bill’s Homemade Red and Green Chile Pork Tamales
MAKES 48 TAMALES

PORK:
3 lbs pork loin
1 onion chopped
5 cloves garlic
6-8 juniper seeds (optional)
1 tsp salt and 1 tsp pepper
2 bay leaves
Oil Sear meat in oil.

Cover with 8 cups water, onion and spices and simmer 2.5 hours or crock pot for 8-10 hours. Cool and shred. Reserve stock.

RED SAUCE:
1.5 cup stock
8 oz tomato sauce
2 TBL canned chipotle in adobo
½ tsp oregano and cumin
½ tsp garlic salt
1 diced oinion
1 tsp sugar
 1 T oil.

Saute onions, sprinkle in spices. Add sauce and stock and simmer 20-30 minutes. Add half of shredded pork. You can refrigerate overnight until assembling the next day.

GREEN SAUCE:
1 diced onion
1 can green enchilada sauce
1 –7 oz can chopped green chiles
½ tsp cumin
1 tsp sugar
½ tsp garlic salt

Sauté onion in oil. Add spices. Simmer 10-15 minutes. Add half of shredded pork. You can refrigerate overnight until assembling the next day.

MASA:
5 cups masa
 5 cups stock or chicken stock
1 cup olive oil
2 tsp baking powder
2 tsp salt
Corn husks

Mix salt and baking powder with masa. Add the stock and mix roughly with electric mixer. Gradually pour in olive oil and mix with mixer at least 5 mins.

ASSEMBLY:
To assemble, soak cornhusks to rehydrate them. Place husks in a baking dish or bowl and pour hot water on top. Soak until husks are pliable (up to 30 minutes). Remove husks from water and pat dry.

Spread a little Masa (approximately 2 tablespoons) into a long rectangle-like shape on the cornhusk with a little amount of filling (approximately 1 tablespoon) on top of the Masa dough. Fold up one short end and roll tamales the long way. The top will still be open which is fine because they will be placed tightly in the pot for boiling. If you would prefer to close them, you can either twist it tightly or tie it with a strip of soaked cornhusk or cooking twine. Do not overfill the tamales or your filling will come out of the tamale. A little bit goes along way.

Steam upright approximately 1.5 to 2 hours until masa separates cleanly from the husk. Check water from time to time and replenish as necessary. You do not want your pan to run dry.   Makes approximately 48 tamales.

SERVE:
To eat the tamales, remove from the corn husks and enjoy! Consider serving with sour cream, salsa or guacamole.

A big thank you to my Uncle Bill Jackson for sharing his delicious recipe!

Fat Quarter Tote Bag Tutorial

This is an easy afternoon project called the ‘Fat Quarter Tote Bag’.  I fell in love with the fabric line, ‘Seaside‘, by Riley Blake Designs the first time I saw it at quilt market back almost 9 months ago in Houston, TX.  The colors, the prints, the nautical feel……awwww, swoon.  I knew I had to use this line the minute it came out!

The Fat Quarter Tote is a fully lined medium-sized tote bag made from six fat quarters (with a little bit of interfacing).  Once you know how this sweet little bag goes together, you will be able to whip up several of them in no time.  Let’s get started…….

Fat Quarter Tote Tutorial
by Lindsay Wilkes from The Cottage Mama 
Materials:
2 Fat Quarters – Exterior Fabric
2 Fat Quarters – Lining Fabric
1 Fat Quarter – Top Band Fabric
1 Fat Quarter – Straps and Fabric Yo-Yo
1 Fat Quarter – Fusible Interfacing
1 button (optional)
Cutting Instructions:
Cut 2 on Fold: 15.5″ x 9″ – Exterior Fabric
Cut 2 on Fold: 15.5″ x 9″ – Lining Fabric
Cut 2 on Fold: 9″ x 6.5″ – Top Band Fabric
Cut 4 on Fold: 2.5″ x 10″ – Strap Fabric
Cut 4: 2.5″ x 20″ – Interfacing
Instructions:
1/2″ SEAM ALLOWANCE UNLESS OTHERWISE NOTED
Cut all pieces according to cutting instructions above.

Apply fusible interfacing to the back side of all four strap pieces according to package instructions.  I know interfacing can be a little confusing, but the interfacing used in the project is nothing fancy.  It is fusible on one side (not both) and will add a little strength to the straps.  If you prefer to add a little more body to the tote bag, you could apply interfacing to the back sides of all the pieces.

Place two of the strap pieces with their right sides together and sew down both long sides.

Turn the strap right side out and press.

Topstitch down each long side of the strap in coordinating thread.  Do the same thing with the other two strap pieces.
For the main body of the bag, cut 1.5″ squares out of two of the corners of the main bag pieces (pictured above).  Do this on all four pieces (exterior and lining)  If you would like a shorter bag but with more width then go ahead and cut a 2″ – 2.5″ square out of each side.  Place the exterior bag pieces with their right sides together and sew down both long sides and the bottom (in between the two squares) leaving the top open and the squares open.  Do the same thing with the lining fabric.

Press all seams open for the lining and the exterior main bag pieces.

Pinch the bottom squares of the bag and line up the two straight edges of the squares.  Pin in place and stitch across the straight side.  Do this for all four corners (two exterior and two lining).

Cut off some of the extra seam allowance to remove bulk and make sure the corners turn out nicely.  Turn the exterior fabric right side out, but leave the interior fabric wrong side out.

Place the top band fabric pieces with the right sides together and sew down both short sides.  Fold the top band in half (long-ways) and press.

Measure in 4.5″ from each side of the bag for strap placement.

Pin the straps in place and baste stitch them to the bag.

In the next series of steps we will be layering several pieces together.  Slide the top band piece over the top of the exterior of the bag, lining up the raw edges.
We left the lining part of the bag with the wrong side out. Slide the lining piece over the exterior, band and straps. You are making a sandwich with the two different bag pieces, the straps and the top band.

Sew around the top, leaving a 3″- 4″ opening for turning right side out.

Turn the bag right side out by pulling the exterior fabric of the bag through the opening.

Topstitch around the top of the bag. Make sure to iron under the opening we used for turning earlier so that your topstitching will catch and close the opening during this step.

Pin the straps in place and sew them to the top band of the fabric.  Do this by sewing a square around each one with an ‘X’ in the middle.
Hand sew an embellishment at the top of the bag.  I made a fabric yo-yo with a button in the center.  There are many tutorials online for fabric yo-yo’s, so I’ll skip that here.  But you can use any trims or embellishments you would like to make your bag special.
And that’s it……you’re finished!
Here is what the bottom of the tote will look like.  Like I said above, if you would prefer a wider base, just cut the squares out of the main bag pieces larger.
This is what the inside of your tote will look like once you are finished.  Fully lined with no exposed edges….nice and pretty!
If you have your own sewing labels, then add one to the back of the tote.
Fat Quarter Tote Tutorial - The Cottage Mama

Happy Sewing!

Vegetable Rice Soup ~ Recipe

There is no doubt about it……..fall has arrived in the midwest. The leaves have changed colors and coats are definitely a must for outdoor play. For lunch the other day, the girls and I wanted something nice and warm and decided to whip up a quick and easy soup with some leftover rice.

Don’t you just love soup? We sure do. You can add just about any vegetables you would like to this soup and if you are vegetarian, try making it with vegetable stock instead of chicken stock. Also, if you have any vegetables that are on their last leg, chop them up and throw them in.

Vegetable Rice Soup
by Lindsay Wilkes from The Cottage Mama
Serves 4-6

Ingredients:
3 carrots, chopped
2 stalks celery, chopped
1 onion, chopped
1 cup frozen peas
2 – 2.5 cups cooked rice
1 box (3 – 5 cups) good chicken stock (or vegetable stock) 
1 teaspoon thyme
1/2 teaspoon seasoned salt
1 Tablespoon extra virgin olive oil
Salt and pepper, to taste
Parmesan cheese, grated (optional)
Saltine crackers (optional)
Directions: 
Heat olive oil in heavy bottom soup pot. Saute carrots, celery and onion on medium-low heat until they are cooked through, season lightly with salt and pepper. Onions should be translucent and carrots and celery fork tender. Add in thyme and cook for an additional minute. Add season salt.
Pour in stock. You can add in 1 cup of water as well if you don’t have quite enough stock. Turn heat up to medium. Place lid on pot and cook for another 10-15 minutes. Take lid off pot and add cooked rice and frozen peas. Taste soup and add salt and pepper, as needed. Cook for an additional 4-5 minutes. Serve with a sprinkle of grated Parmesan cheese and crushed saltine crackers.
I served our soup with a grilled cheese made with munster cheese and apricot preserves. I cut the sandwiches in strips. For some reason my girls will eat the crust if the sandwiches are cut like this…….not sure why, but it works for us!
Also, if you don’t have already cooked rice, you could cook a bag of Uncle Ben’s Ready Rice in the microwave for 90 seconds and add that to your soup. That would add some nice seasoning as well.
If you would prefer to make this a more Asian flavored soup, you could omit the thyme, add Jasmine rice and a drizzle of sesame oil to finish. So many options. I think that’s why I love soup so much, it’s so warm and cozy, it’s taste even better the next day and there are a ton of ways to get creative!

Sewing for Birch Organic Fabrics

Wow, this last week was probably one of the busiest I have had in a long time with all sorts of things going on……….whew, I’m exhausted just thinking about it. One of the projects on my to-do list was to finish some garments I designed for the Birch Organic Fabrics booth for International Quilt Market (which takes place in Houston at the end of the month).

Cynthia, the owner of Birch, sent me four different prints to work with and I honestly had no idea which fabrics she would be sending. It made it kind of fun……I’m so used to picking my own fabrics for specific designs, but this time it was the other way around.

I love working with the Birch Fabrics, they are absolutely lovely. Here are some of the pieces I created for them……

Isn’t this fabric the cutest? I couldn’t get enough of this one when it arrived in the mail. I have a few scrap pieces left of this print and I definitely think it will be added onto some of Mr. Caspian’s clothing. This line called ‘Camp Sur‘ and has a bunch of really great prints!

The shorts romper in the picture is my Run Around Romper pattern for boys and girls. 
This is my Janey Jumper pattern with a ruffle down the front. I have had this vintage trim in my stash for a long time and I was so excited when I saw how perfectly it went with this fabric. In case you can’t tell from the pictures, the blue fabric has little fish on it…..too cute!

I wanted to use the camper fabric on a girls dress because I think the logical choice would be for a boy, but I actually love the way this works for a girl. It’s kind of a boutique, boho vibe (or at least that’s what I was going for).

And then again, I decided to use this otherwise ‘boy’ fabric for a girl twirl dress. This is my Charlotte Apron Dress pattern without the apron. The skirt was shortened and I added a ruffle around the bottom. The light blue and cream fabric looks like tree bark……it’s really neat. I also embellished the bodice with some vintage crochet trim, lace and buttons. This fabric line is called ‘Camp Modern‘.

I can’t wait to visit the Birch Fabrics booth at Quilt Market in Houston, TX. It will never get old seeing my pieces on display. It is such a honor to work with some of these great fabric manufacturers and I still can’t believe they ask ‘little ole me’ to create pieces for them.

By the way……..is anyone else planning on attending International Quilt Market at the end of the month? 
It is a trade show and not open to the general public, but if you plan to be there, let me know. And if you see a mom (Grandma Jane) and daughter (me) duo walking around the convention center with their ‘The Cottage Mama’ bags, stop us and say hello……we would love to meet you!

Scrappy Ruffle Headband Tutorial: Project Design Team Post for Riley Blake Designs and Fat Quarter Bundle Giveaway

Today I’m guest blogging over at Riley Blake Designs sharing a tutorial for the Scrappy Ruffle Headband. It’s a quick and easy project that requires very little sewing.

Click HERE to head to Riley Blake Designs and view the full tutorial.
I also made Miss Savannah an outfit to match her headband from the line ‘The Sweetest Thing‘. Here is Miss S. doing her little posing for Mama. She loves being in front of the camera these days.

Unfortunately, Riley Blake didn’t have the bundle of the line I used (The Sweetest Thing) to giveaway to you all, BUT I have an equally cute line that I think you will love just as much!
How cute and sweet are these prints? One of the cutest, I think!
So how about your very own Fat Quarter Bundle from this line, The Simple Life by Tasha Noel?
Here’s how to enter……
Do one or all of the following, leaving a separate comment for each entry:
1) Visit Riley Blake Designs and tell us what fabric line you like the best. (Click HERE).
2) Become an official follower of The Cottage Home Blog (Email, Google Friend Connect or RSS Feed).
3) Become a fan of The Cottage Mama on Facebook. (Click HERE).
Giveaway will be open until Friday October 5, 2012 at midnight (CST).

Seersucker Double Layer Twirl Skirt Tutorial

This was a guest post that I did some time ago over at Simple Simon for the “Skirting the Issue” series. Consider using this tutorial and making these skirts out of corduroy for fall or use your favorite designer quilting cotton in fun prints for a more bold statement. No matter what fabric you choose, your own little lady or the little foster care girl you are sewing for will LOVE to twirl in these skirts. 

My name is Lindsay Wilkes from The Cottage Mama and I’m so excited to be here as part of the ‘Skirting the Issue’ series.  What an amazing cause and I’m thrilled to be able to provide some handmade skirts for some very special little ladies.  I make clothing for my children all the time and the idea of a child never having something special made just for them, breaks my heart.  Every little one deserves to feel special, pretty, girly and loved and it is the least I can do to provide some skirts to hopefully bring those feelings into some little girls hearts.

In thinking about what kind of skirt I wanted to make, I was considering several things.  I definitely wanted these skirts to wash well……..meaning no need to press.  I wanted them to be light and summery with a bit of twirl factor, so I decided on making some Seersucker Double Layer Twirl Skirts.  Want to make some yourself?  Here’s the how-to……..

Seersucker Double Layer Twirl Skirt
SIZE 12 MONTH – 10 YEARS
by Lindsay Wilkes from The Cottage Mama for Skirting the Issue
Materials:
Two coordinating fabrics (I chose seersucker)
1/2″ or 3/4″ elastic for waistband
Trim (optional)
Basic Sewing Supplies
I am providing you with all the measurements you need in order to make a double layer twirl skirt.  These measurements are assuming you are NOT using a serged hem, they are for a regular, traditional 1″ hem.  If you would like to do a rolled hem with your serger (as I did), then please subtract 1″ from the length of each measurement.

Double Layer Twirl Skirt Cutting Instructions:
**All skirt measurements are meant to be cut on the fold**

12 Month 
Top Layer – 10” x 18” 
Bottom Layer – 12” x 18”
Elastic – 18” 

18 Month 
Top Layer – 10.5” x 19” 
Bottom Layer – 12.5” x 19” 
Elastic – 18” 

Size 2T 
Top Layer – 11.5” x 20” 
Bottom Layer – 13.5” x 20” 
Elastic – 19” 

Size 3T 
Top Layer – 12.5” x 20” 
Bottom Layer – 14.5” x 20” 
Elastic – 19” 

Size 4T 
Top Layer – 13.5” x 21” 
Bottom Layer – 15.5” x 21” 
Elastic – 20” 

Size 5 
Top Layer – 14.5” x 21” 
Bottom Layer – 16.5” x 21” 
Elastic – 21” 

Size 6 
Top Layer – 15.5” x 21” 
Bottom Layer – 17.5” x 21” 
Elastic – 21” 

Size 7/8 
Top Layer – 16.5” x 22” 
Bottom Layer – 18.5” x 22” 
Elastic – 22” 

Size 9/10 
Top Layer – 17.5” x 22” 
Bottom Layer – 19.5” x 22” 
Elastic – 23”

Instructions:

Cut your two layers (following cutting dimensions above).

Sew each of the layers together at the side seam (wrong sides together), meaning sew together on the short sides.  This will form each skirt layer.  Hem the bottom of each layer by folding the bottom raw edge up towards the wrong side of the fabric a 1/2″ and then another 1/2″ and sew in place.
Place the longer skirt inside the shorter skirt and baste stitch or serge the top of the skirts together.  You can skip this step but it makes then next step easier.

Fold over the top of the skirt 1″ towards the wrong side of the fabric.  Sew in place, leaving a 2″ opening.

Cut your elastic.  If you don’t have a bodkin, I highly recommend one…….they make threading elastic so much easier.  But if you don’t have one, just attach a safety pin to the end and that will work just fine.

Thread the elastic through the top of the waistband.

Overlap the elastic by 1″ and sew in place with a zig-zag stitch to secure.

Close the opening in the top of the skirt.
I chose to do a rolled hem using my serger because I like the way it looks on seersucker.  I know most home sewers do not have a serger, so the instructions above are for a NON-serged hem.  If you would like to do a serged hem, then reduce the length in the cutting instructions by 1″ for each layer.

Add any trim you would like around the bottom edge of the skirt.  I used some of my favorites and this bumble bee one always makes me happy.
Make sure each one of your skirts is clearly labeled with the size.  You don’t need to use woven labels like I have here, but just a note attached to the skirt will do just fine.
I also hand sewed a little bow at the tops of some of the skirts for an added special touch.

Here are some of my skirts ready to be sent off to some very special little girls.  I had such a fun time sewing these this past weekend.  The whole time I was just imagining these little girls receiving one of these skirts and knowing that someone had care enough about them to take the time to make them something.  I cannot even imagine being a foster care child, but I hope that this little gesture will at least brighten their day to know that someone out there is thinking of them, praying for them and wishing they could send each one of them a big giant hug.

Sometimes it’s important to take time out of our busy lives and do something for others.  This project was a true blessing for me and I thank you for causing me to take a little time to stop and smell the roses.

I encourage you to whip up several of these twirl skirts.  I promise they don’t take much time at all and not only will it bring joy into the lives of some little girls, it will bring joy into your heart as well!

Here are some examples of these skirts made from designer quilting cotton:

Have a great week!