Archives for September 2012

This and That……..and Giveaway Winners

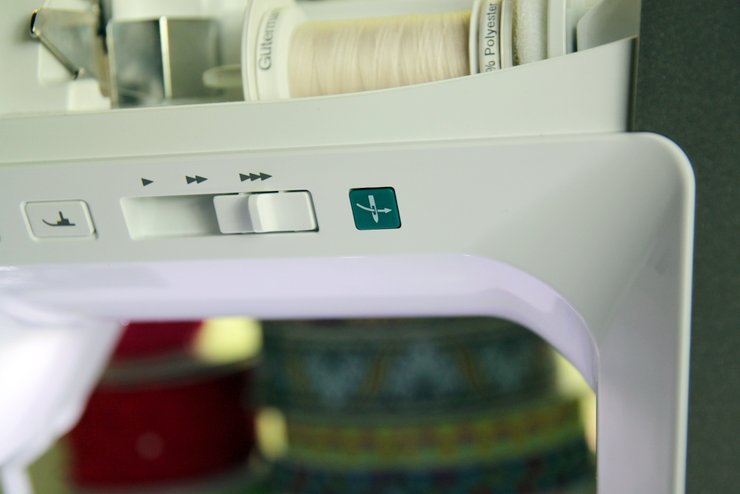
This has been a good week. Lots of things going on around here, but all good. Gorgeous fall weather has swept through Chicago and I’m loving every minute of it. Fall is definitely my favorite time of year, how about you?

This past weekend it was the perfect weather for us to go on our annual apple picking excursion. Our regular orchard wasn’t open this season due to the unpredictable, crazy weather we had this last spring. But we decided to try a new one that turned out to be lots of fun…..

Gigi (Brett’s mom) came along on our fun apple picking adventure.
Earlier this week, we made a giant apple pie from the apples we picked. I went back and forth about whether or not I wanted to do a crumble or crust on top, but I ended up doing a crust since our apples were almost falling off the top of the pie. This was only four of the apples we picked….they were huge! And the pie was delish!
Instagram Photo 
(follow me @thecottagemama)
We also brought out all the fall decorations so our house looks nice and cozy. The girls had so much fun sipping hot chocolate and helping me decorate. We made this vintage yo-yo garland together and I think it turned out really cute.
These pretties arrived in the mail this week from Riley Blake Designs for my next Design Team Project. This is from the line “The Sweetest Thing” and the small little flower print is the new knit fabric they are carrying. I’ve already washed it and it came out beautifully. I can’t wait to start creating my next project!
There has been A LOT of sewing going on this week as I prepare for our first styled book shoot this weekend! I’m so excited to meet all of the little models and work with my book photographer. Fun, fun!

We have had quite a few giveaways in the last couple weeks, so it’s probably about time that announce the winners. Sorry to keep you hanging. Here they are………

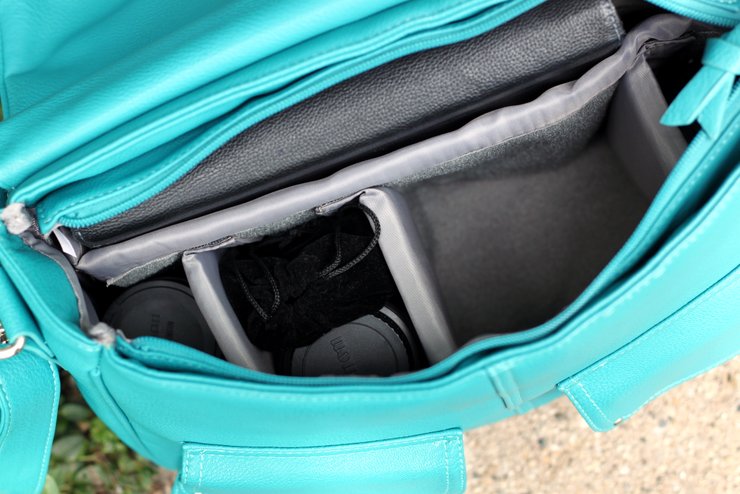
Jo Totes Camera Bag:

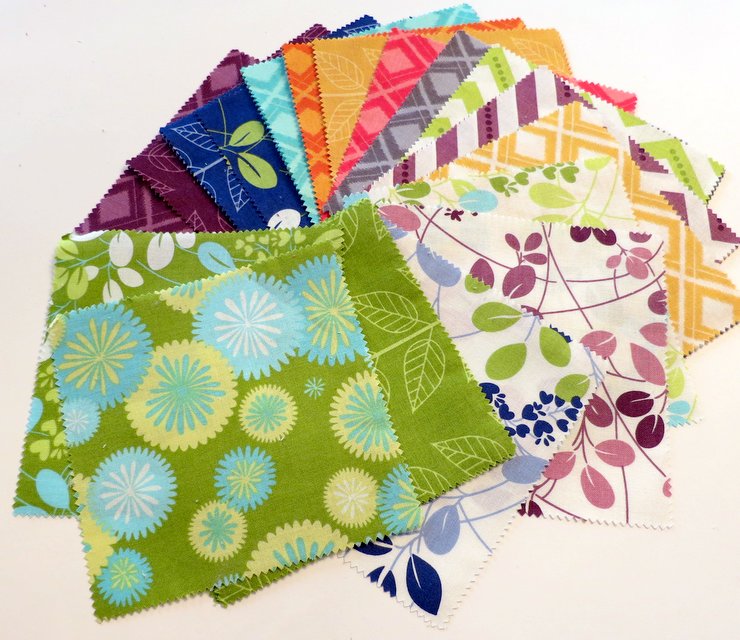
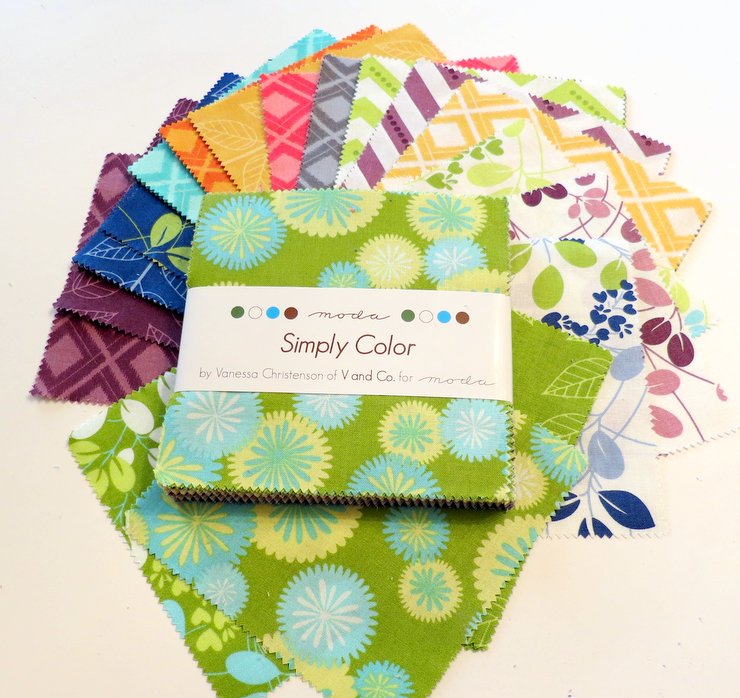
Simply Color Charm Packs and Jelly Roll:

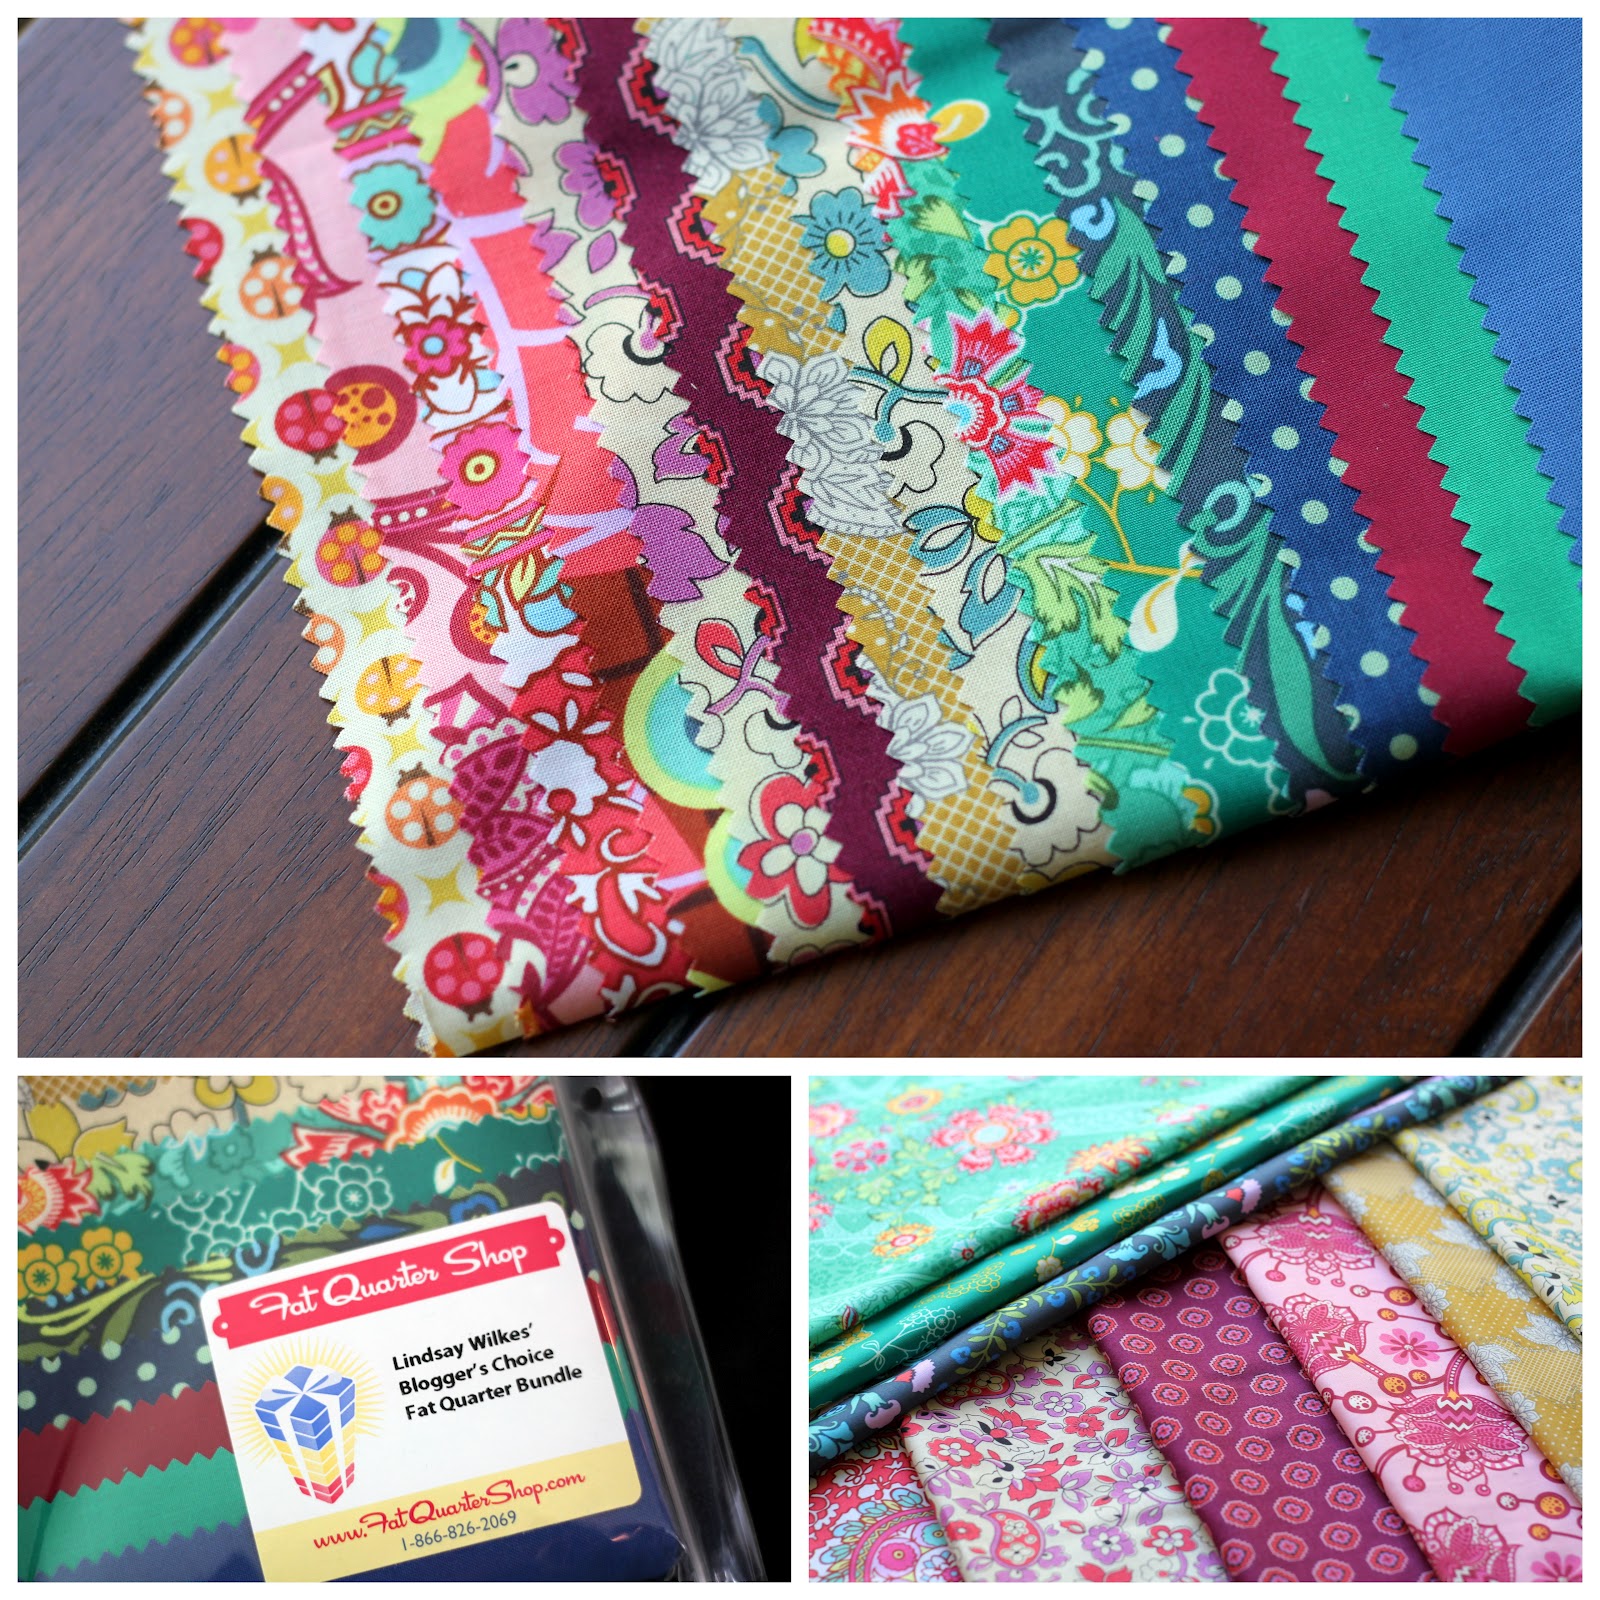
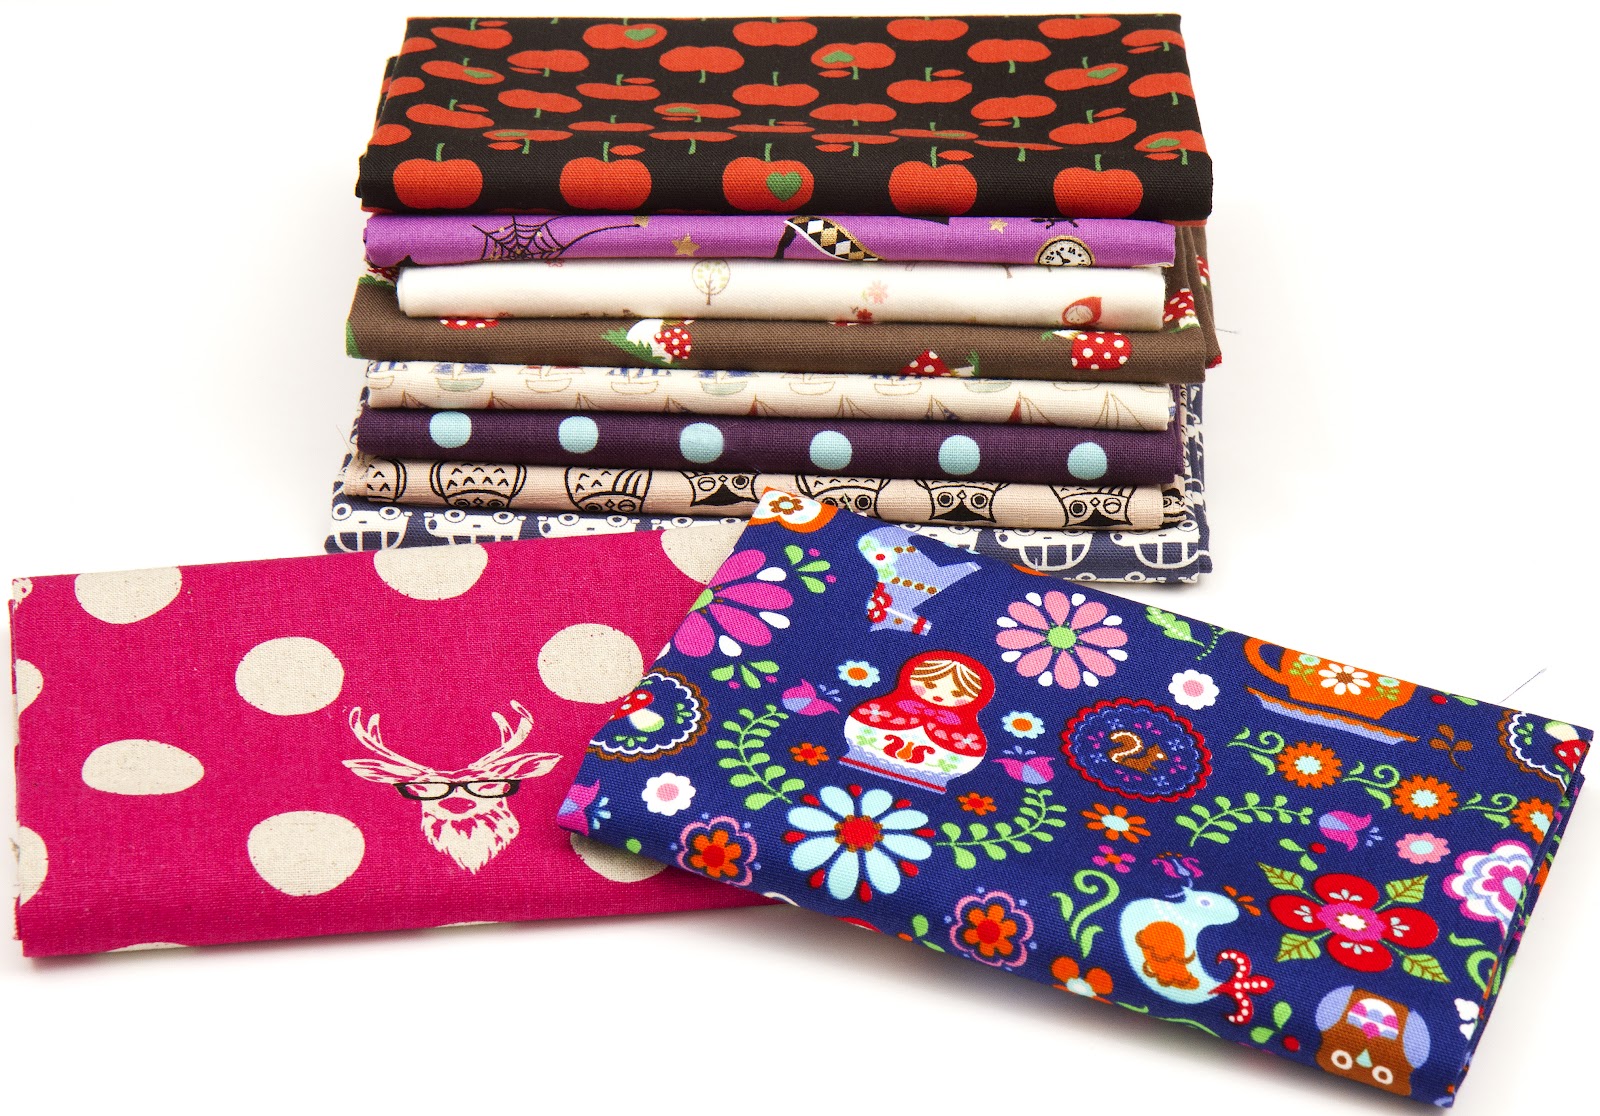
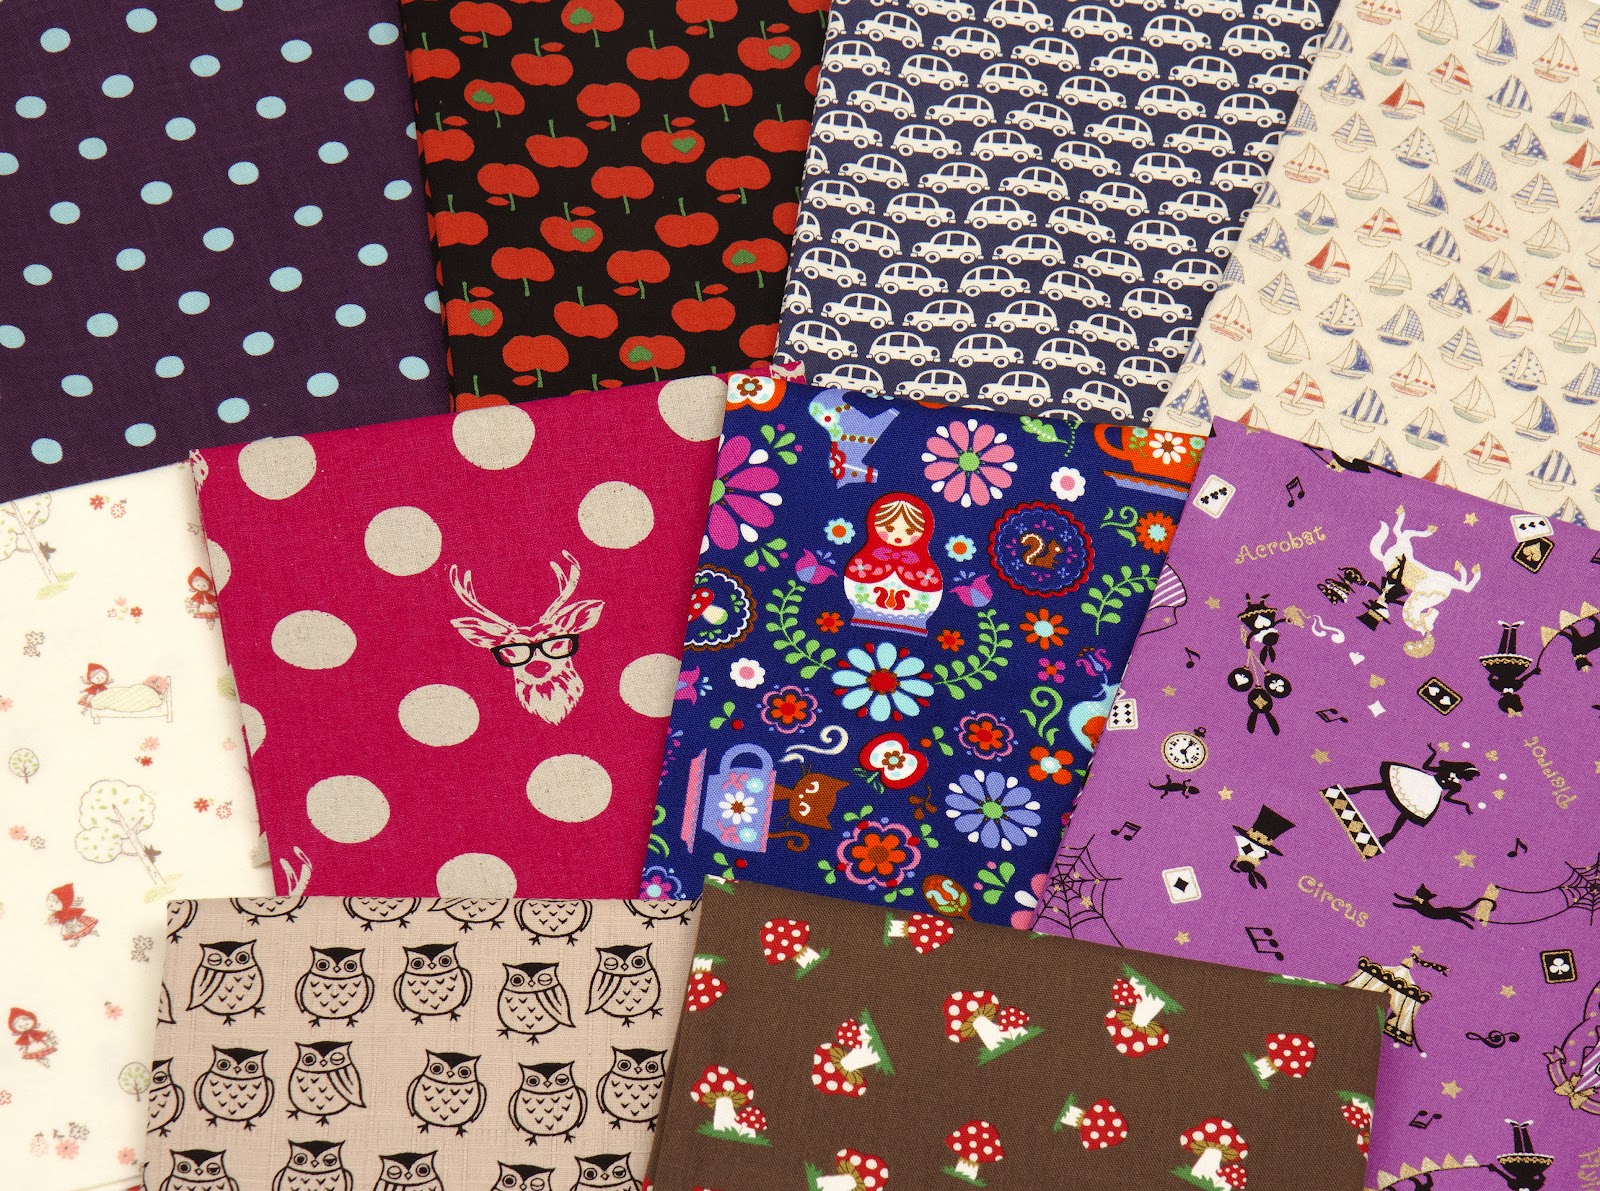
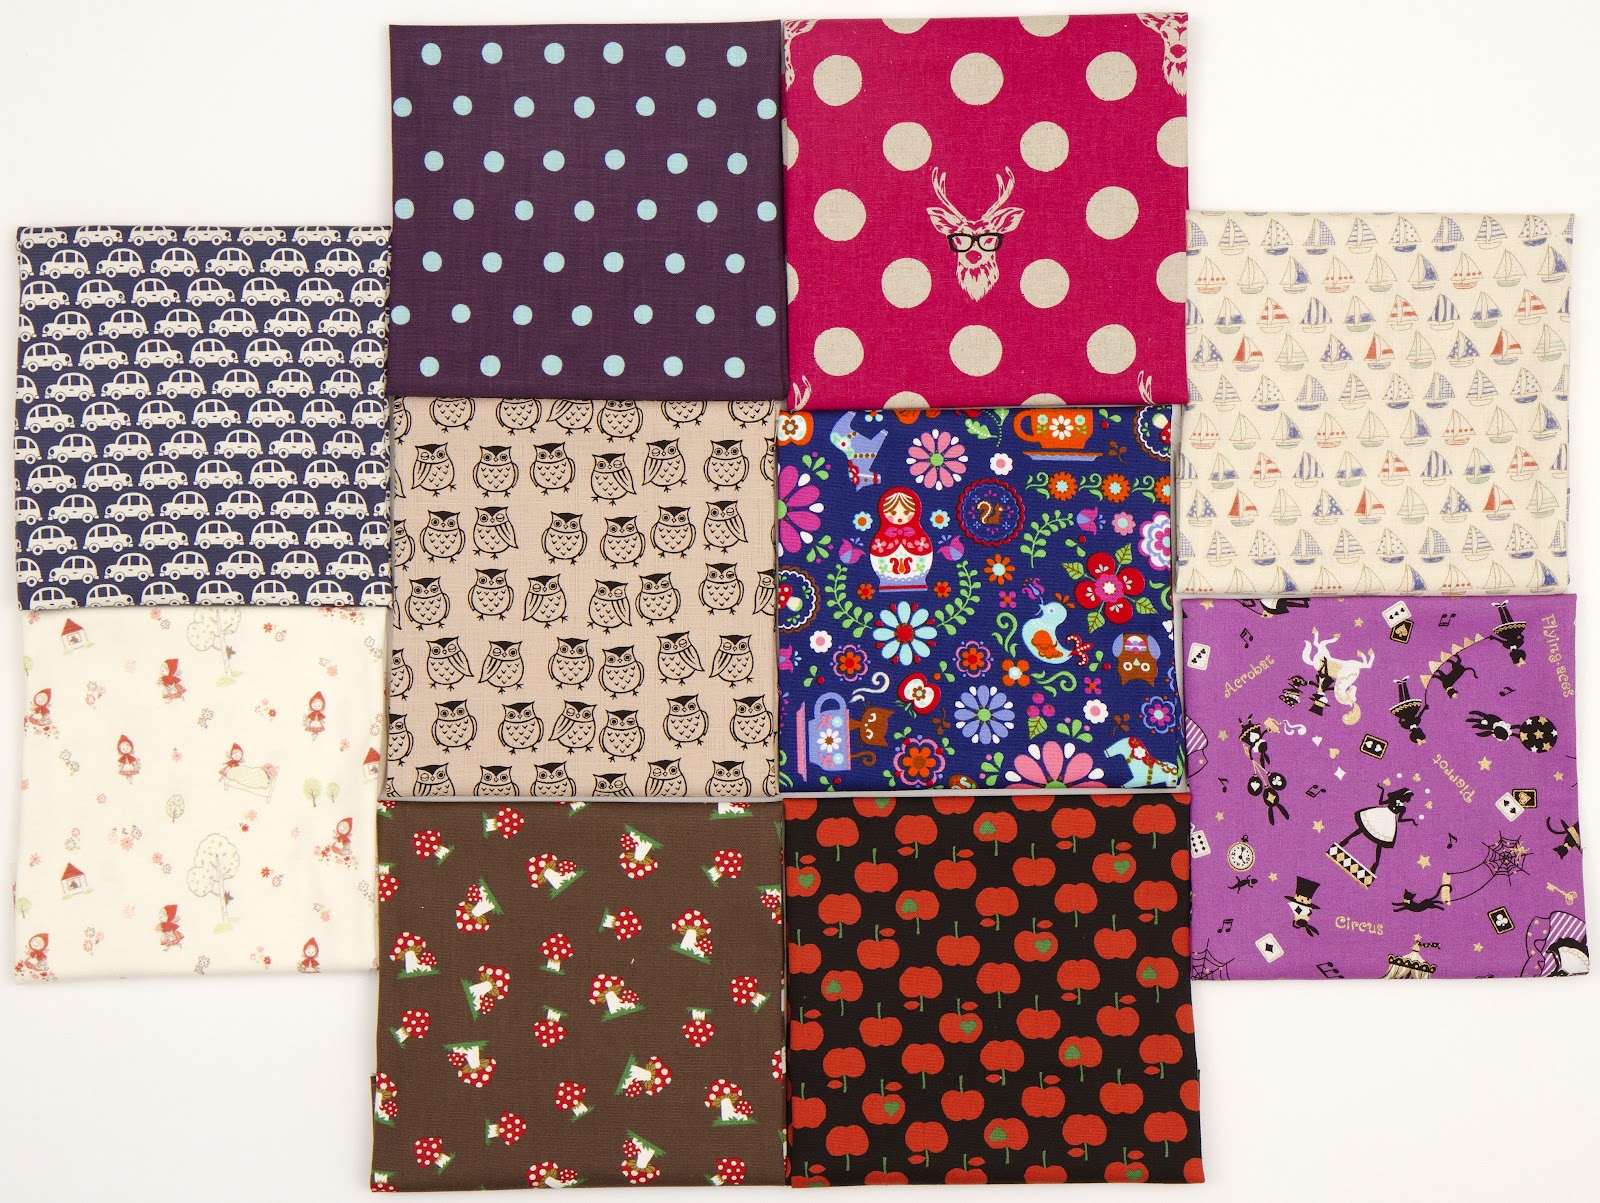
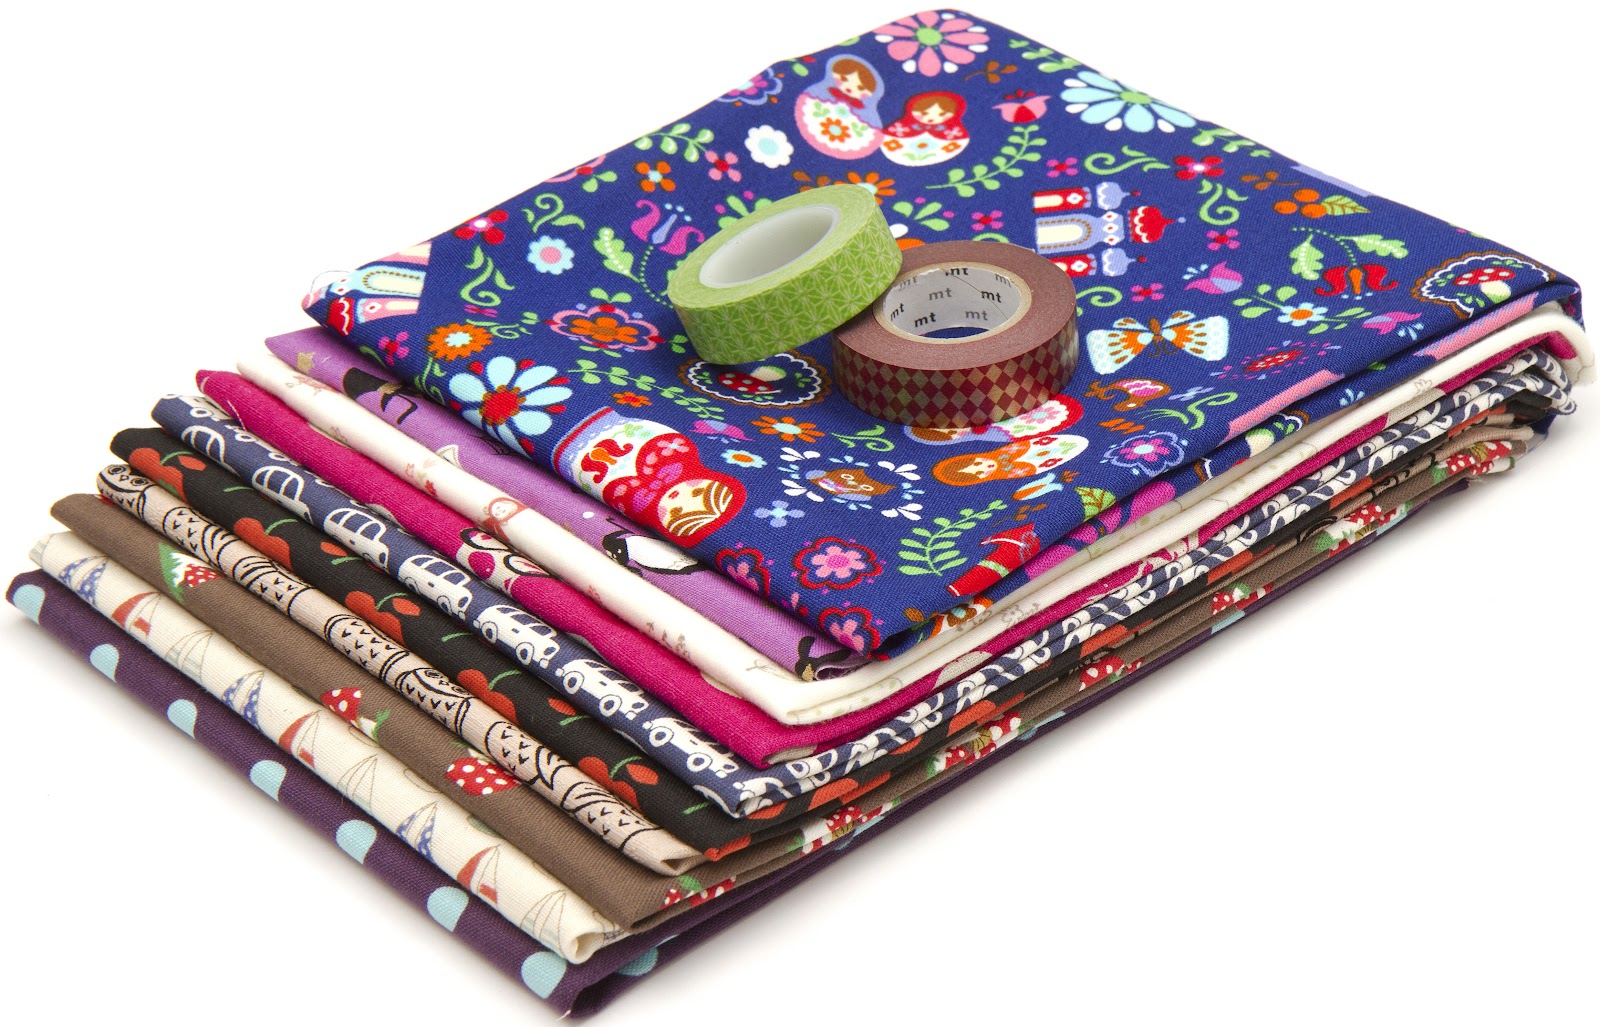
Modes4U Japanese Fat Quarter Bundle and Washi Tape:

Congratulations to our winners! Please email me at thecottagemama[at]gmail[dot]com with your contact information and we will get you your prizes as soon as possible! Don’t worry if you didn’t win, just keep trying. We have more giveaways coming up and you just never know when the random number generator might pick you!

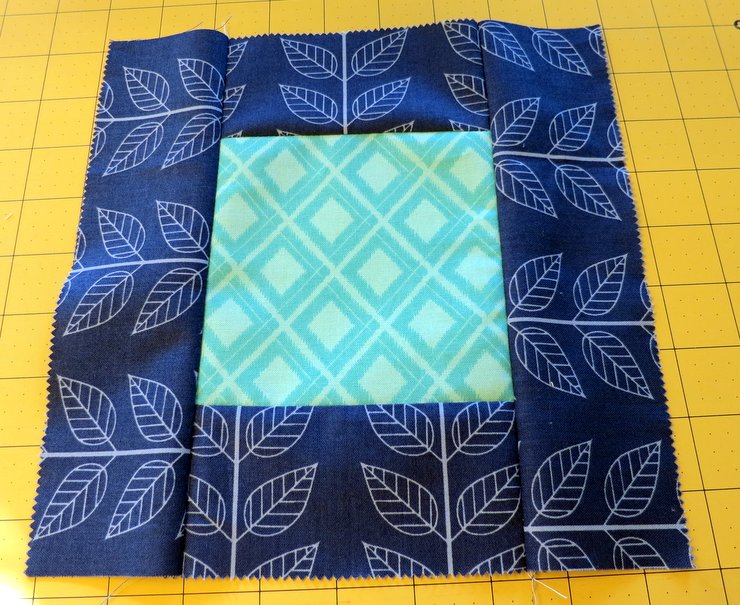
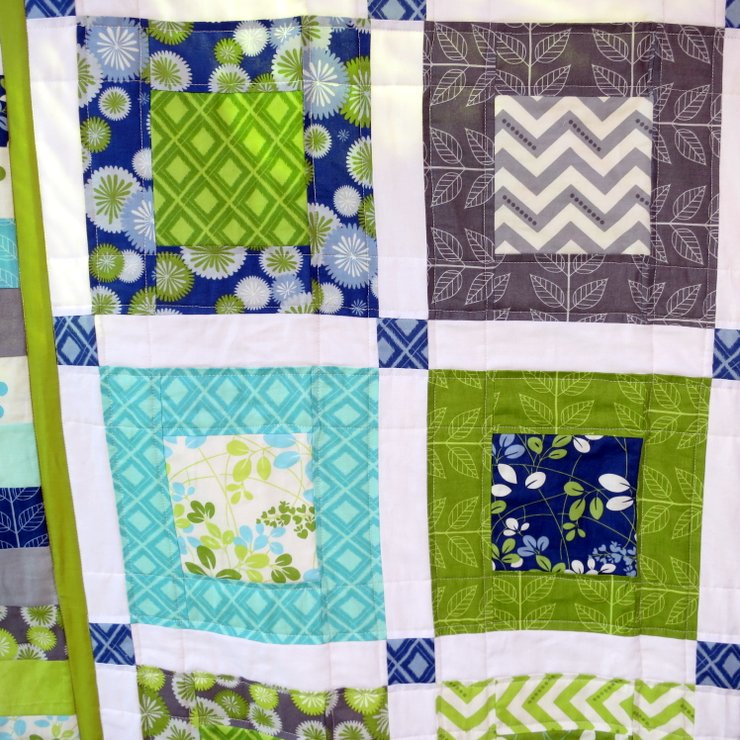
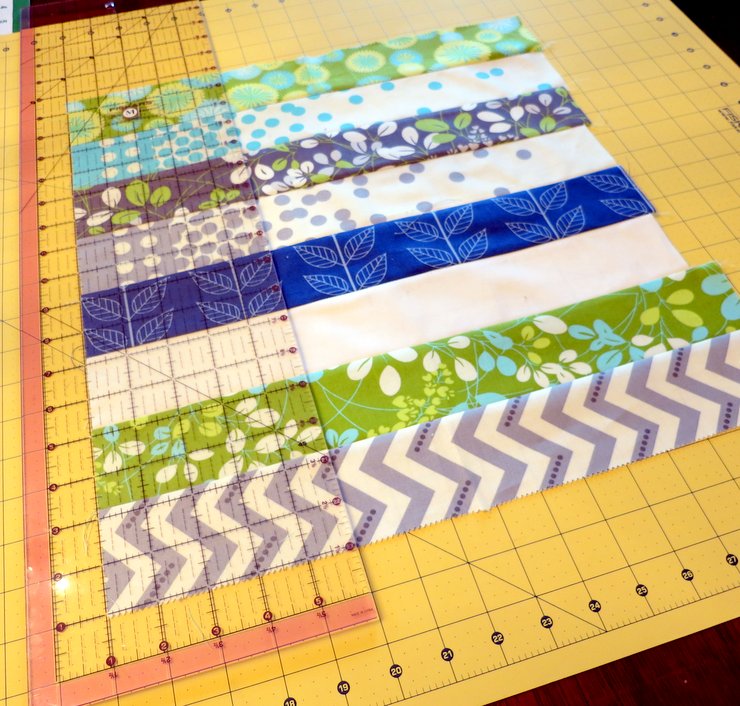
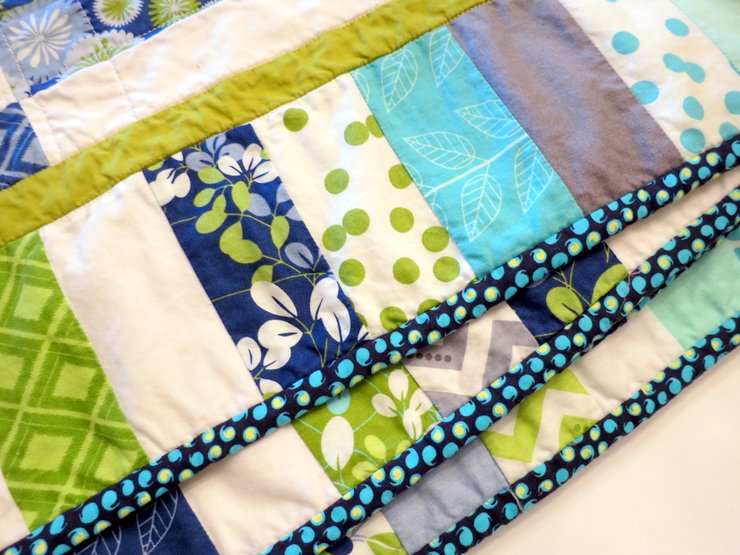
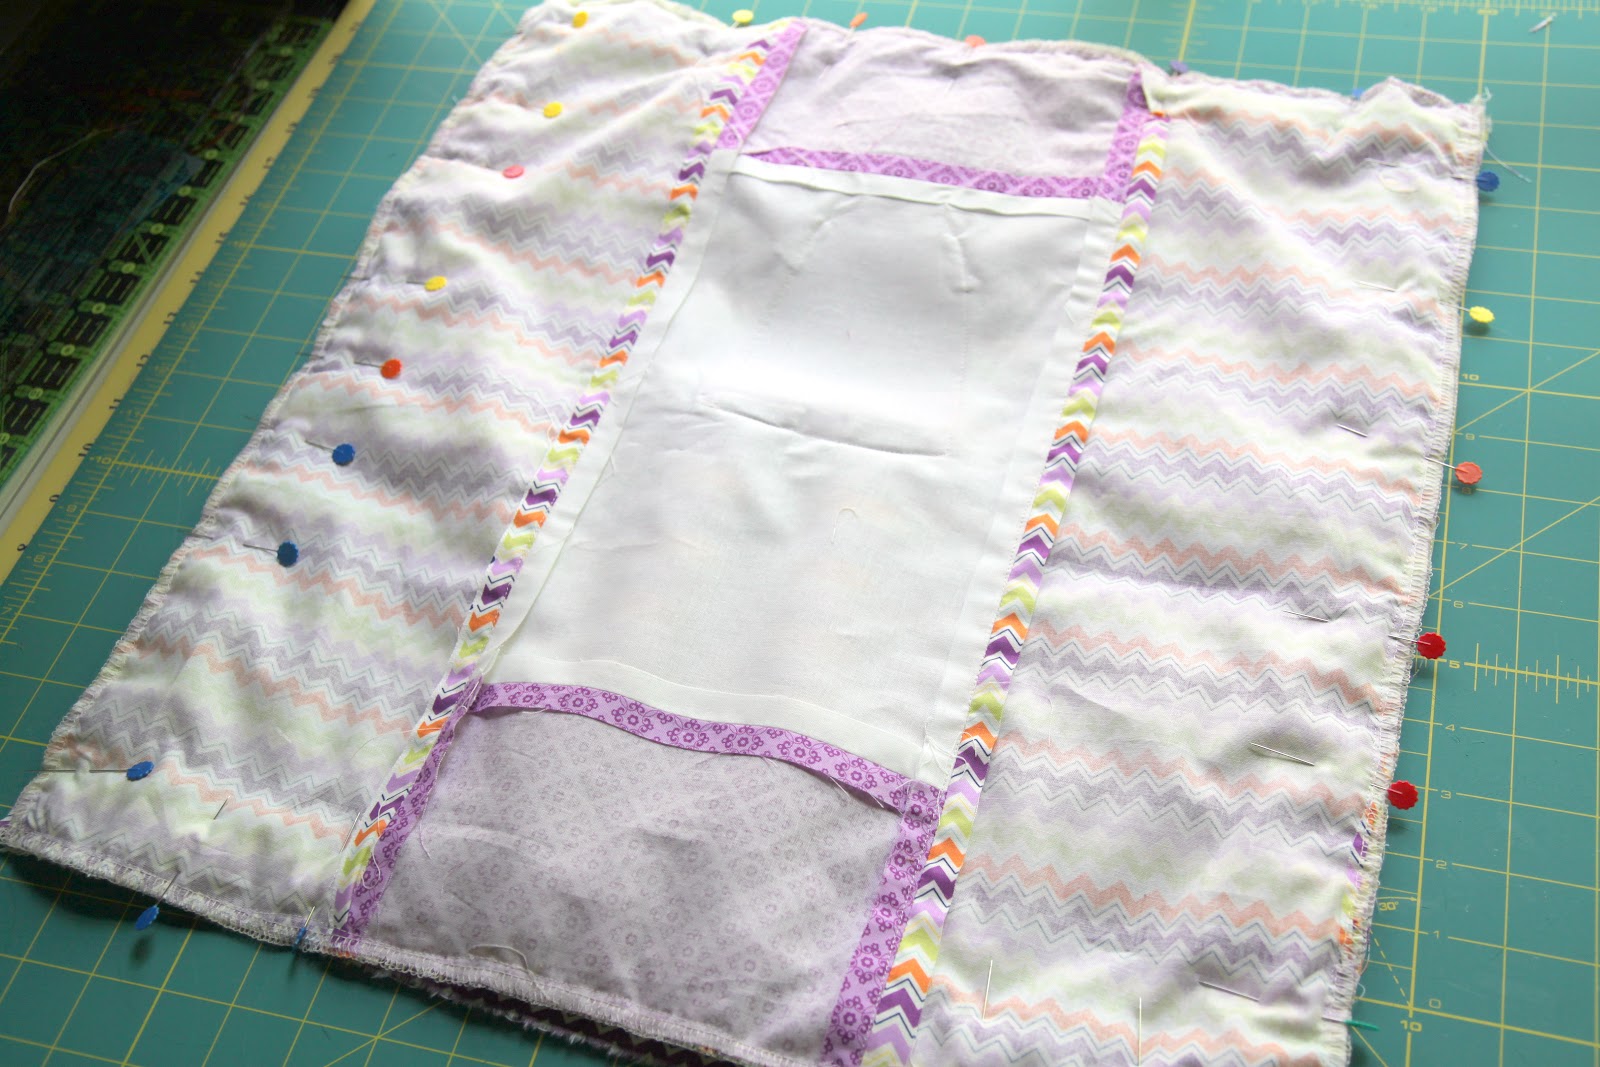
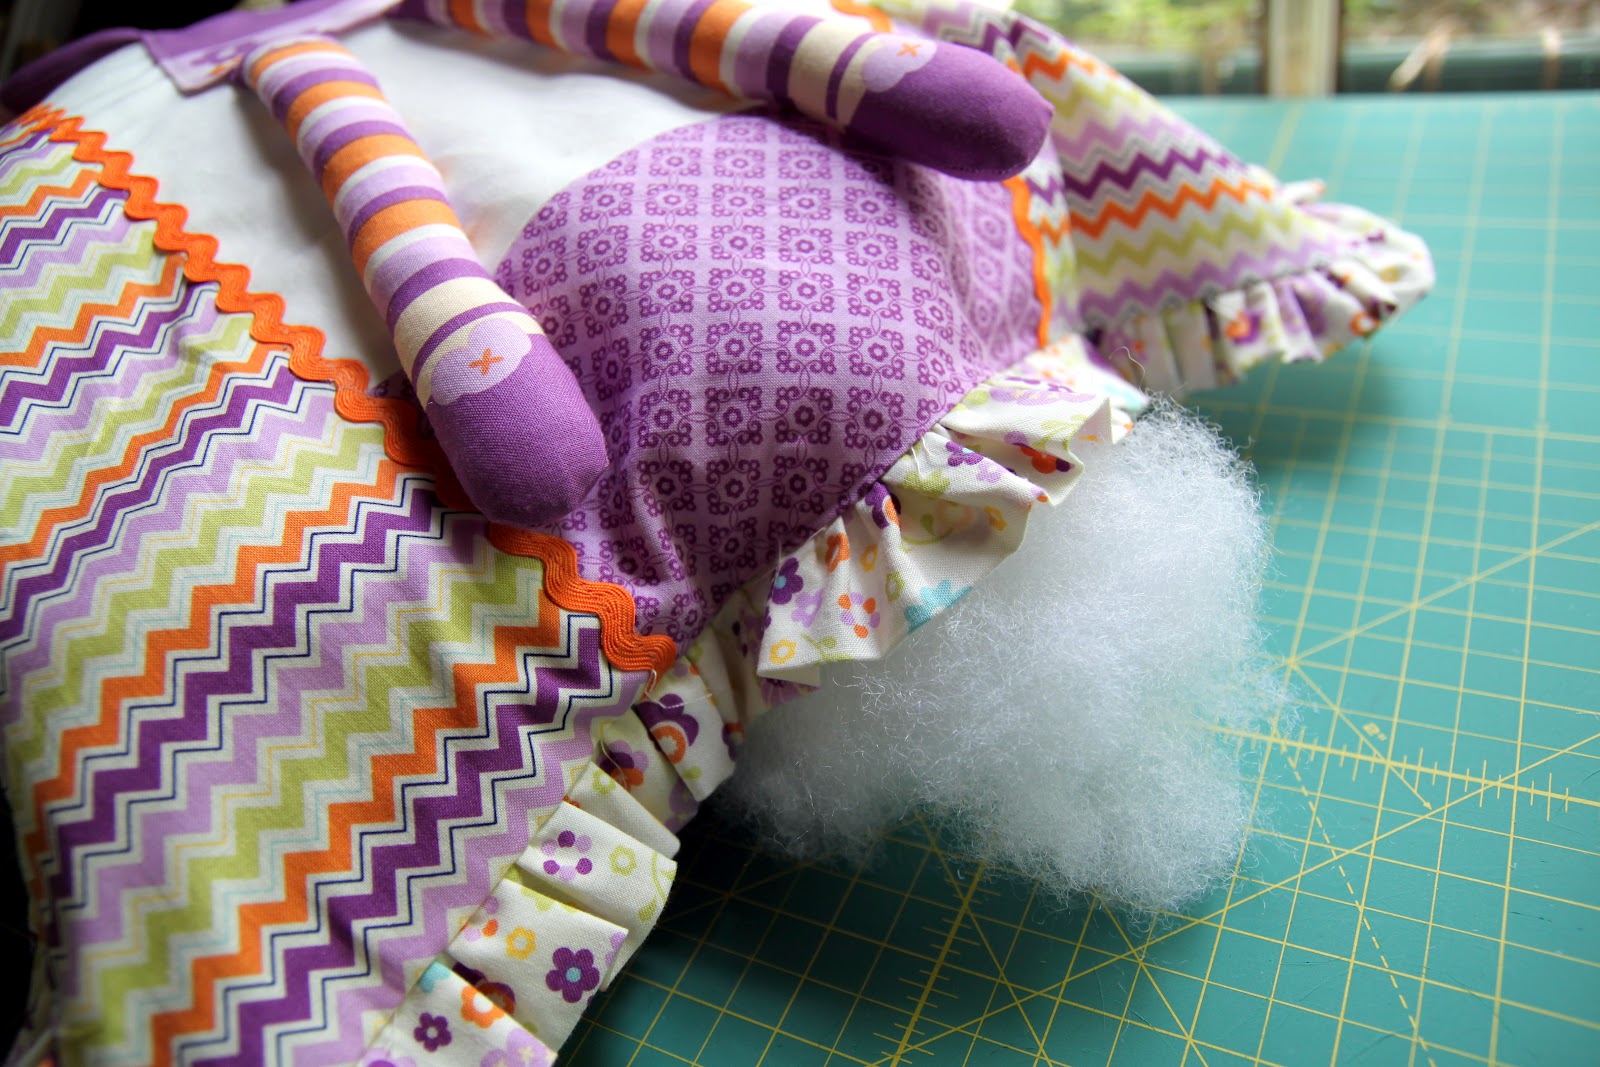
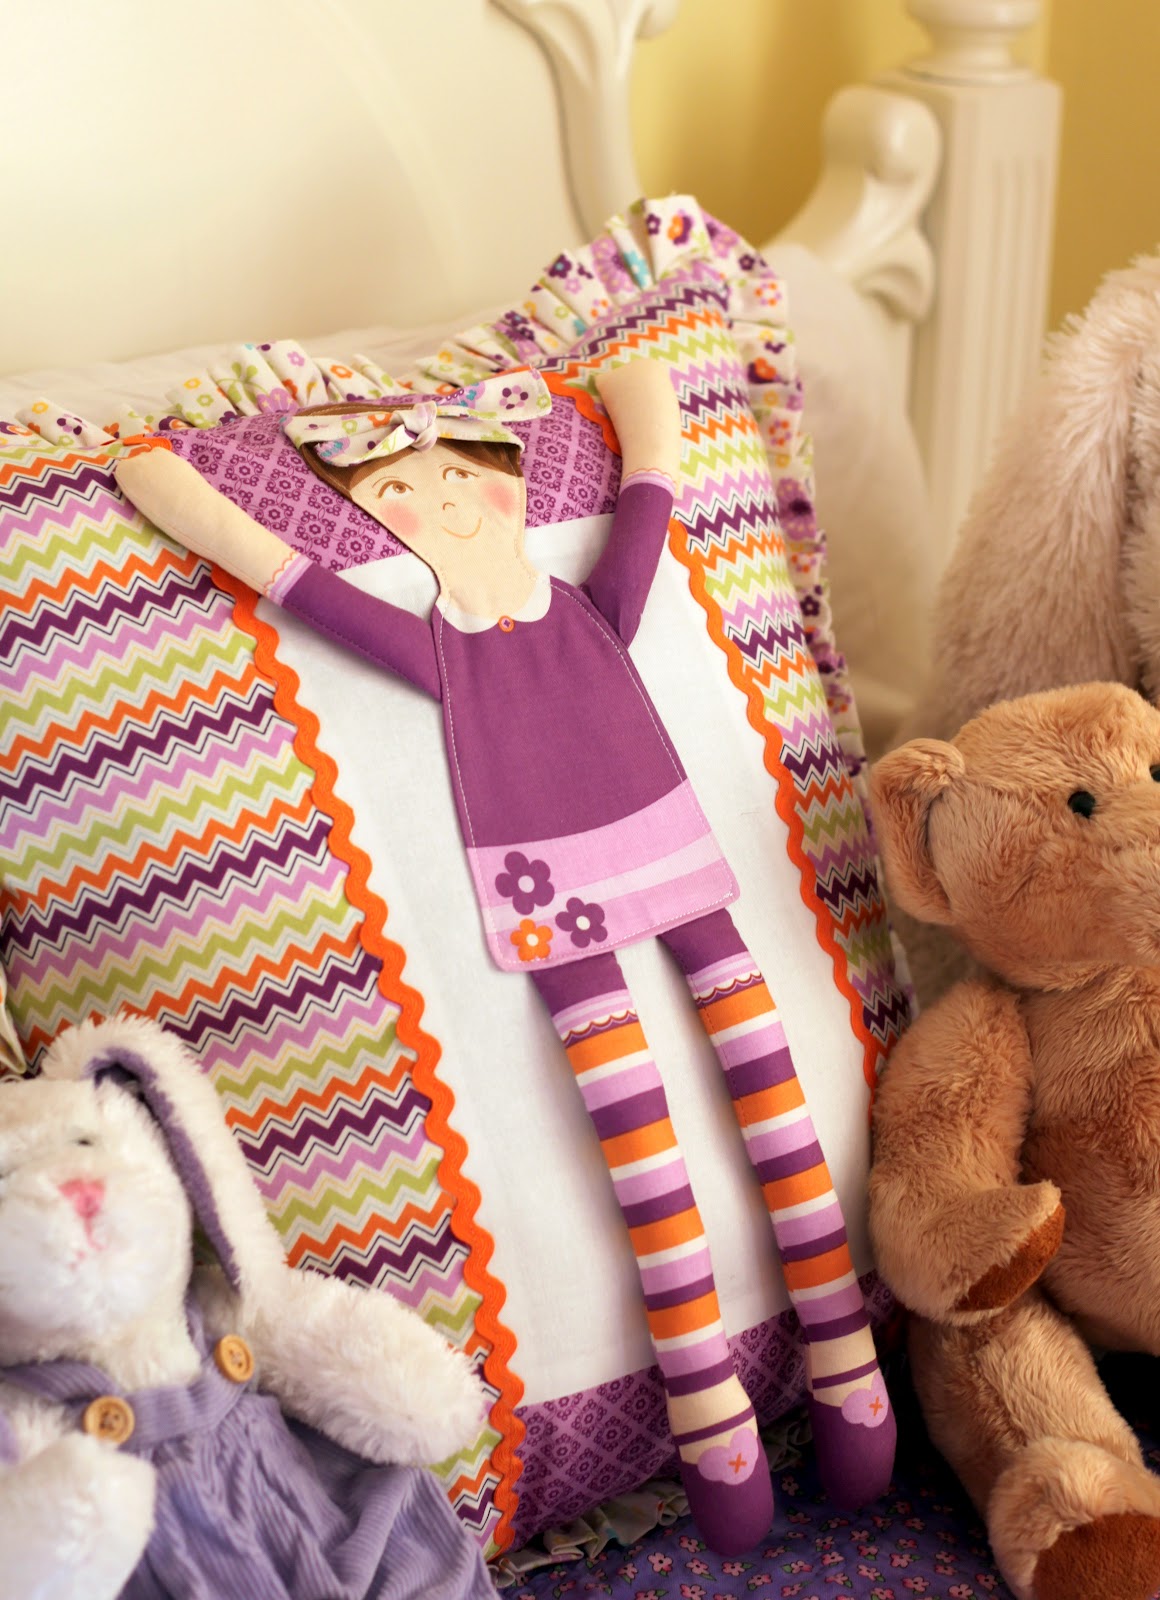
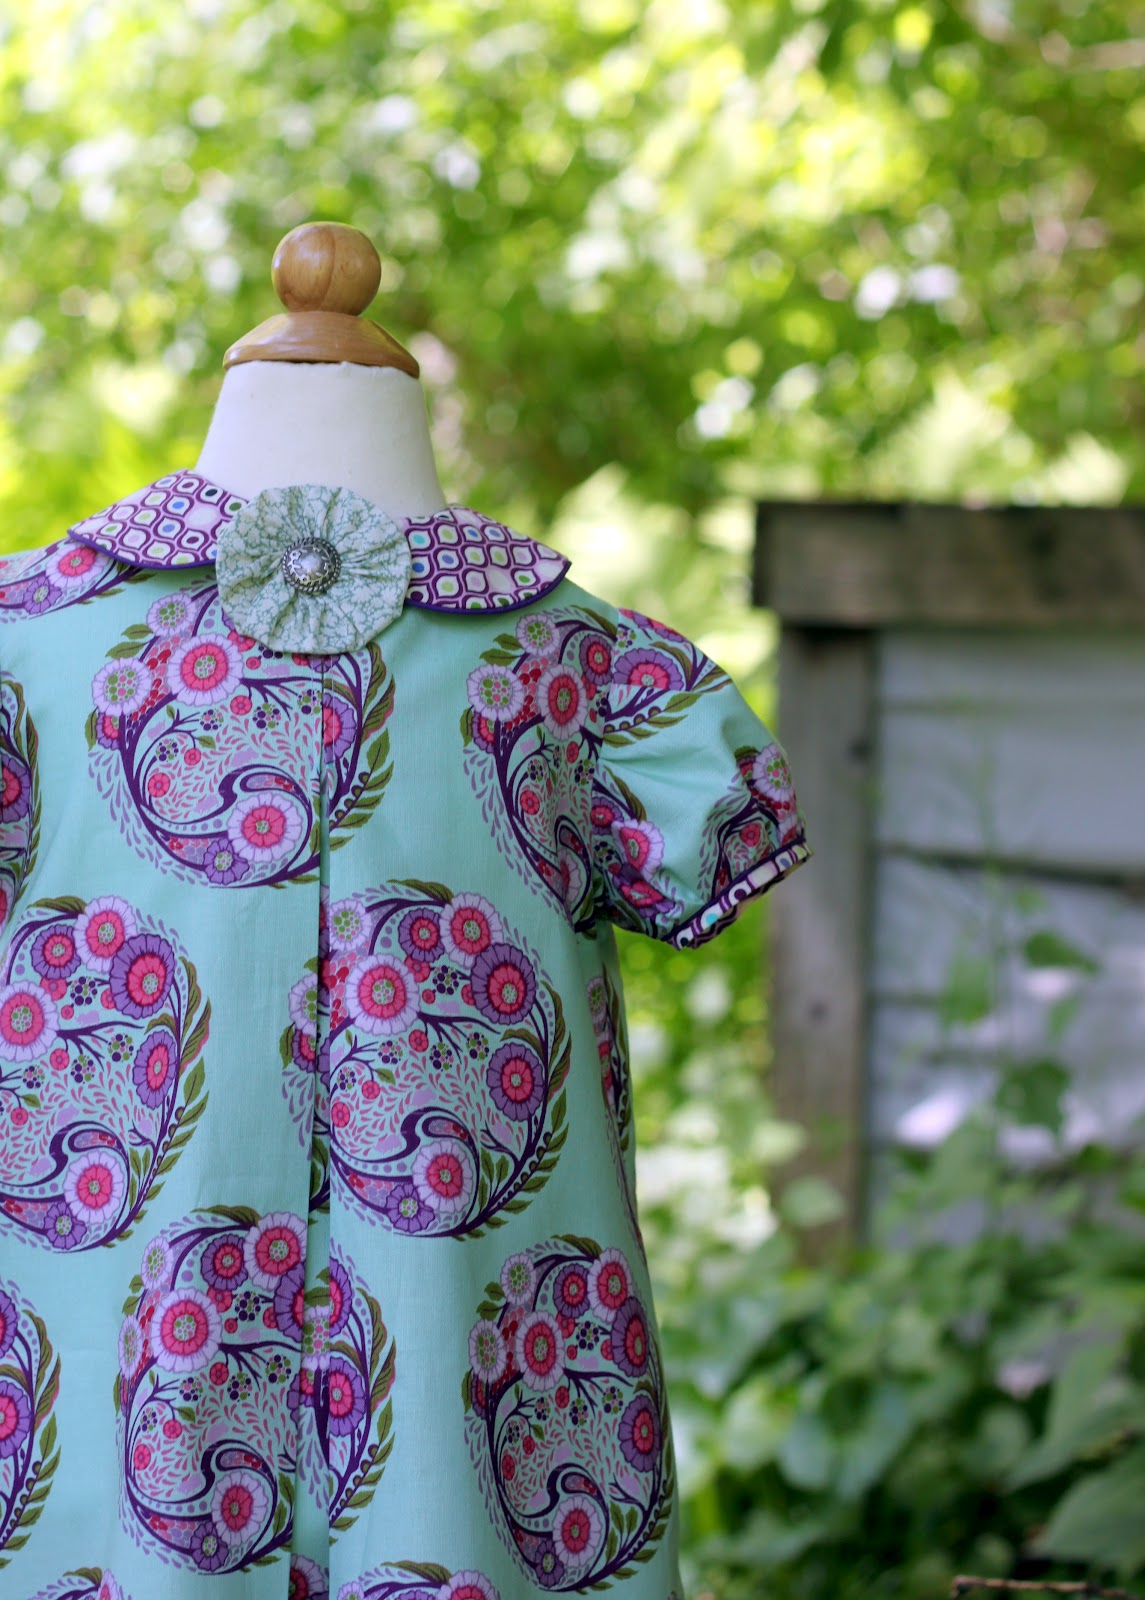
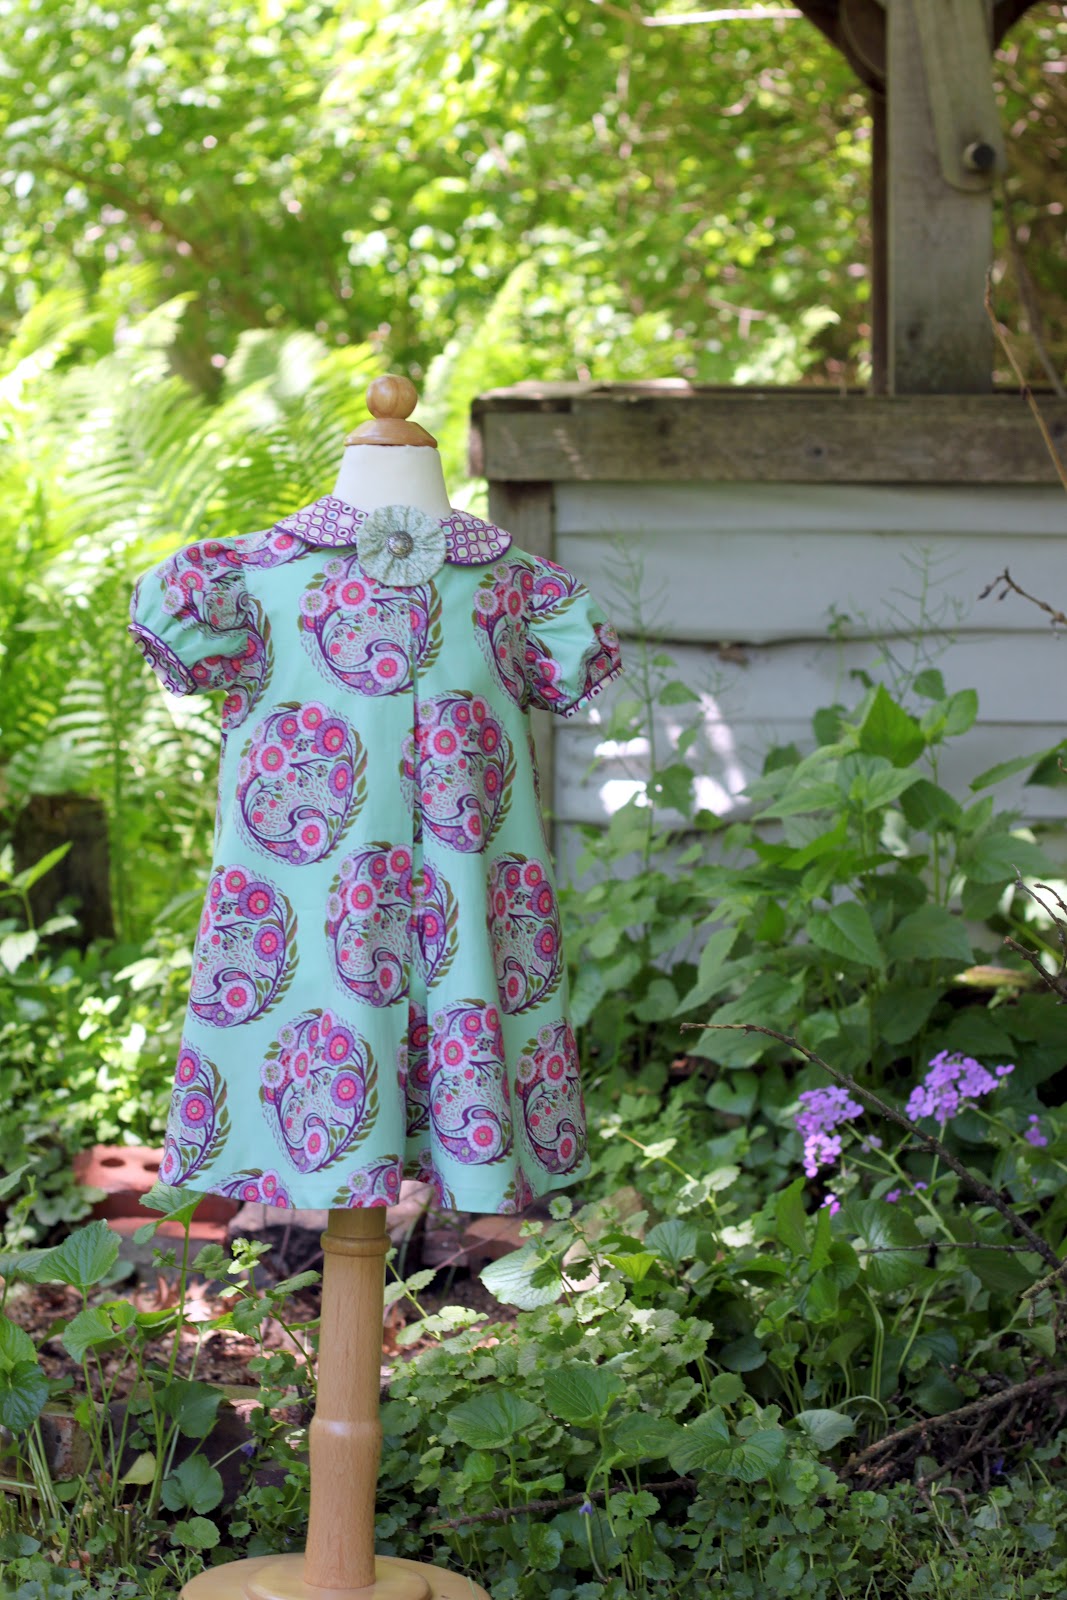
So that’s what has been going on around here. Some of those pictures are from Instagram and if you want to check out our daily life around here, you can follow me @thecottagemama. I hope you all had a great week and are finally getting a little taste of this beautiful fall weather.

Happy Weekend!

Baby Lock and The Cottage Mama

I’ve been wanting to share my new machines with you for several months and now it’s finally time!

Meet the two newest members of The Cottage Mama team…….

I was recently sent these amazing new machines from the folks over at Baby Lock and let me tell you that they are truly “dream machines”. I was content sewing on my Brother Sewing Machine (CS6000i) and Serger (1034d), but these Baby Lock machines take things to a whole new level. I kind of feel like talking to them and saying “Where have you been my whole life?” But the truth of the matter is that I just didn’t even know some of these fantastic features existed on the higher end sewing machines.

TotallyStitchin.net

I am thrilled to be working with Baby Lock and to have them here as a sponsor. I will be doing some new tutorials and sewing projects for them over on the official Baby Lock blog, Totally Stitchin‘ coming up soon. You will be able to find a link to their blog under the sponsors heading in the right side-bar of The Cottage Home.

So let me tell you a little bit more about my new machines…….

First up is the new Ellegante 3 Sewing and Embroidery Machine. I guess you could say Miss Ellegante and I had sort of a ‘Love at first stitch’ experience when she first arrived. She is so quiet and just purrs along as I sew…..music to my ears.

Here are some of the features on this fabulous machine that I really enjoy:

  •  Automatic Needle Threading. Just push the button and in 4 seconds the machine is ready to go.
  • Automatic Thread Cutting. Again, just push the button.
  • Two Thread Spool Holders
  • Drop-In Bobbin
  • Low bobbin thread indicator
  • Stitch memory library – Great for stitches that you use a lot such as gathering and machine applique. It saves the stitch width, length and tension for easy recall.
  • LCD Touch Screen that shows you your actual designs and stitch settings and also has a informational guide included so you never have to pull out the manual!
  • On Screen Embroidery Design Editing for combining words, pictures, frames and more.
  • 531 Built-In Stitches – Everything from a wide scallop stitch, heirloom stitches to borders and decorative characters.

  • 492 Built-In Embroidery Designs – Including 14 different font libraries for personalizing and monogramming, applique embroidery, gorgeous floral and seasonal motifs. I love that you can view the designs in the different size hoops before you actually embroider.

  • Gorgeous fonts, including a floral alphabet.
    • Direct connectivity to your PC and can be used with external drives (floppy, flash, CD)
    • Circular Sewing Attachment to make perfect circles with straight or decorative utility stitches.

    More specific details on the Ellegante 3:

    So not only did they send me the Ellegante 3, but I also received the Baby Lock Evolution 8-Thread Serger:

    This serger is so easy to use. If you’re not familiar with Baby Lock, their sergers essentially thread for you and they don’t have tension dials to fuss with when you switch stitches.

    You see those little holes in the picture above (the ones labeled U, L and C). Well, you put your threads in those holes and the machine sucks them in and threads it for you. It is incredibly cool!

    Also, one of the biggest challenges with my other serger was that if I wanted to change out one of the threads or if one of them broke, I had to re-thread the whole thing from start to finish in the appropriate order. Well, not with the Evolution. If I want to just change out the upper-looper, I simply remove it, put the new thread in the hole, push the button and I’m ready to go!

    I absolutely love not having to worry about the tension on this machine. I just pick my stitch and the machine knows how to adjust the tension for perfect serging every time.

    Here are some more specifics about the features of the Evolution:

    To say that I was excited when these machines arrived a few months ago is probably an understatement, I was ecstatic! I can’t wait to incorporate more machine embroidery, monogramming, serging and more into my designs. Like I said, these machines are truly a dream to sew on and I am so excited about my partnership / sponsorship with Baby Lock.

    Look for upcoming projects and guests post over on the Totally Stitchin’ blog (the official blog of Baby Lock Sewing Machines and Sergers). Also if you have any questions about my experience with these machines, feel free to email or leave me a comment.
    To keep updated with Baby Lock feel free to visit their website, blog and facebook page.

    Goose Creek Candle Co. Giveaway

    I recently had the opportunity to try out Goose Creek Candle Co.‘s lovely candles from their American Heirloom Collection. If you like scented candles, you are going to love these.  

    Goose Creek sent me my scent of choice and I must say that it was really hard to choose. I love all the smells of fall……pumpkin, apple, spice, ect., so I ended up going with Spiced Gourmet, but like I said, it was a tough decision.

    Here are some of the fall scents that looked pretty wonderful:

    I really liked the American Heirloom Collection candle that they sent. It had a pretty metal top with no label on the side so it actually blended into my decor a little bit better than the ones with the big labels. But they offer the candles in both styles.

    The Spiced Gourmet smelled heavenly! I made sure to burn it for a week, so I could really tell you whether or not I liked it. The scent was just right……..some candles are a little much for me (and especially for my husband), but this one was great. It made my house smell so nice and cozy and was perfect for the start of fall. Also, I feel like I barely put a dent in it and I had it burning for quite a few hours.

    So do you want one for yourself? 

    Well, luckily Goose Creek Candle Co. is giving away a 16 oz. American Heirloom Collection Candle in the scent of your choice to one lucky The Cottage Home blog reader.

    And, Goose Creek Candle Co. is offering a coupon code for 25% off your total purchase.
    Enter code: 1050
    Here’s how to enter:
    Visit Goose Creek Candle Co. and come back and leave a comment on this post letting us know what scent you think you might choose if you win. (Click Here).
    Giveaway will be open until September 30, 2012 at Midnight (CST).

    The Delicate Art of Balance

    The Wilkes Family – Apple Picking
    September 22, 2012

    The art of balance in ones life is something that I think we all struggle with on a daily basis. I am a firm believer that we cannot be all things to all people at all times. I cannot tell you how many times, I am hit with the phrase “how do you do it all?”, whether it’s via email, on The Cottage Mama Facebook page, or in real life with my friends and family.

    I am always a taken back by this question, because the true answer is simple, “I don’t.” I wish I knew how to get it all done. But for that to happen, I would need two of me and a lot more hours in the day. I think you make time in your life for the things that are important to you. And somedays certain things are more important than others.

    When I think of balance my husband comes to mind. As I have mentioned here before, he is an avid home-brewer and makes award winning beers. Brewing is something he is truly passionate about and he makes time for it in his life. He leaves for work at 7:30 AM and is not home before 7:30 PM every single day. That makes for some longs days. So he does not get a whole lot of time to spend with the kids during the week. But on the weekends he is 100% devoted to having ‘Daddy Fun Days’ with them. If he wants to brew beer, he does it after they have gone to bed. He gives up sleep in order to achieve the balance in his life. I’m not advocating not sleeping to achieve balance, but it’s what works for him. He wants to make room for brewing in his life and that’s how he makes it work. My point being, is that you figure out a way to make time for the things in life that are important to you and sometimes you have to give up one thing for another.

    But the truth is that balance is achieved through an ebb and flow in life. You cannot neglect one aspect of life completely and expect there not to be a negative reaction. Balance is a struggle. I don’t know if it is for you, but it is something I am constantly thinking about and trying to keep myself in check. I have a true sense of guilt when I am not doing what I feel I should be doing in certain aspects of my life. But sometimes it is important to release yourself from that feeling of guilt in order to maintain balance in ones life. If one of my kids is having a hard day, then maybe I don’t get to the dishes. If I’m trying to finish a project, then maybe we have frozen pizza for dinner. But you know what? That’s ok.

    For instance, right now I wish I was posting tons of different projects and tutorials for you all. I have all these great seasonal ideas in my head that I don’t have time to share. Do I feel a little sense of guilt that I’m not making that happen? Well…….yes. But the reality is that I am working on my book and cannot share many of my projects right now. While I try to balance writing with paying attention to my family and my home life, it’s what has to give during this time in my life. And I know you understand that and I am now officially releasing myself from that guilt. Ahhh, I feel much better!

    I read Sarah Jane’s post today and it just got me thinking, so I guess that’s why I’m writing this post today. To be totally honest, I think I do a pretty good job balancing all the different things going on in our life right now and it is constantly a work in progress. But there is one thing I would like you to know about me………I do not do it all. And that’s fine by me.

    Jo Totes Camera Bag Review and Giveaway

    I am excited to share today’s review and giveaway with you. If you aren’t familiar, Jo Totes, is a camera bag company that produces gorgeous, functional camera bags for women.
    Here is a little bit more about Jo Totes:
     
    We have been creating and sending camera bags to women photographers around the world since 2009. Our bags provide a fashionable way for women to safely carry their camera bodies and lenses, along with regular purse items, every day—whether it be to a photo shoot, while traveling, or just while out on a regular day. 

    The main compartment of each of our bags is lined with padding (around each side and on the bottom) to protect photography equipment. Movable interior pads are also included to allow for configuration around a variety of camera bodies and lenses.

    Jo Totes let me choose which bag I would like (yes, blogging does have some perks) and let me tell you, it was so hard to choose.  Here is the bag I ended up selecting:
    I decided to go with the Betsy in Teal. My initial thought was to play it safe with some type of neutral color, but in the end, I decided to go bold. Besides, teal is my business color so I thought it was pretty fitting.
    I chose this bag because it was on the larger size. I already have a smaller camera bag that my hubby bought me for Christmas one year from an Etsy seller, but it doesn’t hold all of my lenses. The Betsy bag holds all of my lenses, my camera, my ipad, wallet, cell phone and laptop. Pretty good right?
    The top of the bag zips up nicely so that nothing will fall out. And all the hardware and materials are top-notch.

    The interior of the bag is a light gray silky cotton. It came with three moveable pads that easily velcro where ever you need them. Also there is room for a laptop, but I put my ipad in that spot since it has a pretty large case on it. My camera fits in the empty slot, but I was using it to take these pictures, so that’s why it’s not in there.

    The front pockets are nice and large. There is plenty of room for your phone, keys, business cards, ect.
    The back pocket can be used for your ipad or wallet.
    The bag comes with two different straps (I put on both of them here to show you the different lengths). One is a longer, adjustable strap so you could wear the bag across your chest and the other strap is a shorter, more purse-like strap.
    So guess what?
    Jo Totes is giving away a camera bag of your choice (up to $119.00) to one very lucky The Cottage Home blog reader.
    Want to enter to win?  Here’s how:
    Please do one or all of the following, leaving a separate comment for each entry:
    1. Visit Jo Totes and let us know what bag you would choose if you won. (Click Here).
    2. Become a Fan of Jo Totes on Facebook. (Click Here).
    3. Follow Jo Totes on Pinterest. (Click Here).
    4. Share this giveaway with your friends on Facebook.
    Giveaway will be open until Sunday, September 23, 2012 at midnight (CST).

    Blogger’s Choice Fat Quarter Bundle Giveaway at Fat Quarter Shop

    Today, over at Fat Quarter Shop, I’m talking a little bit about my Blogger’s Choice Fat Quarter Bundle that I hand selected for their shop. 

    I also answered a few questions for them. If you can guess my answers, then you will be entered to win your very own one of my Blogger’s Choice Bundles.

    I have to admit, this bundle is even more gorgeous in person (if I do say so myself)!
    To enter the giveaway, you must do so over at Fat Quarter Shop
    Click HERE to enter and read more about this custom bundle.

    Charm Jelly Roll Friendship Quilt Tutorial & Simply Color Giveaway

    My mom, Grandma Jane, is back with another one of her wonderful quilting tutorials and a fabulous giveaway of V & Co’s new line for Moda ‘Simply Color‘. Take it away Mom…..


    I don’t like goodbyes and I had a tough one a few weeks ago when I had to say goodbye to a dear friend and co-worker who moved. Lori and I had worked side by side for almost 12 years and she was a part of my day to day work life in a big way! We worked so closely together on projects through the years that we were almost like an old married couple who begins to finish each other’s thoughts and sentences. Crazy, I know but it was a comforting feeling to work with someone who I knew so well!

    Besides being incredibly smart and talented in the work setting, Lori is a woman of great personal strength, faith and integrity. She always made me laugh, (many times to the point of tears), with her stories about her family and kids. We shared lots of sad tears too, as we both have lost our precious mothers in recent years. She knew immediately what I was feeling when I said I missed my mother and she could say just what I needed to hear at that moment. I knew I wanted to make her a quilt as a goodbye gift—what better way to surround a good friend with a warm hug even when she is far away!

    The cheery, happy colors of the new line, Simply Color by V and Co, were perfect! I chose the green, blues and greens for Lori’s quilt. I am going to save the orange, pink, gold and purple for another project.

    Precuts of a charm pack and jelly roll come together so easily for this quilt. This finished throw size quilt measures 50 inches by 60 inches.

    Choose 20 charms you want to use and pair up with 20 of the jelly roll strips, making sure you have good contrast between the charm and the jelly roll strip.

    Cut off selvages for each strip. Stack two strips to speed up cutting.

    Cut each folded jelly roll strip into a 5 inch strip and a 9 inch strip. Each strip gives you two 5 inch and two 9 inch pieces. Set aside the remainder 15 inch piece to use for a piano key pieced wide border.

    Sew the 5 inch strips to the bottom and top of the charm. Press. Sew the 9 inch pieces to the sides. Press.

    Trim each block to 9 inches. Arrange blocks in rows of 4 blocks x 5 blocks.

    I don’t have pictures of the sashing steps but it is easy….First, cut (49) 2” x 9” sashing strips.

    Sew vertical sashing strips to the sides of the blocks in each row of 4 blocks. (5 sashing strips in each row).

    Cut (30) 2” x 2” cornerstones and sew to horizontal sashing strips. Start and end with the small cornerstones. (4 sashing strips in each row).

    Sew the long horizontal cornerstone/sashing strips to the vertically sashed rows, matching seams carefully. Sew rows together.

    Sew narrow border strips (1 ½ inch wide) to bottom, top and sides.

    Arrange the extra 15”strip pieces together in a pleasing color combo, and sew strips together in sections. I used some extra jelly roll strips and added in some strips of the same white that I used for the sashing to get the length I needed. You will need 21 piano keys on the bottom and top borders and 26 piano key pieces on the sides. You may need to play around with this to get the color arrangement and length you want.

    Sub cut the sewn strips into 5 inch wide sections. You can cut the piano key border in more narrow sections if needed.

    Use 5 x 5 inch squares as cornerstones for the border. If you cut the piano key border less than 5 inches, adjust the size of the squares. IE… if you are using a 4 ½ inch wide border, cut your border cornerstone squares 4 ½ x 4 ½ inches instead of 5 inches.

    Sandwich, baste, quilt and bind. I quilted using straight lines both vertically and horizontally. (The binding fabric is from Amy Butler’s Lark and the backing is a JoAnn’s fabric). To view more of Grandma Jane’s tutorials, including sandwiching, basting, quilting and binding, click HERE.

     Wash and dry so your quilt is all warm and snuggly and ready to be mailed off! 

    How would you like to have some of the “Simply Color” fabric to make a special friend a simply wonderful quilt to show them how much you love and adore them?

    Enter to win TWO CHARM PACKS AND A JELLY ROLL of “Simply Color” with a comment (or two, three or four).

    To enter the giveaway, do one or all of the following (please leave a separate comment for each entry):

    1. Tell us about that special friend or person in your life who helps you get through your day with lots of smiles and laughter.
    2. Become an official follower of The Cottage Home Blog (Google Friend Connect, Email or RSS Feed).
    3. Become a fan of The Cottage Mama on Facebook (click here).
    4. Share this giveaway with your friends on Facebook or on your own blog.

    Giveaway open to US Residents only.
    Giveaway open until Thursday, September 20, 2012 at Midnight (CST).

    *Giveaway is now CLOSED*

    So there you have it! There are four chances to enter to win and make your very own Jelly Roll Friendship Quilt.

    What a blessing those friends are in our lives. Thank you, Lori, for all the laughter and even the tears we shared! Miss you lots!

    Thanks for guest blogging, Mom ~ you are simply the best!

    The Lolly Dolly Pillow Tutorial


    Hi, I’m Lindsay from The Cottage Mama and I’m thrilled to be back with you again today sharing my most recent design team project.  Deciding which fabric line to use for this tutorial was so darn difficult as I wanted to use just about all of the new lines that were coming out.  So I decided to post the lines I was considering on The Cottage Mama Facebook Fan Page and let the fans vote for their favorite.  It was a pretty close call, but we finally settled on ‘Dress Up Days‘.  I think this line is absolutely adorable in every way and I’m thrilled to be able to share this project with you today…….The Lolly Dolly Pillow.

    Dress Up Days‘ has this wonderful panel in three different colorways that is meant to be used to make a doll that you can dress up in several different outfits (so cute).  But I wanted to try to use this panel in a little bit different way and decided to turn it into a pillow.  I hope you like what I came up with today.

    The Lolly Dolly Pillow
    by The Cottage Mama for Riley Blake Designs
    Supplies:
    1 Panel from ‘Dress Up Days‘ by Riley Blake Designs
    Fat Quarter or 1/2 yard ~ 3 different prints
    Fat Quarter ~ Cream colored fabric
    Double sided fusible interfacing
    1-2 yards rickrack trim
    Fiberfill or other stuffing
    Basic sewing supplies
    Instructions:
    Cut your pieces.
    For the doll:
    From the panel, you will need to cut out the front and back of the doll as well as the front and back of both arms and legs.  Also, cut out the head sash piece if you would like to use that.
     
    For the ruffle:  
    Cut 4 strips 3″ x Width of the fabric.
    For the pillow:
    Cream Fabric: Cut 1 piece 12″ x  8″
    Purple Fabric: Cut 2 pieces 8″ x  5″
    Chevron Front: Cut 2 pieces 20″ x 6″
    Chevron Back: Cut 1 piece 20 x 18″
    To make the ruffle around the edge of the pillow.  Cut 4 strips of fabric measuring 3″ x width of the fabric.  Sew each of the strips of fabric together at the short ends to make one long round of fabric.
    Press the strip in half with the wrong sides facing each other, lining up the raw edges.  Run a gathering stitch around the entire ruffle piece and gather to fit the back of the pillow.

    If you are not familiar with a gathering stitch, you need to set your stitch length to the longest setting (mine is 5.0) and increase the tension on your machine.  Run a stitch about 1/4″ from the edge all the way around the fabric and then pull one of the threads to gather.  Make sure you do not back stitch at the beginning or end otherwise your fabric will not gather.  Another note……make sure you are using polyester thread for this project as cotton thread will break when pulled for gathering.

    To construct the pillow front.  Place one piece of the purple fabric with the right sides together against the cream fabric, lining up the raw edges.  Sew using a 1/2″ seam allowance.  Sew one piece to the top of the cream and the other to the bottom.
    Press open the seams at the top and at the bottom.
    For the sides of the pillow front.  Place a piece of the chevron fabric with the right sides together against the center panel (purple and cream).  Line up the raw edges and sew using a 1/2″ seam allowance.  Do this for both sides.
    You will end up with a piece of chevron fabric on each side of the center panel.  Press your seams open.
    If you would like to add some trim, this would be a good time to do so.  I added some orange rickrack trim over the seam between the chevron fabric and the purple and cream.  You could use ribbon or buttons or whatever embellishment suits your fancy.
    Now for the doll, place all the ‘limb’ pieces with their right sides together and sew around the edges using a 1/4″ seam allowance.  Do this for both arms and both legs, leaving the short edge open for turning right side out.  For the body, place the right sides together and stitch all the way around, but leave a small 2″ opening for turning.  Clip around any curves to remove bulk and to make sure the curves are smooth.  Turn all pieces right side out and press.
    Use fiberfill or any stuffing material you like and stuff each one of the limbs.  Try to get them pretty full.  This will take a lot more stuffing than you would imagine!  Do not stuff the body piece.
    Sew the raw edge of the limbs closed so none of the fiberfill will escape.
    Cut a piece of double-sided fusible interfacing the exact size of the doll body and apply it (according to package directions) to the back of the doll.  If you are going to use the head sash piece, fold it in half with the right sides together and stitch down both short sides and the long side, but leave a little opening in the middle of the long end for turning.  Turn right side out and press.  Edge stitch the head sash piece to close the opening
    Position the doll on the front of the pillow.  Her smile should be right about where the purple and the cream fabric come together.  Place the raw edges of the limbs under the body and place the head sash under her head.  Make sure you like the angle of the head sash and the way that it ties before this next step.
    Using your iron, press the doll body to the pillow front as this will fuse it to the pillow.  This might feel a little trick, but do the best that you can trying to work around the limbs.  Pin the limbs and body to make sure nothing moves for the next step.
    Sew using an 1/8″ – 1/4″ edge stitch all the way around the body.  Leave the head sash open until you’ve sewn around the body.  Make sure to catch all the raw edges of the limbs under the body.  Then place a few hand stitches in the very tops of the hands to hold them in place.
    Pin your ruffle around the edge of the pillow front or back (either is fine), lining up the raw edges.  Baste stitch to hold the ruffle in place using a 1/4″ seam allowance.
    Place the pillow front on top of the pillow back with the right sides together.  Sew all the way around the pillow using a 1/2″ seam allowance, making sure to leave a 4″ – 5″ opening for turning the pillow right side out.  Clip corners, turn right side out and press.
    Stuff your pillow with fiberfill or other stuffing material making sure to work the stuffing into all the corners.  Close the bottom of the pillow by hand sewing it shut.
    Isn’t she just so sweet?

    This is such a fun and different addition to a little girls bed.  This pillow is pretty generously sized, but you could make it even bigger if you want to.

    Thanks so much for letting me share The Lolly Dolly pillow with you today.  I hope you will try to make one for a special little lady in your life.
    And don’t forget to check out ‘Dress Up Days‘……it is just too cute!

    Japanese Fat Quarter Bundle and Washi Tape Giveaway


    I’m so excited about today’s giveaway. If I could enter, I most definitely would. Today’s Japanese Fat Quarter Bundle and Washi Tape Giveaway comes to us from Modes4u.com.

    Modes4u.com is an online shop for cute fabrics, stationery, DIY items and accessories which are imported from Japan and the USA. The shop carries more than 1,000 colourful fabrics from labels like Kokka, Cosmo, echino, Michael Miller, Robert Kaufman or Riley Blake. Modes4u has a wide variety of materials and prints; just recently they added lots of organic fabrics to their shop. You get free shipping for purchases worth $78 or more to any country in the world.

    Today Modes4u.com is giving away 10 Fat Quarters of these amazing Japanese Fabrics as well as two Washi tapes to one very lucky The Cottage Home blog reader. Here is exactly what is included:


    Looks good, right? Want to enter to win? Here’s how to enter (do one or all of the following, leaving a separate comment for each entry):

    1. Visit Modes4u.com and leave a comment tell us what is your favorite product in their shop (Click Here).
    2. Like Modes4u on Facebook (Click Here).
    3. Follow Modes4u on Pinterest (Click Here).
    4. Blog about this giveaway and link to Modes4u.com (just leave a comment letting us know you did so).

    Giveaway open INTERNATIONALLY through September 18, 2012 at Midnight (CST).

    Classic Vintage May Dress

    My collection of vintage children’s patterns is constantly growing.  I am always on the hunt at flea markets, antique stores and thrift stores for new patterns to add to my collection.  I don’t think you can ever have too many!  I just love holding and touching the patterns imagining the women of the 30’s, 40’s and 50’s sewing these sweet garments for their little ones. I often wonder if I was born during the right era.  I feel like I would have fit in just right during the 1940’s.  But I digress…..

    One of the things that really attracts me to vintage children’s fashions is the fact that during the 30’s, 40’s and 50’s women really dressed their little girls like little girls.  I kind of feel the same way with my little ladies, there is plenty of time for them to dress like adults, but I want to preserve their girlhood for as long as I possibly can.  And vintage inspired children’s fashion is a great place to start!

    Today I’m sharing a little dress I created that I like to call ‘Classic Vintage May’.  When I think of a classic vintage girls dress, this is what comes to mind………

    My interpretation of a classic vintage-inspired girls dress is an a-line dress with puff sleeves, a peter pan collar, an inverted front pleat with fabric covered buttons up the back.

    For a little vintage detail I used a fabric yo-yo that was reclaimed from an old vintage yo-yo quilt and placed a vintage button in the center.  I always think it’s really fun to mix a little new with the old, so this was my little piece of ‘old’ that I paired with this more bold fabric choice.

    To me, one of the special things about vintage fashion is the attention to details.  Women in generations past took lots of time and care in the details of their children’s clothing.  One of my favorite vintage details is piping and I truly believe it can take an ordinary garment to extraordinary.

    I added a classic puff sleeve to the a-line style dress, but inserted some deep plum piping into the seam between the sleeve and the binding.

    I echoed the same plum colored piping from the sleeves and inserted into the peter pan collar.  Is there anything sweeter on a little girl than a peter pan collar?  I don’t think so and adding piping is an easy detail that can add a lot of wow factor to your vintage inspired children’s fashion.

    And finally, let’s talk a little bit about fabric.  A great way to update a vintage look is to use more modern patterned fabric.  I’ve certainly see some absolutely adorable reproduction vintage fabrics on the market, but my style is a little more bold.  I chose this larger print for the main dress and a slightly smaller scale accent fabric for the sleeve binding and collar.  The only real vintage fabric I included was the fabric yo-yo in the center of dress.

    Some people shy away from using large prints in children’s garments, but I think you can make it work if you use these fabrics strategically.  Also the modern fabric that I chose had vintage influences in its design as well, so I think it pairs well with this style dress.  Using modern fabrics helps bring the classic silhouette into modern day.  Fabric is from Tula Pink’s ‘Parisville’ line.

    So I leave you with some pictures of this sweet ‘Classic Vintage May’ dress that were taken out by the well in front of our house.  The well no longer works, but back when our cottage home was built in 1934 it was visited and used daily. I can just see a little girl wearing this style dress running around our front yard playing while her mommy and daddy gathered water from the well.  Those were simpler times, but it sure is fun to bring a little of that vintage back!