Tulip Petal Sun Hat
Fabric Line: ‘Sunny Happy Skies’ by Bella Blvd for Riley Blake Designs
Do the exact same thing with the other three exterior petal pieces. So that you end up with two large pieces that have three petals each.
Place the two, three petal pieces with the right sides together and stitch according to picture above. Press seams.
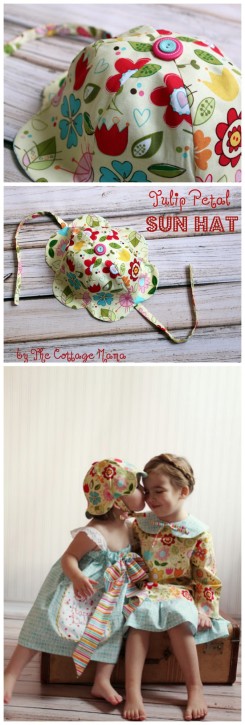
FREE Girls Sun Hat Sewing Pattern from The Cottage Mama


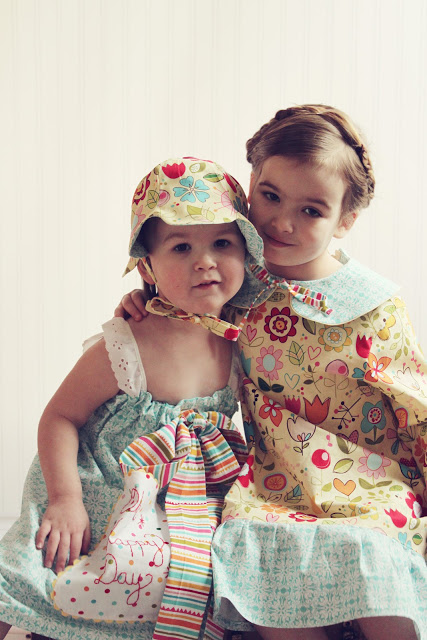
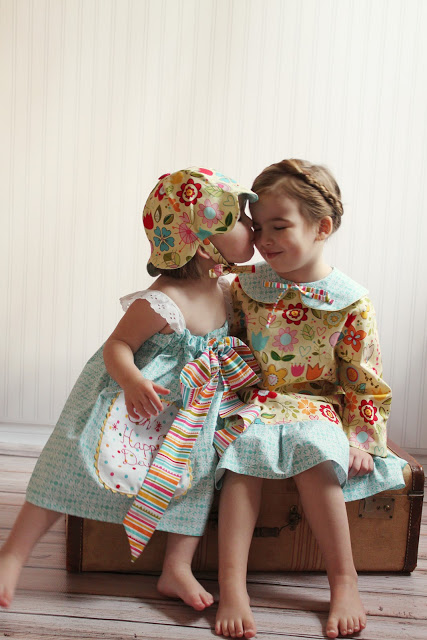
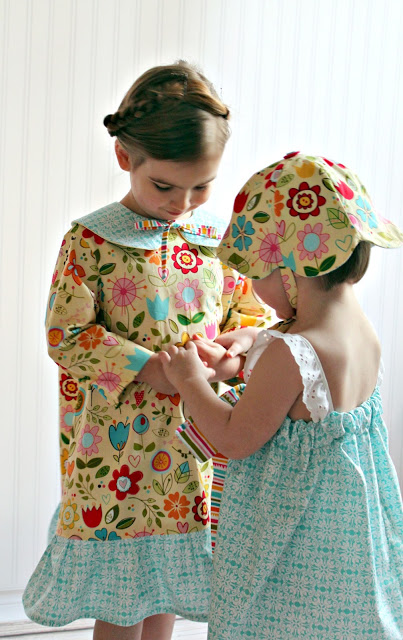
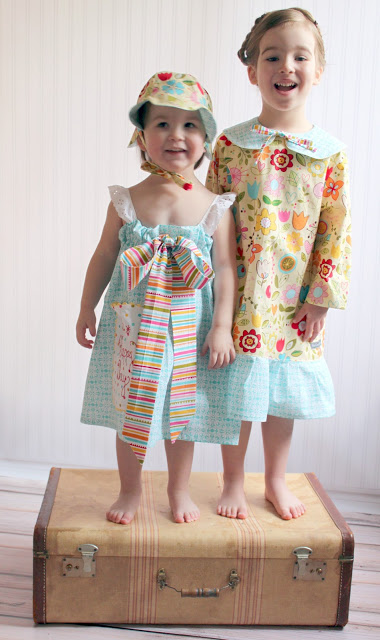




 Lindsay Wilkes is the owner and designer behind The Cottage Mama. She creates timeless, vintage inspired sewing patterns for children’s clothes. She is also a fabric designer for Riley Black Designers / Penny Rose Fabrics, author of the book ‘Sew Classic Clothes for Girls’ and can be seen teaching nationwide and online in her video series ‘Lessons with Lindsay’ sponsored by Baby Lock Sewing and Embroidery machines.


Love this sweet hat! 🙂
Love this sweet hat! 🙂
I have a obsession with hats! I have only made the bucket type sun hat since I only have a son…but now with a baby girl on the way, I will be trying this petal hat. Thank you for sharing!
Ohhhhh this is adorable… I love the colour teal. Your design is so pretty and makes me wish I had a little girl to dress. lovely blog post. I would LOVE IT if you would consider linking this blog post up to my Linky Party — It’s called ‘Sunday School’ and it’s meant for blog posts just like this one… A tutorial. I choose my favourite and give you a BIG shout out next Sunday. 🙂
http://Www.snapdragonshots.com
Jennie. Xx
Thanks for the tutorial, a great hat
Love this hat! Way too cute. I think I will try this for my almost 2 year old, hopefully she will keep it on (even with the strap). God Bless!
I think I’ve said this before, but I wish you were my mom when I was little! Your girls are always dressed in gorgeous combination! And thanks for the tutorial -it’s a sweet sweet hat.
Just adorable!!
So beautiful! Love the hat and the dresses you made for the girls! Thanks for sharing the hat pattern. ♥
Love it so much! Thanks for sharing. I had to smile, because I just bought this same fabric (but with pink background) last week for a hoop art custom order I was making for a friend. Such an adorable print, and great choice for a hat.
I do love this hat Lindsay! So stinking cute, I love how it looks scalloped on the border – and could totally be reversible! So cute
THank you for sharing.
I love all your work. It looks so neat!
I might try this one for our new baby….
Blessings
These designs are so lovely and so are the little girls. The hat is adorable, too!
I just wanted to say thank you very much for the hat pattern, as a novice your instructions were super easy to follow and I will definitely be making this again, my little girl looks adorable in it.
xx
This looks like just the ticket! I printed the pattern, and it just seems a little large, and I’m wondering if it printed the right size. I did print it at 100% scale, but wondering if you have a measurement I could check to be sure (maybe length from the point to the bottom of the petal?). Thanks!
Hi Tonie,
Well, the pattern piece should fill up almost the whole page. The seam allowance is 5/8″ so it will shrink down considerably when you put all the pieces together and line the hat. Hope that helps!
Darling hat! Am going to try it for my granddaughter. Where did you get the material(s) for the hat? Those are both adorable and would really like to find some like that. Thanks
thanks for sharing.
Firstly, thank you very much for sharing. I have made this sun hat and it turned out so cute and nice. I just cant imagine I can do it as I have very little knowledge of sewing. So far this is the fifth hats I have made so far.
SWEET AS CAN BE . . . your colorful Tulip Petal Sun Hat tutorial! I love the multi-colored floral fabric print with turquoise & white print lining as well. Directions are precise and photos are FAB. PLUS DARLING photos of your little girls. Lots of LOVE sewn into these outfits! Sarah in Minneapolis
Thank you for this adorable pattern! I love it 🙂
Oh so cute. I found you on Frances Suzanne free pattern round up party. If my daughter likes this, I’ll be making one for my granddaughter that lives in the tropics. Thanks for the cute pattern!
Joy @ http://xoxograndma.blogspot.com/
I am working on it now for our granddaughter who live in Florida. You mention to use 5/8″ seam allowance. On the straps, do I trim the seam allowance before I turn it or should the seam allowance be less than 5/8″. It seems to be bulky when I turn it inside out.
Such a sweet little hat! I’ve made four so far for my little nearly 2 year old granddaughter. I had to make the pattern a little smaller for her as the first one I made up swamped her! I just measured her head and divided by 6, added a little bit and adjusted the pattern accordingly. It worked a treat, so now I’m on a roll!
Also, instead of leaving an opening on the edge of one of the petals, I leave a gap on one of the seams of the lining – so much easier to close than a curved petal edge (and I cheat by machining it shut – it’s only the lining, so it doesn’t matter)
Thank you so much for this gorgeous pattern, I really appreciate it 🙂
Thank you for sharing this adorable hat pattern. I made one for my granddaughter to go with her Easter dress. She’s a small 7 month old so I reduced the pattern to 80%…worked perfectly. I like Theresa’s suggestion to leave an opening in one of the seams of the lining. That would have been so much easier than shaping the curve of the petal. While I was at Staples making the reduction to the pattern, I also made one at 85% an another at 90%. Now I will have several sizes to sew up. I also want to say that your daughters are just adorable.