
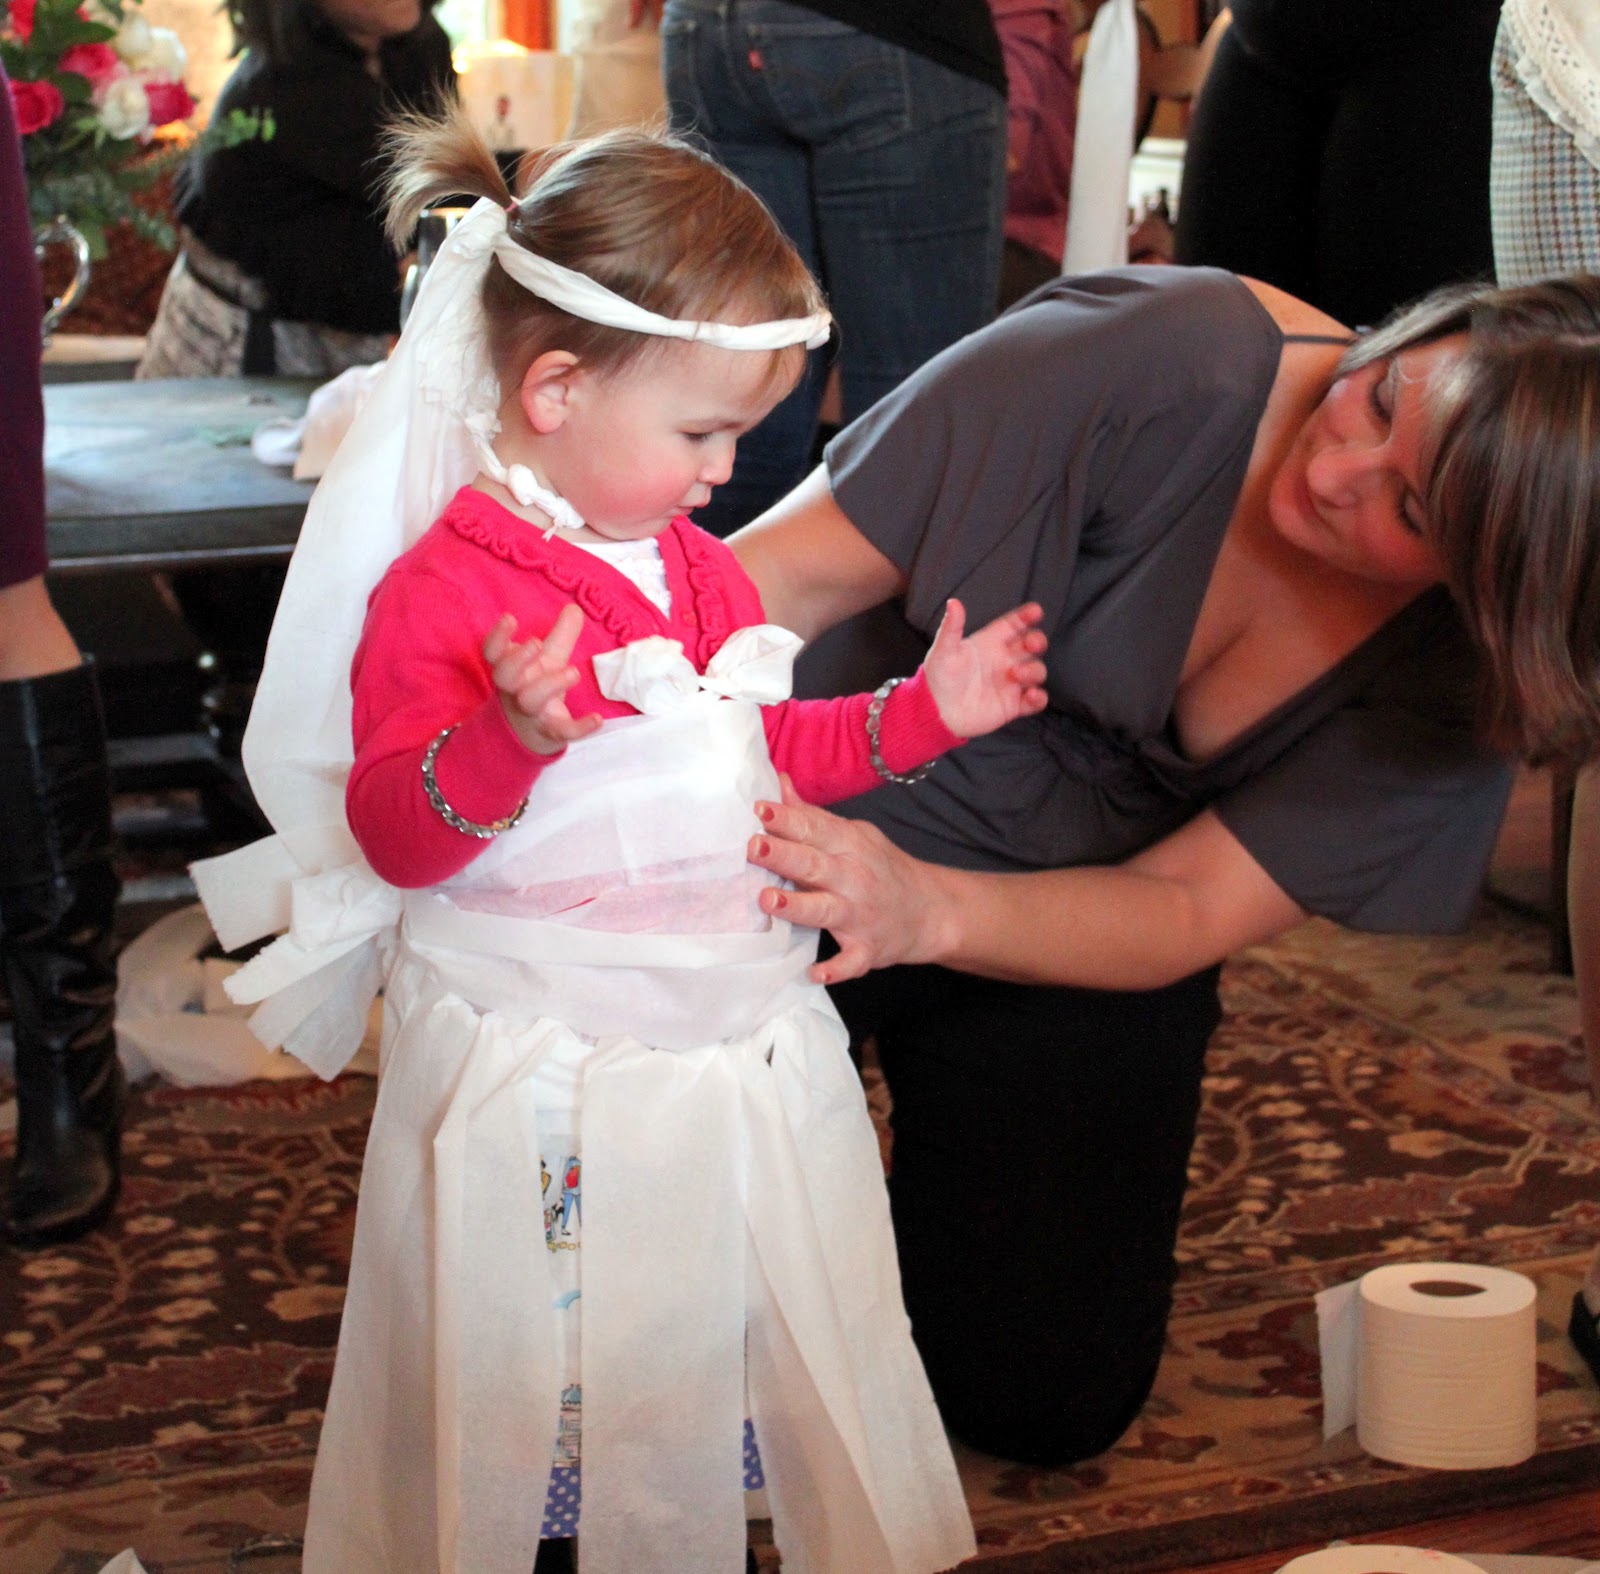
Well, seeing as though my sister-in-law’s wedding was this past weekend, I figured it was about time for me to finally post these pictures from her french-themed bridal shower. Her shower was many months ago, but with so much going on lately, I just never got around to sharing these with all of you. We won’t have the wedding pictures back for a couple weeks, so I’ll fill you in on how the girls did as the flower girls and the whole wonderful experience once I have some pictures to share. All I can tell you right now is that is was amazing and my sister-in-law, Abigail, was simply stunning.
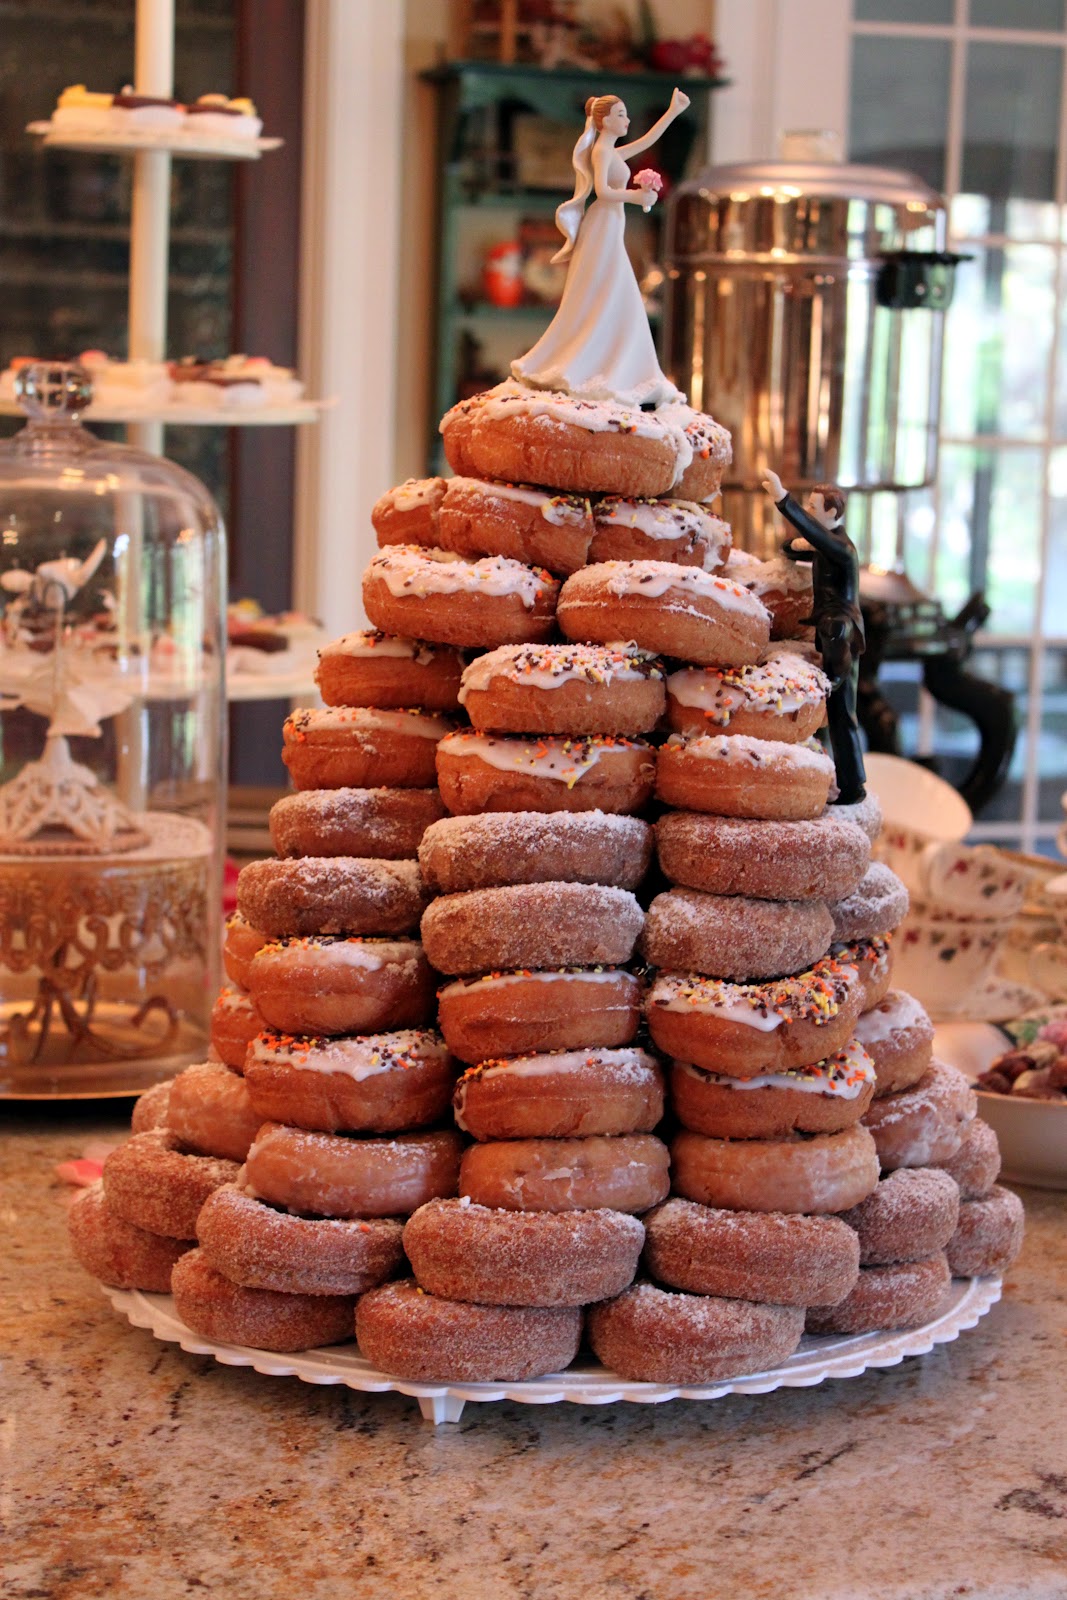
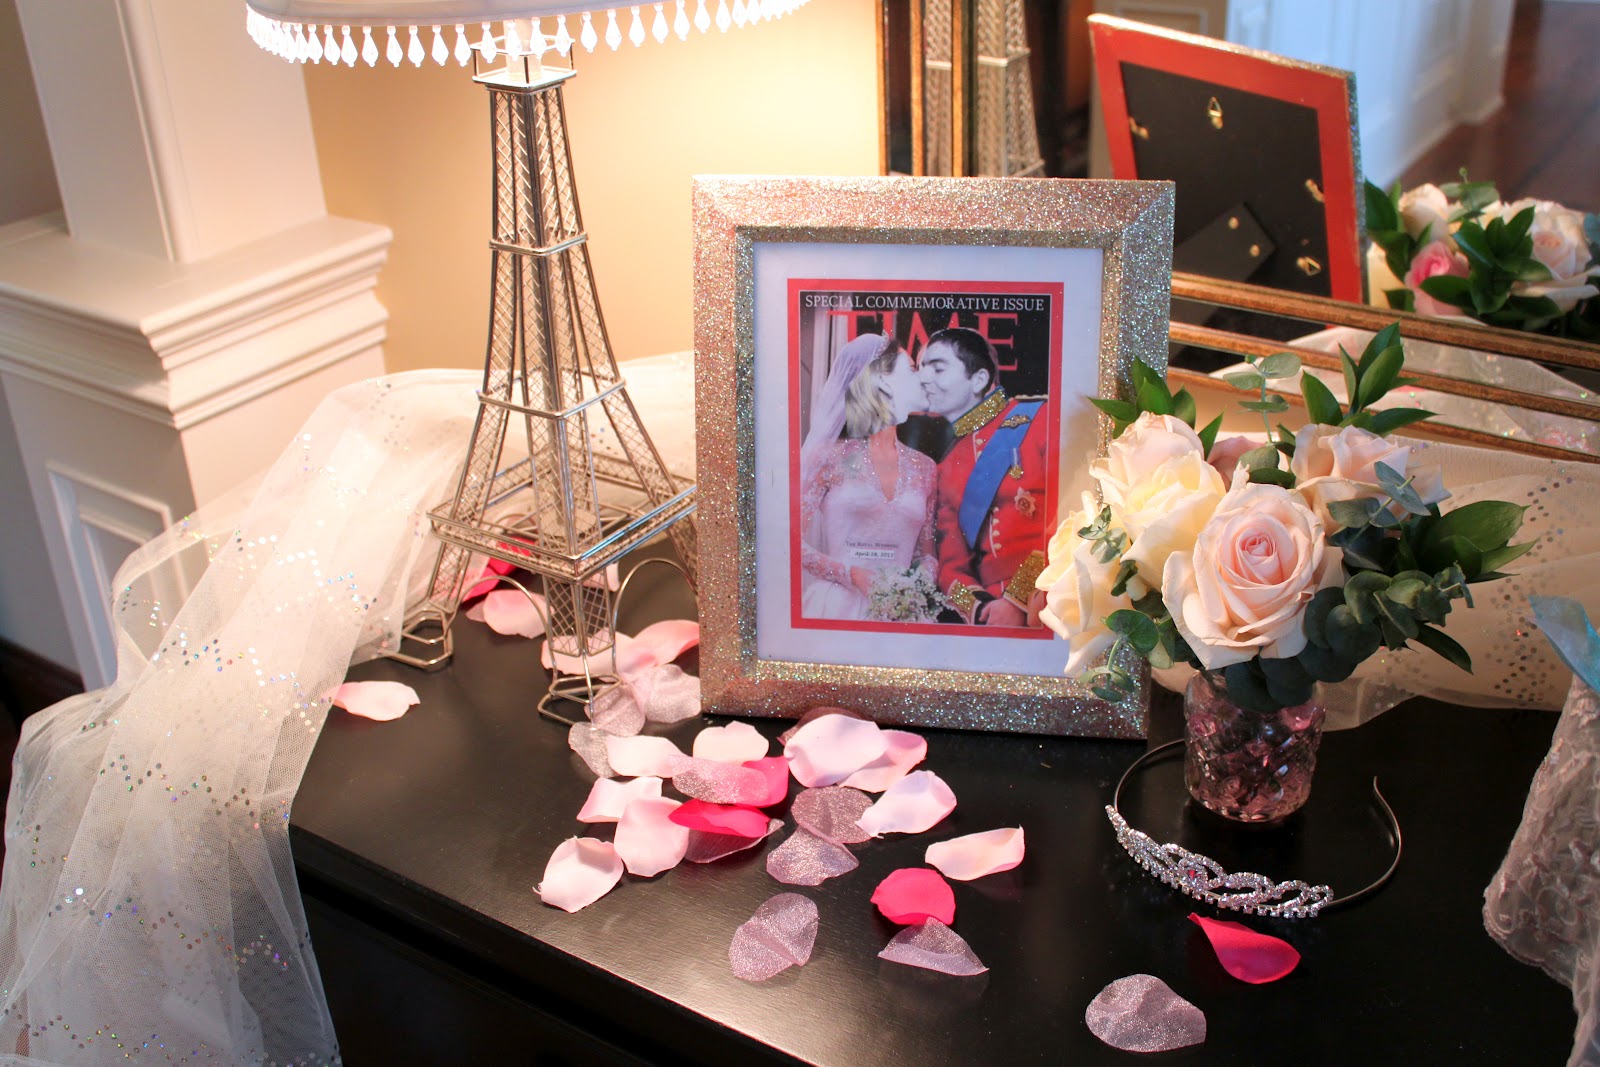
I know I talk about my mom a lot here on the blog, but my mother-in-law, Vicki, is quite the creative soul herself. She makes art dolls and has a fabulously decked out studio in their home. She also knows how to throw a really great party. So she went all out when it came to her daughters bridal shower. Abby and Bryan left yesterday to spend two weeks touring around France on their honeymoon, so the entire bridal shower was centered around their honeymoon destination.
Are you ready for a lot pictures? Here goes…….


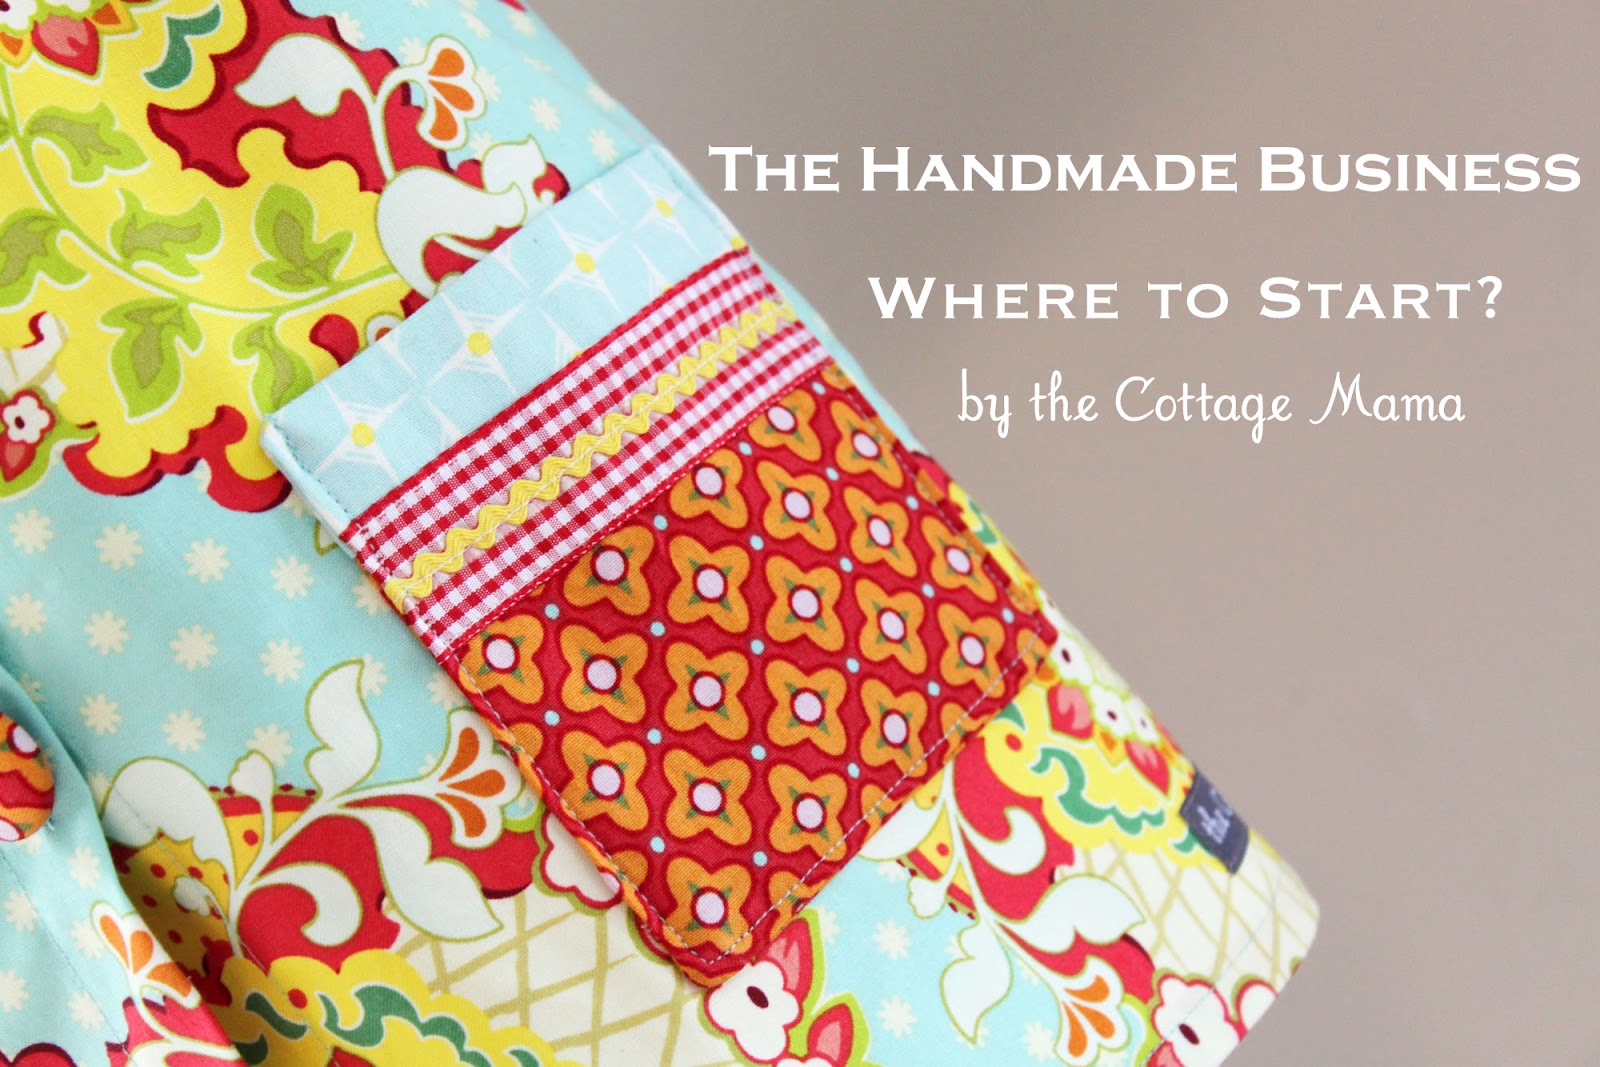


 Lindsay Wilkes is the owner and designer behind The Cottage Mama. She creates timeless, vintage inspired sewing patterns for children’s clothes. She is also a fabric designer for Riley Black Designers / Penny Rose Fabrics, author of the book ‘Sew Classic Clothes for Girls’ and can be seen teaching nationwide and online in her video series ‘Lessons with Lindsay’ sponsored by Baby Lock Sewing and Embroidery machines.


