Archives for January 2012
5 Months Already?
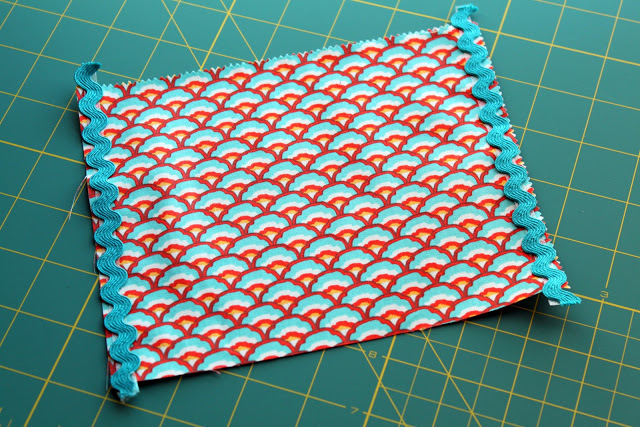
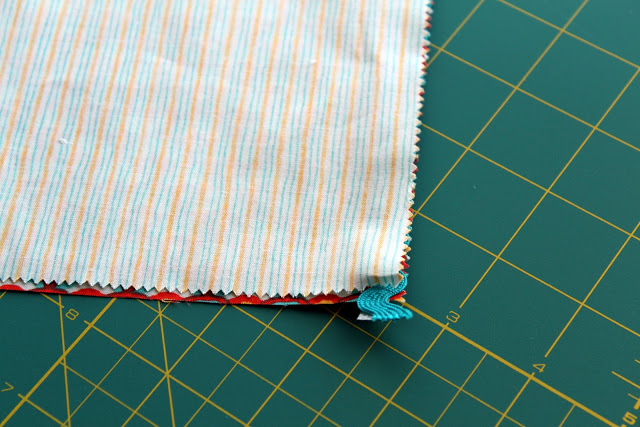
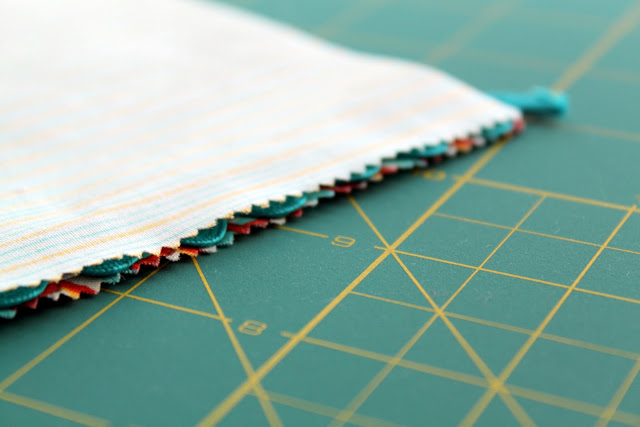
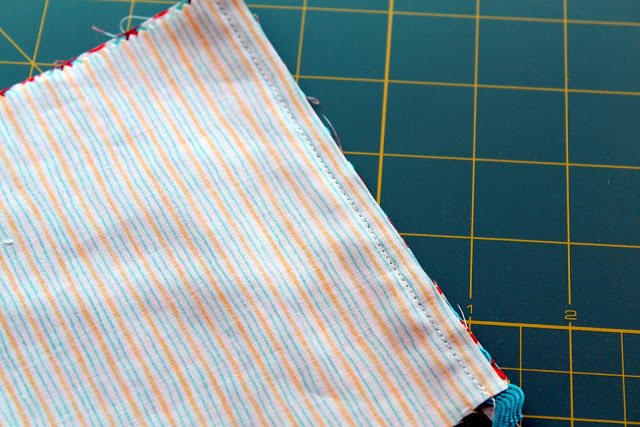
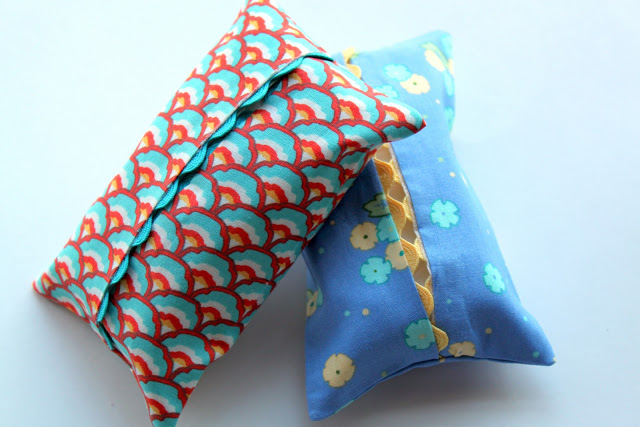
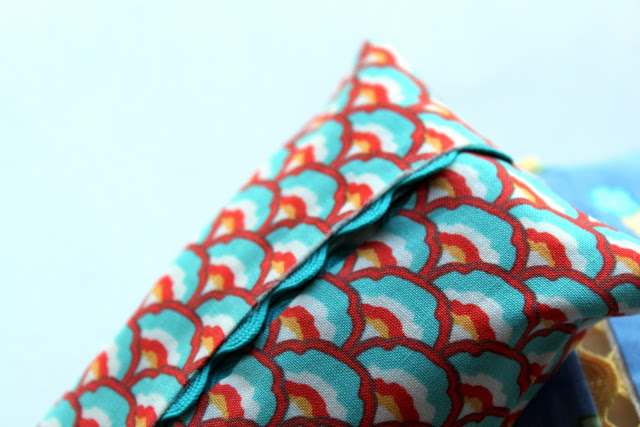
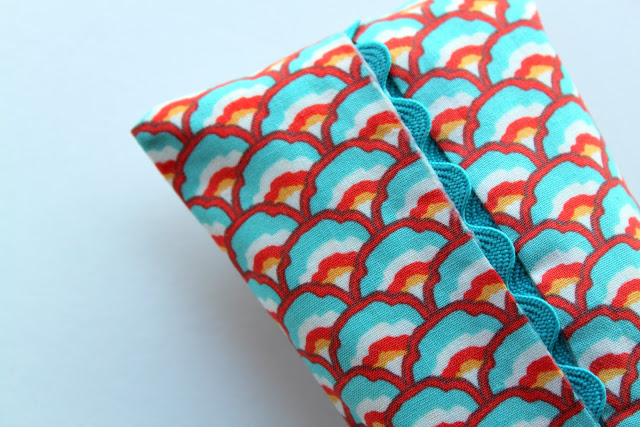
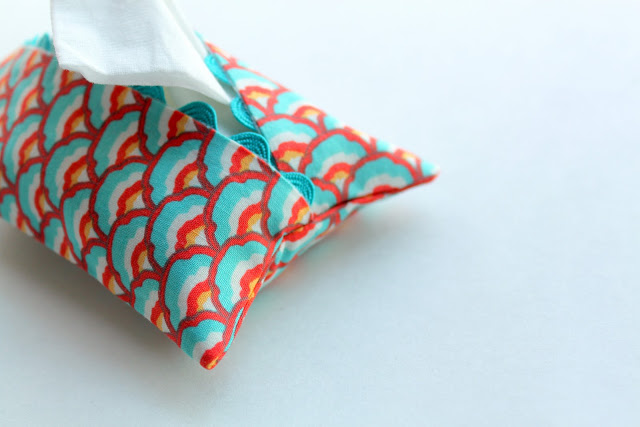
Rick Rack Travel Tissue Holder ~ Tutorial
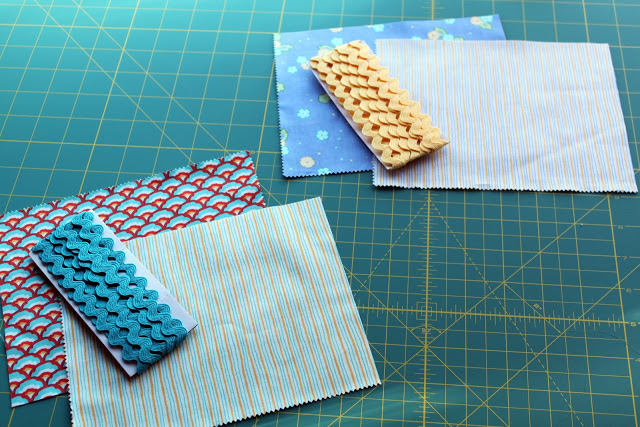
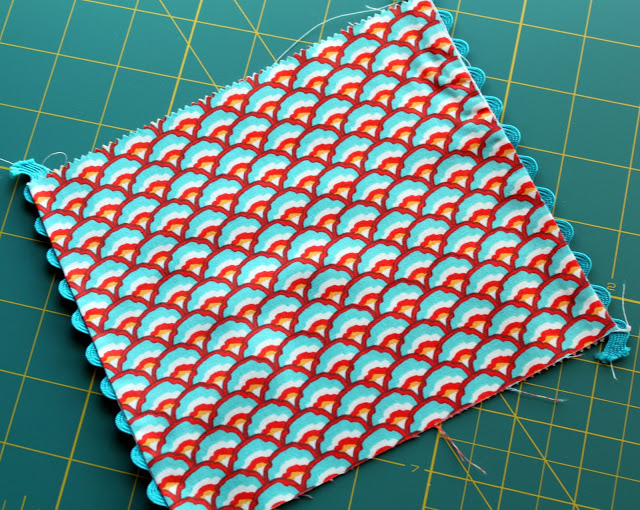
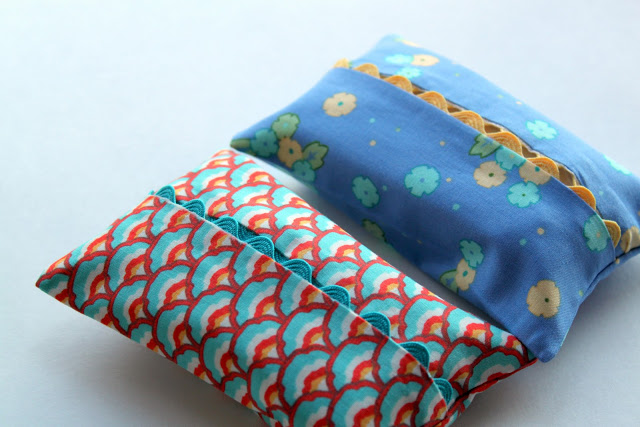
These last couple weeks we have been sick with some pretty nasty colds around here ~ tis the season, I guess. It is the worst feeling to be caught out and about without a tissue in sight. I mean, what is a girl to do? I’ve been meaning to make some travel tissue holders for the last year and I finally sat down and sewed some of these little cuties.
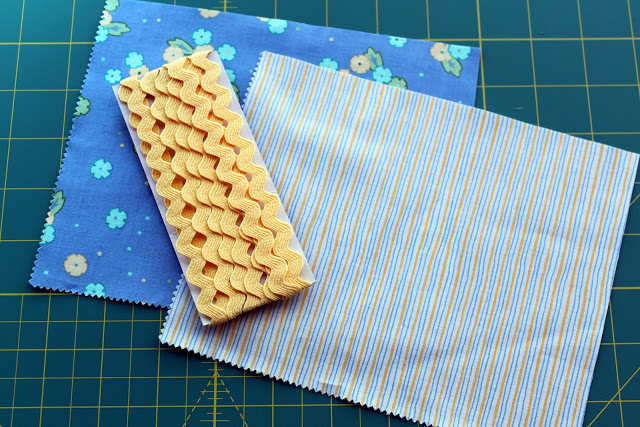
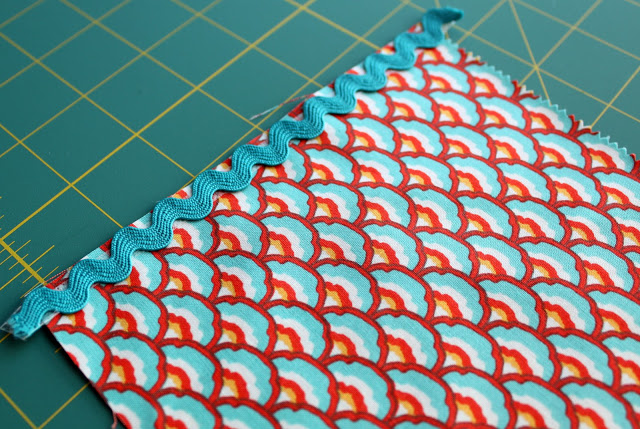
As most of you know, I’ve got a thing for rick rack, so I decided to incorporate one of my favorite trims into the design. This project is a really great way to use up scraps as it only takes two small squares of fabric. If you are in a ‘scrap busting’ kind of mode, this is going to be a great project to put those scraps to good use.
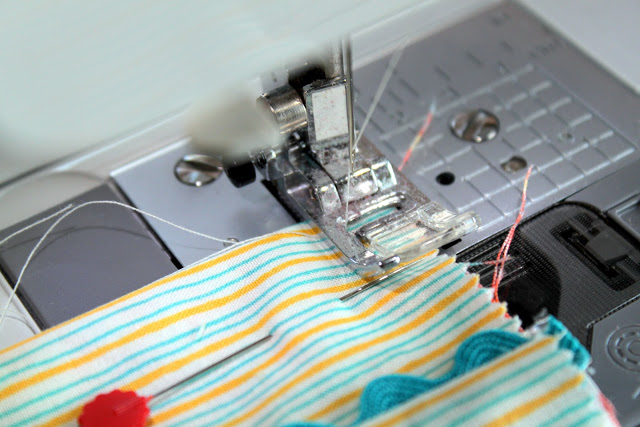
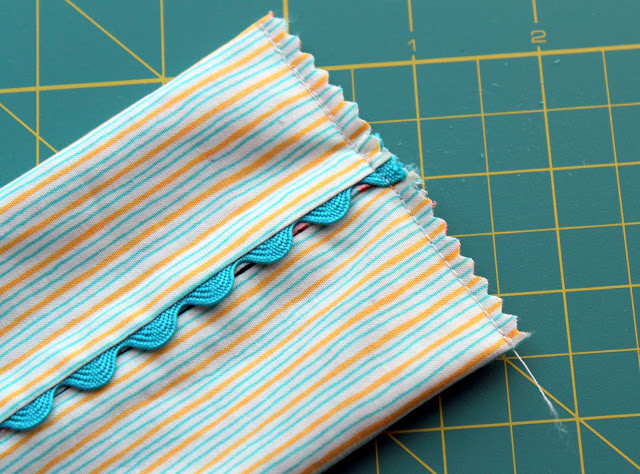
Also, if you are just starting out sewing, this is a perfect beginner project and if you are a seasoned pro, these fun travel tissue holders will take you minutes to sew together. Let’s get started…….
The Cottage Kids Favorite Toys ~ Age 2 through 4
The question about work-life balance has come up from quite a few of you lately. You want to know how I balance being a wife, a mother to three young children, and a small business owner? For right now, I’m not entirely prepared to answer how I ‘do what I do’ because I’m still formulating my thoughts on that topic. I’m imagining me saying, ‘just run around like a crazy woman’ is not exactly the answer you were looking for…….though sometimes it’s the truth. So until I can clearly articulate myself on that topic……..I thought I would share some bits and pieces of our life that will maybe bring the whole idea work-life balance together.
For the most part (excluding today ~ ugh!), the girls are really good at entertaining themselves and playing together. The fact that they are only 16 months apart really helps because they are pretty much interested in the same things. I would say they are definitely each others best friend. Having them be able to play independently helps allow me to tend to their baby brother, Caspian Finn, and get some work done with The Cottage Mama.
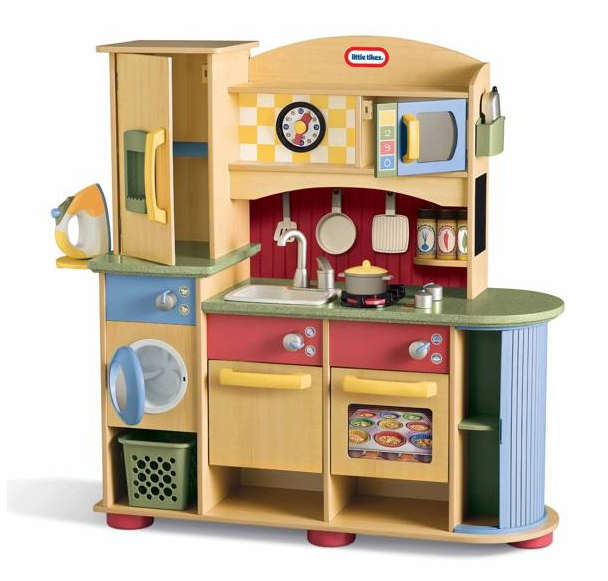
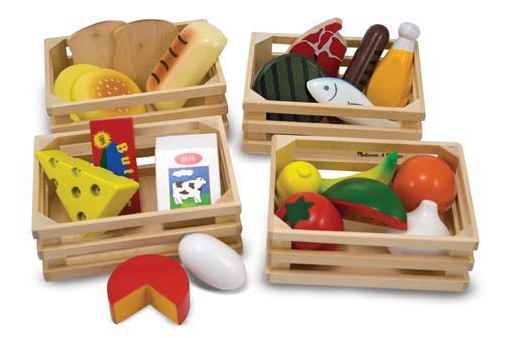
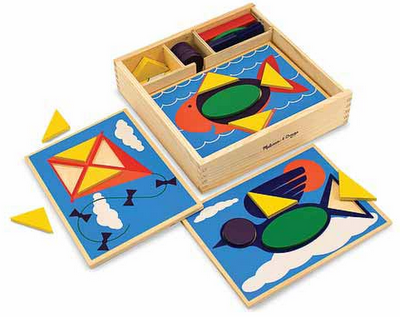
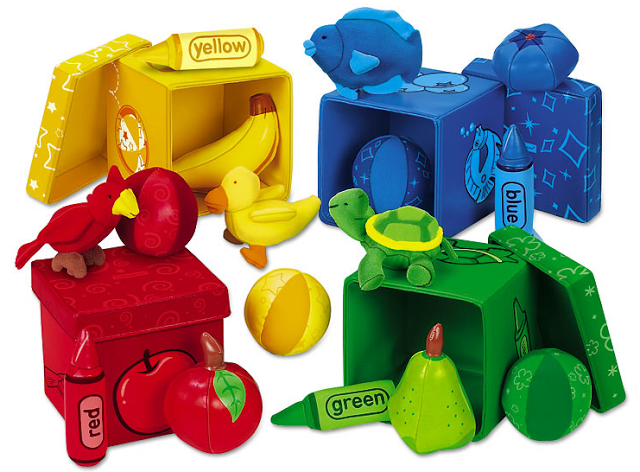
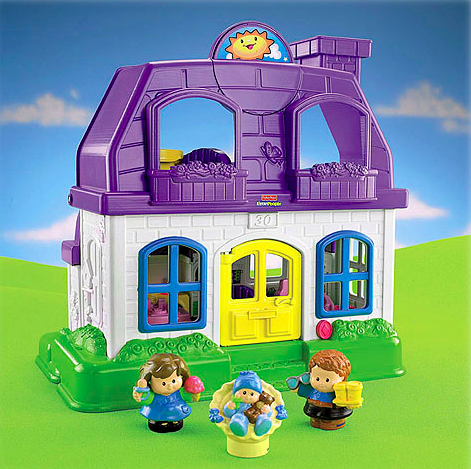
Today I thought I would share some of The Cottage Kids favorite toys. Now mind you, Matilda Jane is 2.5 years old and Savannah is almost four. So, these are what they are into now………I’m sure that will change down the line, but I’ll give a little update when it does. I also think it’s fun to see what other kids are into and might give you some new ideas for toys for your little ones.
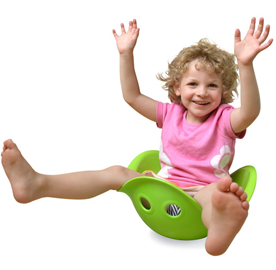
The Bilibo is a new toy that the girls received for Christmas from my in-laws. We aren’t entirely sure what it’s supposed to do, but that’s the beauty of it ~ it can be anything you want it to be. You can sit in it and spin around, you can put your baby dolls in it as a little doll bed, you can wear it on your head and pretend to be an astronaut (a favorite idea of Savannah and Matilda), you can carry your toys around in it. The wonderful thing is that it lends itself to great imaginary fun.
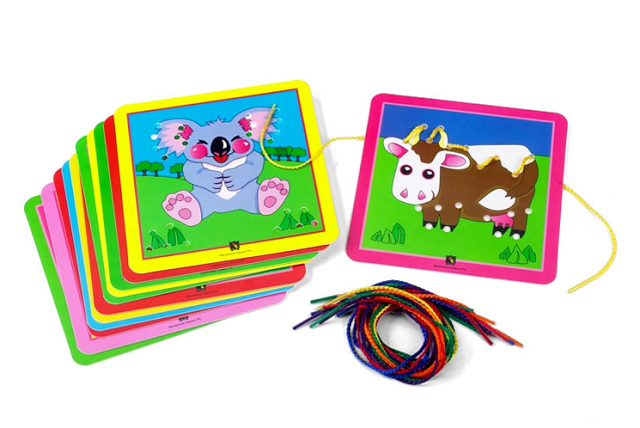
Beginner Pattern Learning Blocks
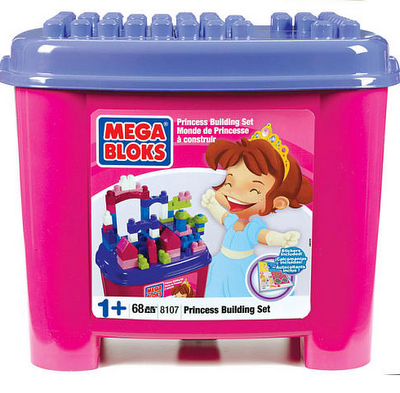
Mega Blocks Princess Building Set
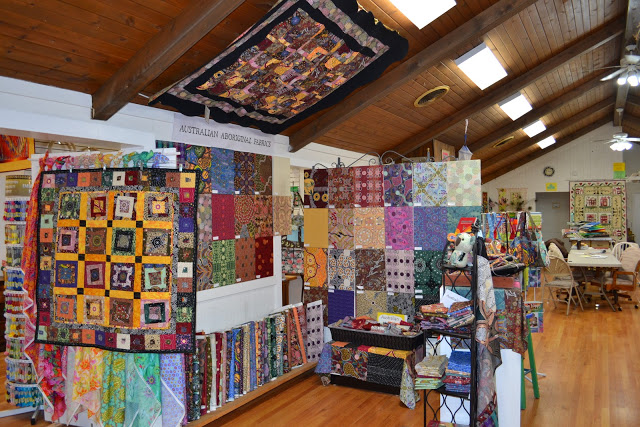
Sponsored Australian Aboriginal Fabric Bundle Giveaway ~ Heartsong Quilts
Winners, Winners……
Sodee Naturals Winner:
Biltmore Inspirations Winner:
Congratulations to both of you! If you could please email me at thecottagemama[at]gmail[dot]com with your contact information, we will get your prizes out to you as soon as possible.
Thank to everyone who entered. There’s another great giveaway going up today, so if you like fabric, come on over to The Cottage Home.
If you are interested in becoming a sponsor of The Cottage Home blog, please email Lindsay at thecottagemama[at]gmail[dot]com
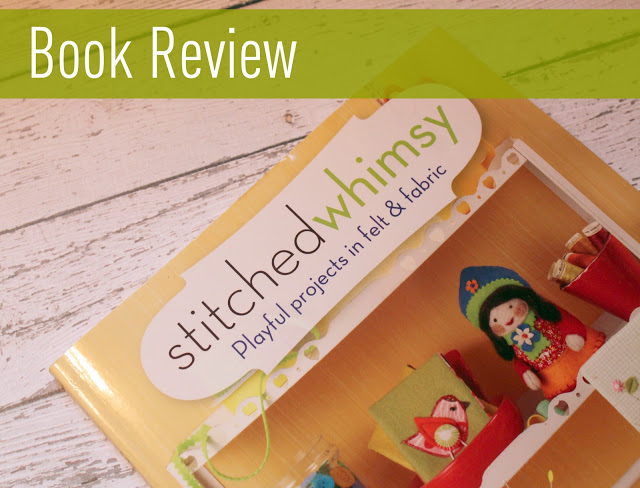
Stitched Whimsy by Heidi Boyd ~ Book Review
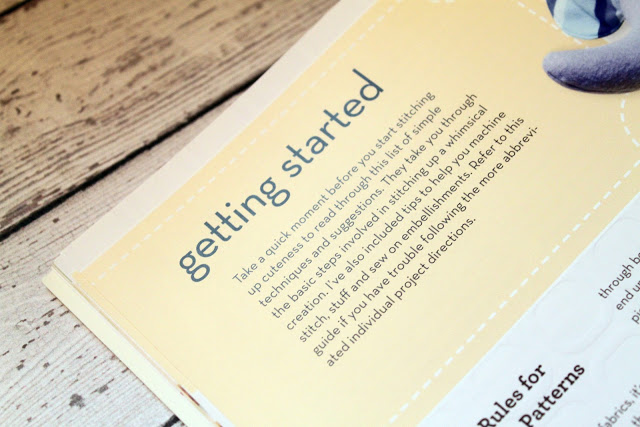
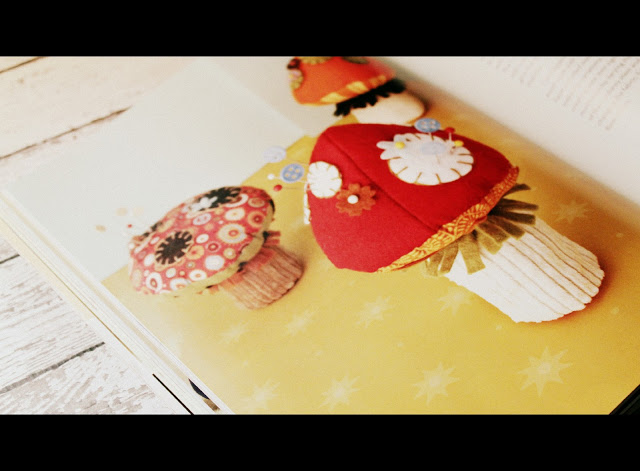
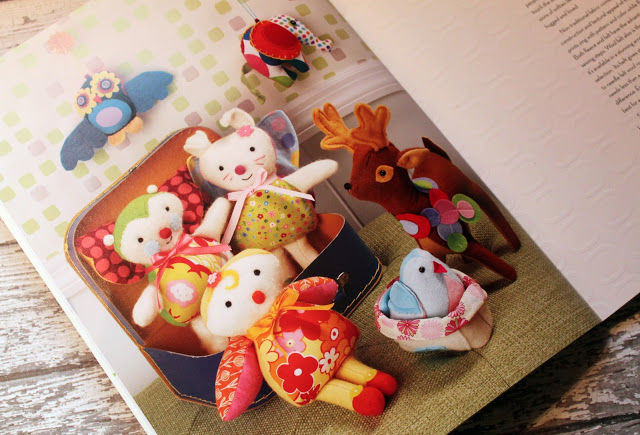
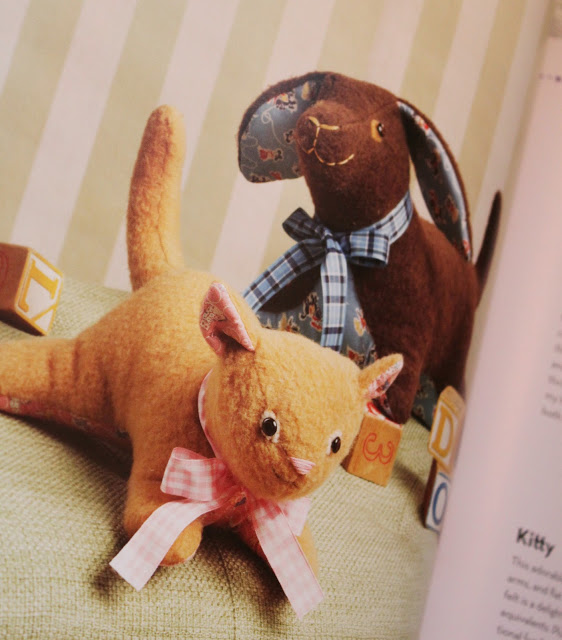
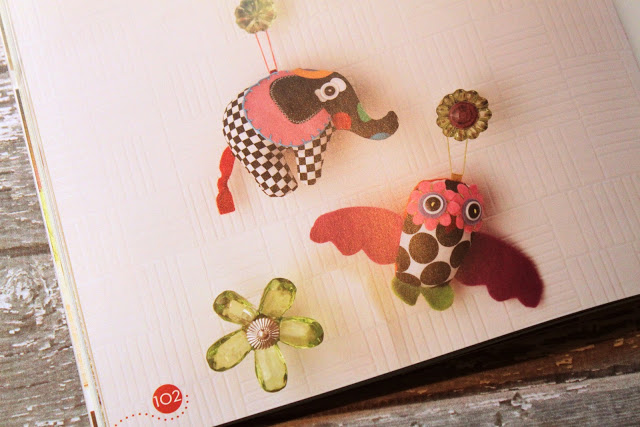
‘Stitched Whimsy’ by Heidi Boyd is one of the cutest sewing books I have ever been sent to review. The projects throughout the book are just as the title states ~ whimsical! If you are looking for a book to inspire creativity and create special, handmade toys for your little ones, look no further. Think turtles, mushrooms, little birds, elephants, giraffes, owls, felt food and so much more!
‘Stitched Whimsy’ is divided into four different sections and contains projects involving needle felting as well as sewing.
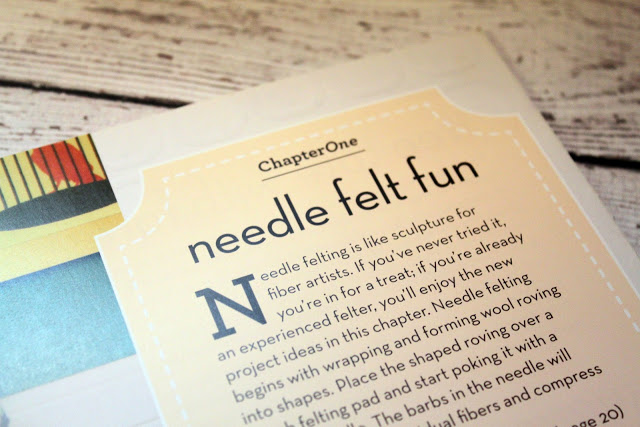
~Needle Felt Fun
~Whimsy for the Home
~Lovable Plushies
~Felt and Fabric
I have always been interested in needle felting, but have never given it a try. There are lots of hobbies that I think I could get into, but sometimes I feel like it’s best to stay focused on just a few so I don’t get overwhelmed. But I could really see myself getting into needle felting if I ever gave it a try.
The fact that this book breaks down all the different types of wool felt is an invaluable resource. The author goes through the use of 35% wool felt, 100% wool felt, felted recycled sweaters, and more. In addition to categorizing the different types of felt there are also sections defining different types of fabrics, wool roving, stuffing, and embellishments (such as beads, safety eyes, buttons, ect).
The book contains very specific instructions on what types of tools will be needed to complete the different projects from sewing machines, needles, cutting tools, needle felting tools, adhesives and marking tools. If you’ve thought about entering the world of sewing softies, this book is a wonderful resource.
Most of the projects I make for my children are clothing and the occasional quilt because that’s what I love to sew. But this book has definitely inspired me to start sewing toys and softies for my kids. The cuteness is almost unbearable and I just love all the little details in each project. I really appreciate the author’s breakdown of embroidery stitches as well.
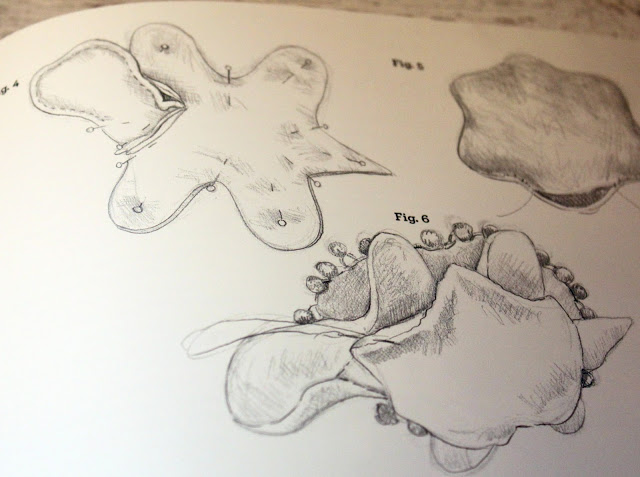
The step-by-step instructions are wonderful and easy to follow. There are pictures as well as hand-drawn illustrations that are really charming and well done. I also love that many of these projects can be done with scraps of fabric. And my goodness……..do I have scraps…….it’s ridiculous! And I’m all about using up those scraps this year.
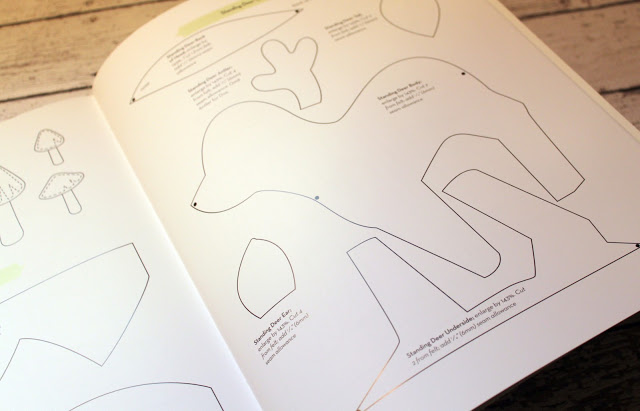
My only negative thought on this book is the fact that it does not come with full-sized pattern pieces. Why do people do that? I mean I know why they do, because it saves money on the printing, but it is so frustrating for the buyer. To be honest, I have not purchased books for this reason, but sometimes a book is work the extra effort of enlarging the pattern pieces. You can enlarge some of the pieces on your home printer, if you have a scanner/copy model, otherwise, you’ll need to take a trip to your local Kinko’s or copy store.
No compensation was received for this post. I simply received a copy of the book from the publisher for my review. All opinions and thoughts are 100% mine.
On my mind…..Life, Love and Joy
For some reason I feel compelled to write today. As I sit here in my bed trying to recover from a bad sinus infection and a double ear infection, I cannot feel sorry for myself. I cannot feel sorry for myself because I am blessed beyond words. I am blessed with overall good health, my family, the roof over my head, food on my table, my beautiful babies, my incredible husband, my friends and just life in general.
Ever since Ashley of Lil Blue Boo posted her ‘Right of Passage’ video on her blog, I can’t seem to get her, her family or the video out of my head. Have you been following her ‘Cancer Chronicles’? If not, I encourage you to visit her blog and start from the beginning of her journey. I will let you read her entire journey for yourself, but whether or not you have been through anything like this, her attitude is awe inspiring.
I think her story speaks to me because that person going through cancer could very well be me. We are of similar age, both with young children, both in the prime of our lives and the idea of what she is experiencing is unimaginable. My heart aches for her. I want so badly to jump through my computer screen and hug her. The fact that Ashley manages to ‘choose joy’ during this difficult time is just amazing. I can only hope that if I was dealt the same hand of cards, that I would ‘choose joy’ as well. I love her positive outlook and her ‘can do’ sort of attitude. With every challenge she faces, she continues to go through life looking at the glass as half full.
Ashley has received emails questioning her truthfulness about her experience because she is so positive. Is she keeping it real? They are wondering about her fear and her pain. Maybe that is in the back of her mind, but she is choosing to live life and choosing to focus on joy in her current situation. And I just love it! I think we need more people in the world that focus on the joy in life. What good does it do anyone to live in the negative?
I have often been criticized for living life in such a positive manner. For not ‘keeping it real’. I know that seems kind of weird (and it actually feels weird to write it), but it’s true. People wonder……can she really be that happy? Sometimes I think misery loves company. Personally I choose to focus on the joy that I have in my life. Yes, being a wife and mother and juggling a small business can be difficult and trying at times, but I do the best I can and I try to focus on the good rather than the bad. Is that keeping it real? For me, it is.
Have I been through tough times? Yes, but I choose not to dwell on them and I do not let them control my life. I have experienced a miscarriage and I have suffered through postpartum depression after the birth of my first child. But rather than dwelling on the negative in both those situations, I choose to share my story in hopes that others can gain positive support and information through my difficult times. I am in no way suggesting that if you are going through a tough time that you shouldn’t talk about it and share it with others. We cannot control the cards we are dealt, but we can control the way in which we deal with them.
I do not know what the future holds for Ashley, I can only hope and pray that everything turns out for the best. But I do know that God has chosen her for this path and journey for a reason. I’m quite certain He has chosen her to inspire others, to help people not sweat the small stuff and to make us all focus and be thankful for the joy and blessings that we have in our lives. I don’t know about you, but I know that she has caused me to hug my babies a little tighter, kiss my husband a little more and be thankful for the joy that is in my life.
I hope that the next time you are dealt with a difficult situation that you will think of Ashley and will rise up and find the joy that is in this wonderful life that we live. We all have SO much to be thankful for. If you know anyone going through a difficult time, share Ashley’s story with them……..she is such a true inspiration!
Biltmore Inspirations Inspired Living Giveaway ~ $50.00 Gift Certificate
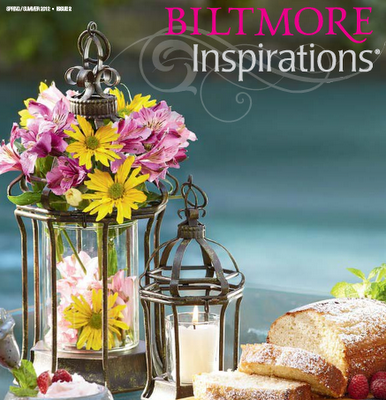
Have you heard of Biltmore Inspirations? Well, today we have a fabulous giveaway for you from this new and growing business! I was recently introduced to Biltmore Inspirations through my good friend, Danica. She has signed on as an independent sales consultant with the company and is the sponsor behind today’s, generous $50.00 gift certificate. Biltmore Inspirations is an exciting, new home-based party plan business from Biltmore. That’s right, Biltmore—as in America’s largest home, located in Asheville, North Carolina.
Biltmore stands for gracious hospitality, amazing design style, and the warm, welcoming feeling of being a special guest in the home of good friends. They want to share that experience with you through Biltmore Inspirations—an outstanding collection of exclusive tabletop products, chef-selected foods, home decor, wine accessories, and regional artist-inspired products, all inspired by the unique beauty of Biltmore.
Biltmore Inspirations hopes to inspire families to celebrate every day with style by embracing the Biltmore legacy of gracious hospitality, philanthropy, and entrepreneurship. They also believe every home should be a welcoming retreat for family and friends. They achieve this by cultivating the passion and talents of sales consultants to build successful businesses by sharing products for today’s lifestyles, a collection inspired by Biltmore’s heritage of family, craftsmanship, and design.
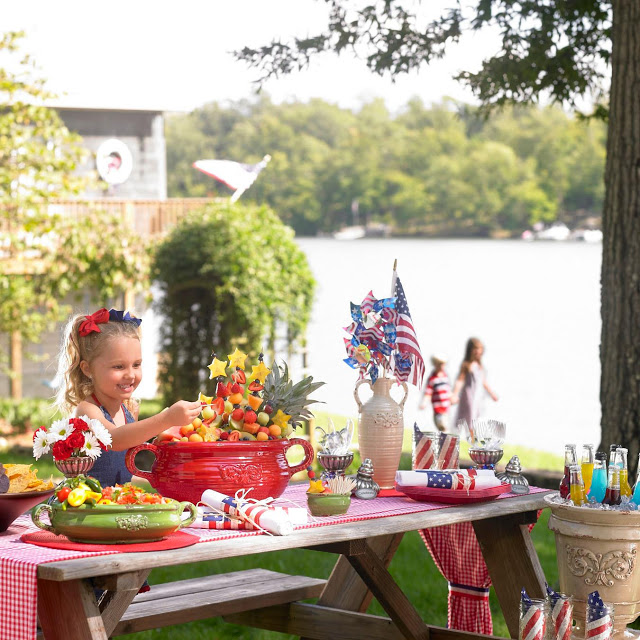
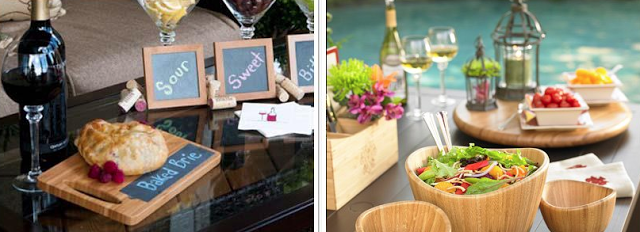
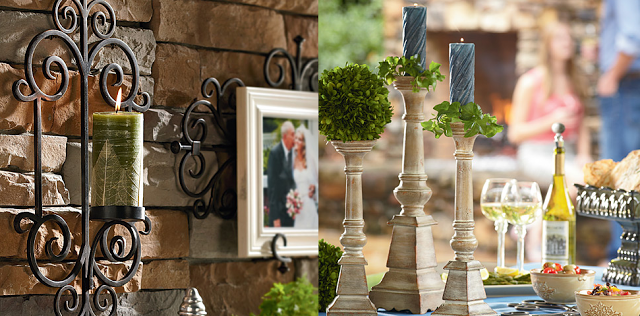
Biltmore Inspirations offers a wide variety of products for the home and entertaining.
Here are some of my favorites:
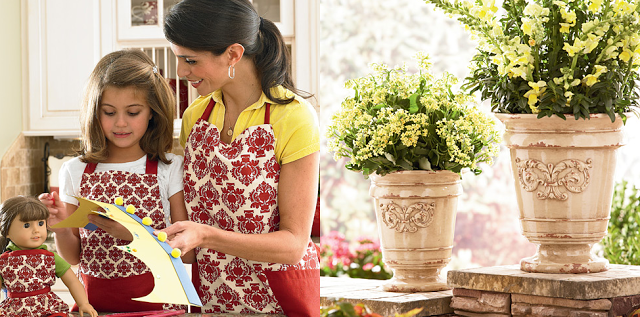
I think the matching mommy, daughter and doll aprons are just too cute. Any little girl would be in heaven with a set of these. Also, these two beautiful urns would look great in any house.
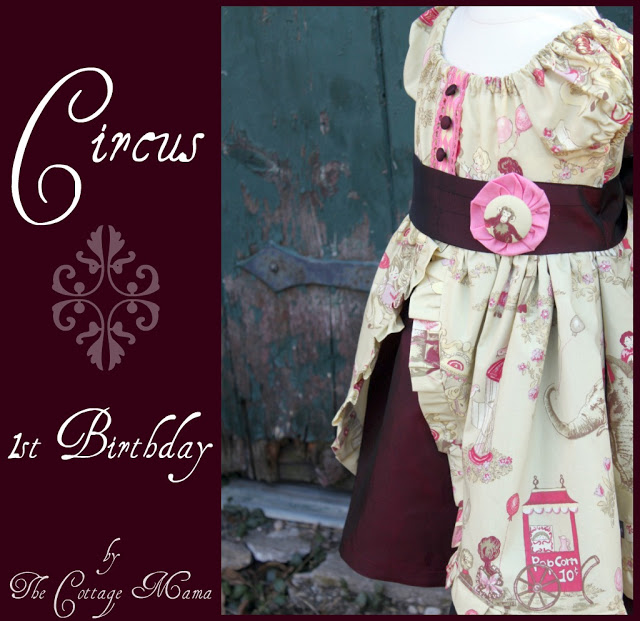
Circus 1st Birthday Dress from a Repurposed Bridesmaid Dress
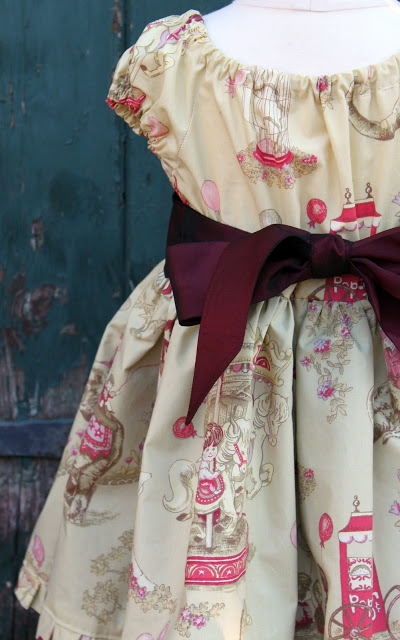
My friend, Danica’s, daughter, Aaralyn, turned one a couple weeks ago. And for her party, I designed and sewed a dress as a gift from our family to the little princess. Danica is a professional photographer (Flora Danica Photography), so she had definite visions for how she wanted this dress to look. She had shown me a bunch of different ideas that she had, but she couldn’t quite pin down exactly what she wanted. You know that feeling? Where you know what you want, but you just can’t quite find a picture of what is in your head. So with great faith, she allowed me to go to town with the design and trusted that I would come up with something that she loved. Talk about pressure.
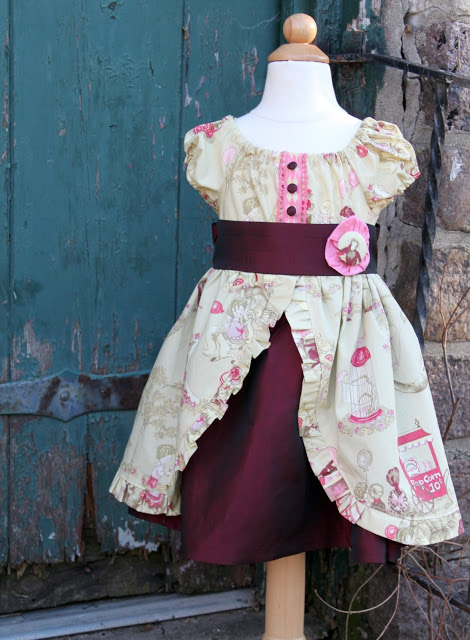
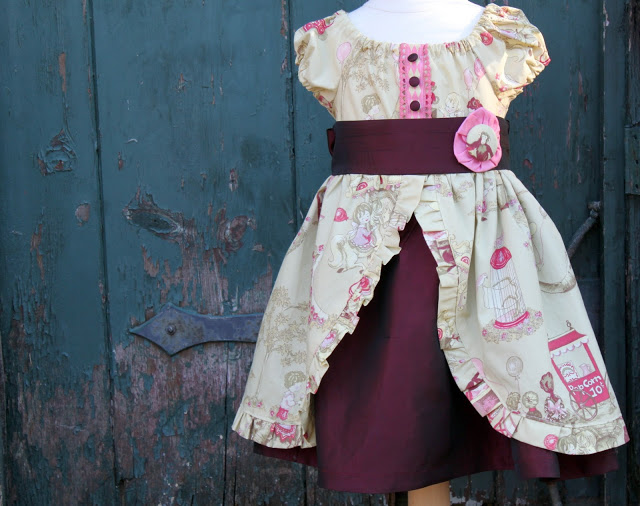
So here’s where the tricky part came into the mix. Danica wanted to incorporate the bridesmaid dress (the maid-of-honor’s dress, to be exact) from her wedding into the design along with this adorable circus fabric she had found. But let me tell you about this circus fabric, though the printed design is absolutely adorable…….it is upholstery fabric! Yes, it was one of the most difficult fabrics I have ever worked with, but luckily it turned out.
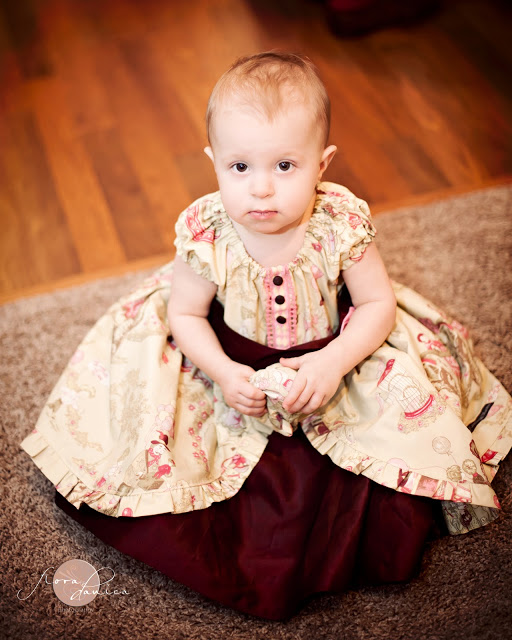
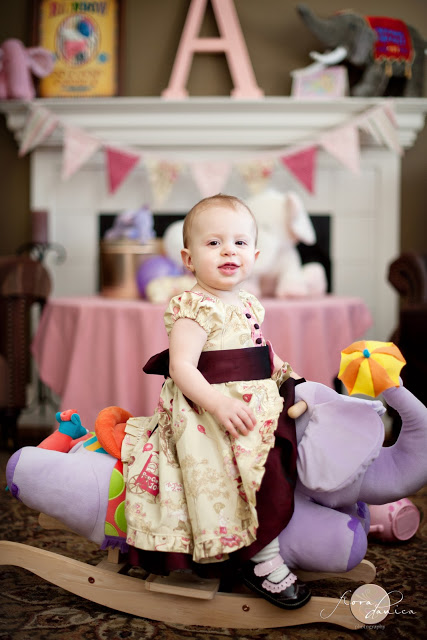
The above pictures were taken by Danica of her little cutie patootie at the over the top girly circus party she threw. There was a candy bar, circus food, games with prizes, and so much more. Danica has become known in our circle of friends as throwing the best parties around! No detail is overlooked.
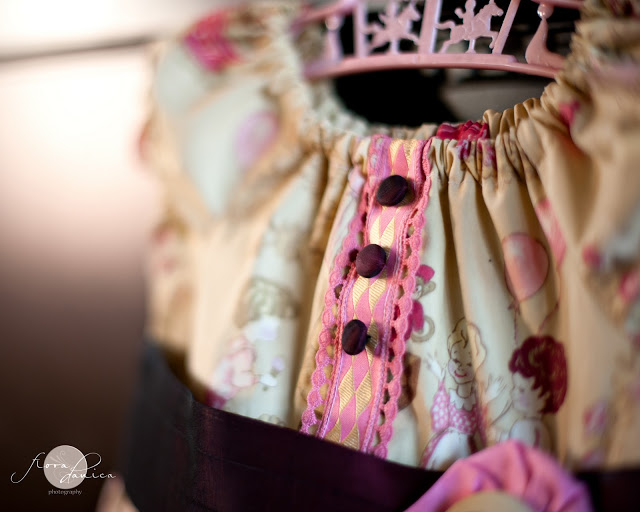
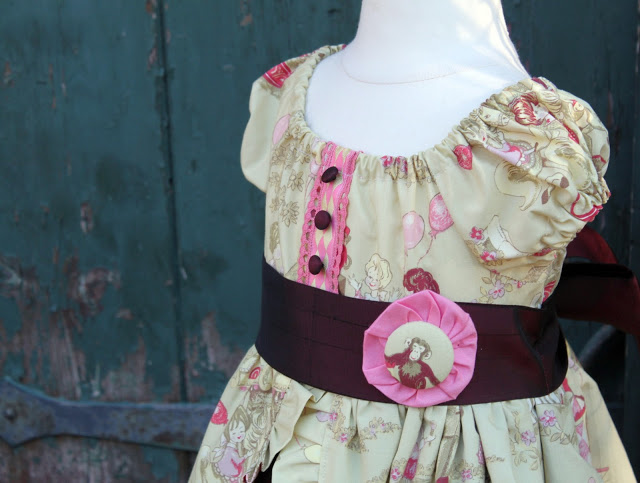
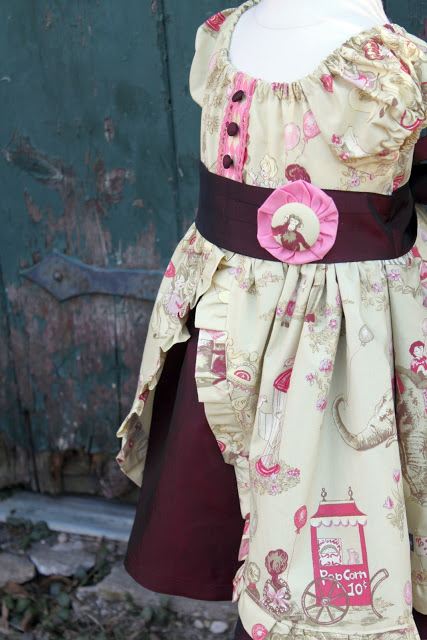
As for the bodice, I used a basic peasant style silhouette. I wanted to do puff sleeves, but I also wanted the little lady to be comfy, so I thought an elastic neck and sleeves was the best way to go. I incorporated some trim that I had on hand into the bodice and re-used the little buttons from the back of the bridesmaid dress as well.
The pink fabric yo-yo was from a deconstructed vintage yo-yo quilt that I had picked up awhile back at a flea market. The pink fabric just happened to match perfectly. I covered a large button with the part of the fabric where there was a monkey since I knew Aaralyn’s big brother, Roaron, loves monkeys!
I did a double layer skirt to make sure there was plenty of fullness. The under layer is fabric from the bridesmaid dress. I made the top layer a little shorter and left it open in the front to add a little interest. I also added a small ruffle around the bottom. The circus upholstery fabric was so dense and thick that I couldn’t use a single straight pin constructing the dress. Every time I went to put one in, it bent my pins in half. For someone that pins everything, this made me really nervous. But, by the grace of God, it all came together.
The sash on the dress is made from the bridesmaid dress. I wanted it to have a big full bow in the back, but didn’t want the sash to be too long. You should have seen this dress after I had cut it all up……..pretty sad, but it was so neat to be able to repurpose it into something new and special.
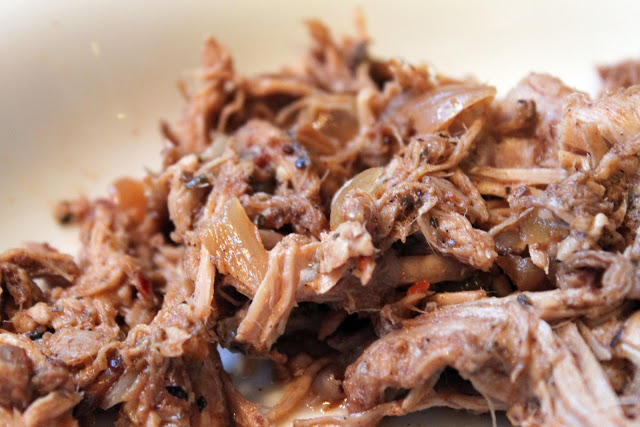
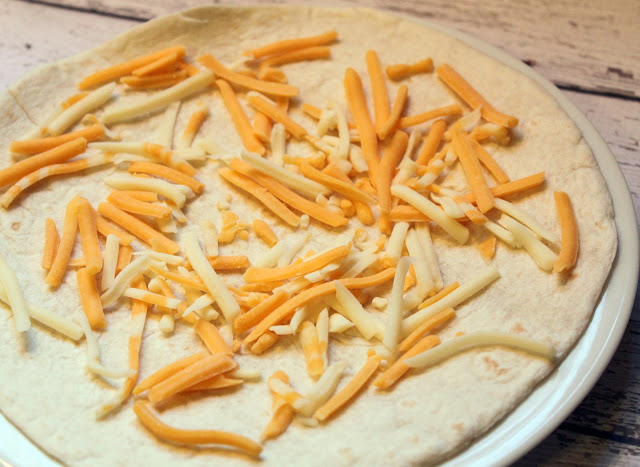
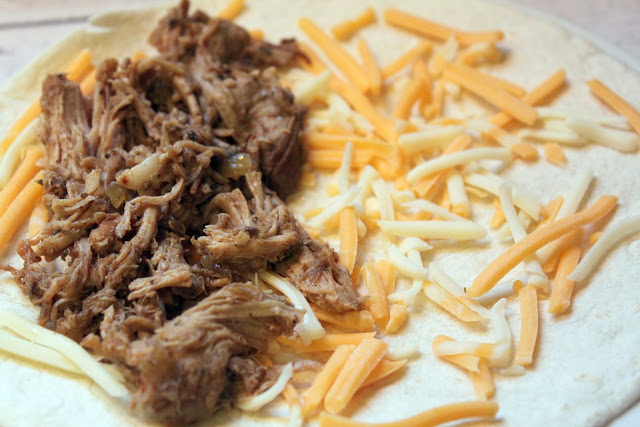
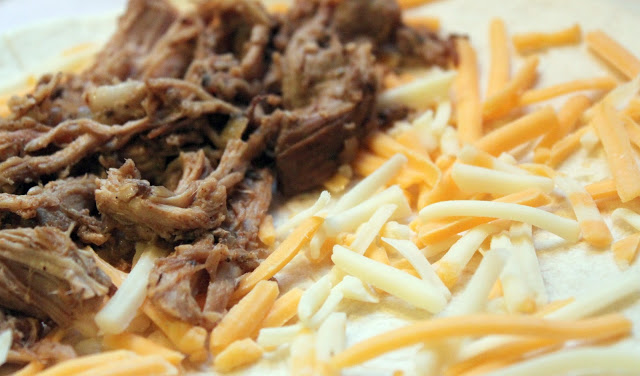
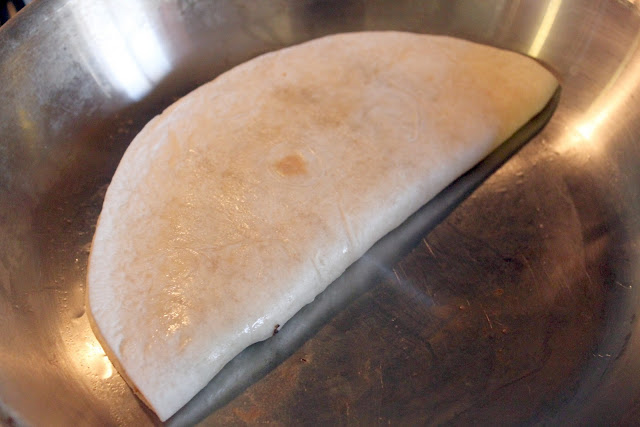
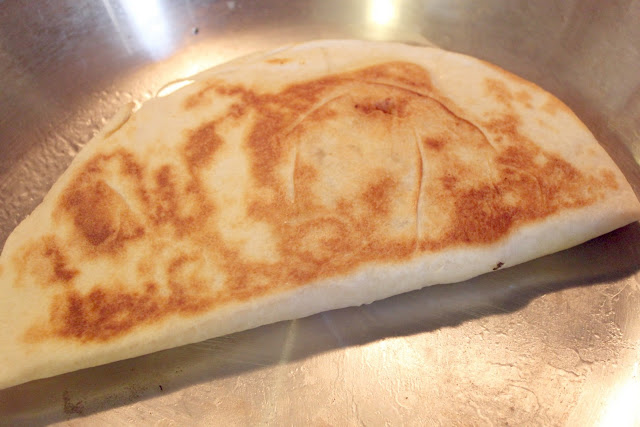
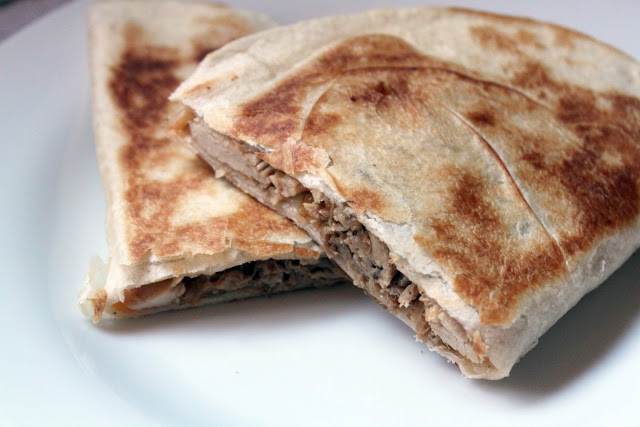
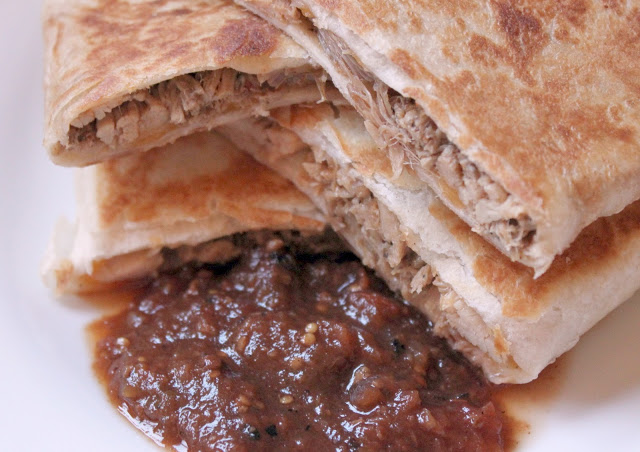
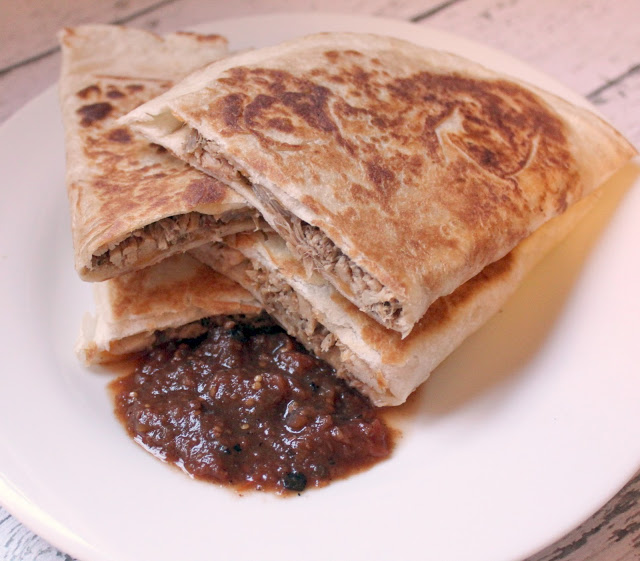
Smoked Chipotle Pulled Pork Quesadillas ~ Recipe
As you might have noticed, I’m on a slow cooker kick lately and this recipe is no exception. You make the Smokey Chipotle Pulled Pork in your slow cooker during the day and then make the quesadillas right before you’re ready to eat. You can also serve this pork just as it is on a hamburger bun or use it as a filling for tacos…..it’s very versatile.



















 Lindsay Wilkes is the owner and designer behind The Cottage Mama. She creates timeless, vintage inspired sewing patterns for children’s clothes. She is also a fabric designer for Riley Black Designers / Penny Rose Fabrics, author of the book ‘Sew Classic Clothes for Girls’ and can be seen teaching nationwide and online in her video series ‘Lessons with Lindsay’ sponsored by Baby Lock Sewing and Embroidery machines.


