Archives for December 2011

Goodbye 2011, Hello 2012!

2011 has been a great year.
I cannot believe it’s almost over.
Time sure does fly when you are having fun!
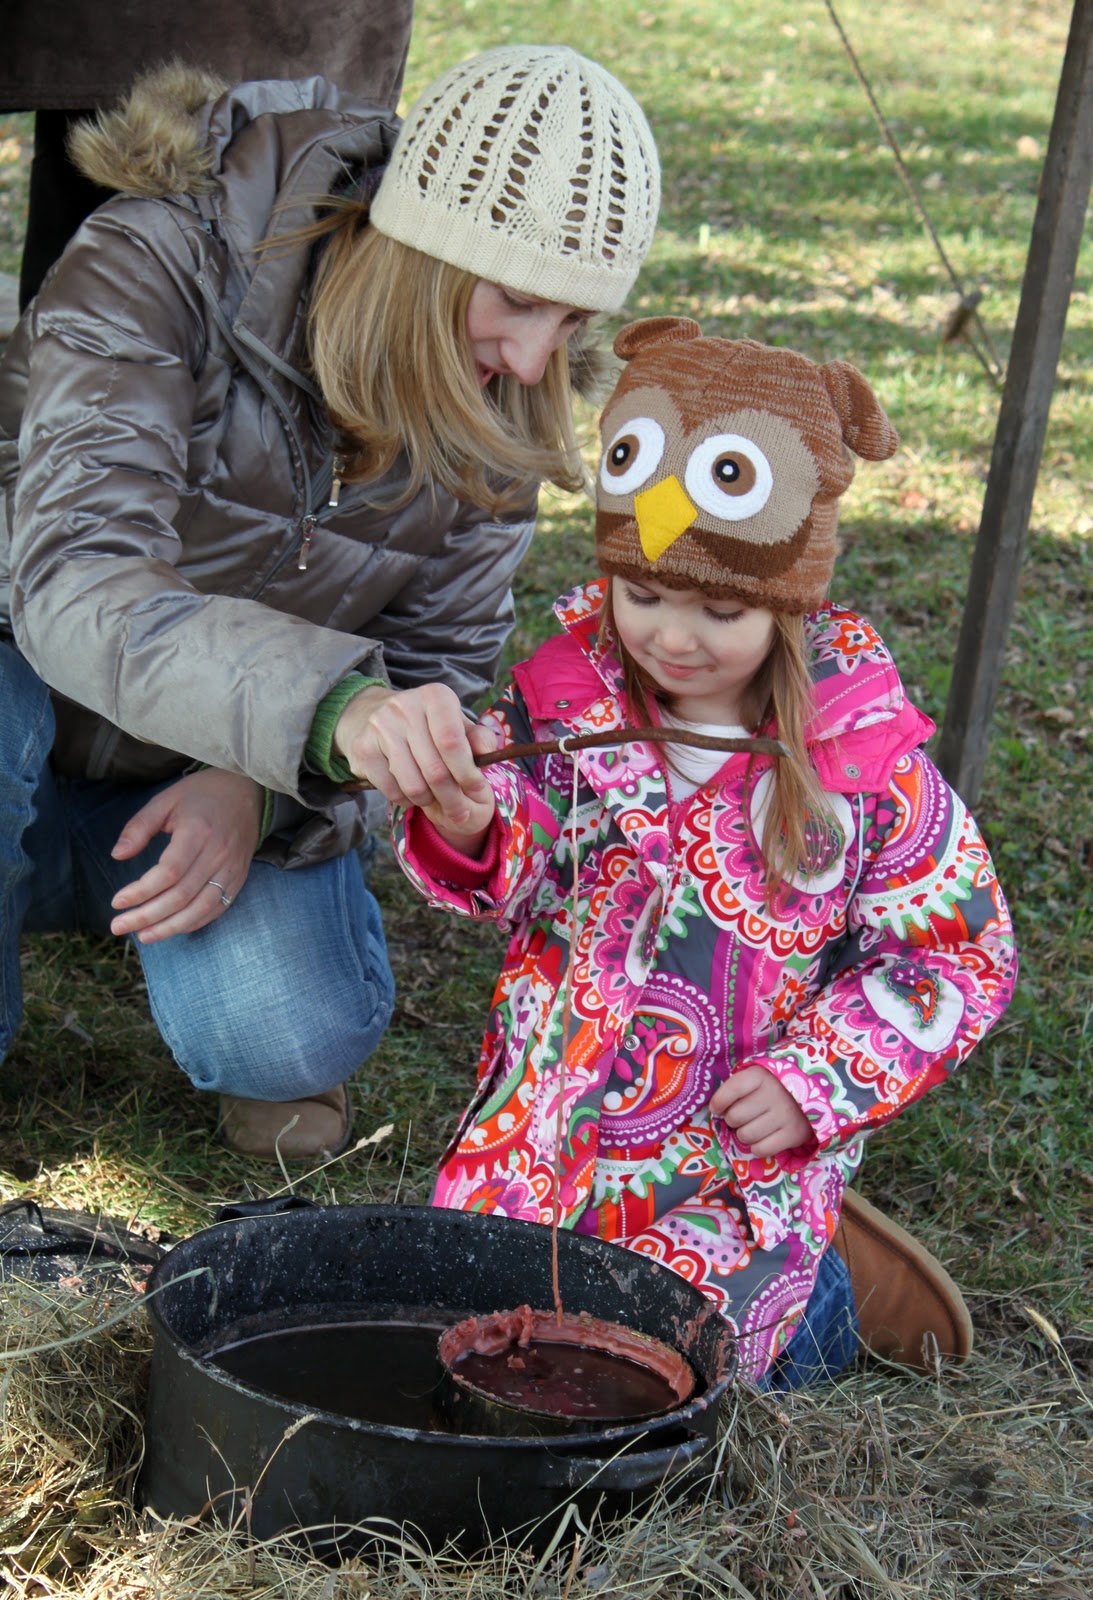
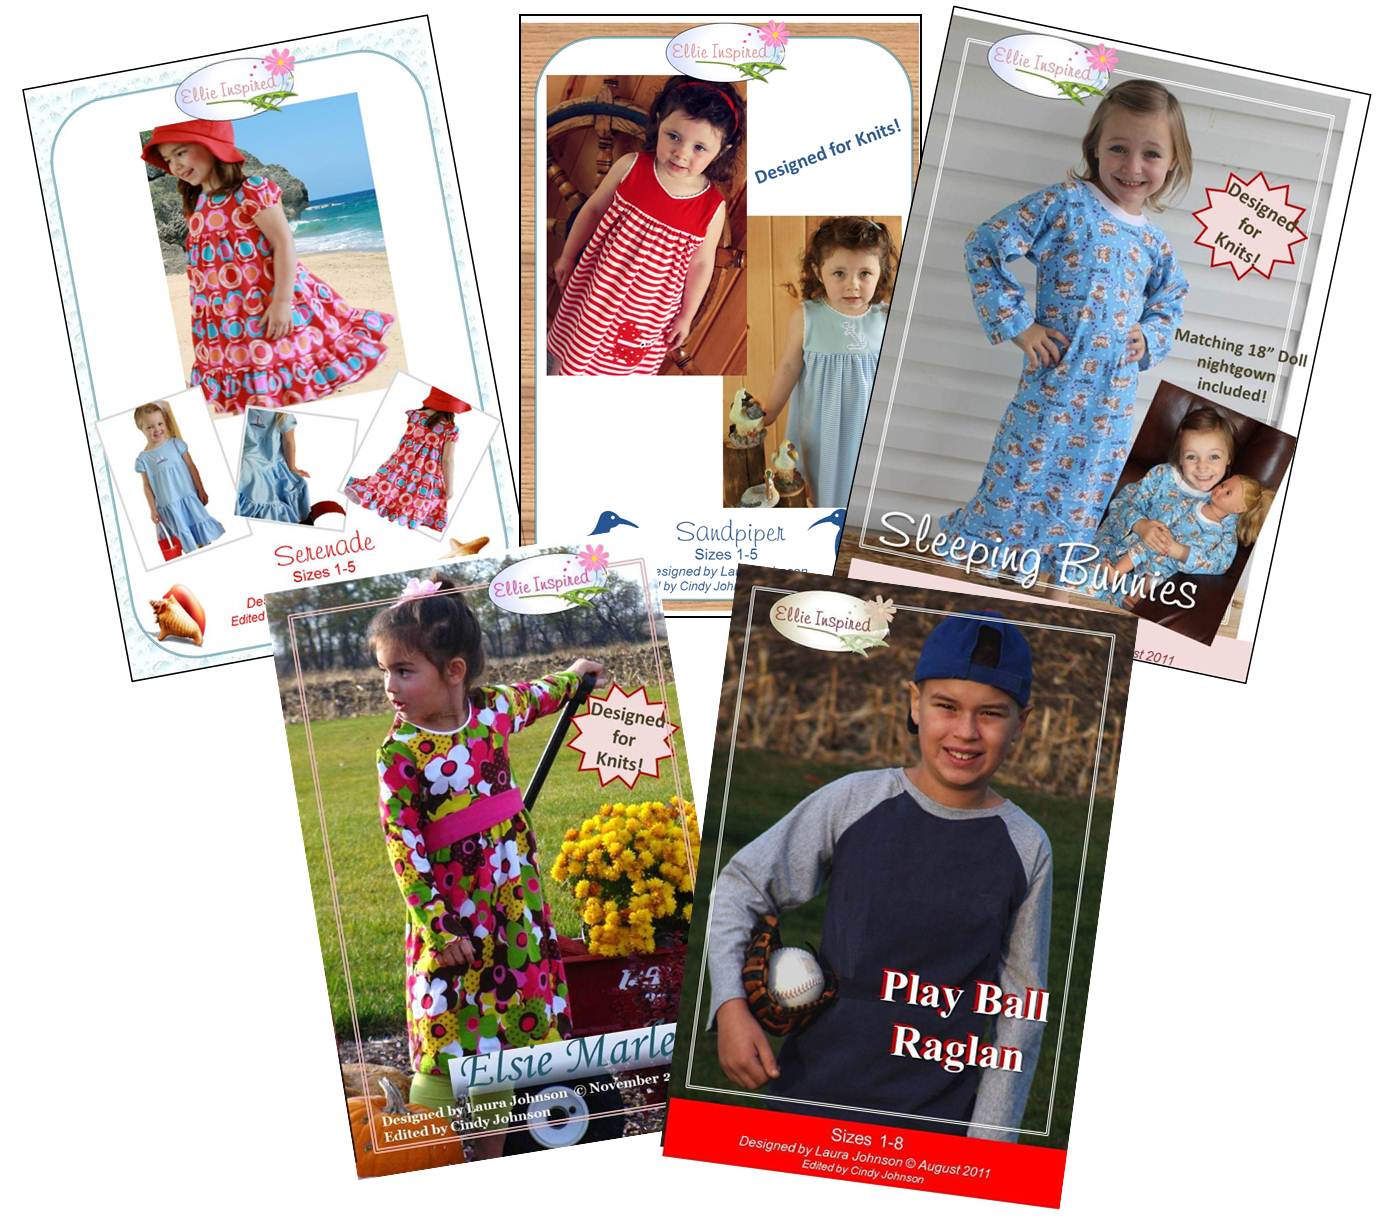
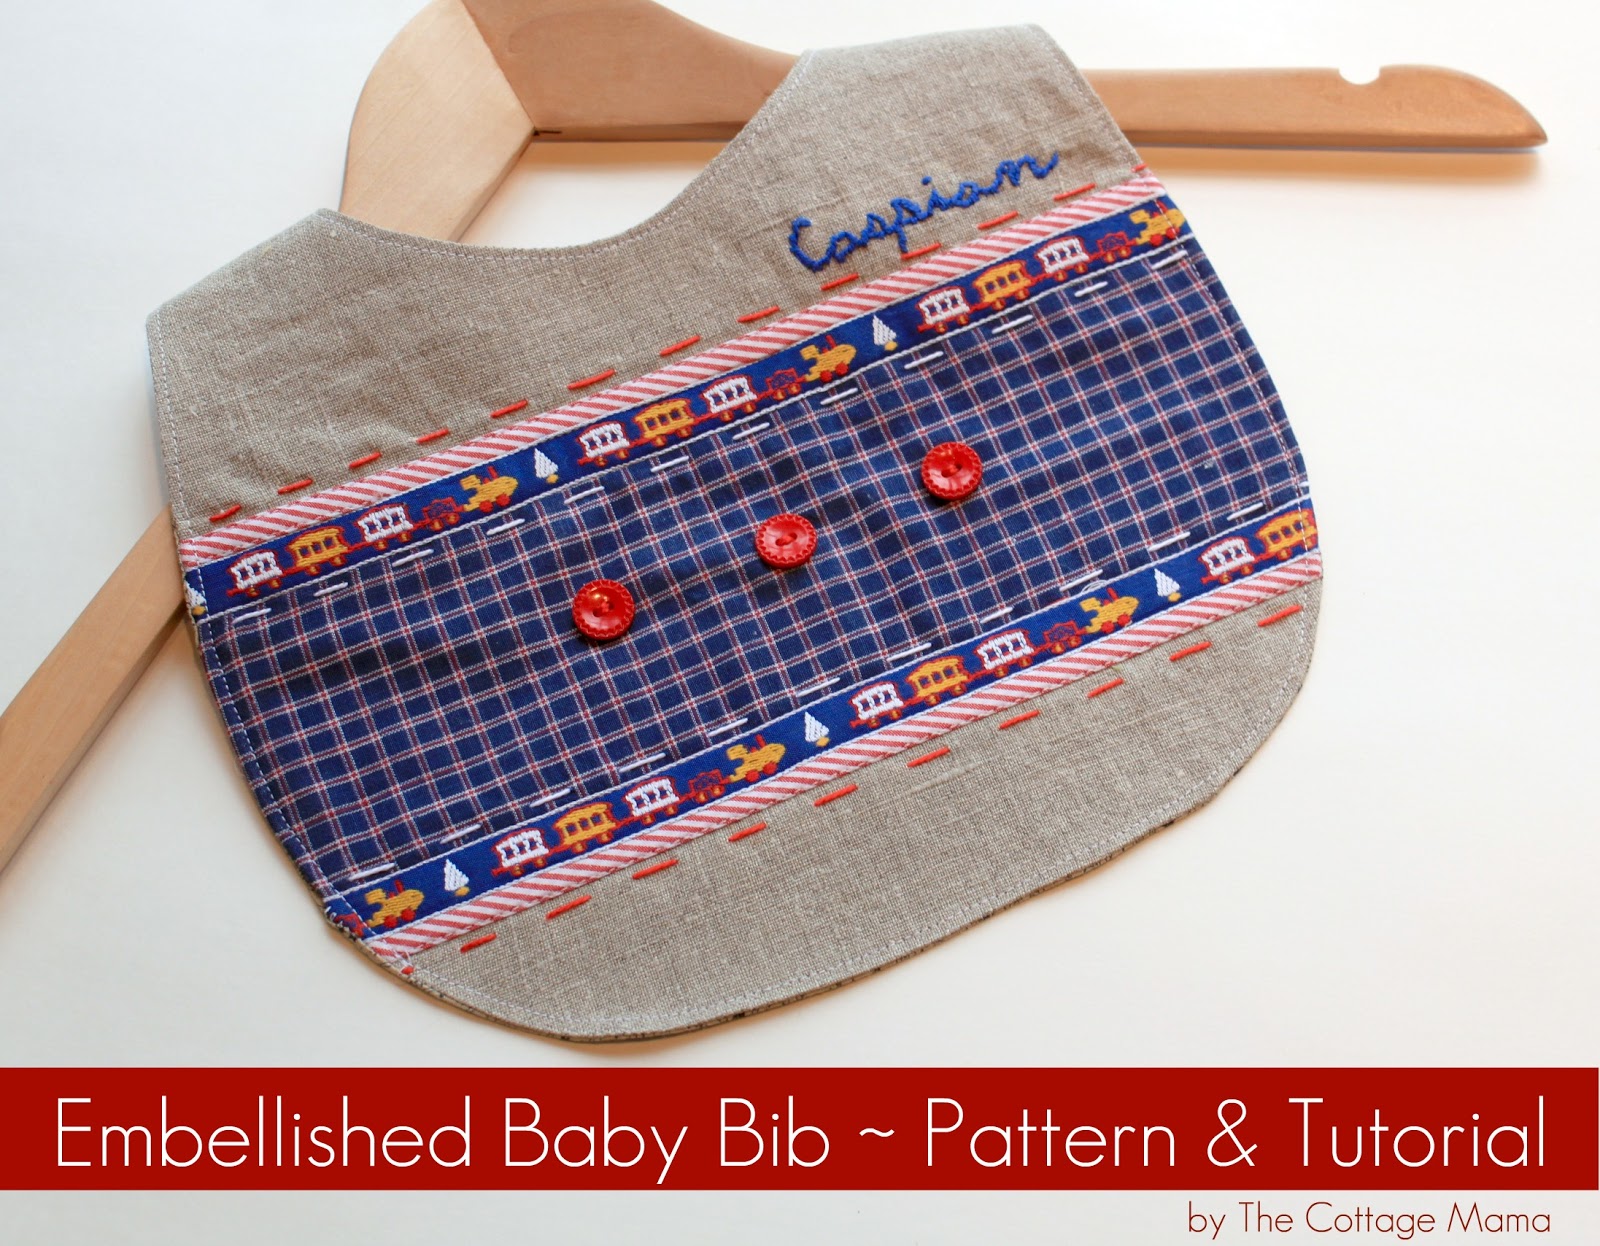
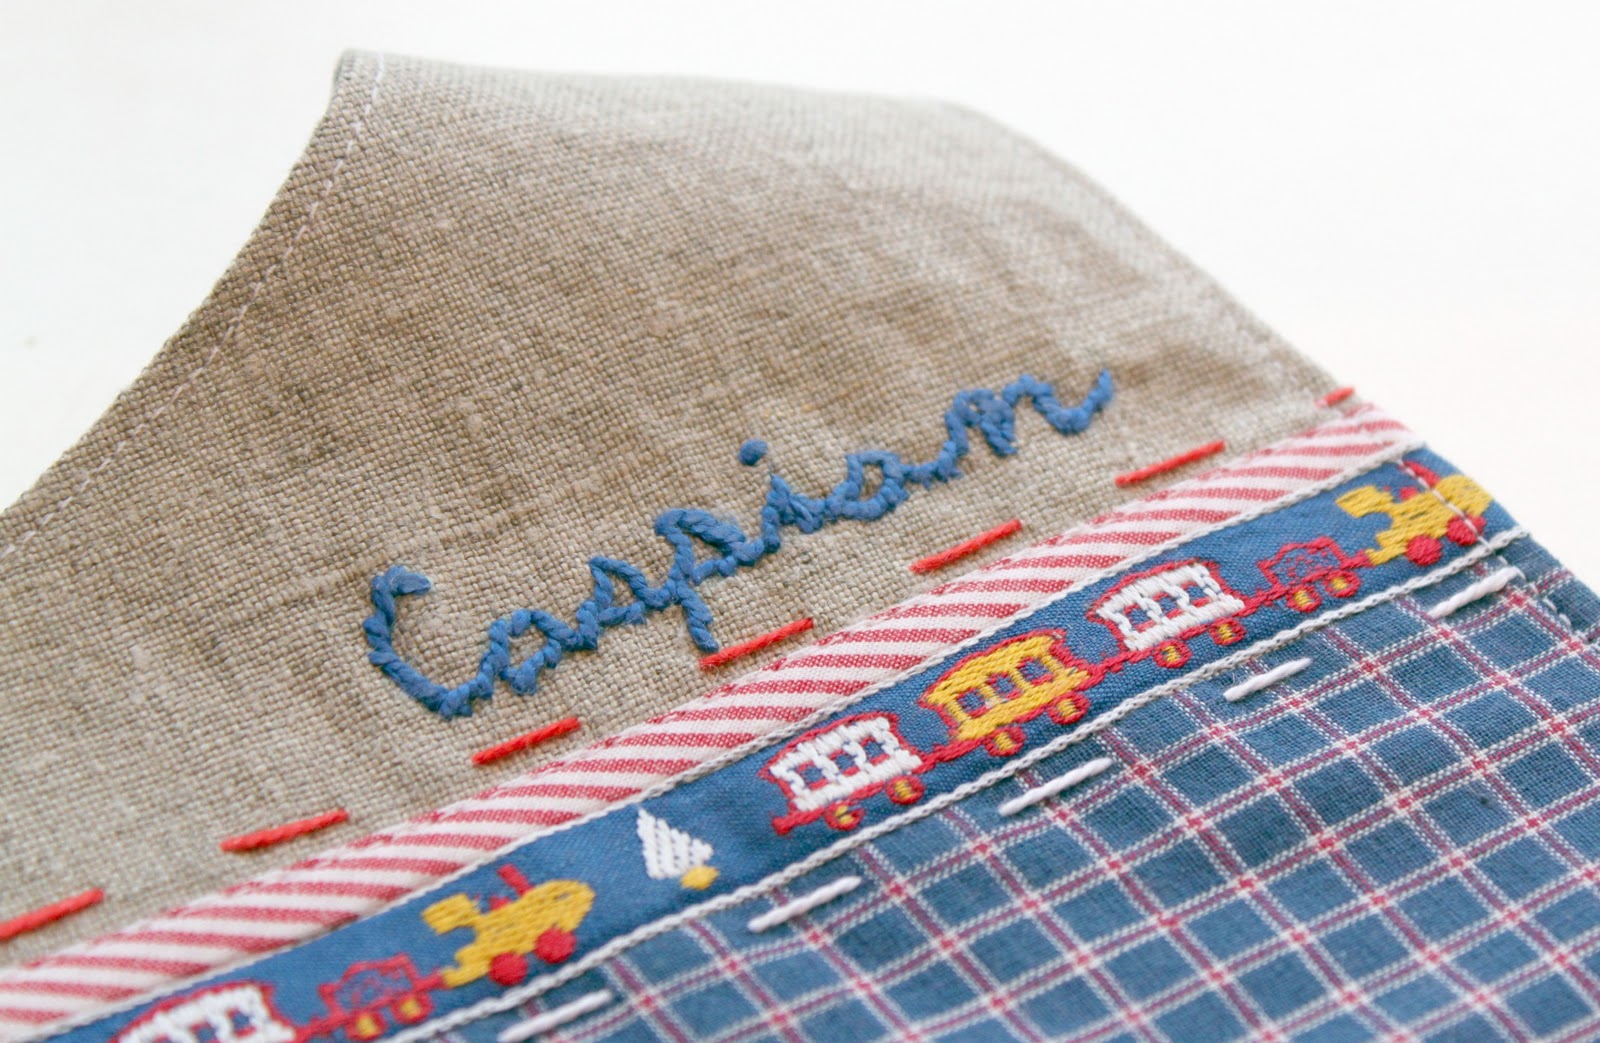
This past year has been one of the best years of my life.  We were blessed with the birth of our new baby boy, Caspian Finn.  And I can honestly say he completes our little family.  Not only do I feel blessed in my personal, family life, but I have been incredibly blessed in my professional, creative life as well.  The release of my first two printed sewing patterns this year was a major accomplishment for me and I’m looking forward to many new designs coming out in 2012.
Here are some of the top tutorials from 2011 that were viewed time and time again on The Cottage Home:
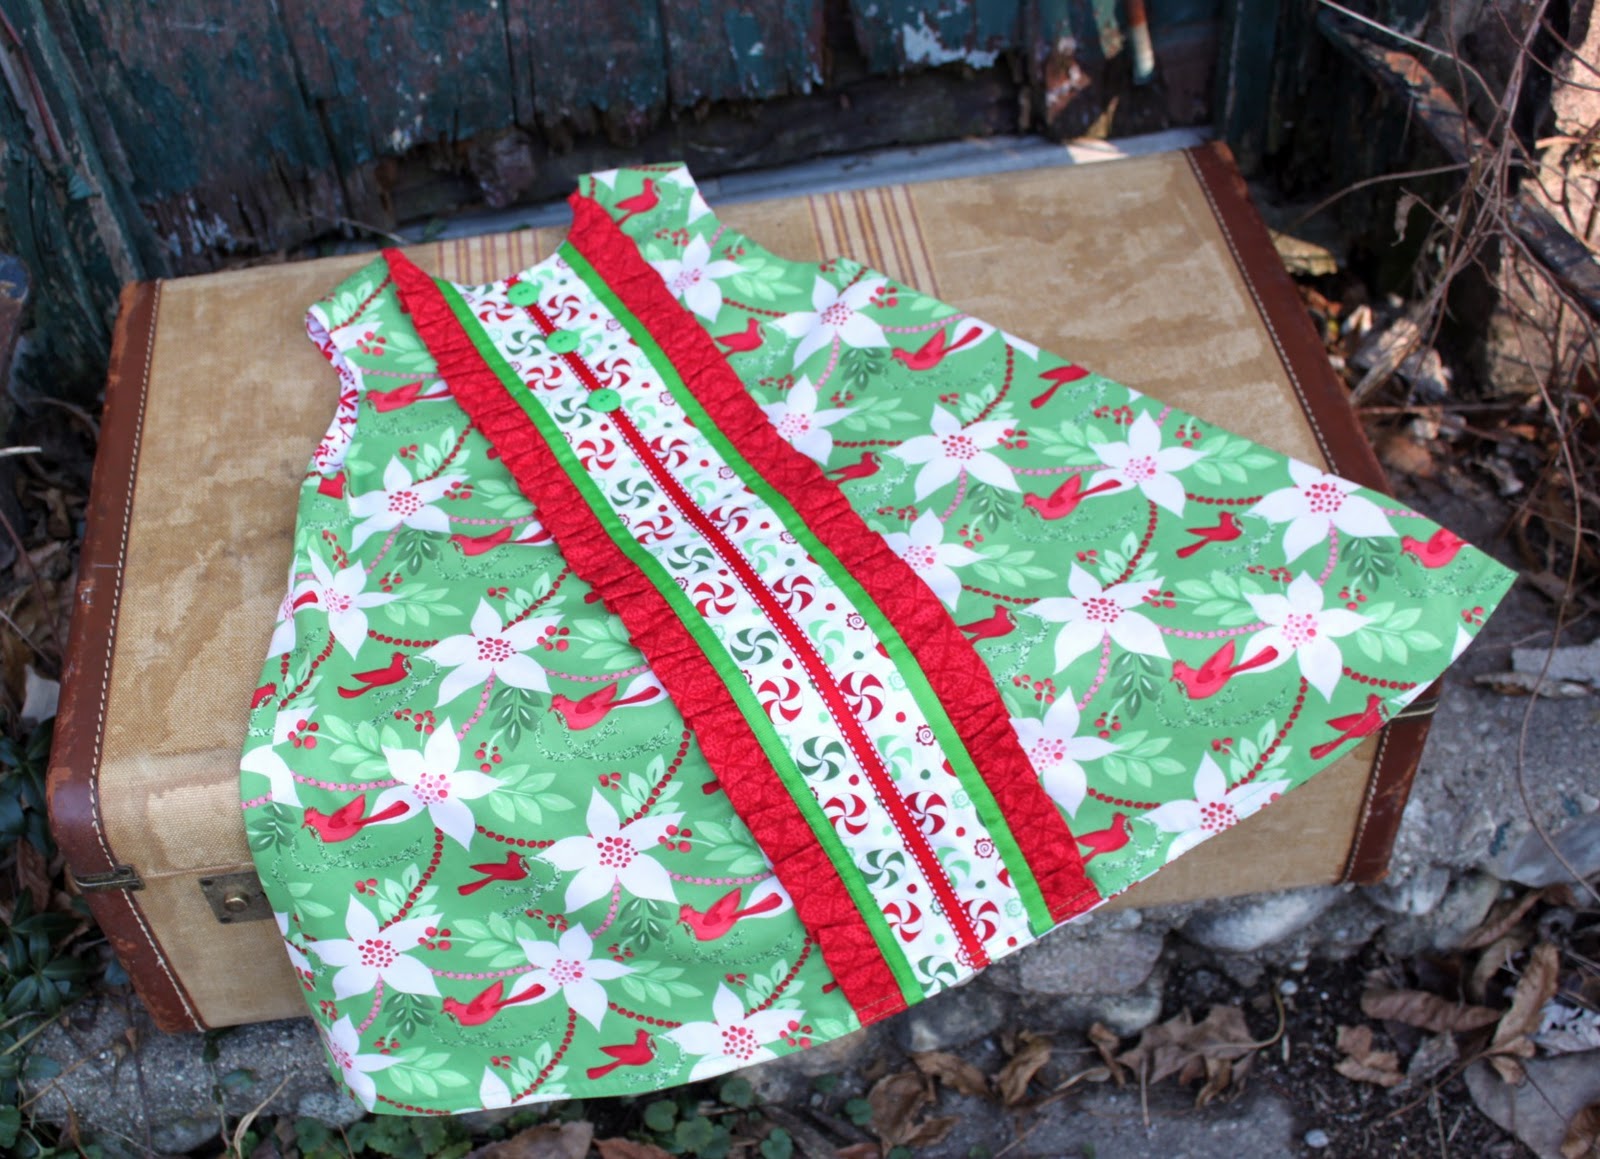
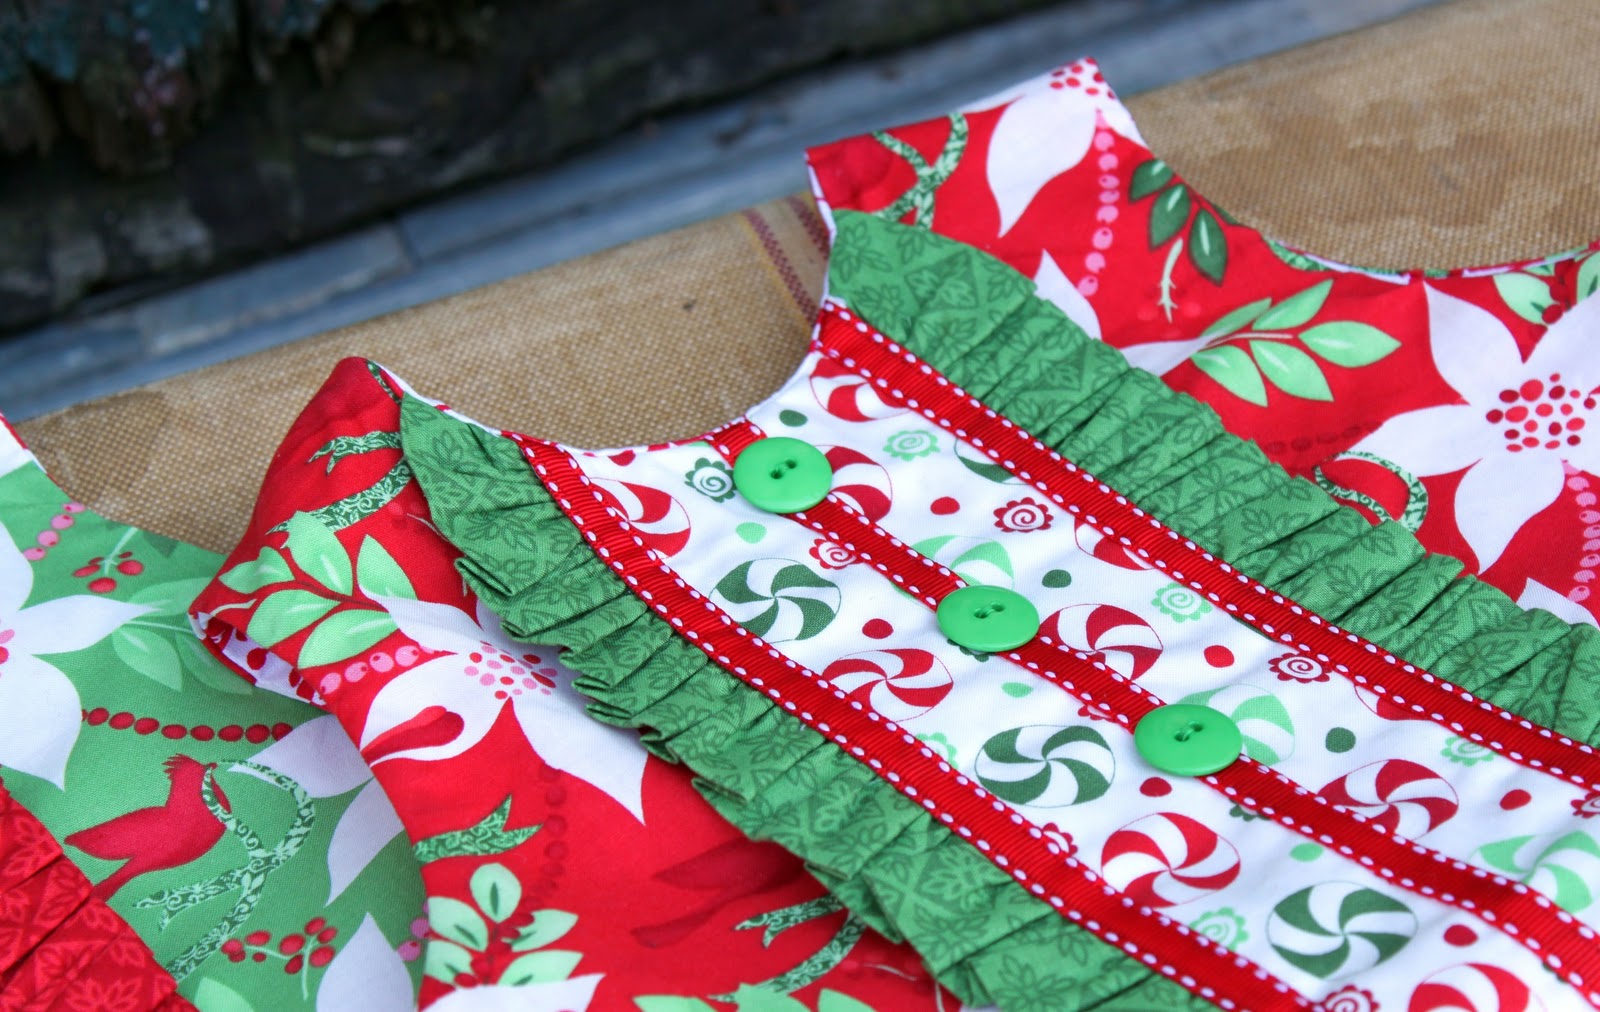
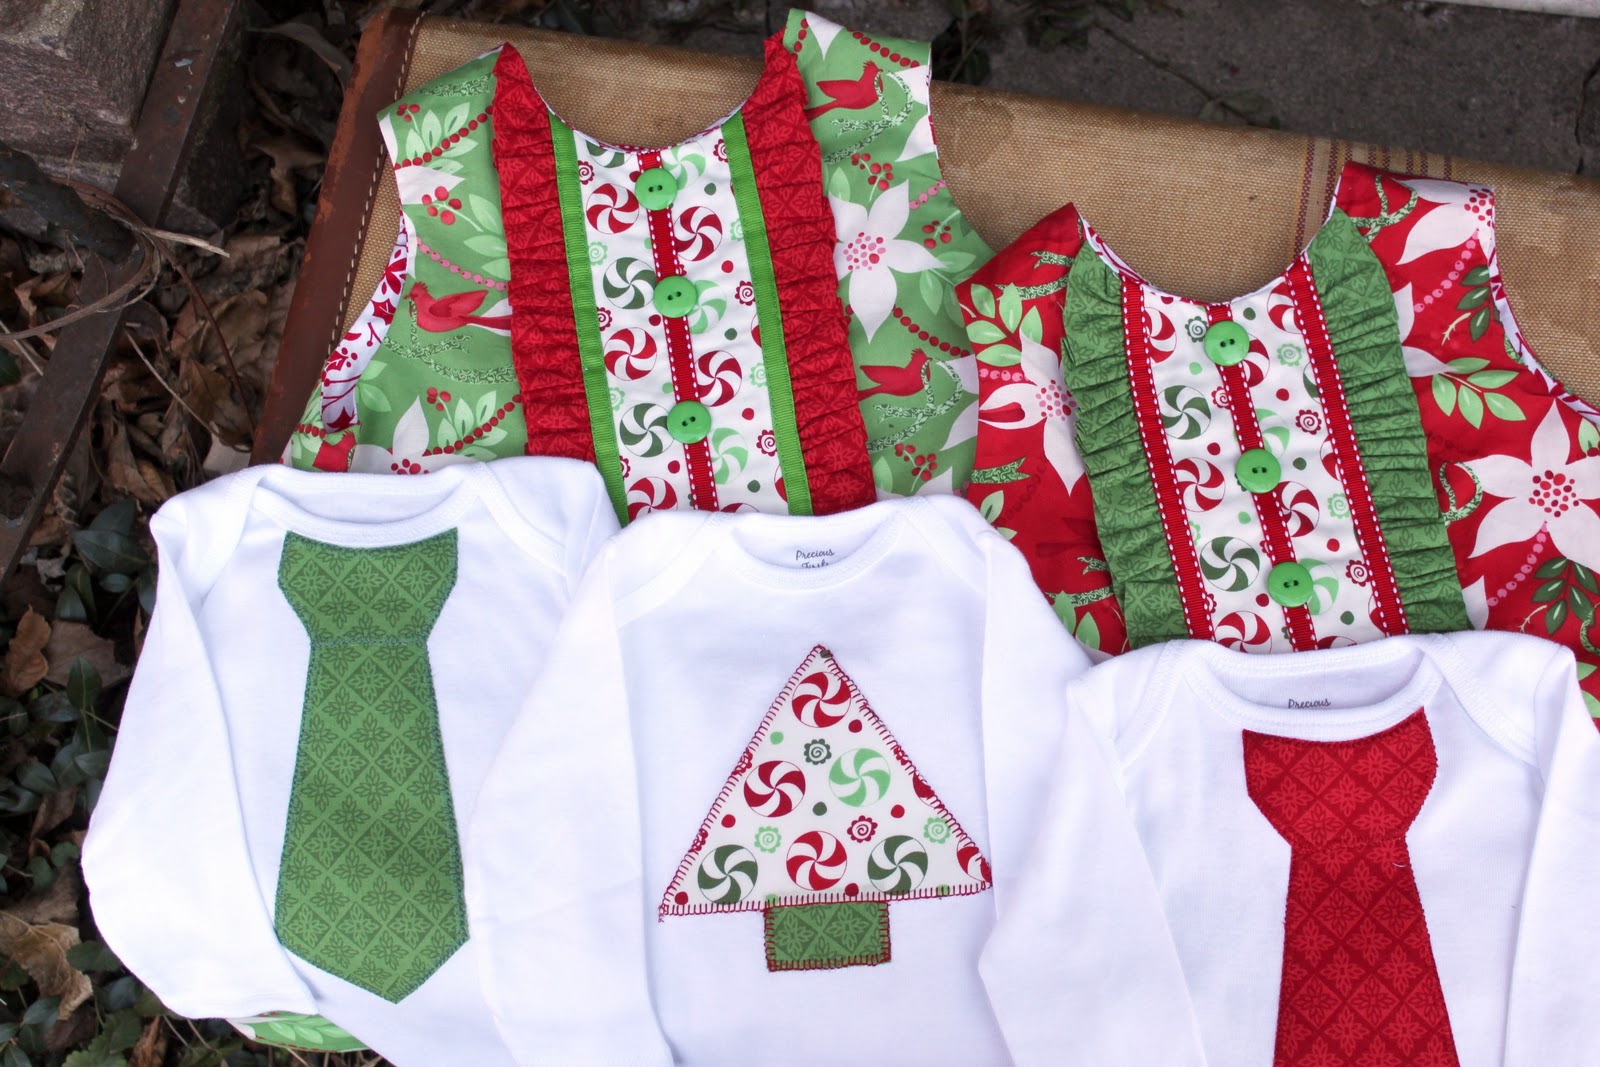
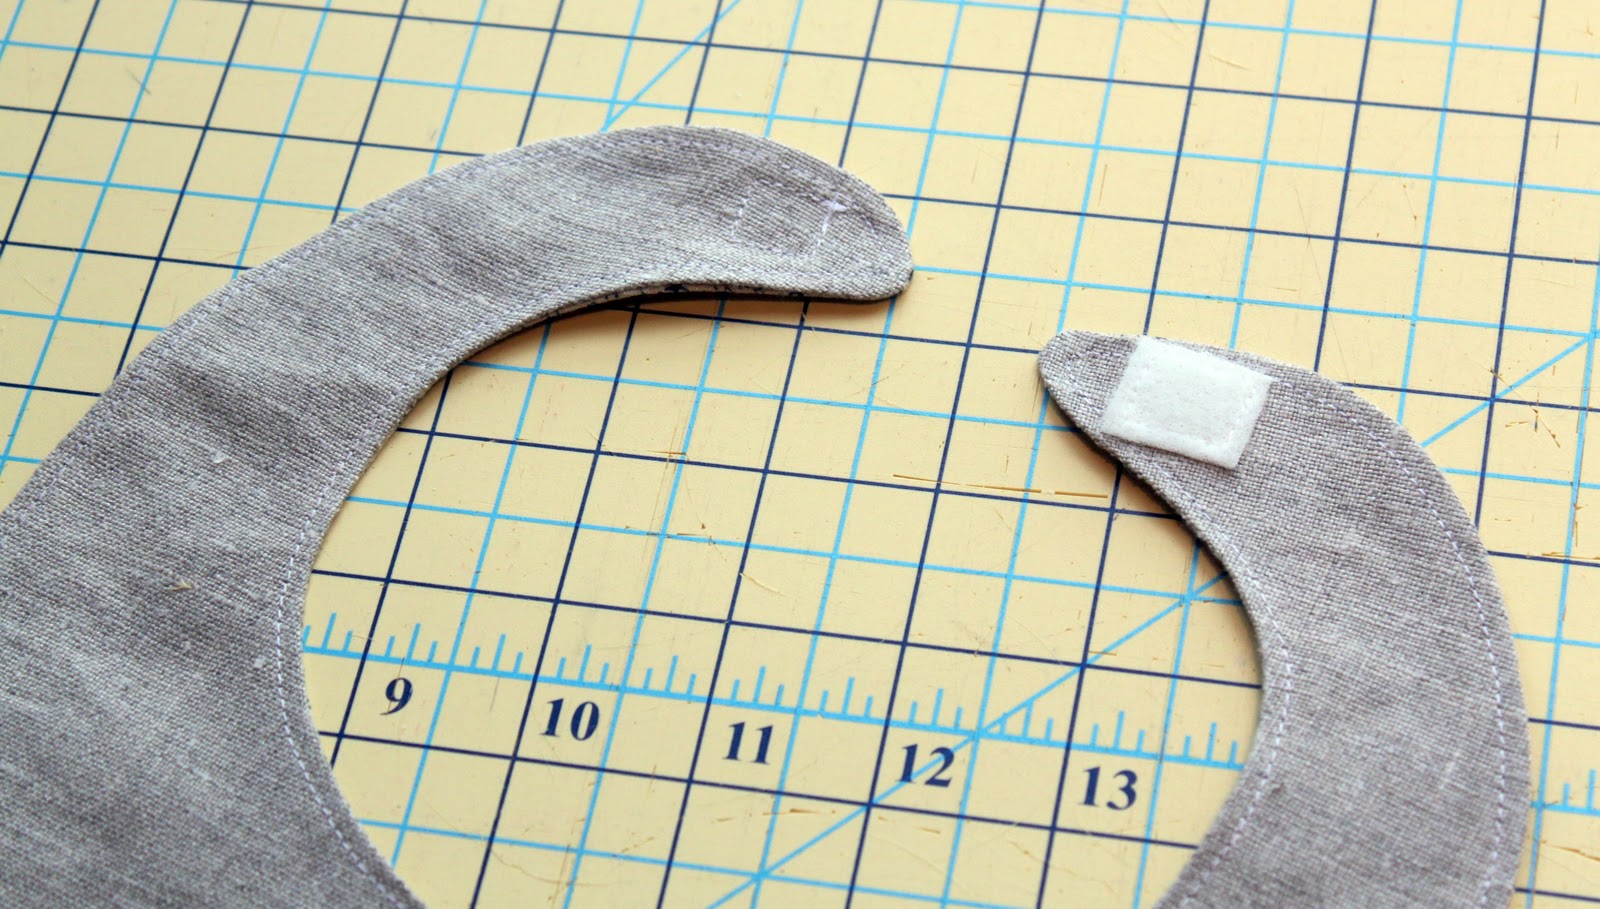
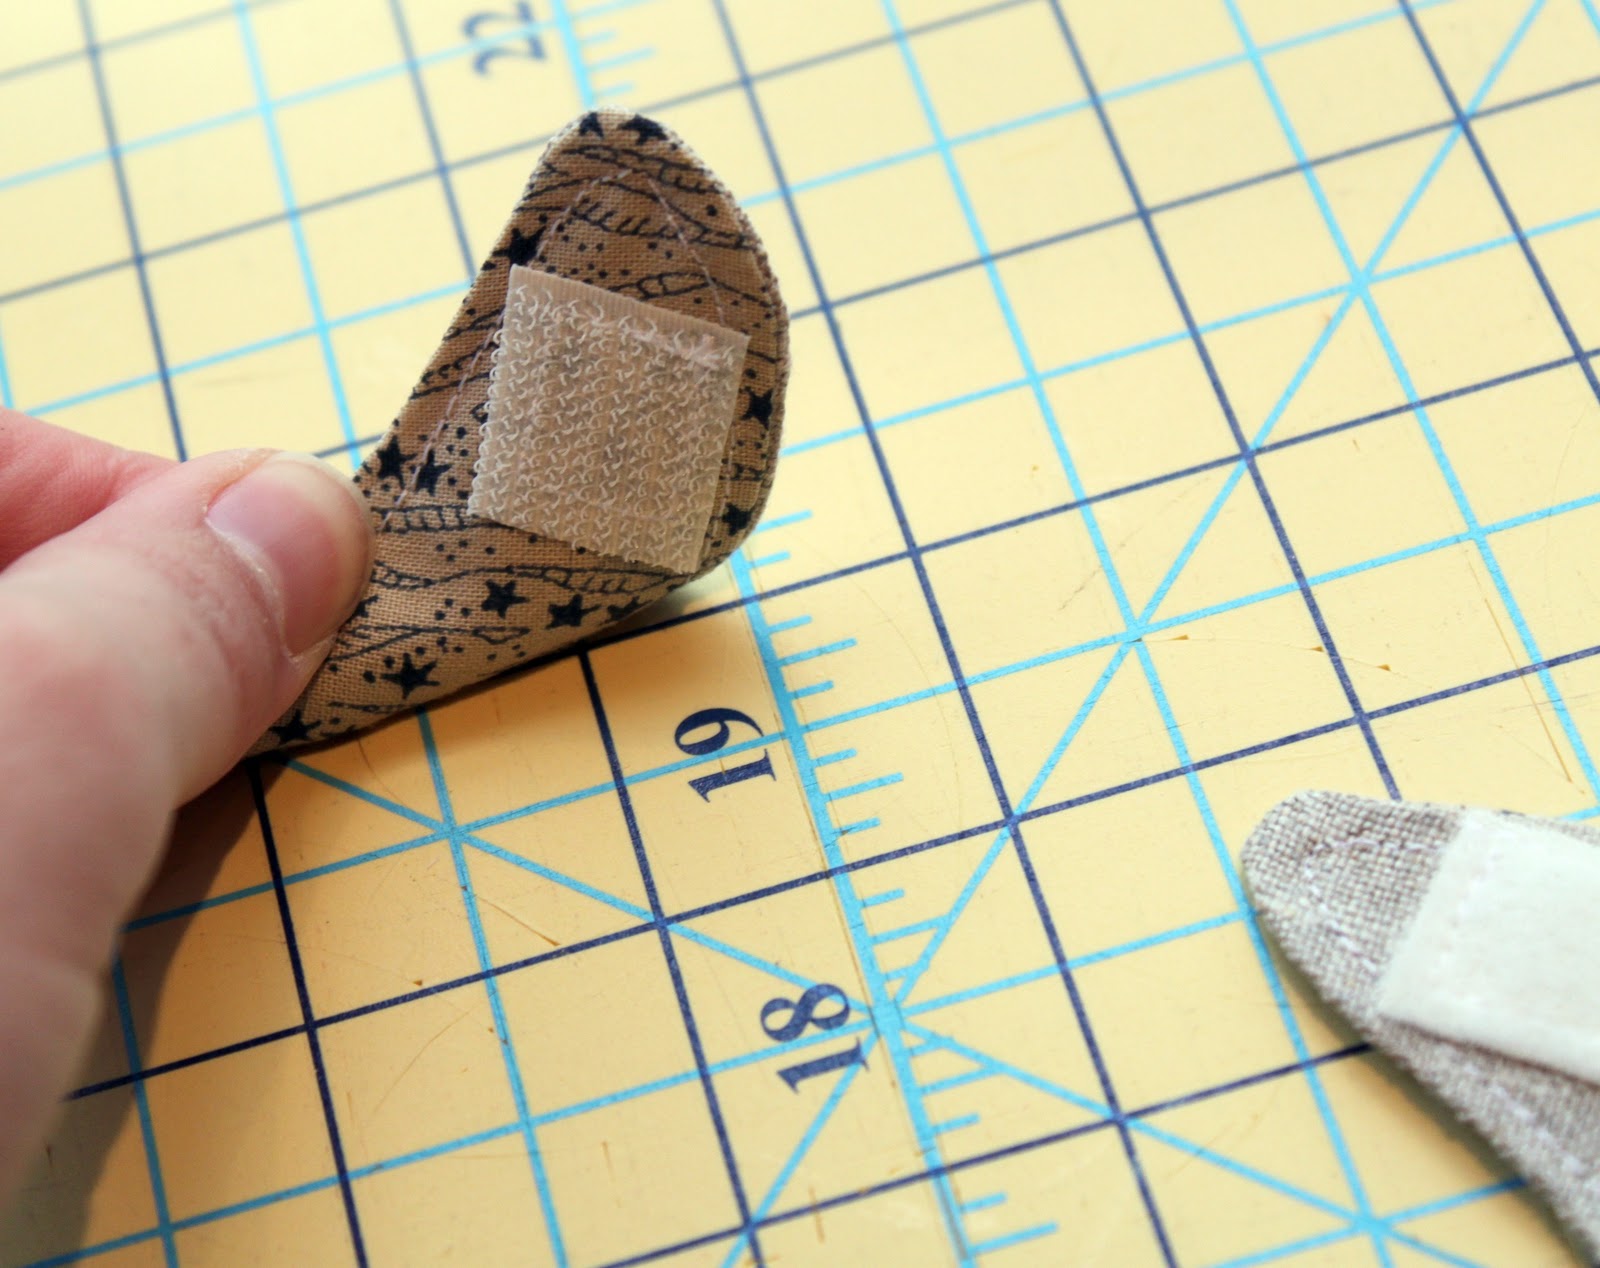
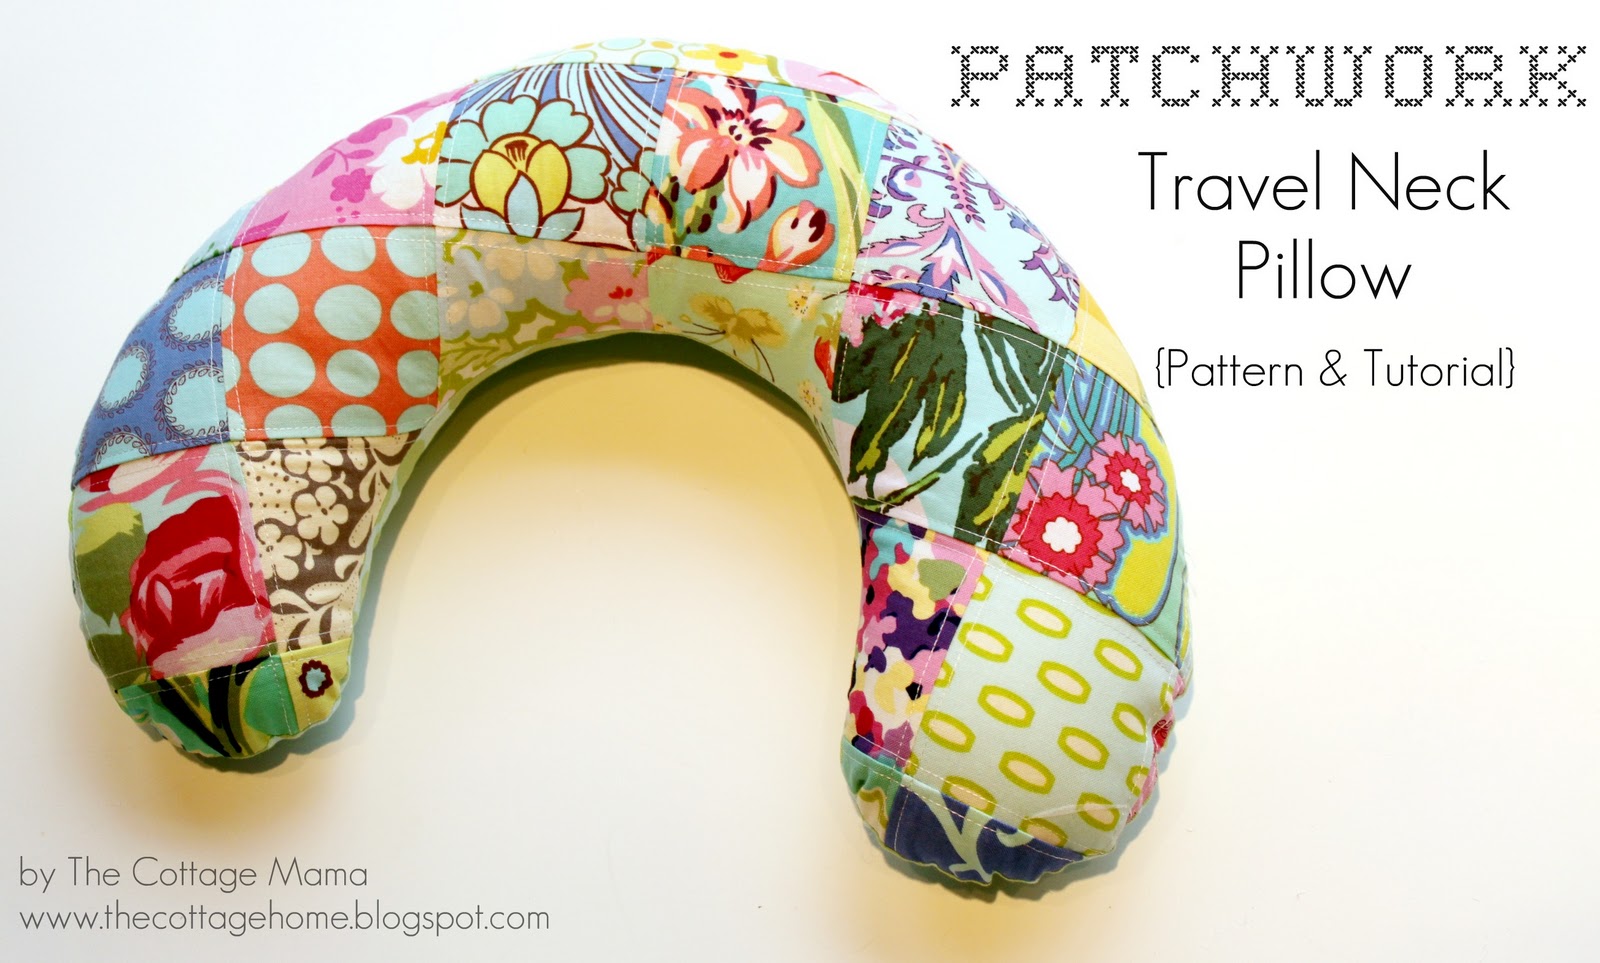
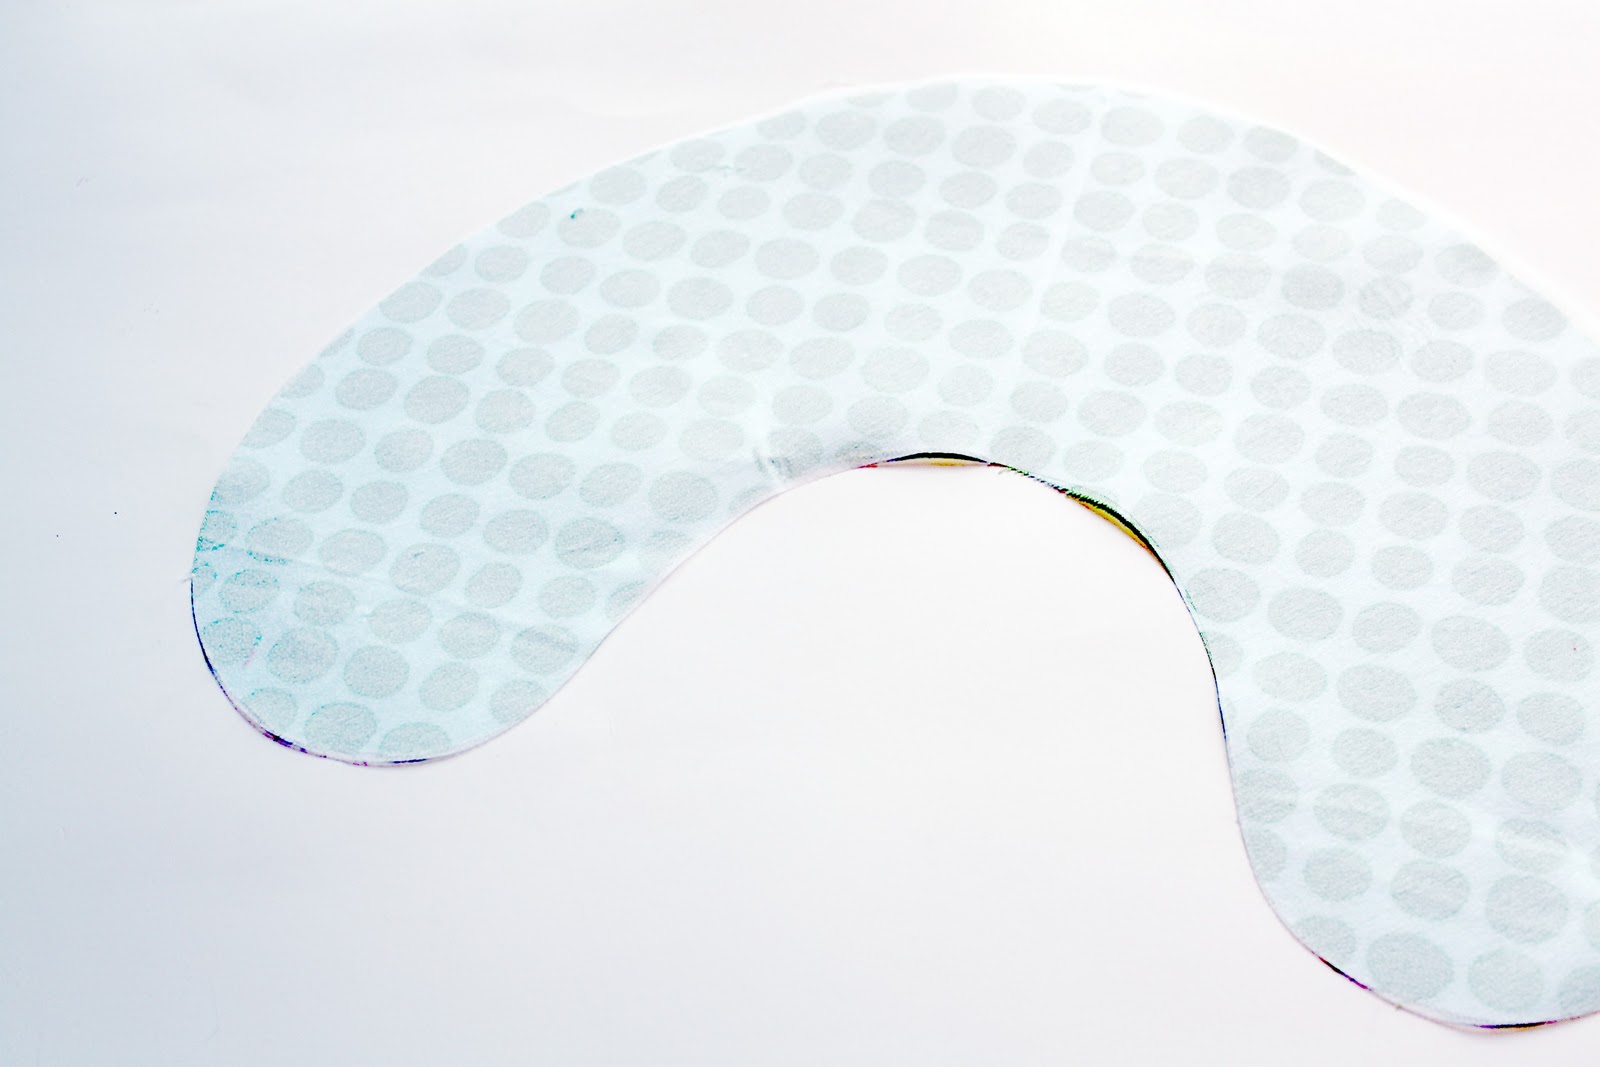
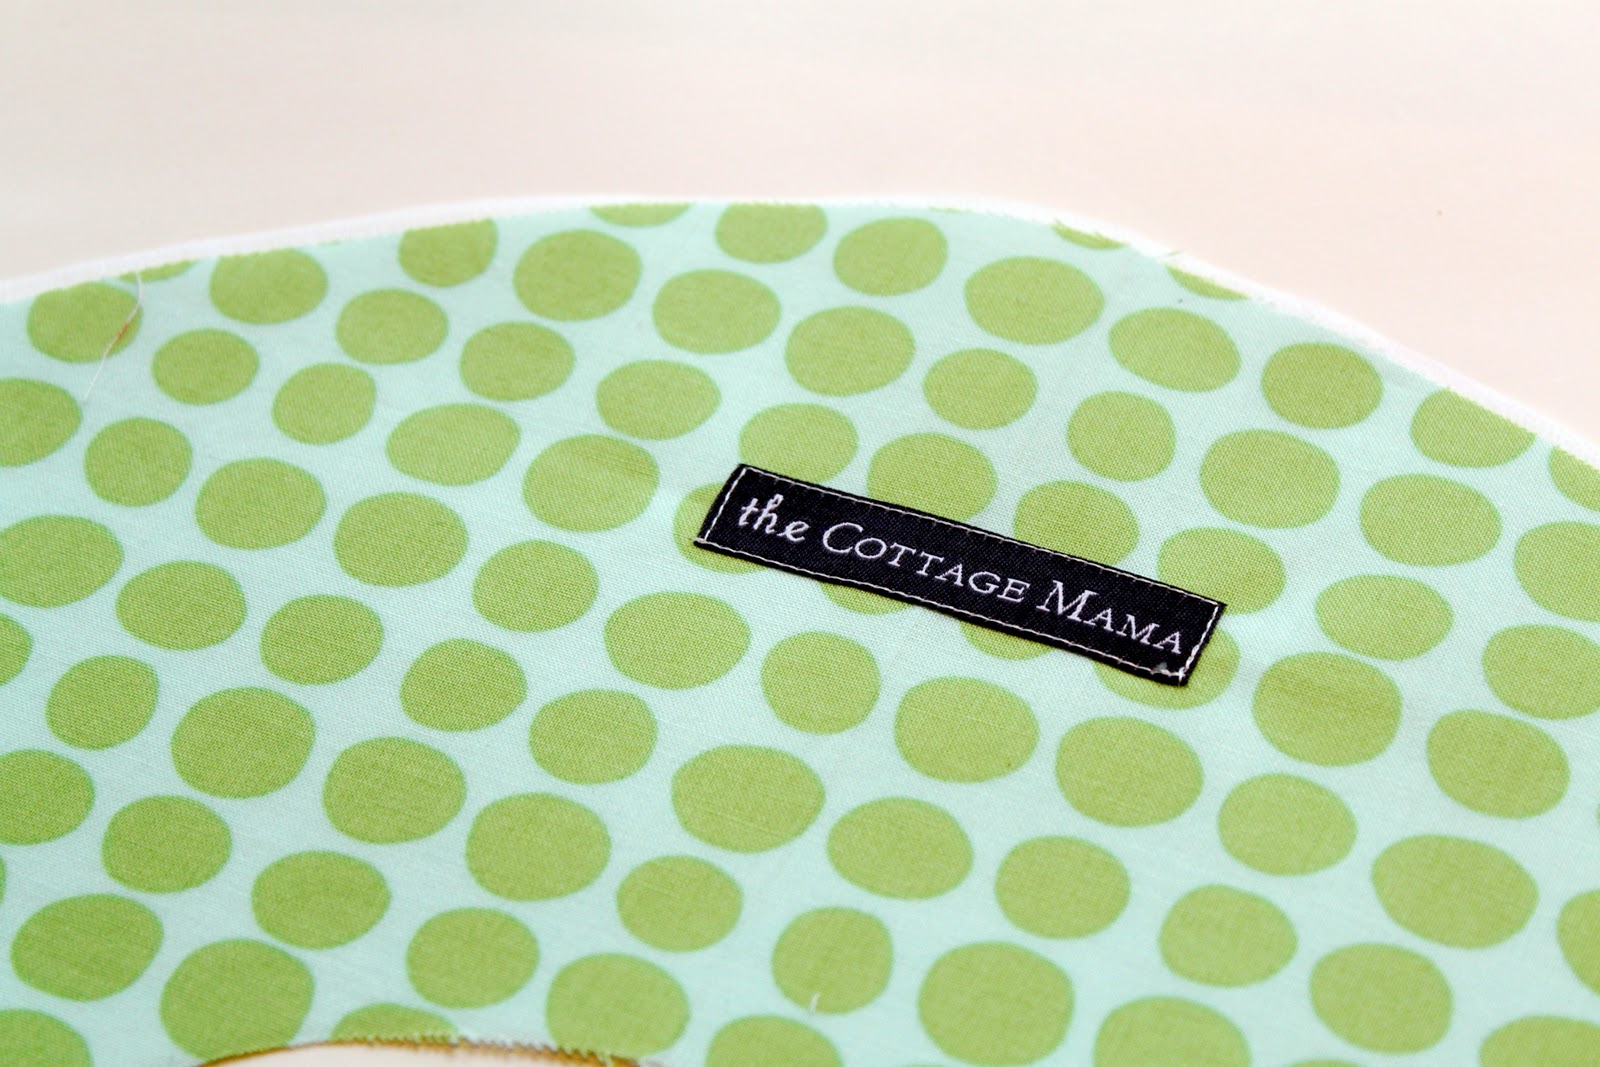
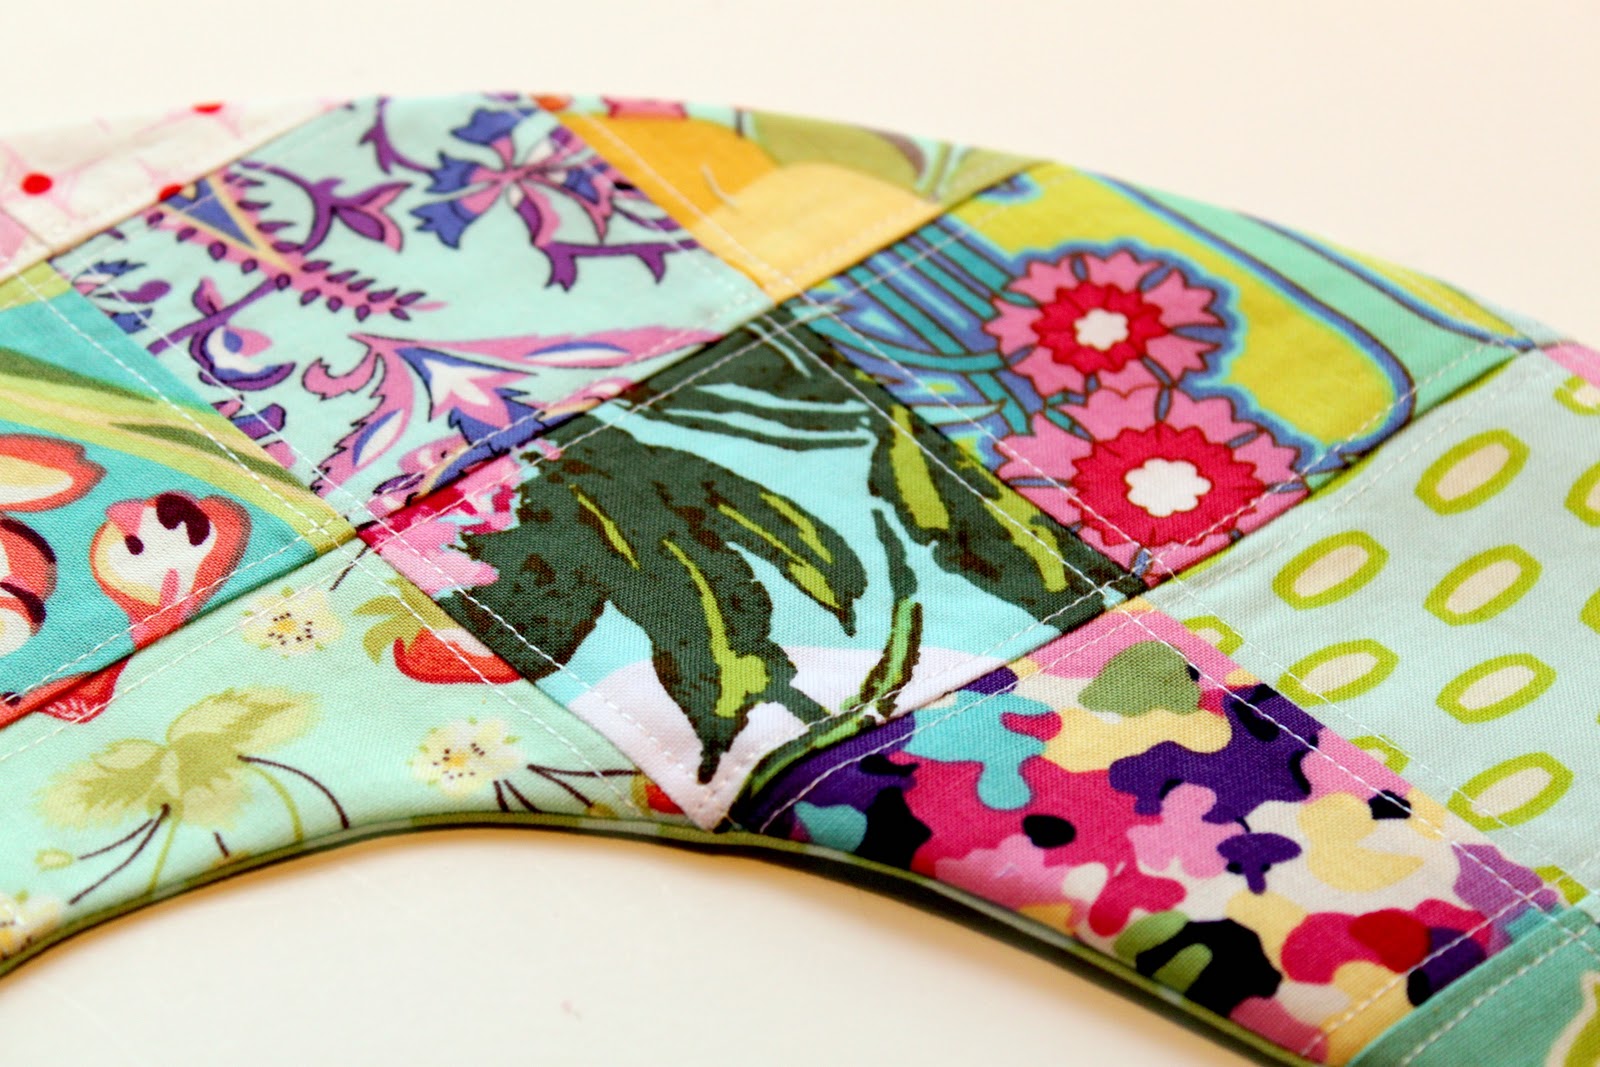
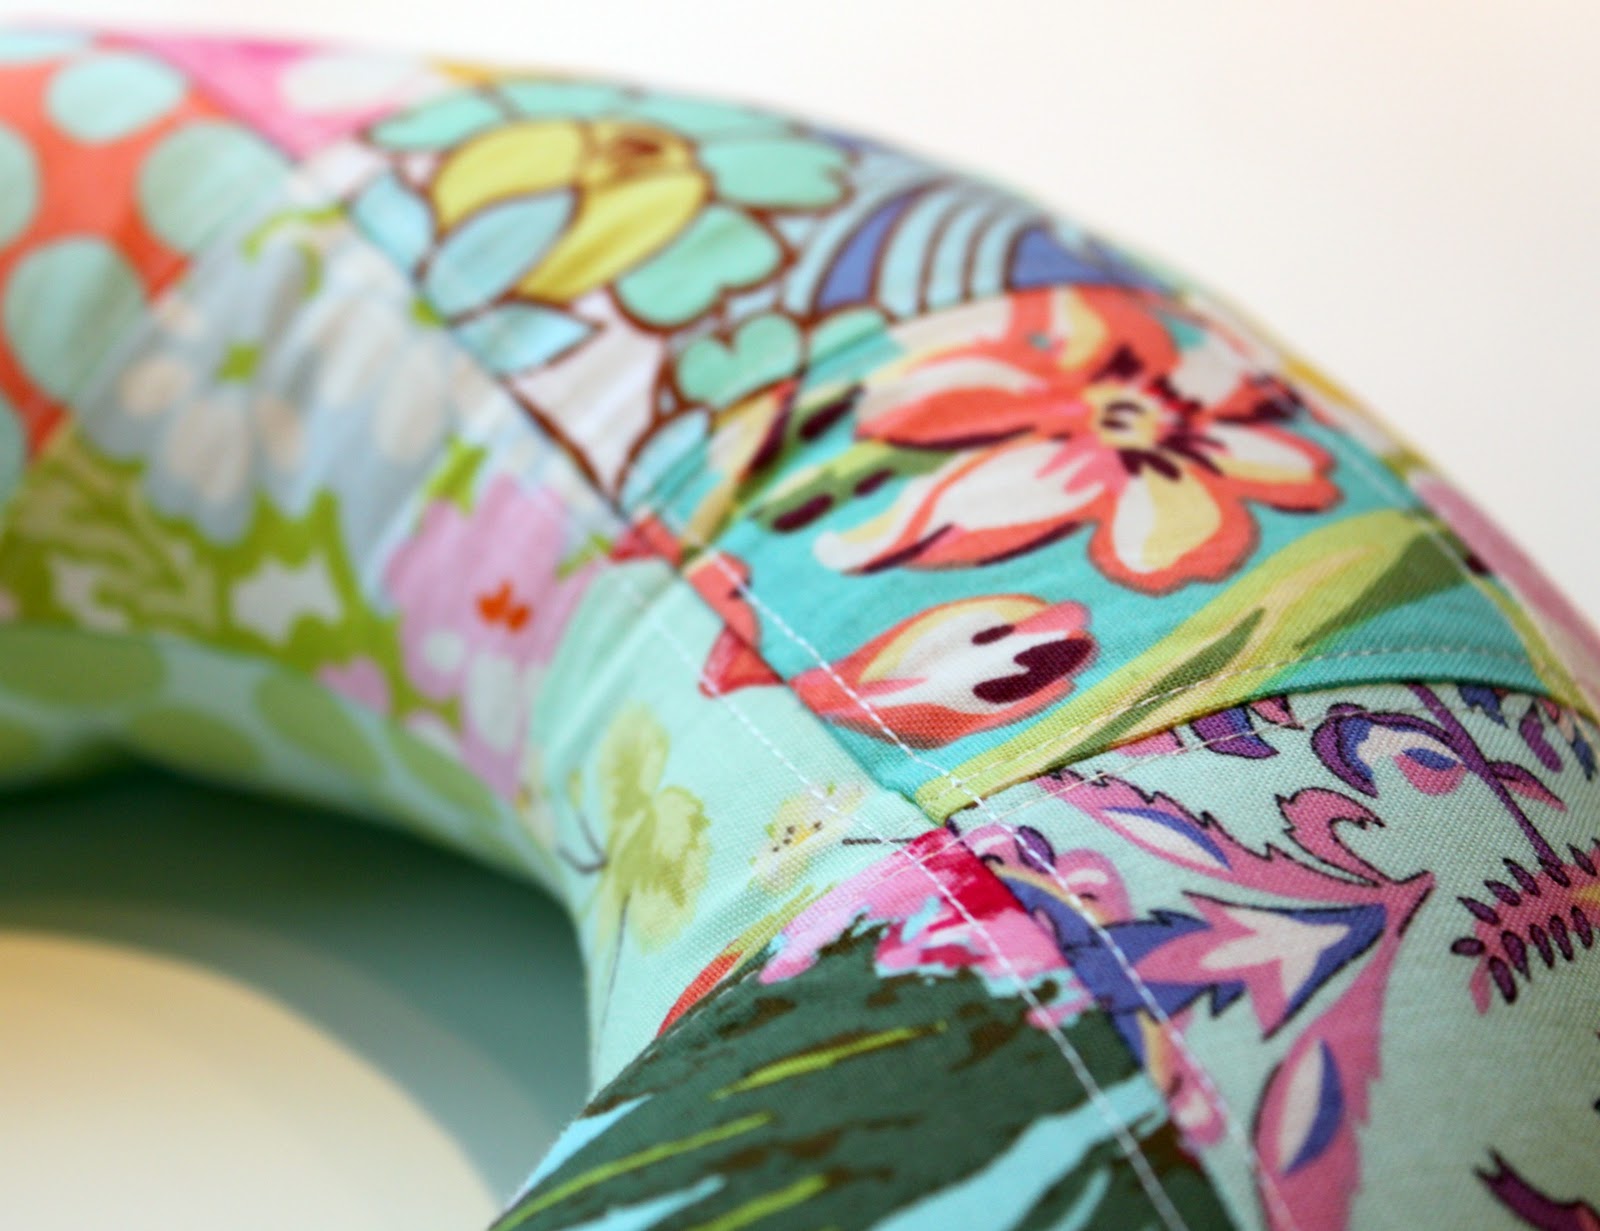
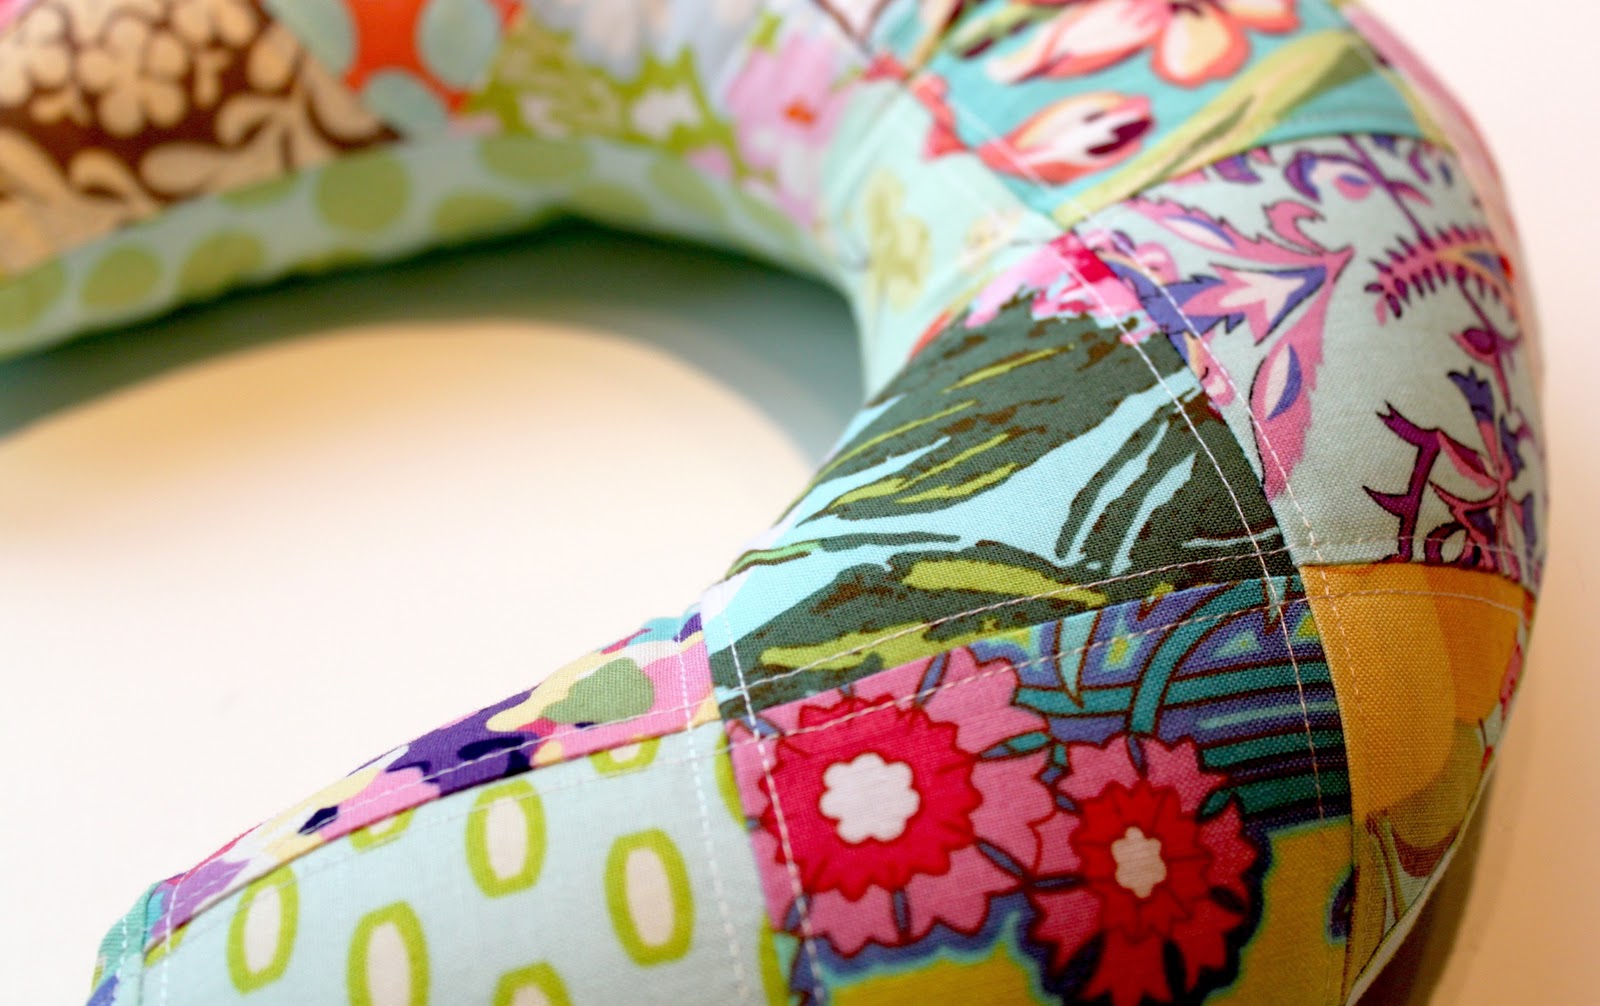
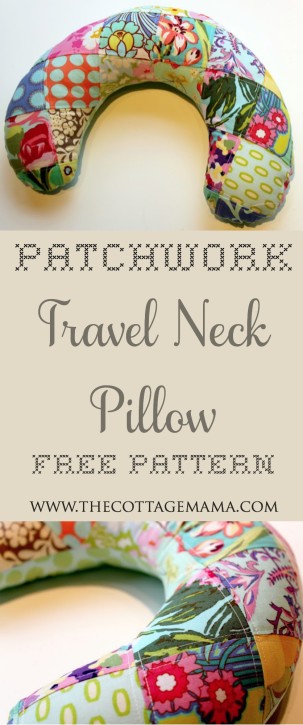
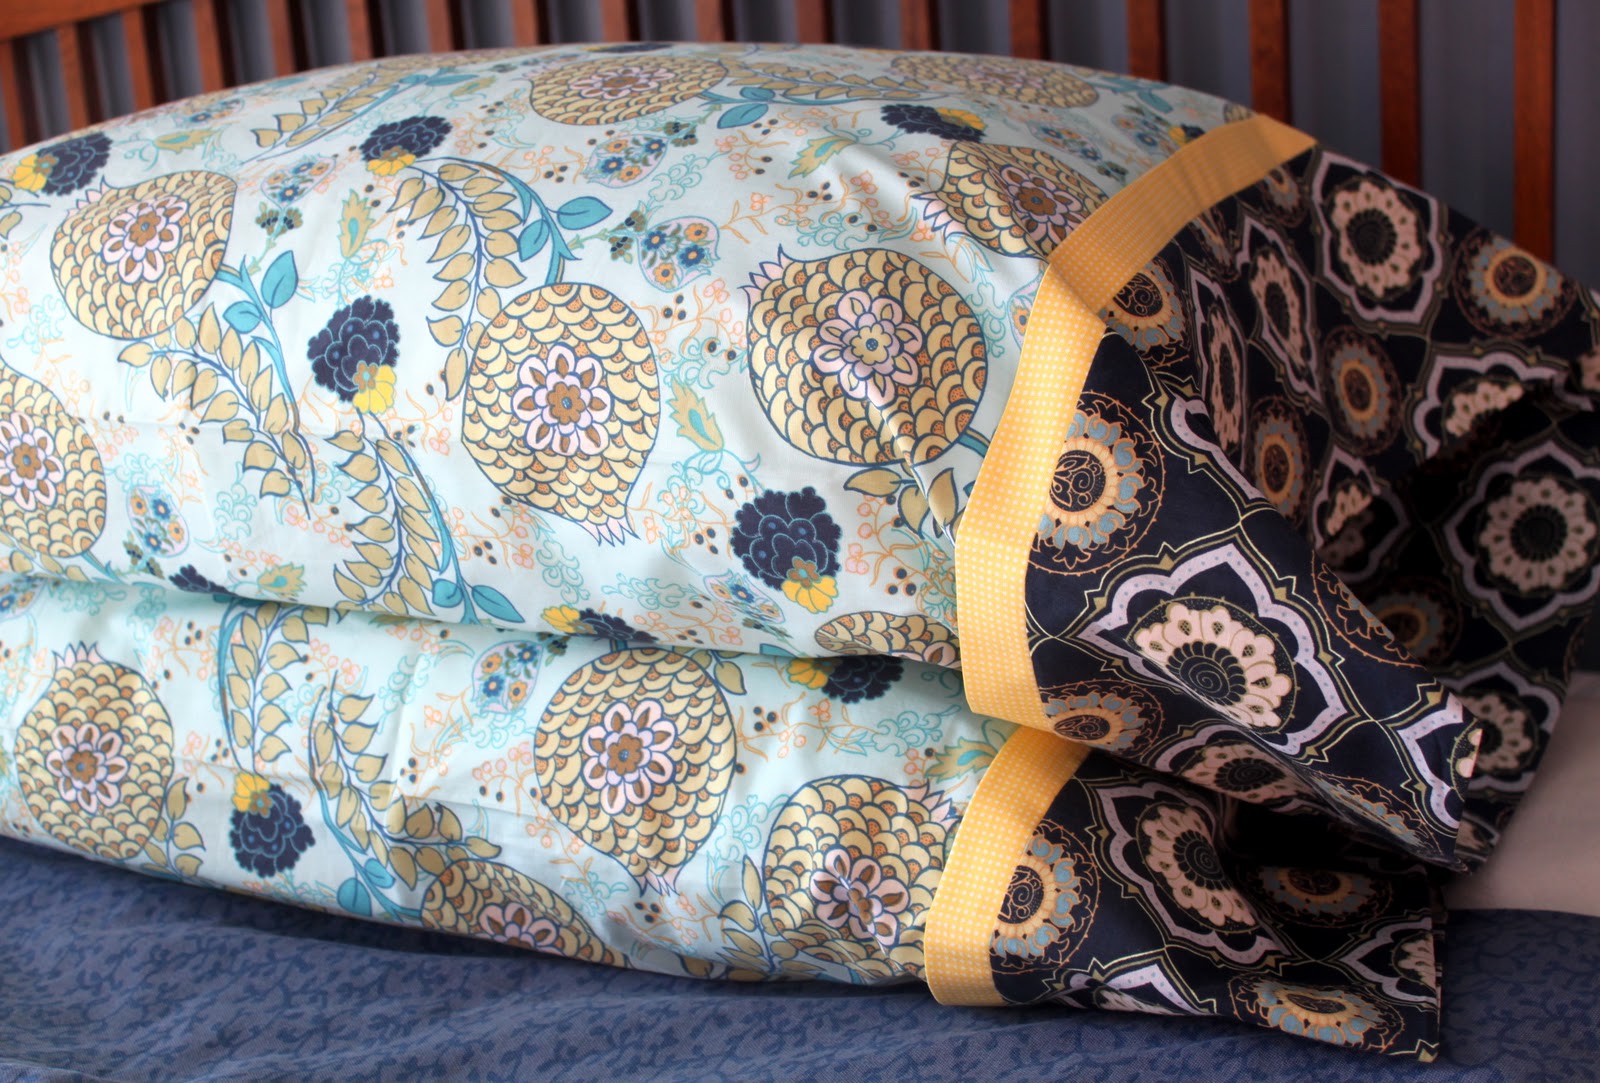
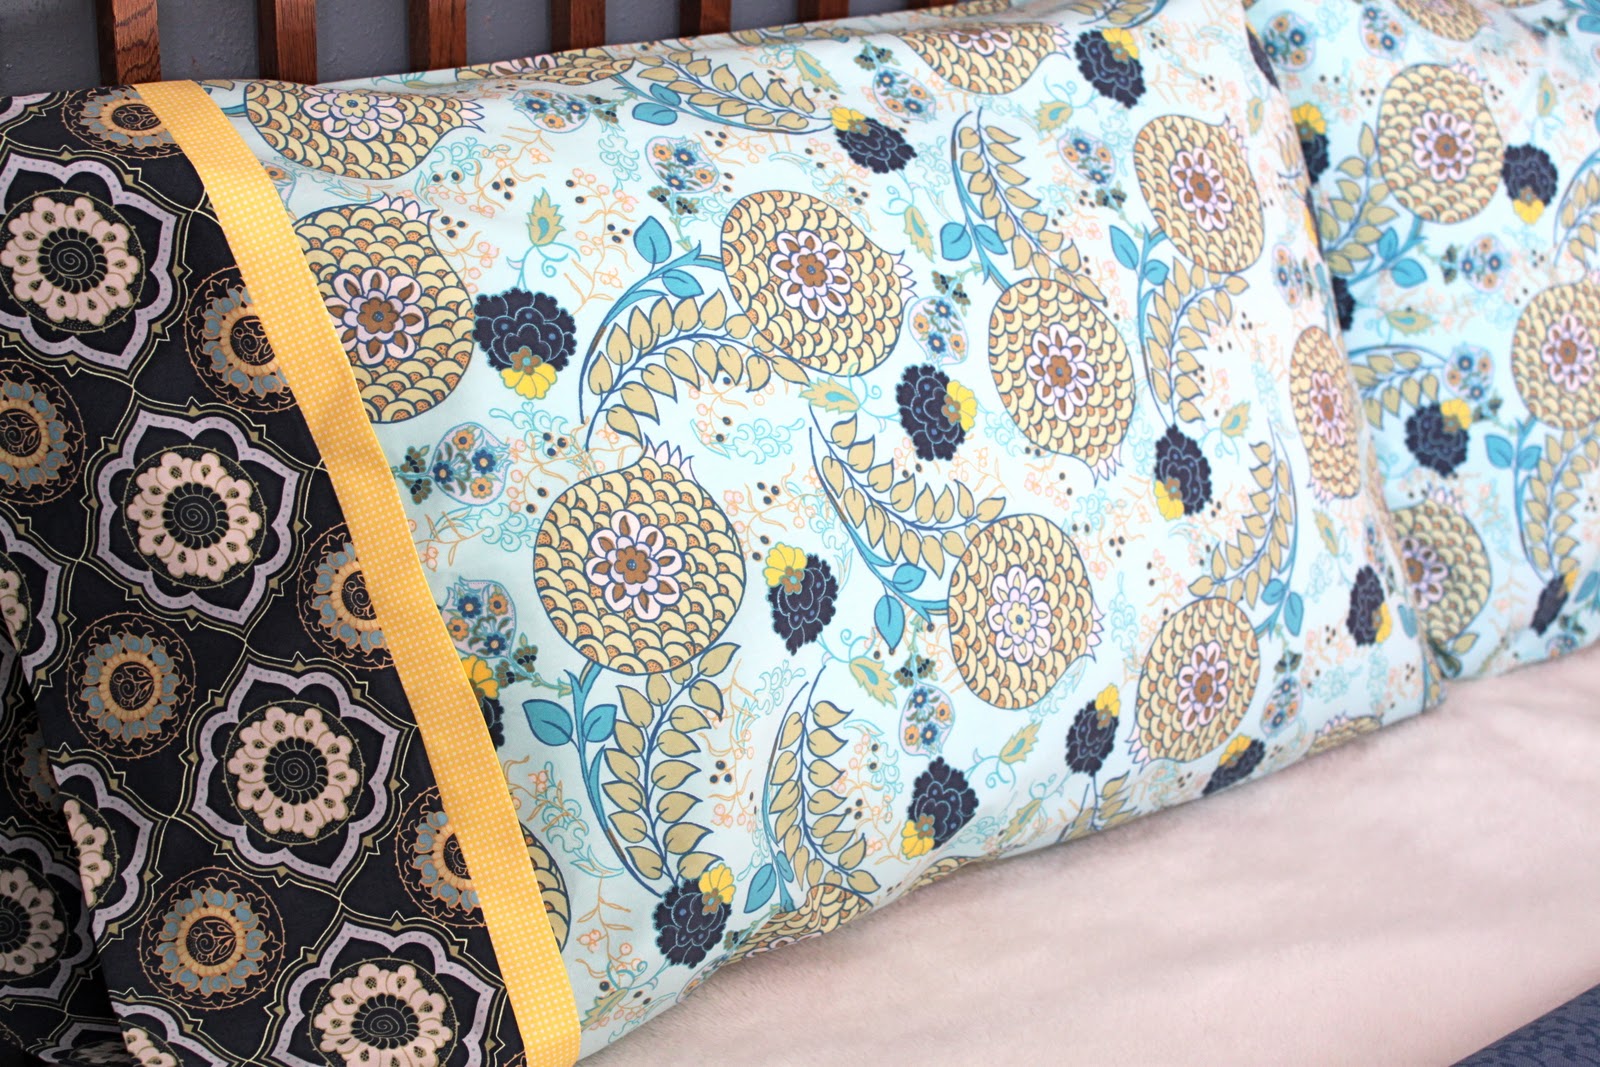
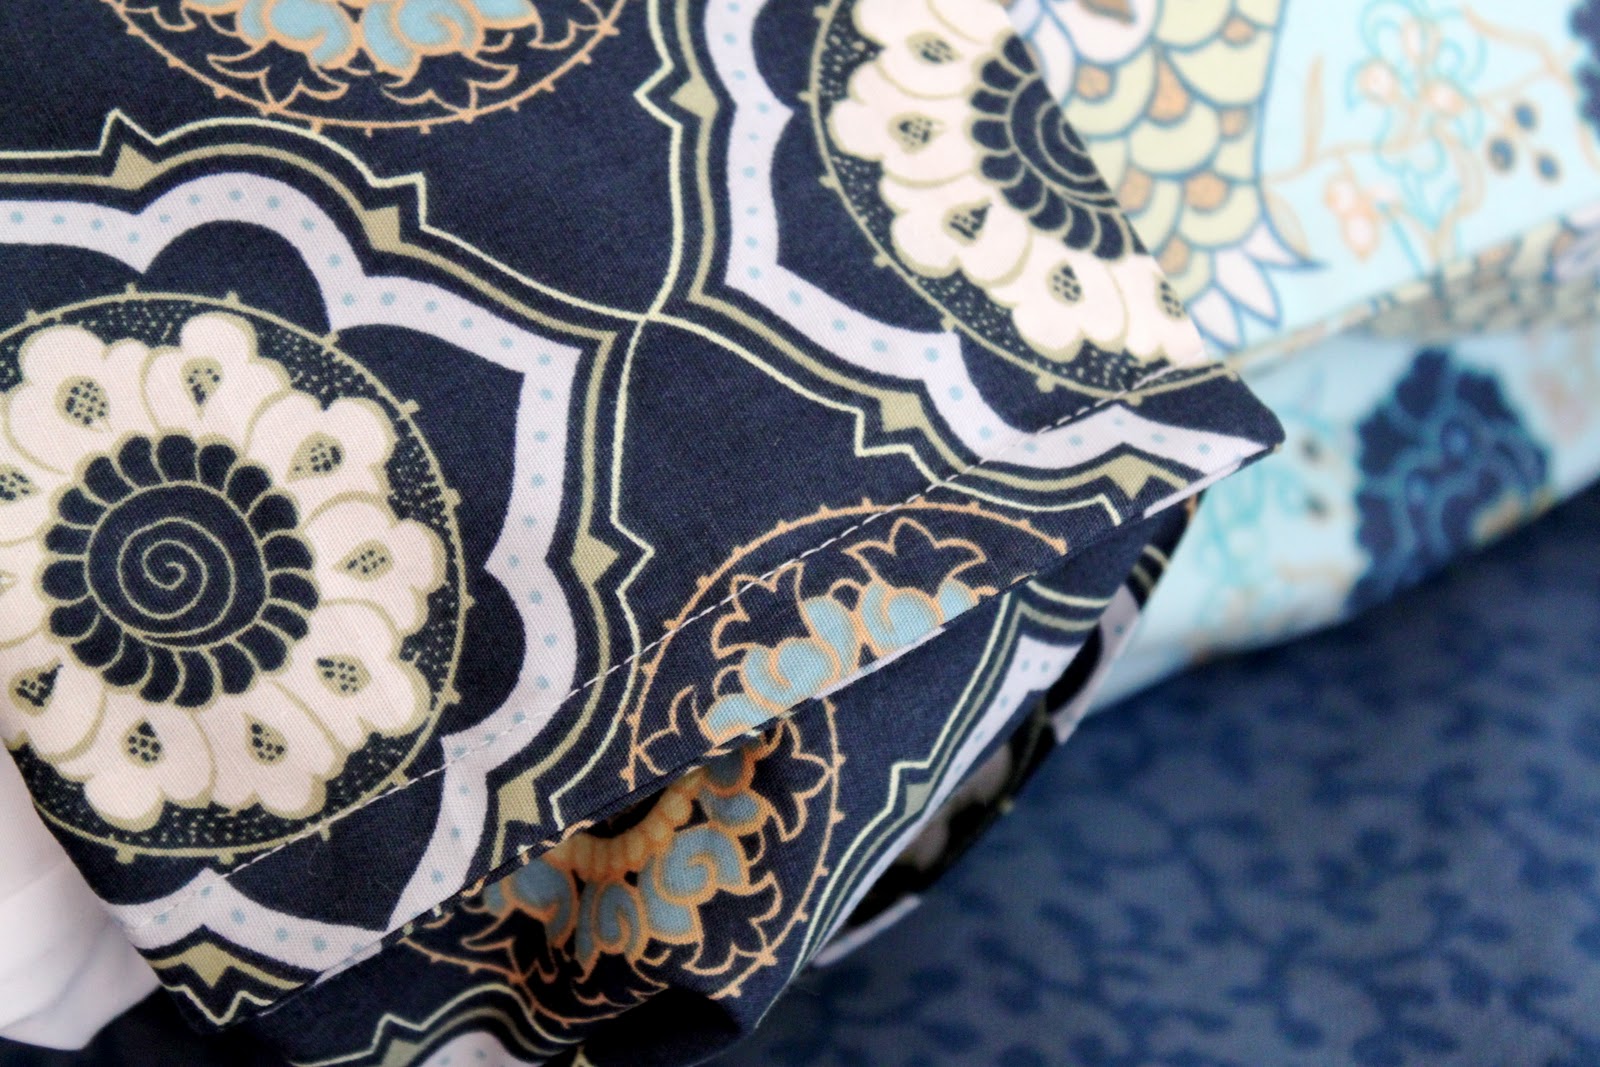
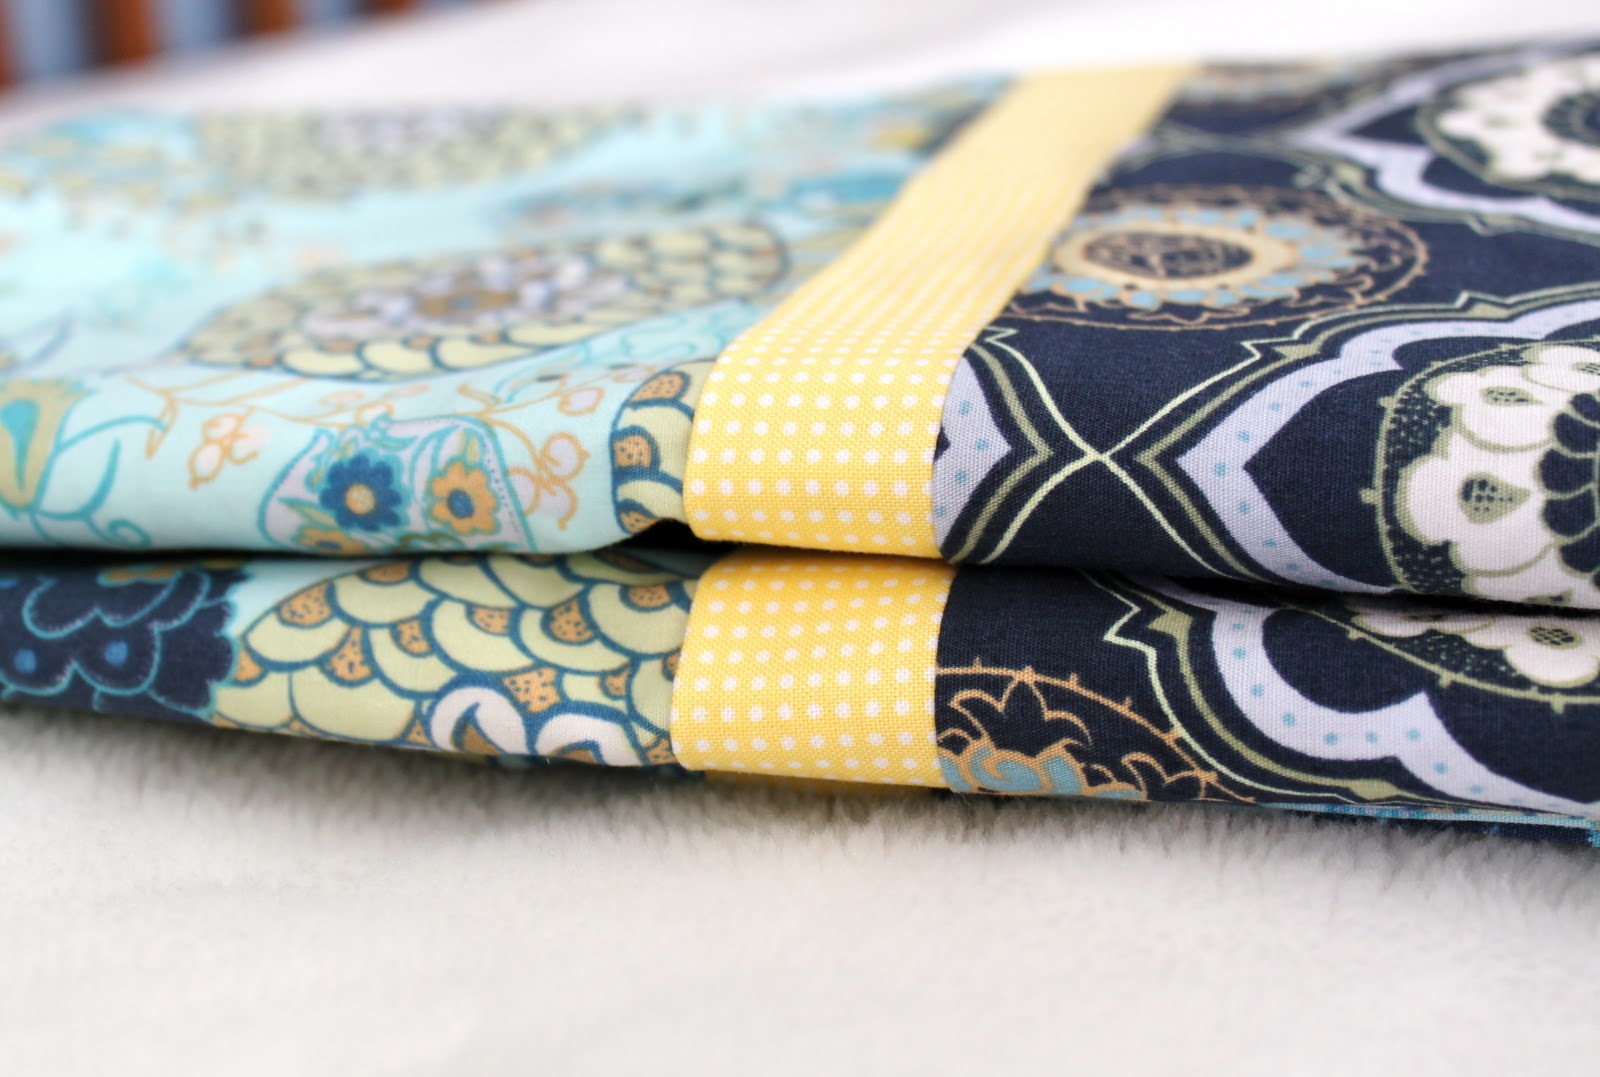
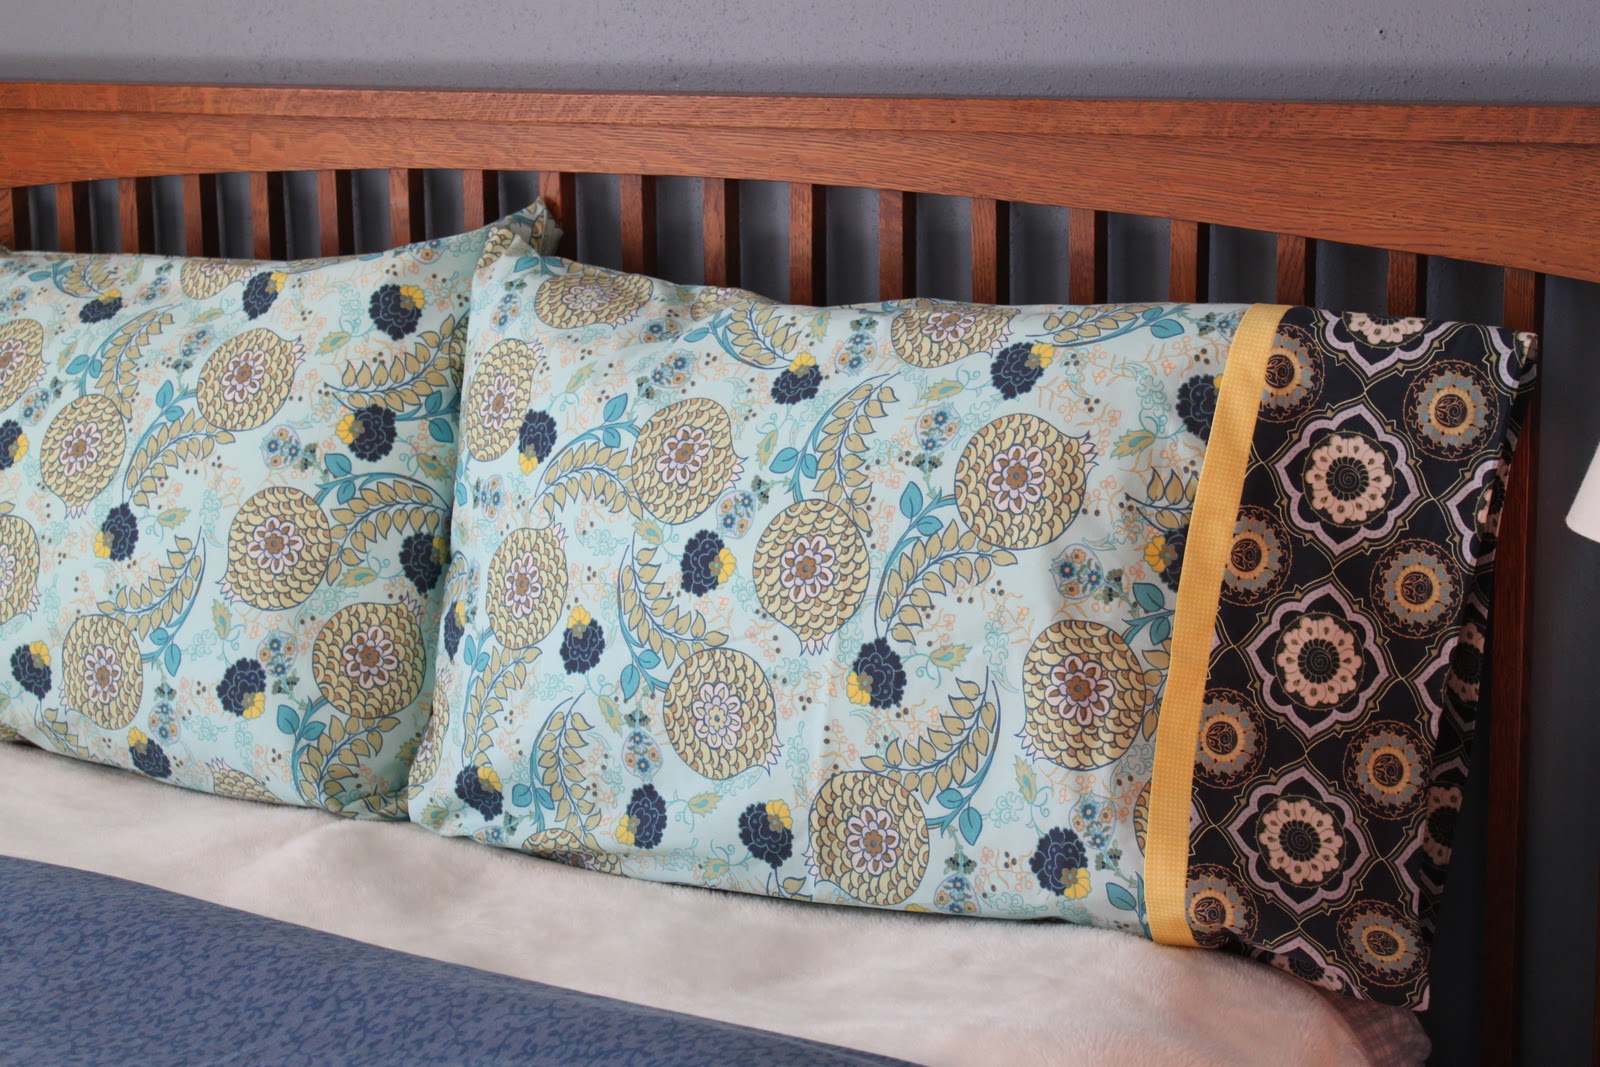
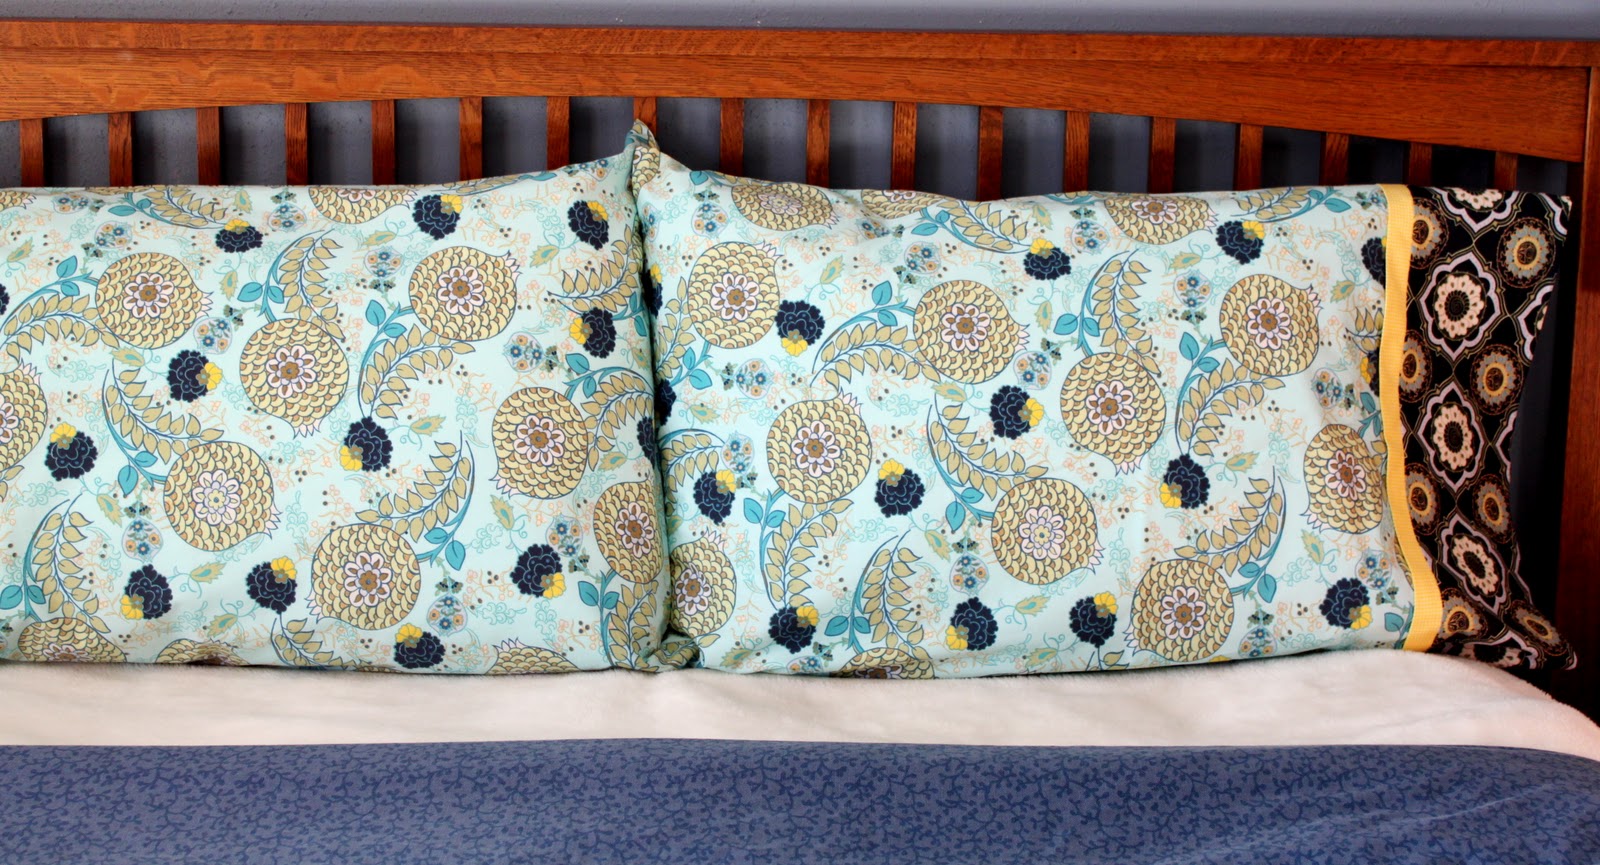
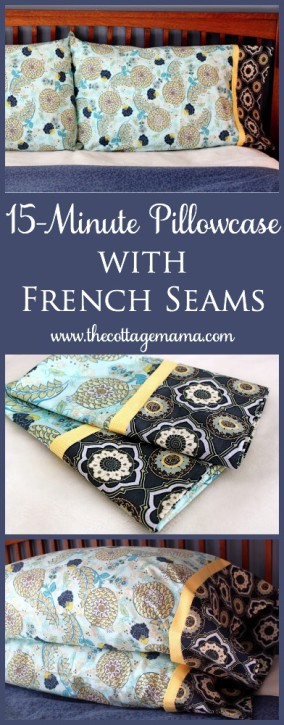
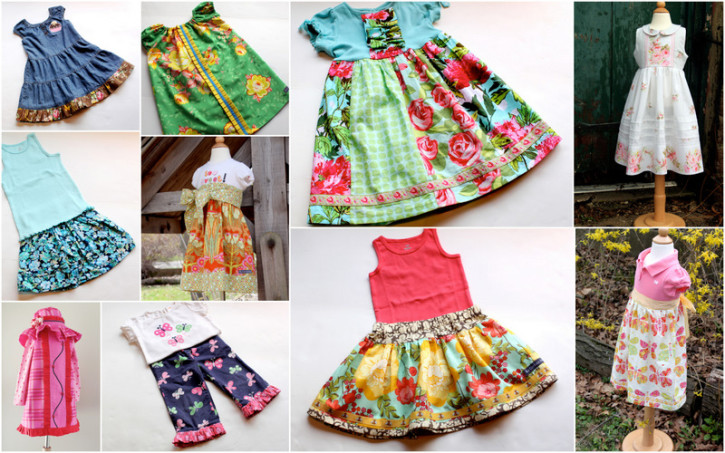
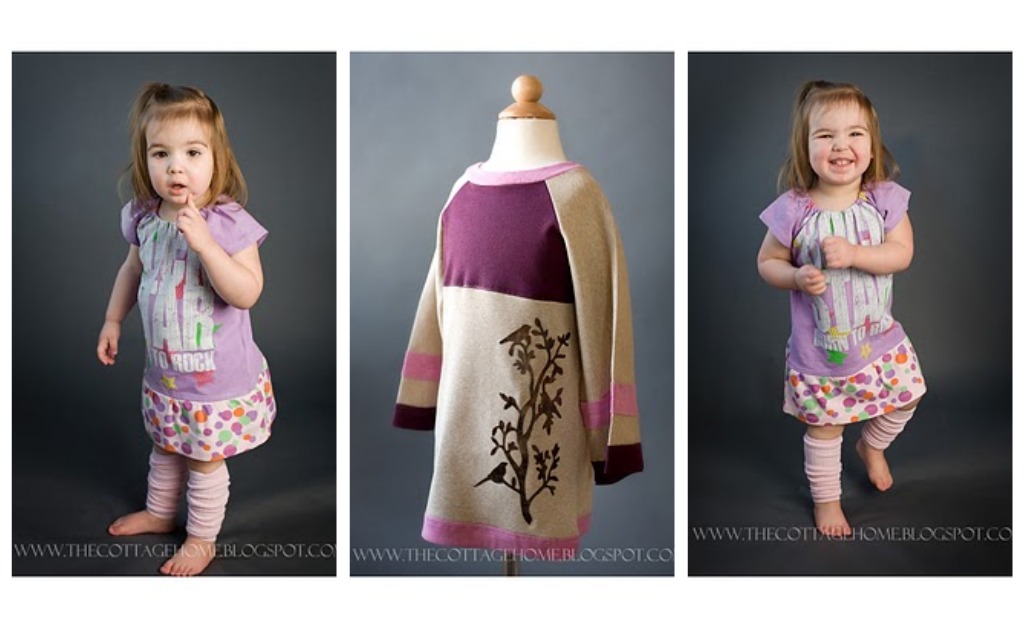
Another big favorite was the Semi-Handmade Wardrobe Series where I repurposed a lot of the girls clothing and made them into new, fresh looks for spring:
Apr 2, 20111-2
And the most popular party post from 2011 was Matilda’s “Tea for 2” birthday party:
Thank you, from the bottom of my heart, for taking the time to visit The Cottage Home in 2011.  There are many exciting things planned for 2012 and I appreciate you coming along on this journey with me.  And next week, I have a BIG giveaway planned from me to you ~ just as a little thank you.
So tell me, what was your favorite tutorial on The Cottage Home in 2011?

Here’s to a great 2012!

Merry Christmas & Happy New Year

Warmest thoughts and best wishes for a wonderful holiday and a very Happy New Year!
Thank you for making blogging such a joyful and fulfilling experience for me.  I appreciate each and every one of you that stop by The Cottage Home.  There are so many things to be thankful for this year.  
We have truly been blessed and my heart is filled with joy.
Love to you all,
Lindsay

We’ve Been Busy at The Cottage Home ~ Christmas Trees and Santa

This last month seems to have gone by in the blink of an eye.  We’ve been so busy trying to fit in all our Christmas festivities as I’m sure you have as well.  This is a non-sewing, non-crafting, non-cooking related post, but I thought you might like to know what we’ve been up to.

Matilda and The Cottage Papa

The day after Thanksgiving we headed to our favorite local tree farm to cut down our Christmas tree.  My husband and I both grew up with fresh Christmas trees and to tell you the truth, there is nothing like the smell of a ‘real’ Christmas tree.  We’ve been going to this farm since before we had kids and after seven years, I guess we can call it a tradition.

Savannah and (soon-to-be) Uncle Bryan

My sister-in-law and (soon to be) brother-in-law came with us this year on the great tree hunt.  We like this farm because it is very down to earth.  There aren’t a whole lot of bells and whistles (some farms around us have rides, attractions, horse drawn carriages), but you get the great feeling of the country life. This tree farm has been struggling the last few years because of a draught several years back.  So even though the pickings are a little slim, we like to support them during this tough time.

Savannah Rose

Savannah didn’t care much for the sound the saw made when cutting down the tree, so she hung back a little bit and took it all in from a far.

Aunt Abby and The Cottage Papa

That’s our tree in the picture above or also known as the Christmas ‘bush’.  Once we got it inside our house we realized just how round it really is, but it suites us ~ it’s got character.

Aunt Abby and Savannah

The day after Thanksgiving they had some pioneer living demonstrations and Savannah got to hand-dip a candle with some help from her Aunt Abby.

Matilda Jane

One of the favorite parts of our annual tree hunting adventure is getting nice and cozy with a cup of hot chocolate in the little warming house.  That hot chocolate hits the spot after the cold, hard work of finding our perfect tree.

After we came home and set up our tree, we decorated it.  This little guy (pictured above) was just a sweet, sweet angel throughout all our Christmas activity.  We listened to Christmas music, decorated the tree and I made my favorite homemade chex mix (which is a MUST when decorating the tree).

And what a difference a year makes!  The week after we got our tree, we took the kids to visit Santa.  Last year Savannah would not even get close to the man.  This year she ran right up to him, got on his lap and told him exactly what she wanted for Christmas ~ “I want a green dinosaur, a boy baby doll, and a red bouncy ball with a handle”.  I love a girl who knows what she wants!  Matilda was fine with the man in the red suit, but she didn’t say much.  After we left, Savannah said “Wow, he is definitely nice!”

This past weekend my mom, Grandma Jane, and her husband Allen (aka ‘Pepo”) came to celebrate an early Christmas.  We had a wonderful time, though our visits are always too short.  What I wouldn’t give to live closer to my mama……..maybe someday……one can dream, right?  Mom made us the most beautiful Christmas quilt that matches the kids Christmas outfits.  I need to take some good pictures of it, but I can’t wait to show you!

This week I’m going to be busy baking with the kids and finishing up my last handmade Christmas gifts.  The current project in the works are ‘baby doll kits’ I’m making to go with the girl’s ‘American Girl Bitty Baby Boy’ dolls that they are getting.  Savannah and Matilda both really wanted boy babies because of their little brother, so I’m having fun using all of this boy printed fabric to make the accessories for their dolls.

I hope you all are enjoying this holiday season.  
It truly is the most wonderful time of the year!

The Joy of Blogging

The following post was a guest post I did recently over at Lil Blue Boo.  Ashley has had some different guest bloggers over talking about how they find the joy in blogging. Ashley is undergoing cancer treatment.  If you don’t know her story, I would encourage you to visit her blog.  She is a true inspiration. 

I seem to have Ashley on my mind daily with all that she is going through during her cancer treatment.  I pray for her and her family quite often and I hope things move in a positive direction.  Ashley is such an incredible example of what it means to “Choose Joy” in ones life.  I could only hope that if I was dealt the same set of cards, that I could carry on and be a positive inspiration like Ashley.  But I honestly don’t know ~ she is pretty darn amazing.

So, the question is “How do you find joy in blogging?”

I started my blog, The Cottage Home, almost exactly two years ago.  It originally started as a way to share my projects, recipes and ideas with my family and friends.  I began blogging through the encouragement of one of my friends.  She was really into reading blogs and knew that I was into, what I like to call, the domestic life.  When she told me that she would read my blog if I wrote one, I couldn’t believe it.  Really?  Someone would actually be interested in my life?  I figured if even one person would read what I had to say, maybe others would too.

I find blogging to give me an identity outside of being a mother.  Yes, mother and wife are my two central roles, but I think it is so important for us to continue to pursue our passions outside of those primary roles.  I also want my children (two girls and a boy) to see me as something outside of their mother. I hope that when they look back at the blog I have created they will not only see their mother, but they will see creativity, passion, drive, a business woman and more.

Being a stay-at-home mom is wonderful, but sometimes it is hard to find other women that have the same passions and interests as myself locally.  Through blogging I have connected with more women who share my love of sewing, cooking, crafting and all things domestic than I could have ever imagined.  I love knowing that there are other women out there that share my same desire to create, my same addiction to fabric, and my same focus on family and the domestic life.

There is an innate desire within me to create.  Whether that may be creating a project for my children, creating a gift for a friend, or creating a comforting meal that I can share with my family.  Through creating I show those around me how I love and care about them.  The true joy comes when I can inspire others through my way of life to create things in their own lives.

My blog is pretty sewing focused and it is trilling to receive an email from a reader where I have inspired them to get back into sewing.  Perhaps they used to sew, but got bored with it and now I have created a project that they are excited about trying.  Or maybe it’s someone whose mother sewed while they were growing up and now they want to sew for their own children.  Or maybe a grandmother has seen the girls clothing I create and is inspired to create something for their grandchildren.  Whatever the reason may be, if I can inspire someone to return to their sewing machine, then in that, I find true joy.

Not only do I hope to inspire others through blogging, I am forever inspired by my fellow bloggers as well.  I thought I would share some of the dresses Ashley’s sewing patterns have inspired me to create. 

Thank you so much for inspiring us all through your blog, Ashley! Keep staying positive ~ we are rooting for you!

So, if you blog, how do you find the joy in blogging?

I’d love to hear from you! 

Sponsor Love

I thought I would take this opportunity to share some deals/discounts/new stock from The Cottage Home blog sponsors.  I love each and every one of these shops.  I do not accept every interested sponsor, so when you see these folks listed in my right side-bar, rest assured that I highly recommend them.

If you have any last minute Christmas shopping to do for someone crafty or perhaps you need some more supplies to finish up that last-minute Christmas gift, I would love for you to check out these sponsors before shopping somewhere else.  These are all small businesses and in our current economic times, it’s important for us to give as much support to them as possible!

The Cottage Home Blog Sponsors:

Fat Quarter Shop: Currently hosting the Countdown to Christmas. For 12 Days they will be offering deals of 30% – 50% off selected items.  
Check back daily for new deals!  
Fairytale Frocks & Lollipops: See current promotion below.
Shabby Fabrics: Starting the Year-End Clearance.  Click HERE to view all current sale items.  
Additionally, they are offering a great new variety of “Block of the Month” programs.  You can view the amazing collection of “Block of the Months”, by clicking HERE.
Ellie Inspired Sewing Patterns: Laura, owner/designer, of Ellie Inspired has been a busy lady adding 9 new knit patterns to her shop since her last giveaway on The Cottage Home blog.  She is currently offering a couple bundle packages of her knit patterns – Size 1-5 and Size 4-12.  Patterns can be purchased individually as well.

 Ellie Inspired is offering 20% OFF your entire purchase if you mention “The Cottage Home” at check out.
Butterfly Kisses Fabrics: Currently offering $10 off a purchase of $50 or more with code BK1050 at check-out.  
Butterfly Kisses Fabrics recently received pre-cuts for the following lines: Good Fortune by Kate Spain, Reunion by Sweetwater, Salt Air by Cosmo Cricket, A Walk in the Woods by Aneela Hoey as well as yardage and pre-cuts of Half Moon Modern.  They also have several new lines scheduled for arrival in January.

Modern Fabric Studio: Check out their sale below!

HeartSong Quilts:  Our newest blog sponsor.  Check out their unique selection of Australian Aboriginal Designs as well as plenty of other gorgeous fabrics.  They are one of the most unique brick and mortar shops in the United States.

HeartSong Quilts also offers long-arm quilting services, so if you were ever interested in having your quilt quilted by machine, this shop can handle all of your needs!

Elizabeth Victoria Fine Stationary:  There’s still time to place your holiday card and custom stationary order in time for Christmas.  Check out their unique die-cut cards!  See sale below.

AccuQuilt: AccuQuilt is the perfect gift for any quilter, sewer or crafter.  Check out a couple of their current promotions below.

22 Free Patterns - Download Now

A big giant thank you to all of my sponsors!  
I’m so happy to have each and every one of you and it is my pleasure to help you all grow in your business. 
Happy Holidays!
If you are interested in becoming a sponsor of The Cottage Home blog, please email Lindsay at thecottagemama[at]gmail[dot]com for rates and additional information.

From Grandma with Love………Christmas Janey Jumpers

So my mom, Grandma Jane, has done it again!  To be totally honest, I don’t think I have ever received something my mom has made and not been totally thrilled.  For one, I put a huge value on handmade items and two, she and I have very similar taste.

I was really excited when my mom said that she wanted to make the girls Christmas dresses.  Usually I like to do the kids special occasion outfits, but with having three little ones now, I was more than happy to have someone lighten the load.  Mom said that she wanted to make the dresses from my Janey Jumper sewing pattern ~ how fun is that?

This is View B from the Janey Jumper pattern.  Now I did give the instructions in the pattern in regards to the center panel, ruffles, ect., but mom picked out the fabric and trims totally on her own.  She used Kate Spain’s “Flurry” for all the Christmas outfits. 

Matilda’s dress is the red one and Savannah’s dress is the green one.  I love the red ribbon trim with little white stitching.  I think it’s really fun to have my kids coordinate with one another, but not totally match.

When I opened the package from my mom I was excited to see the onesies for Caspian, which were a total surprise.  Mom included a striped zip-up sweater for the little man as well (it just didn’t make it into the picture).  She said the Christmas tree onesie was a last minute addition, but I really like it.  Plus the green and red tie onesies can be worn after Christmas as well.

I can’t wait to get all the kids dressed up in their Christmas best.  Savannah has a family holiday party at her preschool this week, so I think I’m going to dress all the kids up for the festivities.  I hope you all are enjoying the holiday season as much as we are ~ I just love Christmas!

To view more of the beautiful handmade pieces that have been sent to us from my mom, Grandma Jane, click HERE.

Embellished Baby Bib ~ Pattern & Tutorial

Christmas sewing is in full swing here at The Cottage Home.  I’ve got a million and one projects on my to-do list and am slowly getting through them.  This will be my baby boy, Caspian Finn’s, first Christmas so I wanted to sew something for him.  Yes, I know he won’t know whether or not Mama sewed anything for him this year, but I want to make sure that everyone gets an equal amount of handmade gifts.

I picked up this woven trim somewhere…..not quite sure exactly.  I’m always on the hunt for unique items for embellishing. It’s been in my collection of trims for some time and now that I have a baby boy, I can finally use it!

I’m going to give you the basic bib pattern and a few instructions on constructing it, but the embellishing is up to you.  I know some people like to be given exact instructions for each project, but I want to inspire others to use their own creativity to come up with something beautifully and uniquely their own.  Use what you have, use what you love, but spend some time planning out your exact embellishments.  Think about using unique buttons, ribbons, trims, ric-rac, piping, embroidery floss, appliques, ect……

To print the baby bib pattern, click HERE.
Materials:
1/4-3/8 yard of two different fabrics (one for front and one for back)
Contrasting 4″ fabric for front
Unique trims and embellishments
Square of velcro
Double-sided fusible interfacing
Optional: Embroidery floss and hand-sewing embroidery needle
Basic sewing supplies
Baby bib pattern (print HERE)
Instructions:
Print out the baby bib pattern.  Tape together both pattern pieces connecting at the black dots.  Cut out pattern.  Place pattern piece on the fold of fabric and cut out the front and the back of your bib.  For the front I used linen fabric because I like the difference in the texture and for the back I used 100% cotton.
If you would like to add a contrasting strip of fabric to the front of the bib, apply with double-sided fusible interfacing.  Apply according to package directions.  My fabric strip was 4″ x the width of the bib.  Next add and embellish the front of the bib however you choose.  Get creative!
Once you have embellished the front of the bib.  Place the bib front and bib back with the right sides together and pin.
Stitch all the way around using a 1/2″ seam allowance, leaving a 3″ opening for turning right side out.
Notch the outer curves to remove any bulk and to help the curves of the bib lay flat.
Clip the inner curves, again, to help the curves of the bib lay flat when you turn and press.
Turn the bib right side out by pulling through the 3″ opening on the side.  Work the curves out and press.  Press the 3″ opening in line with the rest of the bib.  Edgestitch around the bib with a 1/8″ seam allowance ~ when doing this you will catch the 3″ opening and the edgestitching will close it.
Sew a square piece of velcro to the back of the bib.  You could also use a snap if you would prefer.  Either way works.
I embroidered my baby boy’s name on the front of his bib.  I just wrote his name in a water-soluble fabric pen and stitched over it.  I’m hoping this is something he will be able to have for a long time.  That little train trim is just too cute.  I’ve got an idea for some pants that might utilize that cuteness as well.
I have so many ideas for more bibs for this little guy.  If I were doing this for a girl, I’m thinking some ric-rac around the border, some fabric yo-yo’s and vintage buttons.  SO many options!
Do you think you might try your hand at embellishing a baby bib?  If so, I’d love you to add a picture to The Cottage Home Flickr Group.  It’s always a thrill for me to see your creations!

Patchwork Travel Neck Pillow ~ Pattern & Tutorial

I know a lot of people travel around this time of year.  As a matter of fact, my mom and her husband will be flying in to celebrate an early Christmas with us in less than two weeks!  Many people are unable to sleep in airplanes and cars because of their uncomfortable neck position .  I’ve seen lots of travel pillows in the airports, but I wanted to make one that was a little bit more exciting………a little more “me”, shall we say.

The Patchwork Travel Neck Pillow is a great gift idea for anyone you know that travels a lot.  Or make one for yourself so you can be comfortable and stylish on your next long journey.
To download the Patchwork Travel Neck Pillow pattern piece, click HERE.
Materials:
Scraps of fabric
Lightweight fusible interfacing
Fiberfill (or other stuffing)
Scissors
Basic sewing supplies (including hand-sewing)
Travel neck pillow pattern piece (click HERE)
Instructions:
Print and cut out the pattern piece.  Use this pattern to cut the backing for your pillow.  Place pattern piece on fold of fabric and cut.
Gather a bunch of fabric scraps that you have lying around.  They can coordinate with one another or be totally random.  I kind of went for the random look this time, but if you want a more cohesive look then just stick to one color palette.
Cut your scraps into 3″ x 3″ squares.  I cut mine out using my rotary cutter, quilting ruler and cutting mat, but you can certainly use scissors, just make sure you are precise.
Lay out your fabric squares.  Place them in a desired pattern.  See my picture (a few below this one) to see exactly how many squares you will need for each row.
Sew the squares together to form rows using a 1/4″ seam allowance.  Then sew the rows together also with a 1/4″ seam allowance.  I would suggest alternating the way you press your seams so that you have better luck with the corners meeting up.  If you press one row to the right, press the next row to the left and so on.
The picture above is what your squares will look like when they are all sewn together.  If you are doing 3″ squares, you can follow the above layout and it will fit your pattern piece exactly.
Use your pillow backing as the template for the front.  Cut around to make the front patchwork piece.
This step is entirely optional, but I always love nice finishing.  I stitched a 1/4″ from each seam on both sides. I did this horizontally and vertically, so that each square has a stitched border.  If you choose this option, make sure you complete this before you sew on your backing.
Apply a light-weight fusible webbing to the back piece and the front piece.  Do this according to your package directions.  This is fusible web so it will only be fusible on one side.  Do not use double-sided for this project.  You don’t have to use the interfacing, but I think it gives the project more body and looks nicer once the pillow is stuffed.
At this point, if you choose to use a label, sew it on to your back piece now.
Pin the front piece to the back piece with the right sides together.  Stitch all the way around using a 1/2″ seam allowance, but leave a 3″ opening on one of the sides.
Clip the inner curve so that the pillow will lay flat.  Do this by cutting slits through the curve.  Cut very close to the stitching, just be careful not to go through it.
For the outer curves, notch them out so that you remove bulk.  Again, we are doing this so that the curves will lay flat and look nice when turned right side out.
Turn your neck pillow right side out and press.  You may have to work the curves so that they are nice and smooth.  Stuff your pillow with fiberfill stuffing.  Move the stuffing around so it is even throughout the pillow.  Then hand sew your 3″ opening closed with coordinating thread.
And there you have it, your completed Patchwork Travel Neck Pillow!
Patchwork Travel Neck Pillow FREE Pattern from The Cottage Mama. www.thecottagemama.com
The patchwork version takes a little time, but if you need a faster variation, try leaving the front piece solid.  Also, you can certainly make this pillow for a man by using more masculine fabric prints.  But you know I love girly things.

Happy Holiday Travels!

15-Minute Pillowcase {with French Seams} ~ Tutorial

Today I have a great 15 Minute Pillowcase with French Seams tutorial for you!

As most of you know, I love lined garments.  Why?  Because I like things to look as beautiful on the inside as they do on the out.  However, sometimes lining projects is not necessary or practical and that’s where french seams come in.  A french seam encases the raw edge of the fabric so you have a beautiful, neat and tidy, finished look. And that’s where the 15 Minute Pillowcase with French Seams comes in……..

No joke, these pillowcases will not take you more than 15-minutes and they will be gorgeous!  I have seen a lot of pillowcase tutorials, but when my mom told me about this unique technique that she learned from her quilting group, I knew I had to share.

Consider making a pair of these as a gift or perhaps make some in seasonal fabrics to pull out throughout the year.  I don’t sew much for myself, let alone my husband, so this set of pillowcases is staying right on our bed.  A little gift for us.

So, do you want to make the quickest, most beautiful pillowcase ever?  Here we go……
15-Minute Pillowcase Tutorial
{with French Seams}
Materials (1 Standard Size Pillowcase):
Three different printed fabrics –
Fabric 1: 27″(main fabric) x width of fabric (approx. 43″)
Fabric 2: 2.5″(thin accent) x width of fabric (approx. 43″)
Fabric 3: 12″(large side band) x width of fabric (approx. 43″)
Basic Sewing Supplies
Here are the directions that were sent to me by my mom from her quilting group.
Click HERE to view.
Here is what a french seam looks like (pictured above).  Isn’t it pretty?  No raw, exposed edges.  You can use french seams when sewing garments as well.  It’s a great finishing option if you don’t have a serger.
How about making a set of these for overnight guests?  I think that would be a lovely gesture and then they can go home with them as kind of a ‘thank you for coming’ sort of gift.
I’ve got plans to make several sets of these pillowcases.  I have all this beautiful fabric, so why not rest my head on it when I go to sleep?  I must be a true fabric addict.  Hi, my name is Lindsay and I want to sleep with my fabric.  Haha, just kidding…….well, not really.
15 Minute Pillowcase with French Seams. Free Pattern and Tutorial from The Cottage Mama. www.thecottagemama.com

Cottage Mama’s Note:  
Fabrics seen here are as follows ~
Fabric 1 (Light Blue Main): Art Gallery Fabric – Alhambra II – Moorish Blooms Aqua
Fabric 2 (Yellow Thin Band): Timeless Treasures – Sweet on NYC – Pixie Yellow
Fabric 3 (Dark Blue Side Band): Art Gallery FabricAlhambra II- Cashmere Cameo Night