Yesterday I posted my recipe for Spicy Grilled Shrimp with Corn Relish. Well, we had some leftovers and I decided it would be fun to turn them into something new for the following dinner. There are very few additional ingredients for this pasta dish, but your family will never know they are eating something very similar to the night before.
If you would like to make this dish, but fear you might not have any leftovers from the night before, just plan ahead and make a double recipe of the spicy shrimp.
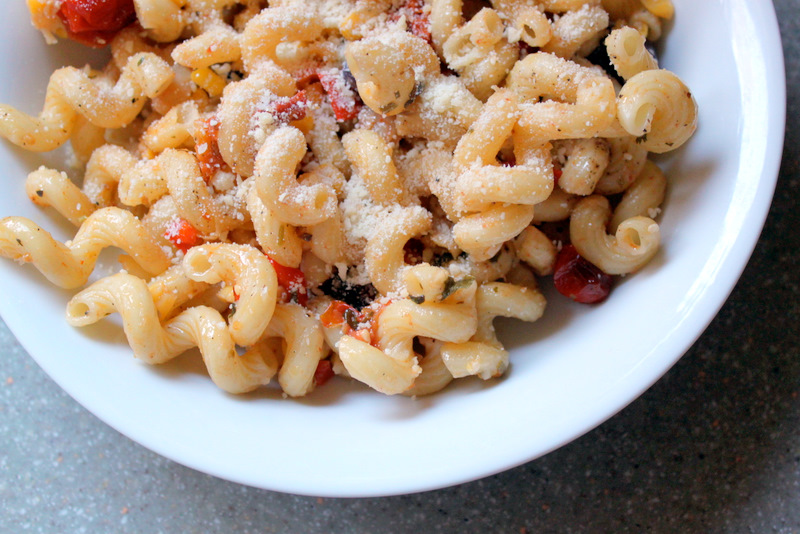
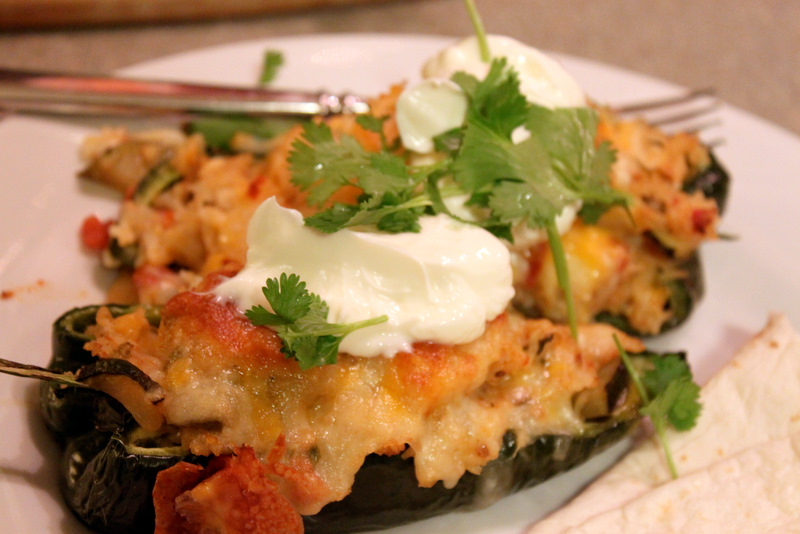
Leftover Remix: Grilled Shrimp and Roasted Corn Pasta
Ingredients:
Leftover Spicy Grilled Shrimp with Corn Relish (pineapple removed)
1 pound cavatappi pasta (or any shape you like)
1 package grape tomatoes
Olive oil
3/4 cup Parmesan cheese
Salt and pepper, to taste
Directions:
Preheat oven to 450 degrees. Cook pasta according to package directions.
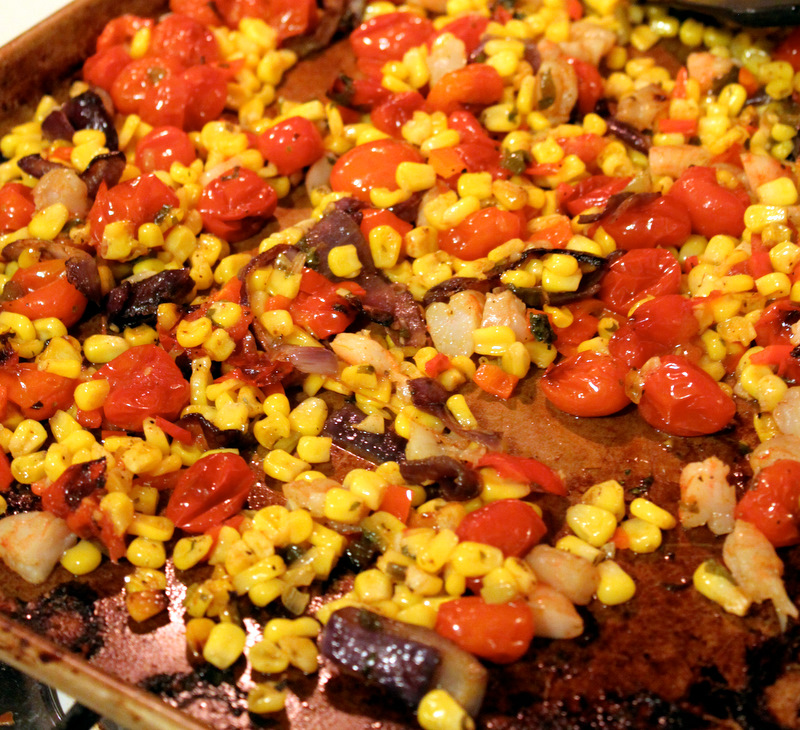
Place leftover corn relish, grilled onions, and grape tomatoes on a large baking sheet. Drizzle with a little olive oil, salt and pepper. Roast in the oven for approximately 20 minutes or until grape tomatoes start to get wrinkly and corn starts to get a little color.
Meanwhile, cut up your shrimp into small pieces. Once you remove your corn and tomato mixture from the oven, add your shrimp to the baking sheet – this will warm them up without cooking them any further.
Drain pasta. Add all the contents from the cookie sheet into the pasta. Make sure to scrape up all the little brown bits (this gives the great roasted flavor). Add your Parmesan cheese and an extra drizzle of olive oil, salt and pepper (to taste).
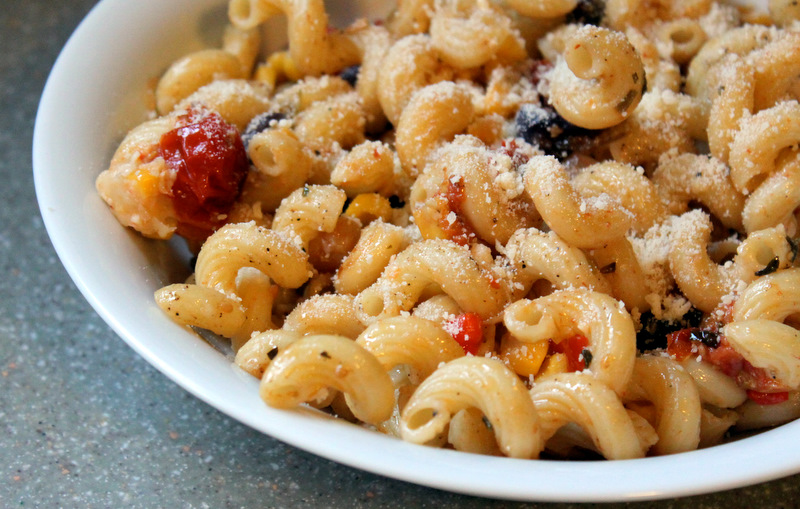
Garnish with additional sprinkling of Parmesan cheese and serve with freshly baked garlic bread.
Now that’s practically two meals in one – how great is that? I love things that do double duty!


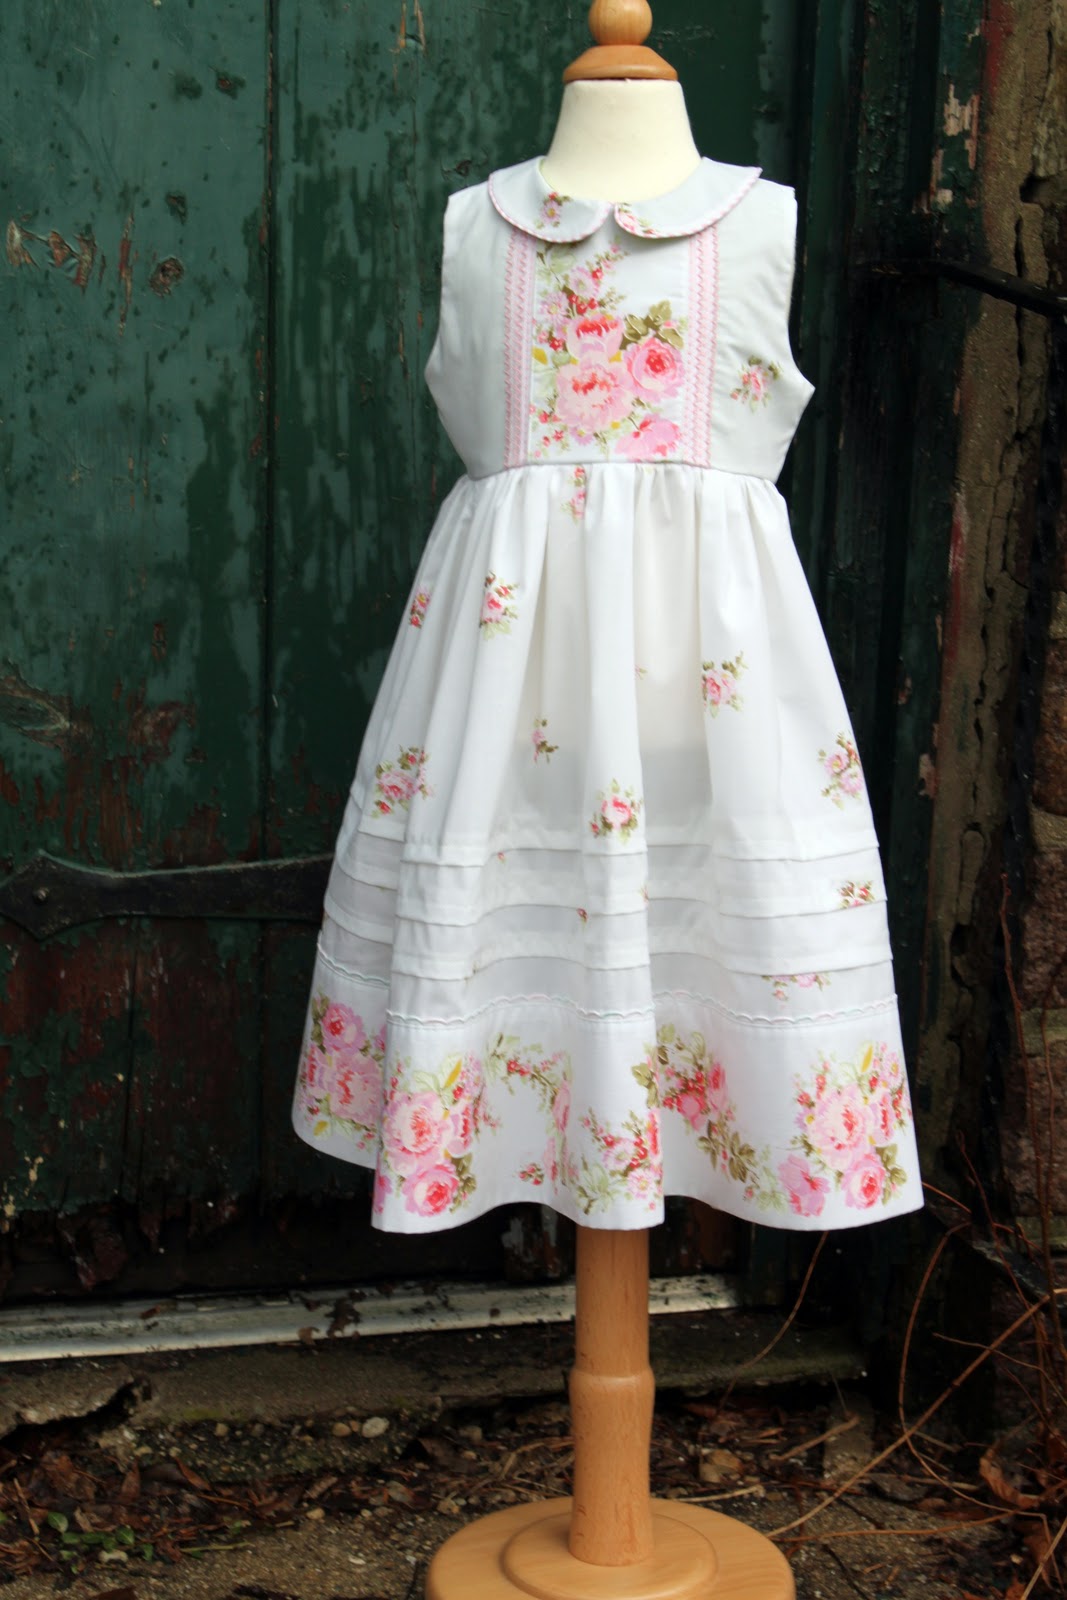


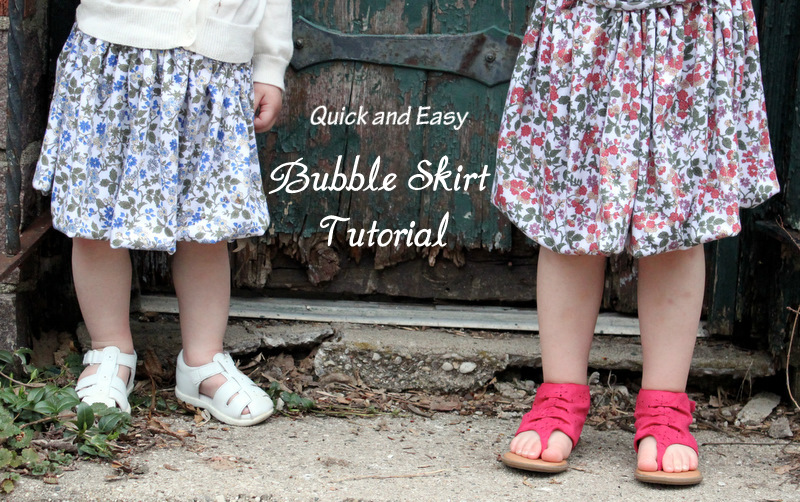


 Lindsay Wilkes is the owner and designer behind The Cottage Mama. She creates timeless, vintage inspired sewing patterns for children’s clothes. She is also a fabric designer for Riley Black Designers / Penny Rose Fabrics, author of the book ‘Sew Classic Clothes for Girls’ and can be seen teaching nationwide and online in her video series ‘Lessons with Lindsay’ sponsored by Baby Lock Sewing and Embroidery machines.


