Archives for December 2010
Top Ten Tutorials for 2010
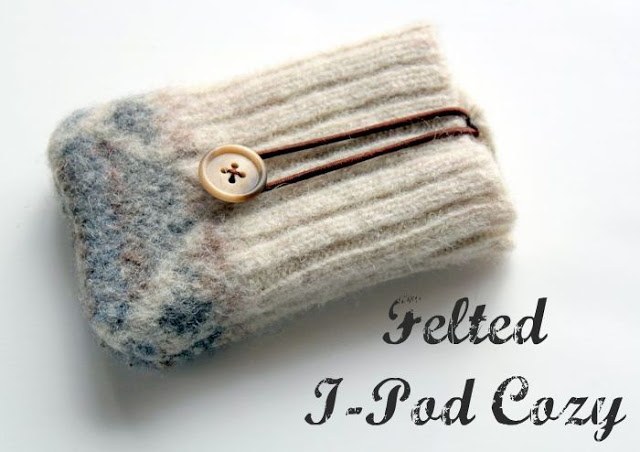
Felted I-Pod Cozy Tutorial
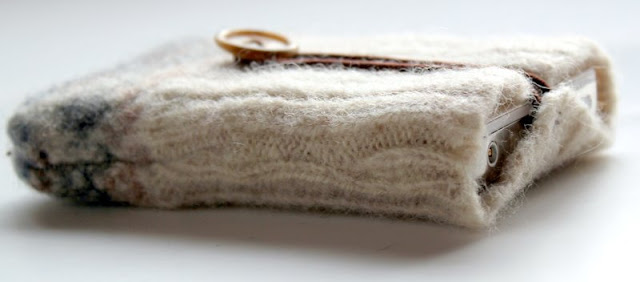
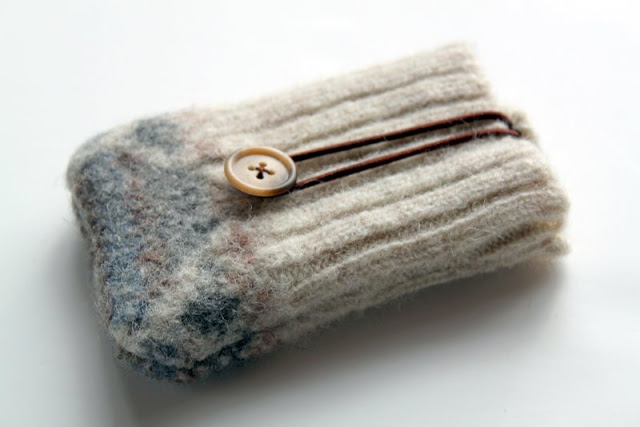
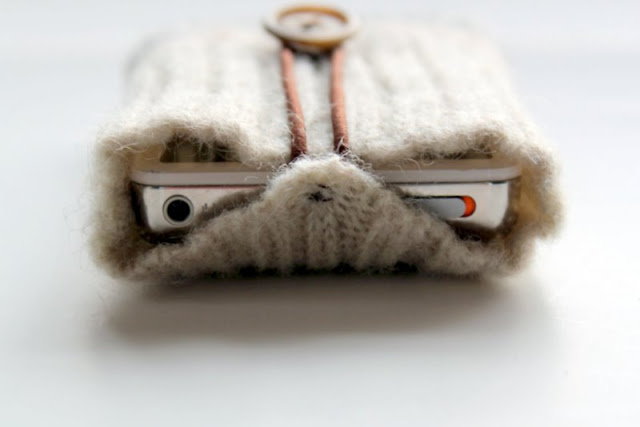
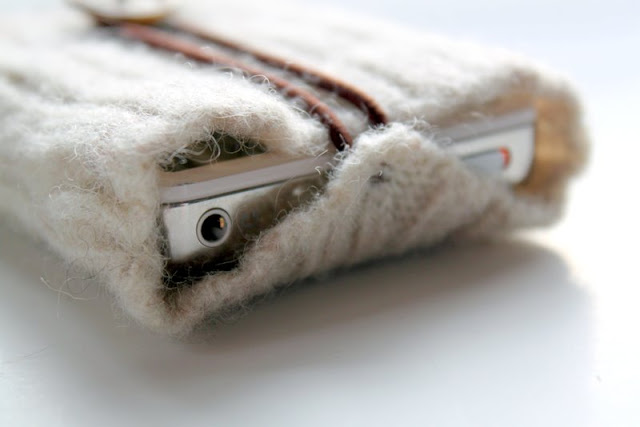
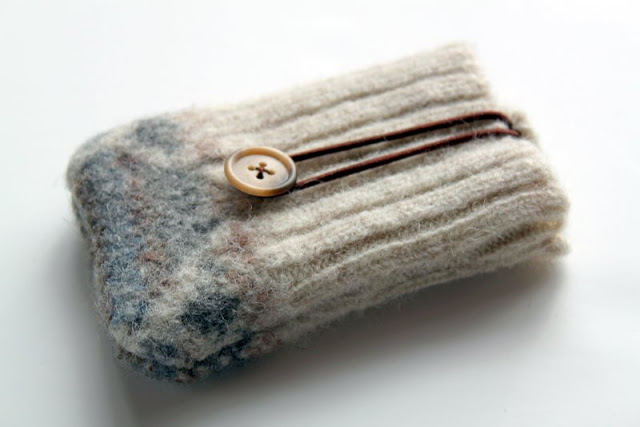
I wanted to share this post with you last week, but seeing as though this was a Christmas gift for my hubby, I had to hold off. This I-pod cozy is made from the end of the sleeve of a felted wool sweater. You can alter this tutorial to fit any kid of small electronic device – I-pod, I-phone, or use the entire body of the sweater and make one for your I-pad or Kindle.
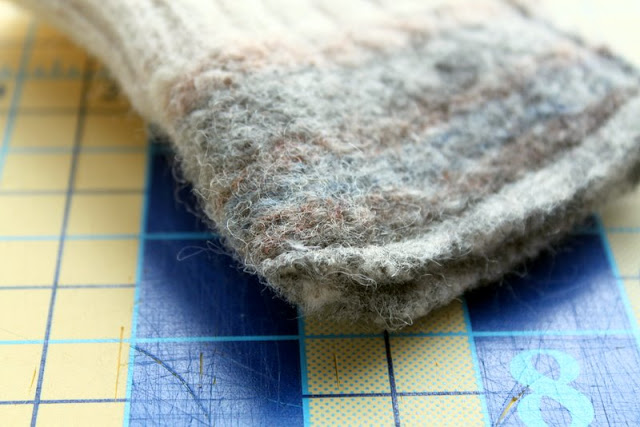
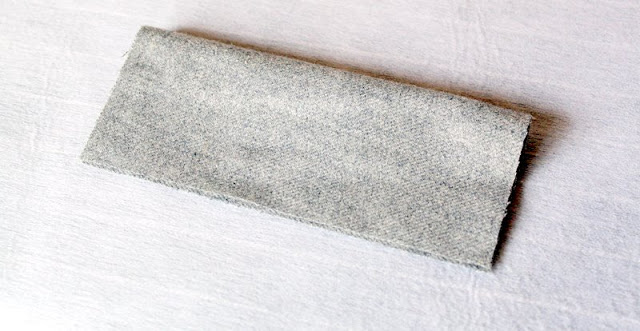
Place the I-pod (or other electronic device) inside the felted wool sweater sleeve to measure for size. Cut the end of the sleeve, leaving an additional 1/2″ to allow for the seam allowance.
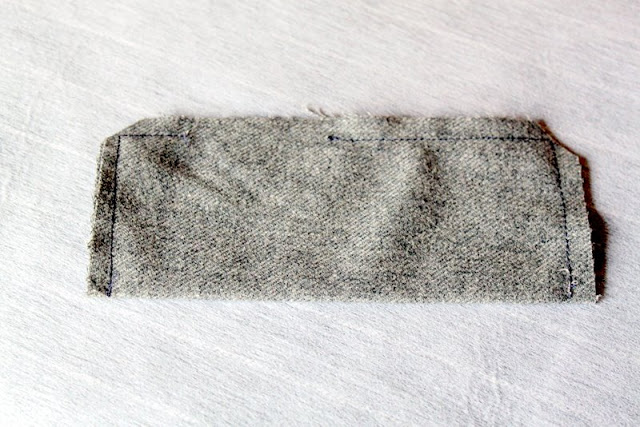
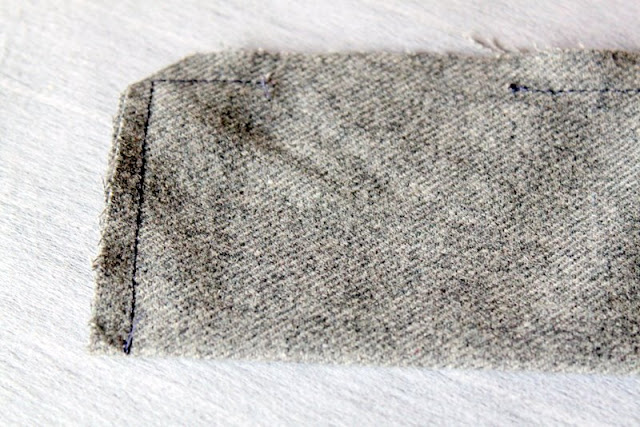
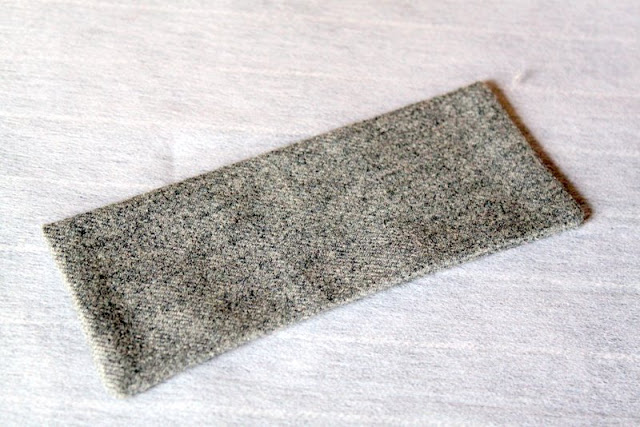
Turn the cuff right-sides together and stitch the bottom (raw end) closed (machine or by hand). If you need to make the sleeve tighter, you can also sew down one of the sides and use whatever seam allowance you need to fit the electronic device you are using. Cut the corners at a diagonal – be careful not to cut the stitching. Turn right-side out.
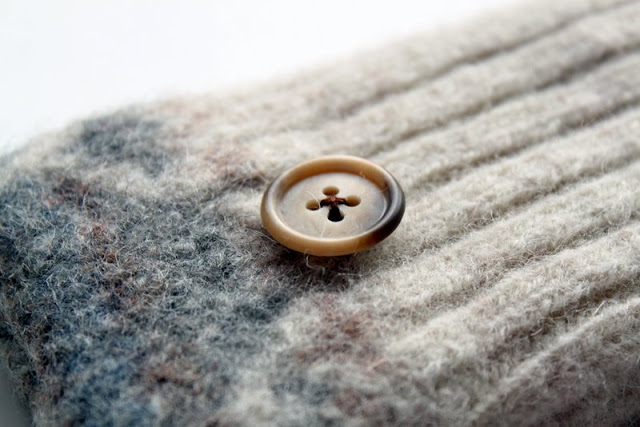
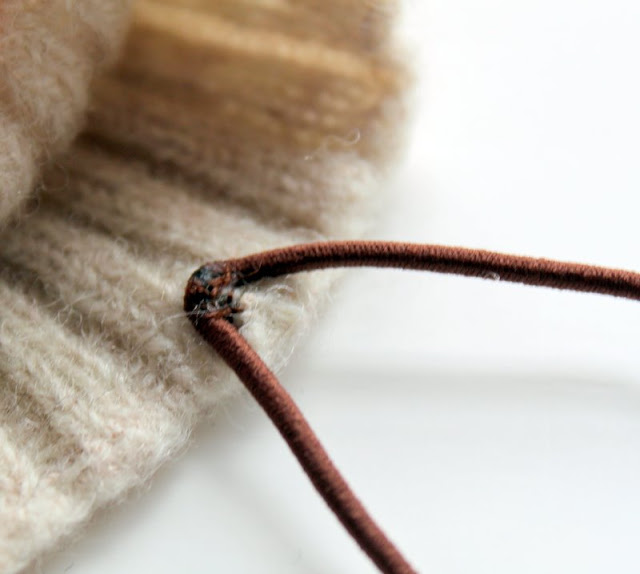
Stitch the button, by hand, to the wool cuff. Then sew the elastic hair tie as well. Check for button placement by placing your I-pod inside the sleeve. You want the elastic to stretch a little bit.
Christmas Joy 2010!
We have had a wonderful holiday season this year and I hope you have as well!
We had an extended Christmas celebration starting the weekend before the official holiday with a visit from my mom and her husband, Allen for what we called “mini-Christmas”. We then spent the rest of the holiday with our immediate family and my in-laws.
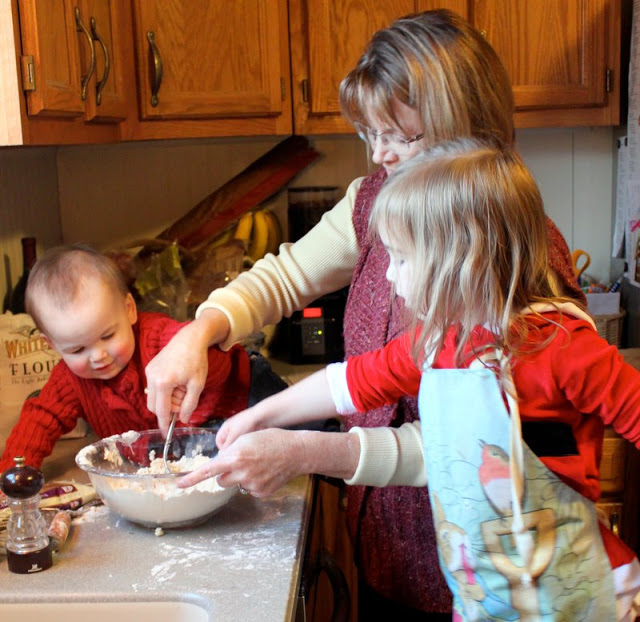
Mom and the girls did some holiday baking. They made our traditional breakfast pastry called Swedish Tea Logs. We have had these every year on Christmas morning since I can remember. And even though Mom and Allen were here a week early, we went ahead with the tradition. There is something so comforting about this pastry – it just tastes like Christmas.
We took the girls to see Santa with Mom and Allen. Savannah had already told us ahead of time that she did not want to see him, so we didn’t force the issue. Her argument is that Santa is big and she is little. Matilda, however, had not really seen Santa before so we gave it a go. She did alright……..she was not thrilled, but did not scream bloody murder like her sister had in previous years. I’ll say it was somewhat of a successful visit!
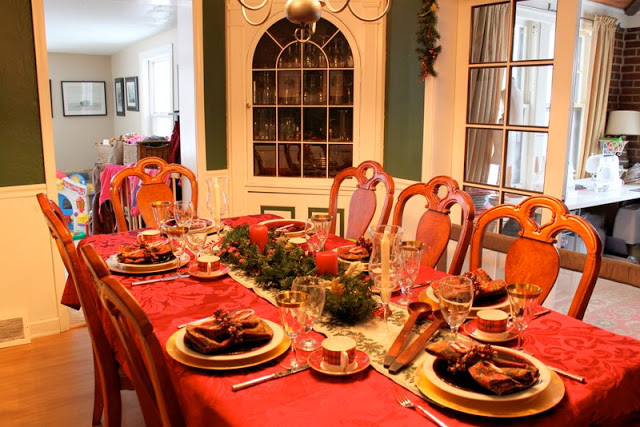
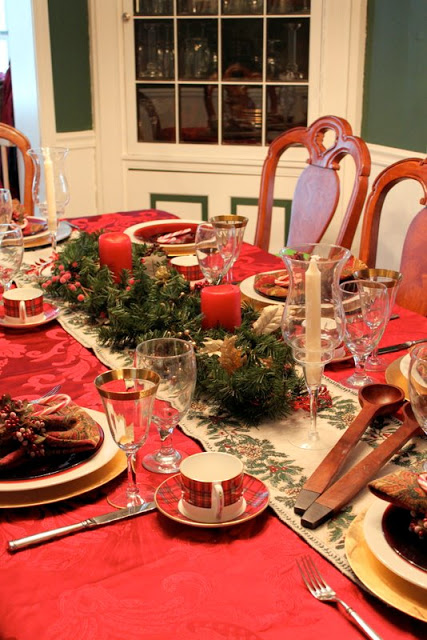
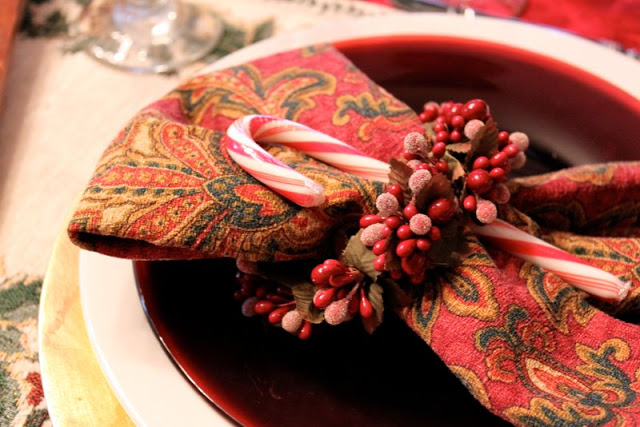
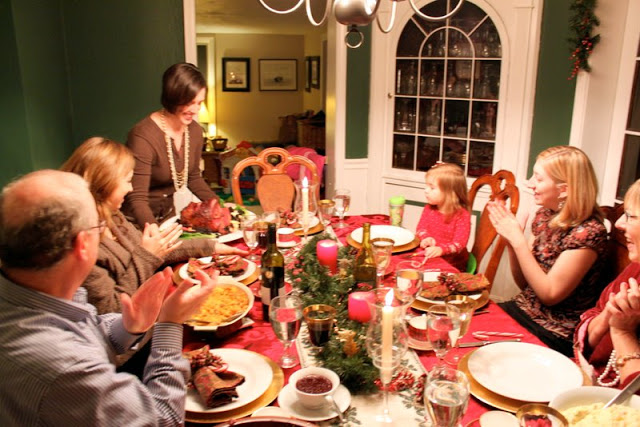
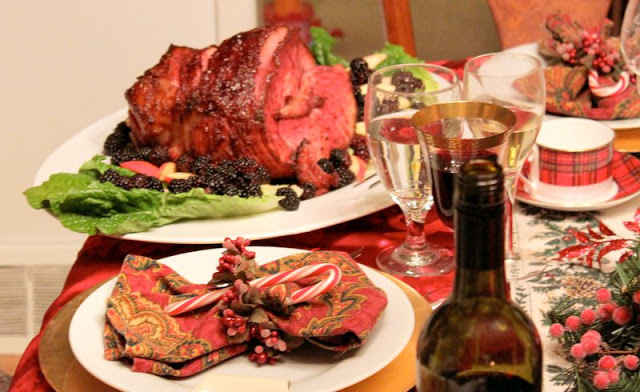
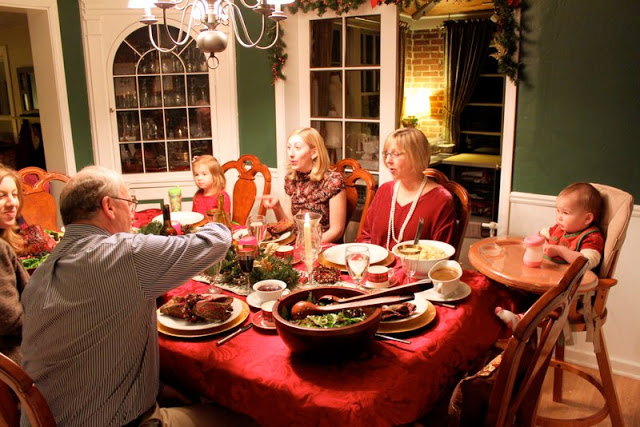
We hosted Christmas Eve dinner at our home for my in-laws following Christmas Eve Mass. I always have so much fun setting a formal table. A lot of the items used on our Christmas table have been passed down by relatives and are very special to us.
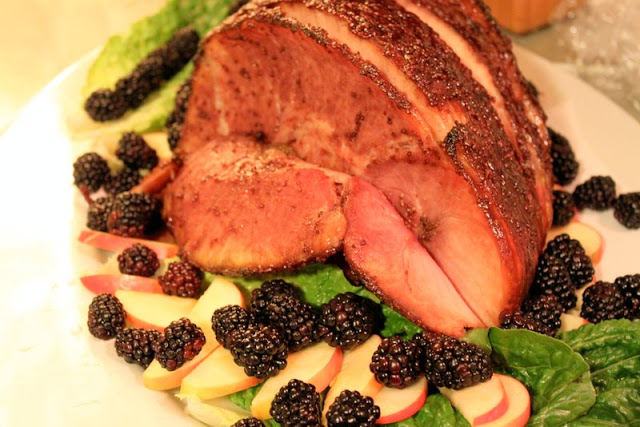
For Christmas Eve dinner I served a blackberry and mustard glazed ham (recipe to come), cornbread dressing, mashed potatoes and gravy, salad with candied pecans, cranberries, and feta cheese and homemade bread.
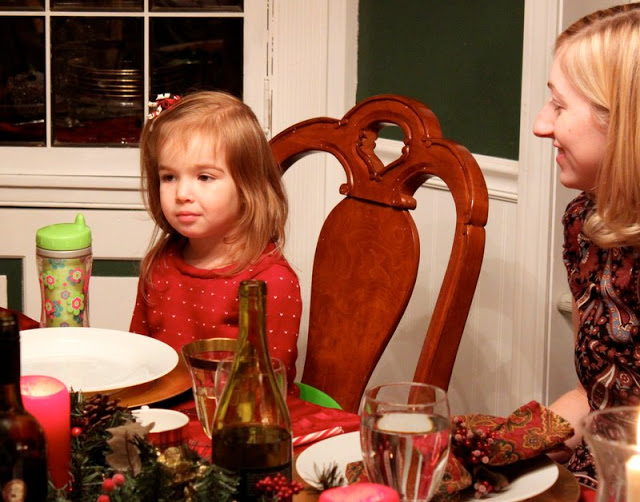
We had a great time eating and drinking around the table. But my big question is how did my soon-to-be 3 year old turn from a little toddler into a little girl? Seeing this picture makes me realize how fast time flies. What an angel – I just love her to pieces!
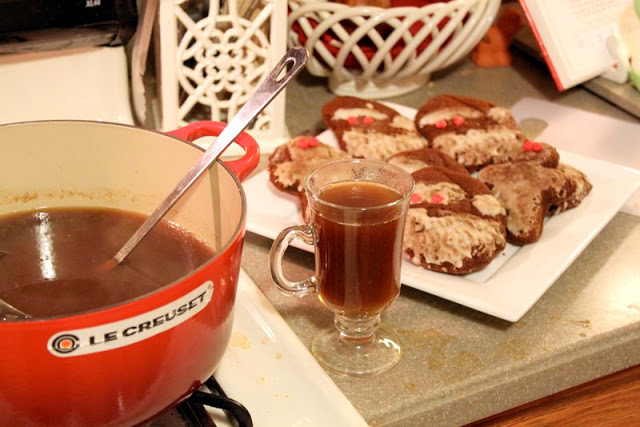
After dinner my husband served the gingerbread cookies he made as well as his homemade Wassail.
On Christmas morning we had our own little Christmas with just our immediate family. We looked through our stockings, played with our new toys and just relaxed for a little while before heading over to my in-laws for more Christmas fun!
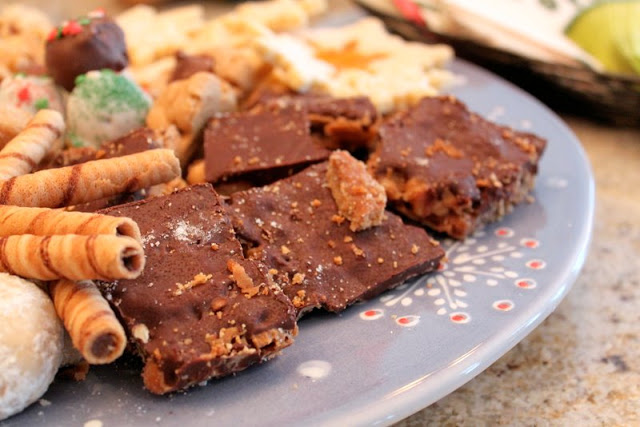
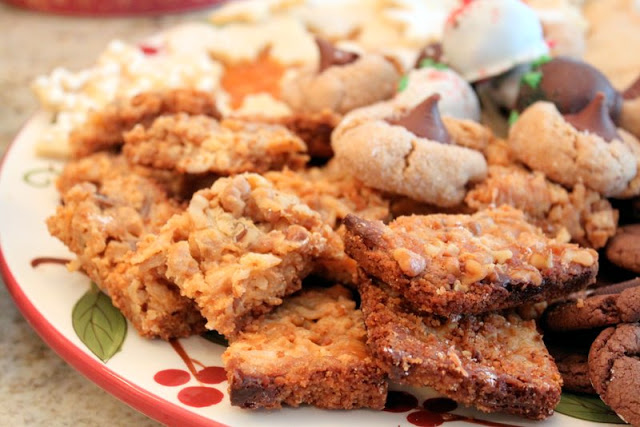
My mother-in-law made a gazillion types of cookies as well as her famous monkey bread. Everything was so delicious and we munched on these tasty treats all day!
Then it was time for some more present opening at my in-laws. Brett and I had lots of fun surprises under the tree and are very thankful and appreciative of all of our family’s generosity.
The most exciting part of Christmas for me is the gift giving. My goal was to go 100% handmade this year, but that just didn’t happen and I’m ok with that. With catching pneumonia and have two little ladies under 3, I decided to cut myself some slack.
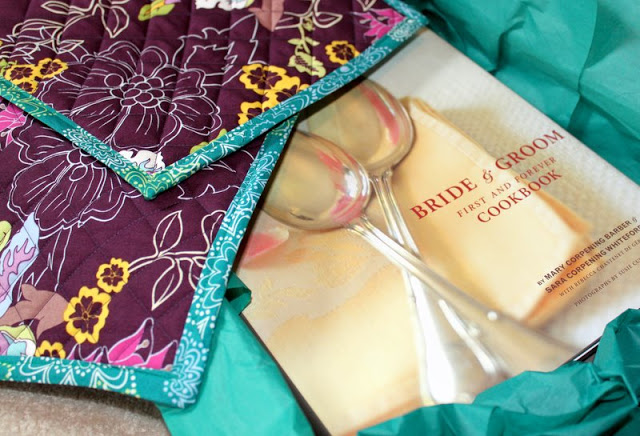
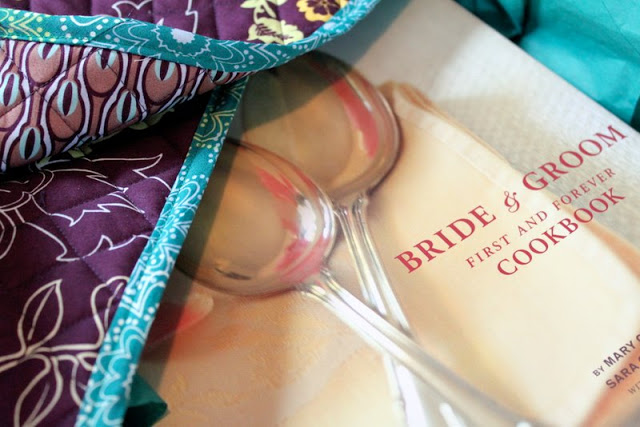
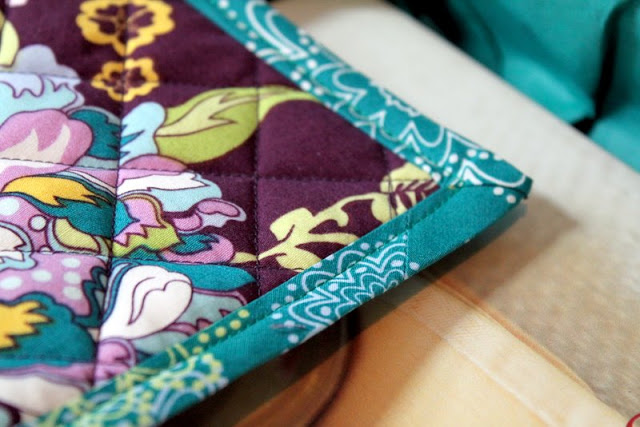
I gave this book to my mom and Allen for Christmas as kind of a late wedding present. The Bride and Groom First and Forever Cookbook is one of my absolute favorites and definitely one of my own personal “go to” books. I made them two potholders out of the same fabric that I used for the girls flower girl dresses that they wore in Mom and Allen’s wedding.
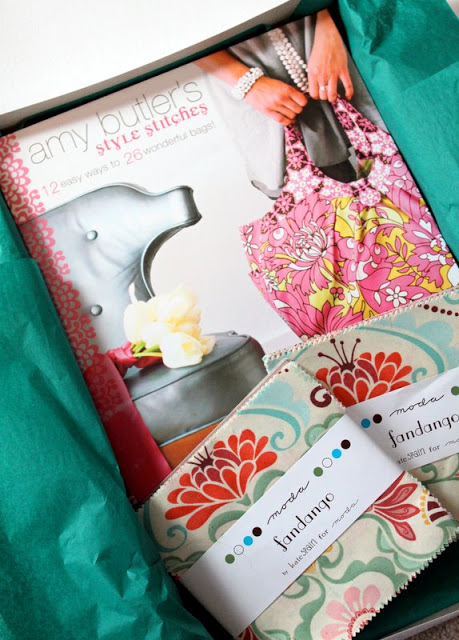
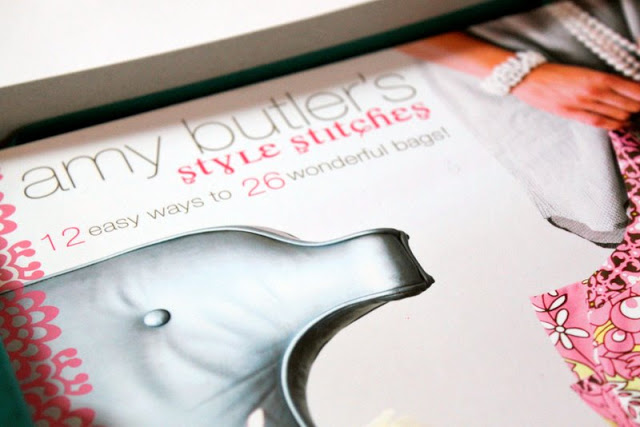
My mom is wanting to get back into sewing, so I gave her Amy Butler’s new book, “Amy Butler’s Style Stitches” and two charm packs of Kate Spain’s “Fandango” to help inspire her to create.
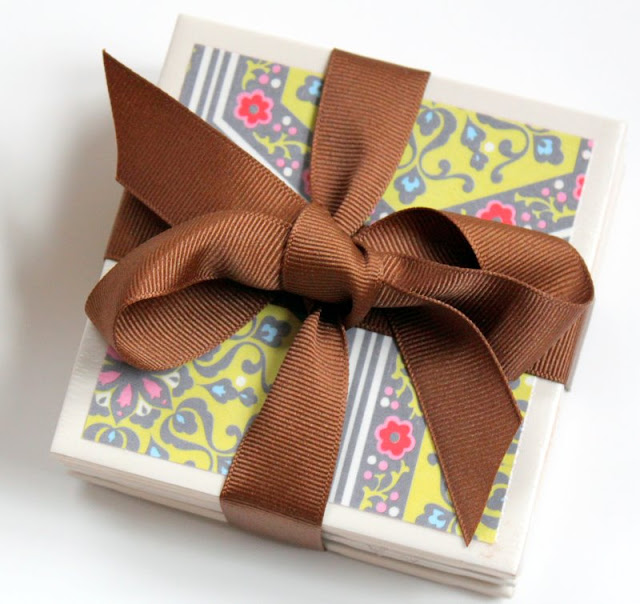
Several family members received tile coaster sets from me. This is definitely one of my favorite gifts!
My hubby received an I-pod cozy from his two little girls. I made this from a felted wool sweater sleeve (tutorial coming tomorrow). The tag said, “Dad, you rock!”
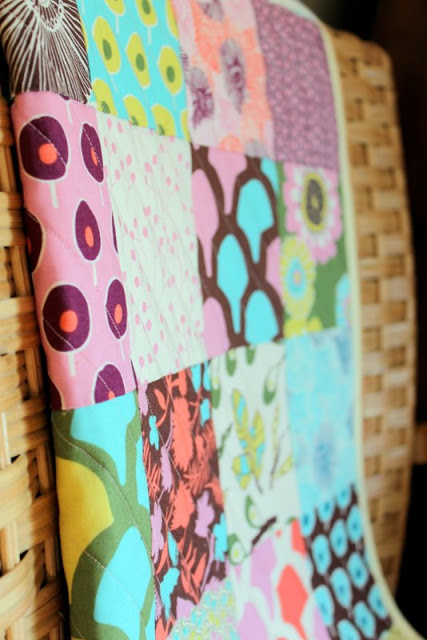
My daughter Matilda received a quilt that I made specially for her. I posted previously about this HERE.
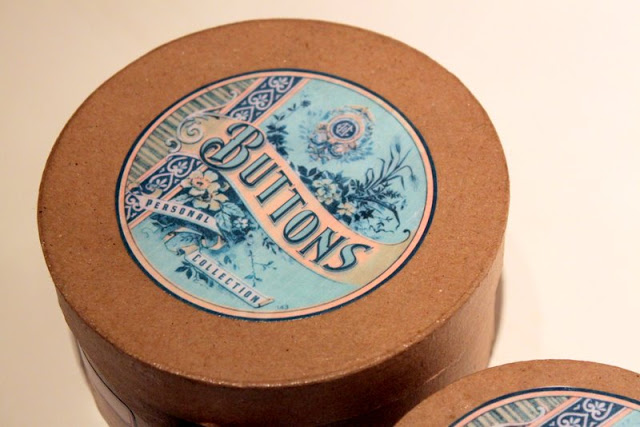
For my mother-in-law, I made her a whole set of vintage inspired craft room organizational items. I’ll share more about this gift idea in a couple weeks. I loved how the set turned out and she did too!!
Savannah and Matilda received a princess tent that they are in love with. Both girls love to snuggle inside with their favorite animals and blankets.
We just spent the rest of the day opening presents, lounging, playing and eating – exactly my idea of a good time!
BlogHer.com – { What’s it all about? }
If you’ve visited my blog, The Cottage Home (or many other blogs), I’m sure you’ve noticed the advertising in my side-bar. I am part of the BlogHer Publishing Network and I thought I would take a minute to tell you a little bit more about BlogHer.com.
Aside from being a wonderful publishing network, BlogHer.com is the web’s leading guide to the hottest news and trends among women in social media. There are 75 contributing editors posting about a variety of different topics such as food, family, life and many more, all geared toward women’s interests. My favorite area of interest is the Home and Garden section. There are topics such as DIY, home decor, gardening and homemaking.
In addition to being a great source for information and learning, BlogHer.com has many different communities dedicated to different areas of interests. Within these groups women can connect to one another and start a dialogue about things they have in common.
BlogHer.com is also a great way to promote your blog. There are 19,000 blogs listed in the BlogHer blog directory. Listing your blog is free – have you listed your blog? If not, I highly recommend you put your name out there. Not a blogger? This is a great place to discover new blogs covering different topics that you may find of interest.
If you have a free moment this week, head on over to BlogHer.com and poke around – it’s a really fun and interesting site for women. I know you will find some content that will definitely peek your interest! Also, this week, BlogHer.com is offering a chance to win a full conference pass to BlogHer Food 2011 in Atlanta, GA. To enter to win, click the link below…….
Visit this week’s Sweepstakes post on BlogHer.com
If you have any additional questions about BlogHer.com or the BlogHer Publishing Network, please feel free to leave me a comment or email me at [email protected].
Merry Christmas from The Cottage Mama
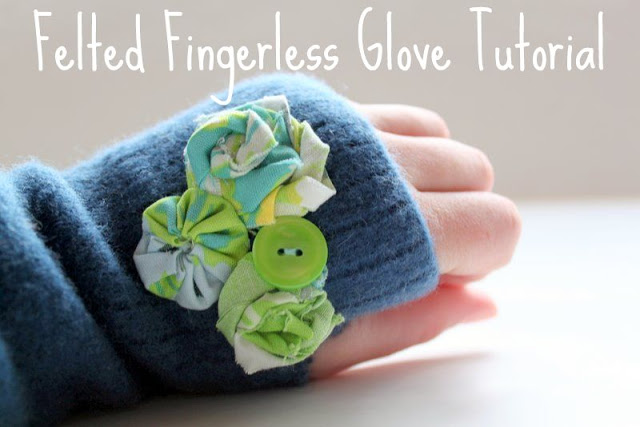
Felted Fingerless Glove Tutorial
I wanted to share my Felted Fingerless Glove tutorial with you this week because Christmas is practically upon us and I think this is a great last-minute gift idea.
I don’t know if you remember this post on felting wool, but I felted SO many sweaters that I am up to my neck with felted wool in my house. I pulled out my gazillion felted sweaters for another project (to be shared next week), stuck my hand inside the arm of one of the sweaters and thought, “ah, ha!”……Felted Fingerless Gloves! I had also seen Shannon’s “Comfy Wrist-Warmer Tutorial” recently so I think that idea was sitting in my subconscious and helped to inspire this little tutorial. Thanks Shannon!
This is pretty much a NO-SEW tutorial (except if you decide to hand-sew on some embellishments).
Let’s get started…….
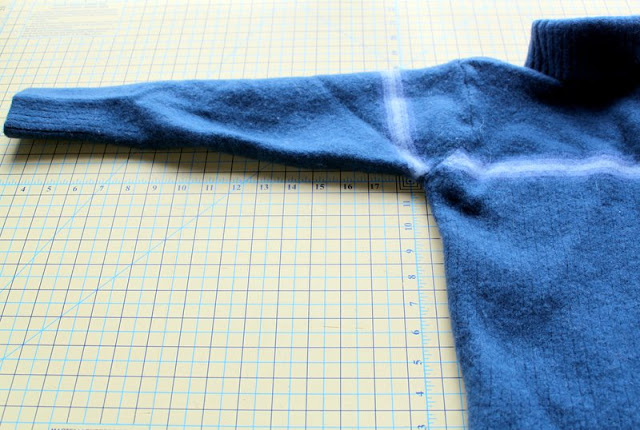
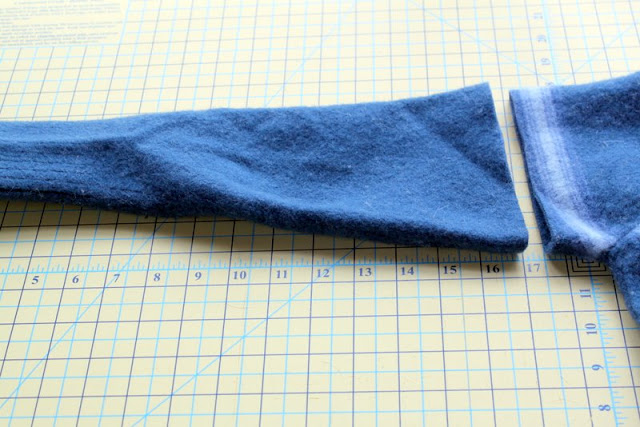
Cut off each arm of the sweater. I wanted my gloves to come up right below my elbow, that way I can avoid getting any snow up my sleeve. You can cut them as long or as short as you would like. The lovely thing about felted wool is it will not fray so we do not need to worry about finishing any of the raw edges in this tutorial.
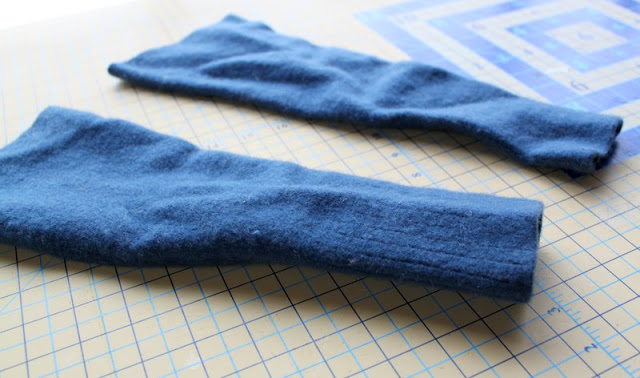
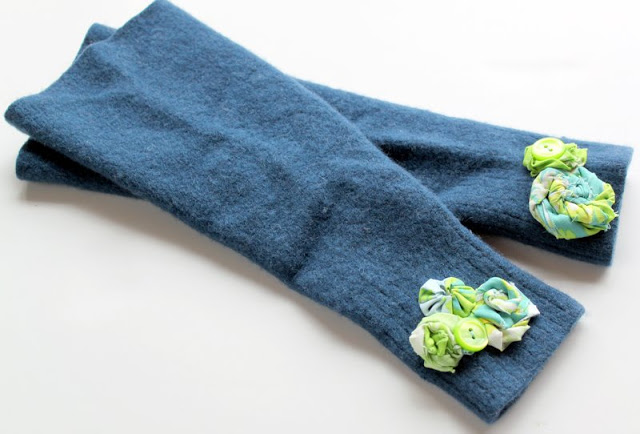
Here are the two arms of the sweaters cut and ready to have a thumb hole added.
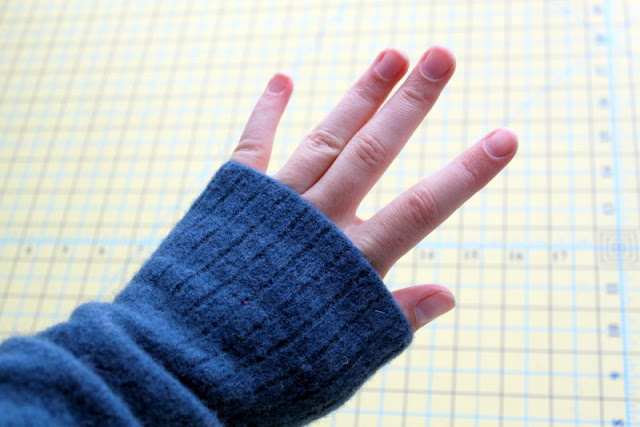
Put the sleeve on your arm. I am using the cuff part of the sleeve down around my hand because it is tighter than the upper part of the sleeve. Check and see where your thumb comes together with rest of your hand and cut a little slit in the wool.
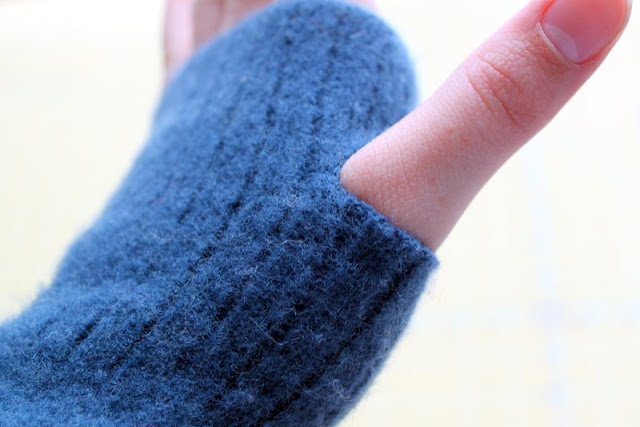
Here is my thumb poking out of the slit I cut in the felted wool. Make sure not to cut a slit too large, just about a 1/2″ will do.
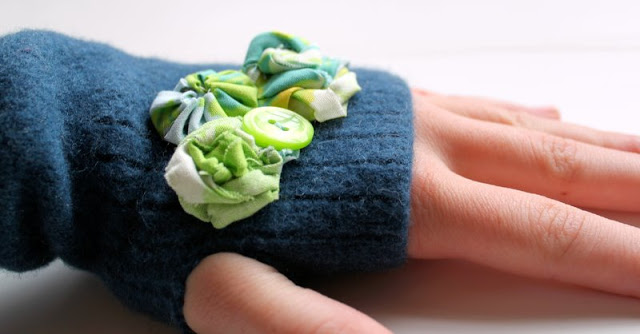
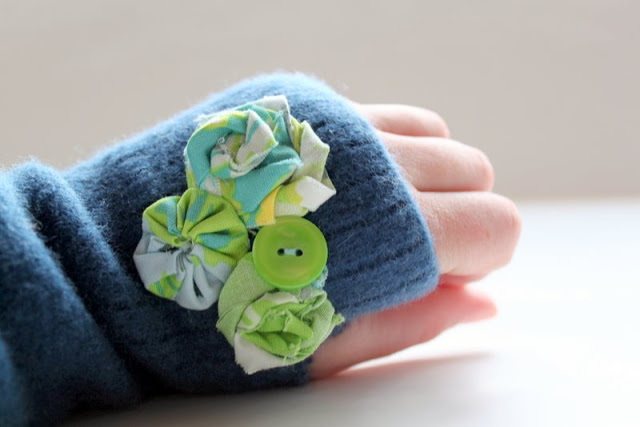
You can stop right here, but if you want to make these gloves extra special, follow the next step!
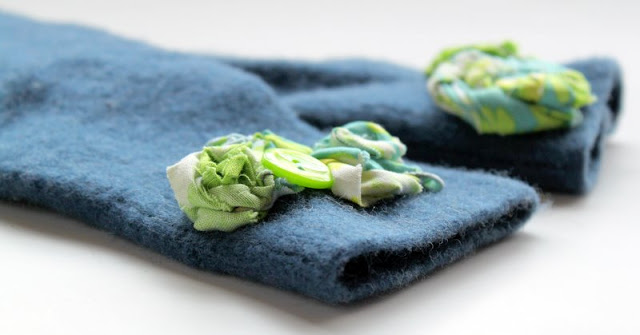
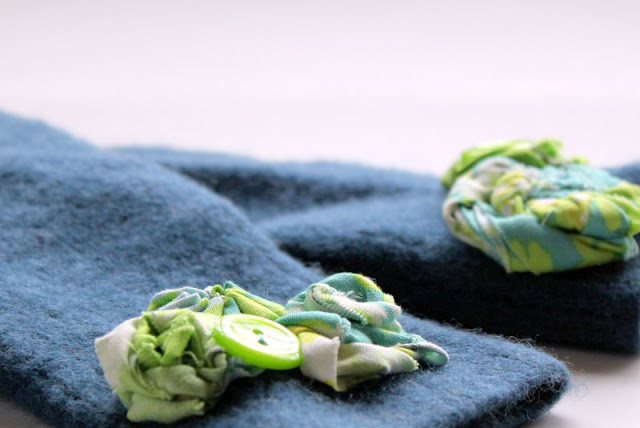
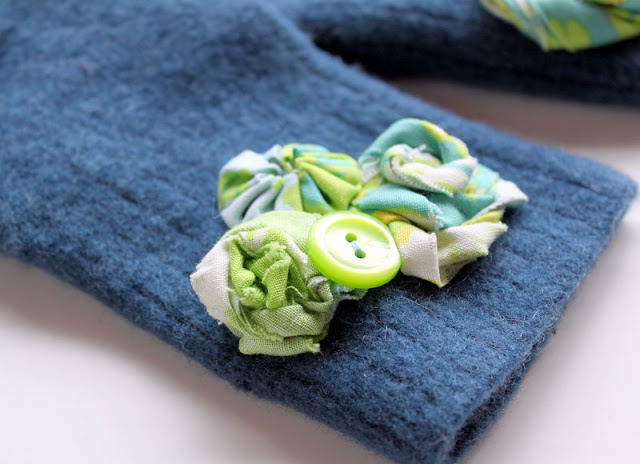
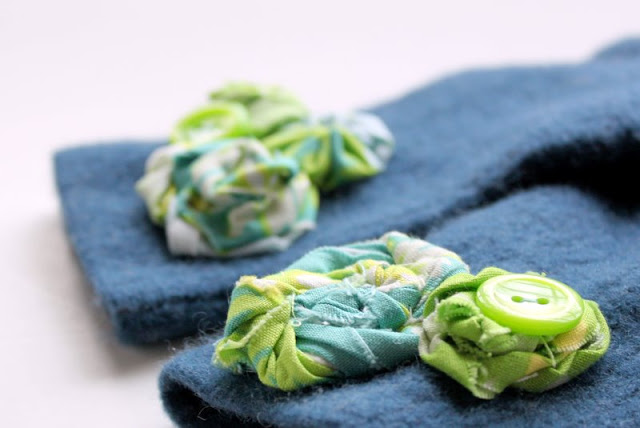
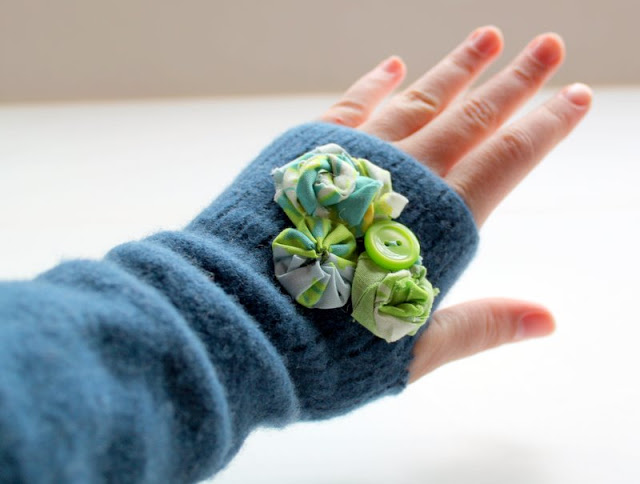
Next, choose your embellishments for your gloves and hand-sew them with a needle and thread.
Time for Me: Part 4 – Accessories and enter to win $100 Visa gift card
For the last three weeks, I have been focusing on spending a little more time on me. Being the mom of two little ones (16 months) and (2.5 years), staying at home and maintaining our home, running my own children’s clothing business and blogging doesn’t leave me a whole lot of time for me. But I think it’s important – why do we women always seem to put ourselves last?
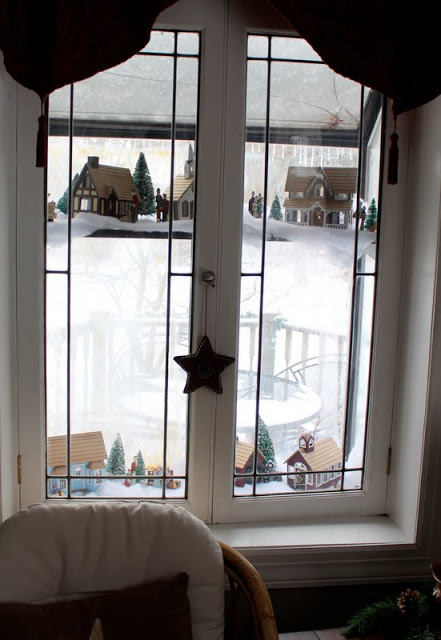
It’s Christmas Time at The Cottage Home
$100 Visa Gift Card Winner – Time for Me: Part 2
And the winner of the Time for Me: Part 2 $100 Visa gift card is……………#41
Gifts for Guys: Boxy Dopp Kit Tutorial
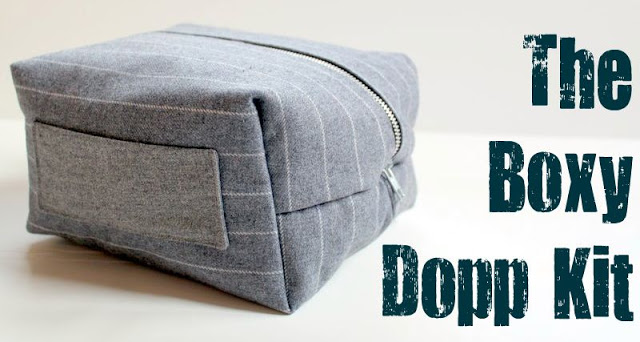
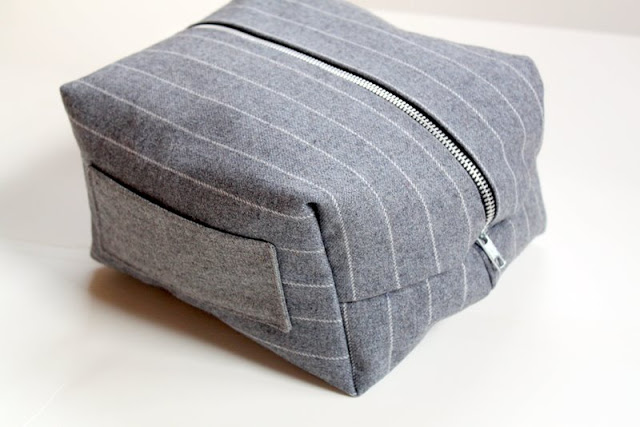
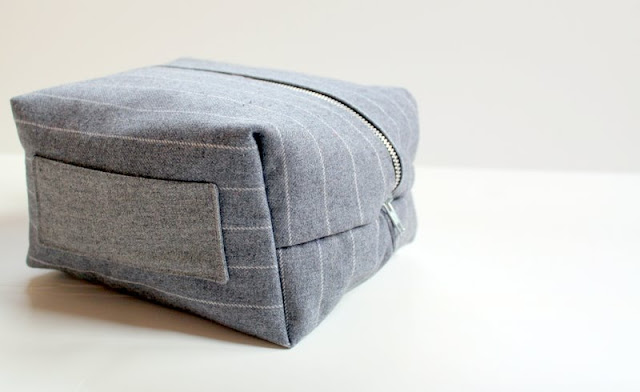
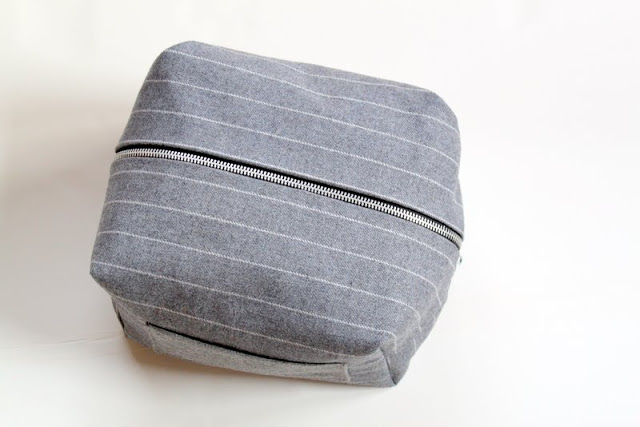
In case you missed my guest post on Kojo Designs “Gifts for Guys” series, here is my tutorial for a men’s toiletry kit (aka Dopp Kit or Shaving Kit).
I find guys to be the hardest people to buy for when it comes to gifts. I made a commitment this year to only give handmade gifts so coming up with gifts for guys has been taken to a whole new level.
My husband has had his Dopp Kit since he was 13 years old, yes that’s right, 13!!! It is definitely in a sad state right now, so I decided it was time to make him a new one. A Dopp kit is also known as a shaving kit, a man’s toiletry kit……….but I like the sound of “Dopp”…….sounds pretty manly, right? And that’s what my Dad always called it.
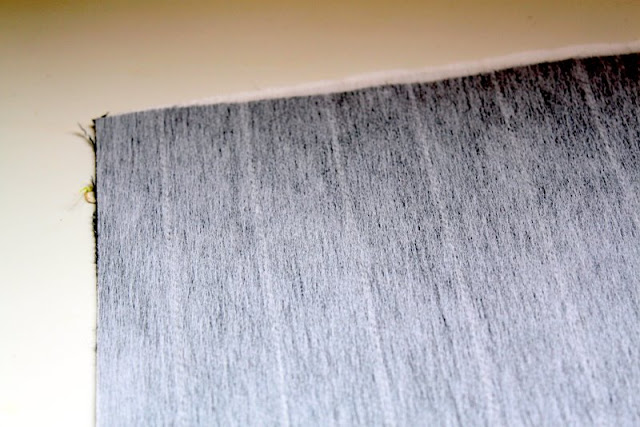
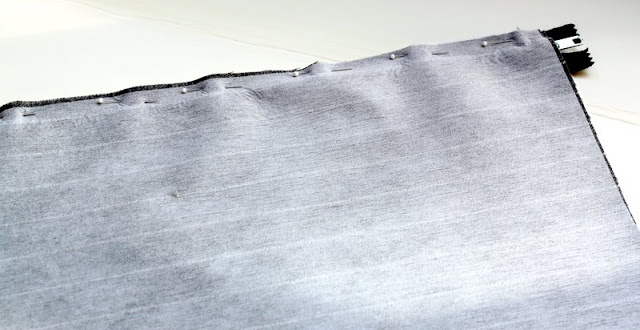
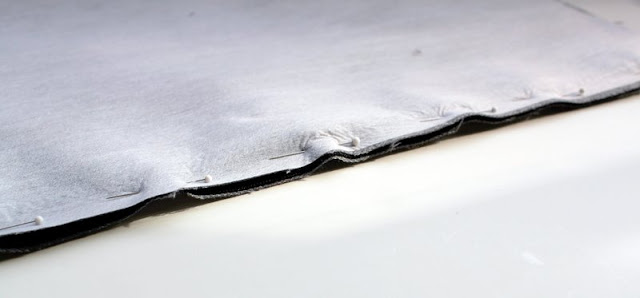
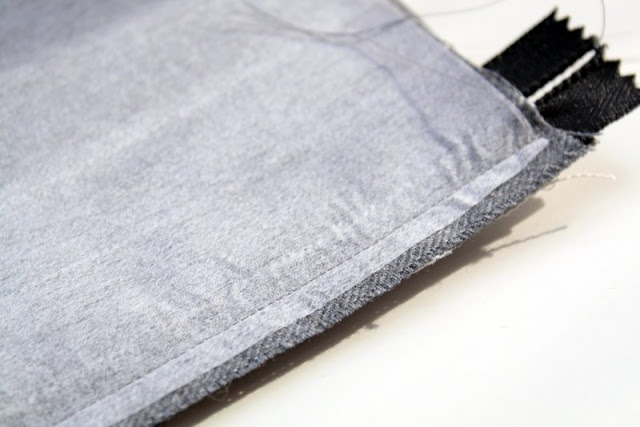
Apply light-weight interfacing to all four pieces of fabric (follow manufacturers instructions). This is just inexpensive one-sided interfacing. The interfacing is going to help the Dopp kit keep its shape.
Fold the 5″ x 6″ piece of coordinating fabric in half length-wise. This will be used for the handle on the kit.
Stitch around the handle fabric, but leave a small opening on the straight, long edge. Clip the corners.
Turn handle fabric right-side out and hand-sew the opening closed. Press with your iron.
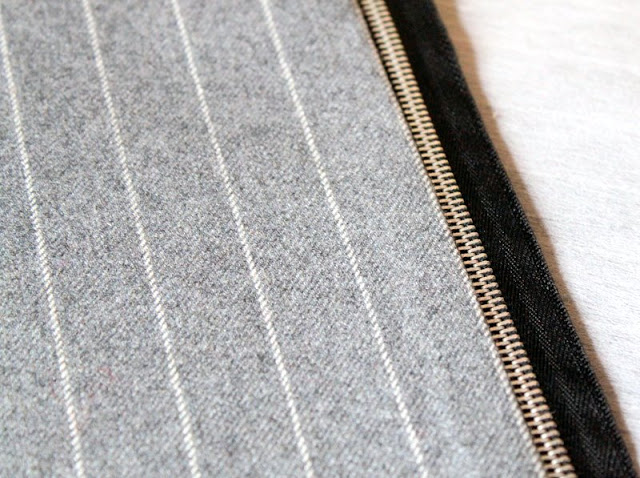
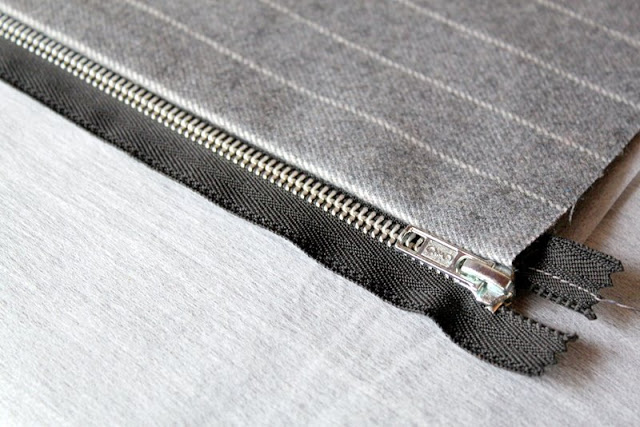
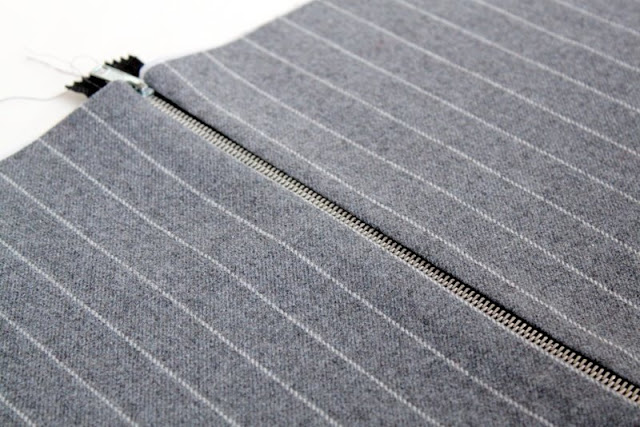
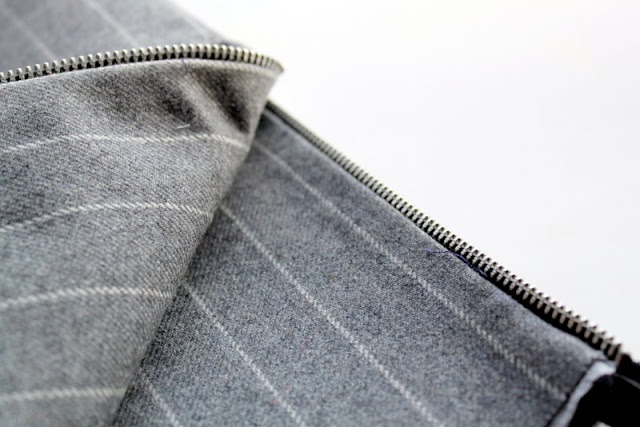
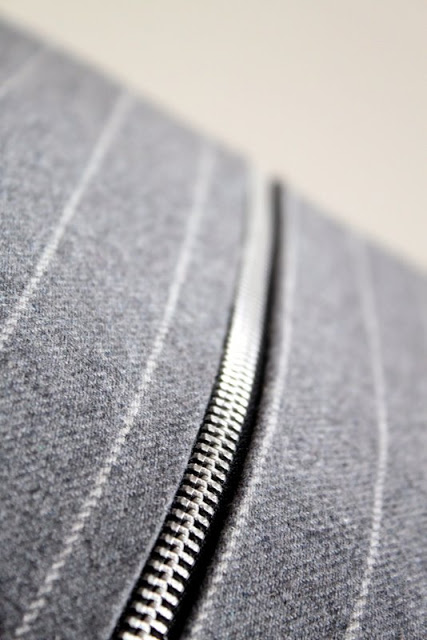
Now to insert the zipper. Make a “zipper sandwich”. Place the right-sides of two of the fabric pieces together and place the zipper in between. Line up the raw edges of the fabric and the raw edge of the zipper. Pin in place.
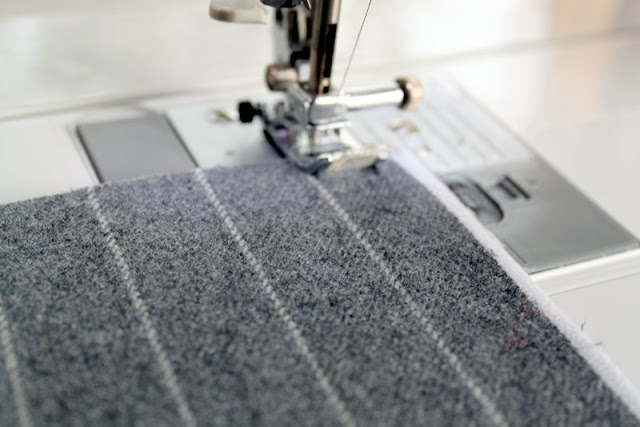
Attach your zipper foot to your sewing machine for the following step.
Stitch zipper in between the two layers of fabric.
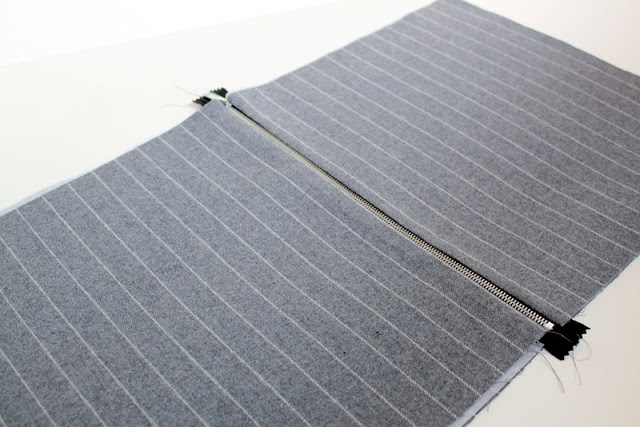
Turn fabric pieces right-side out and press seams open. Now do the exact same thing with the other two pieces of fabric on the other side of the zipper.
Press all seams for exterior fabric and lining.
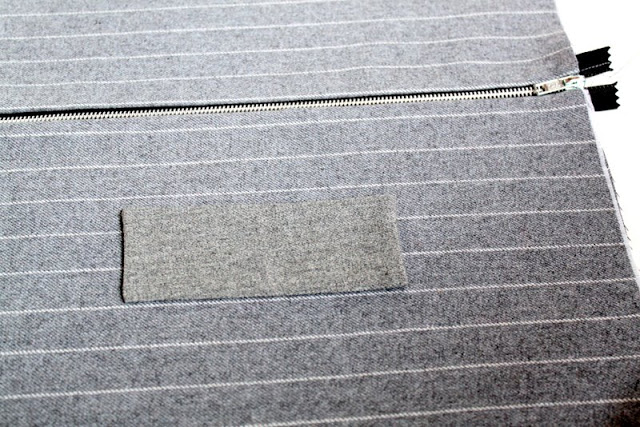
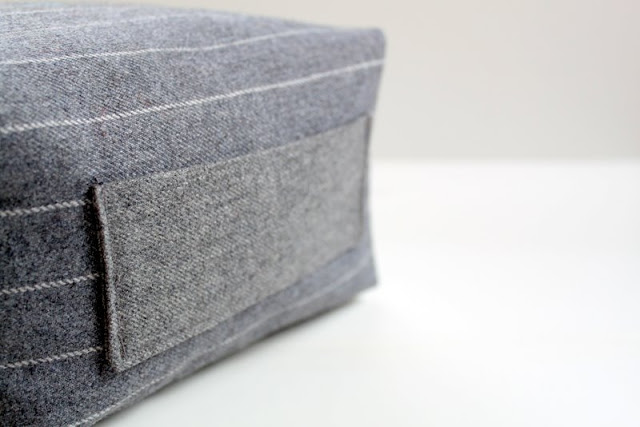
Place the fabric handle piece half-way down one of the exterior fabric pieces. This should be in the very middle of the rectangle. Stitch in place on both short sides. Make sure to only stitch this to the exterior piece of fabric. If you would prefer this to be a pocket, instead of a handle, stitch on both short sides and one long side.
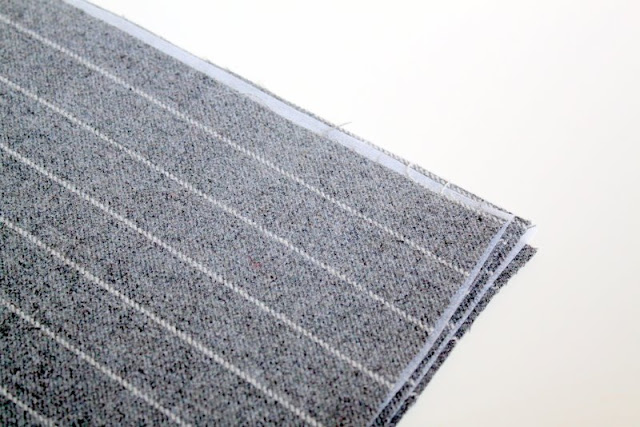
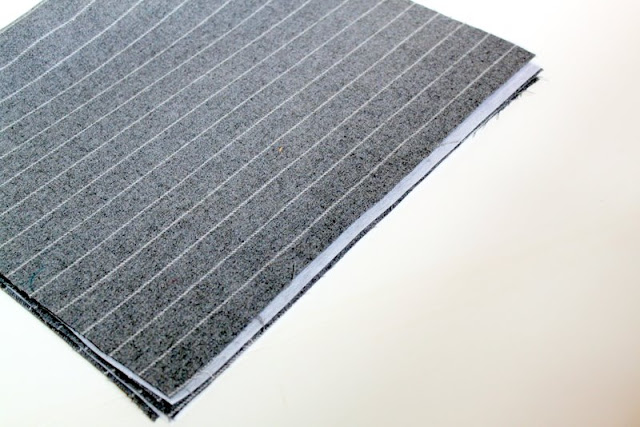
Turn your fabric now so that the lining is on the outside. Line up the bottom four fabric pieces and stitch all the way along the bottom. 5/8″ seam allowance.
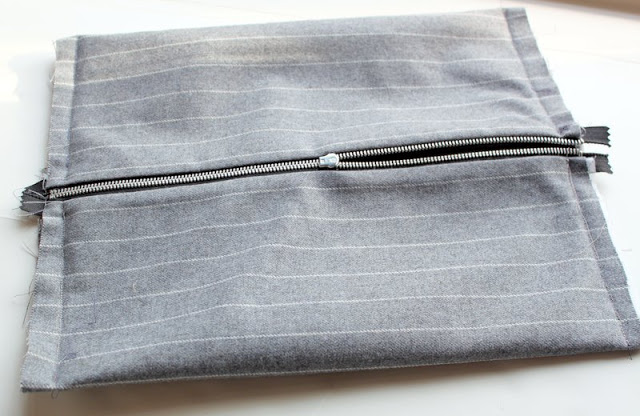
After you have stitched the bottom closed, open up your zipper part way.
Now fold your fabric out so that the zipper is running down the middle and stitch both side seams closed. 5/8″ seam allowance.
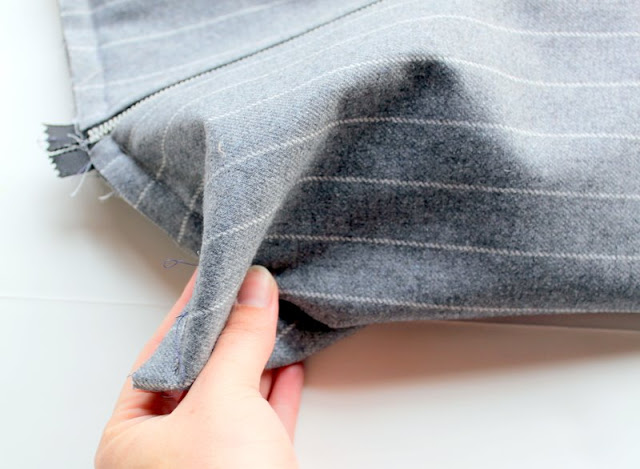
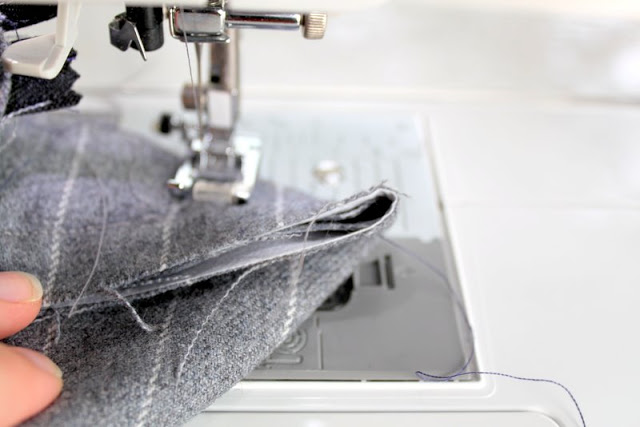
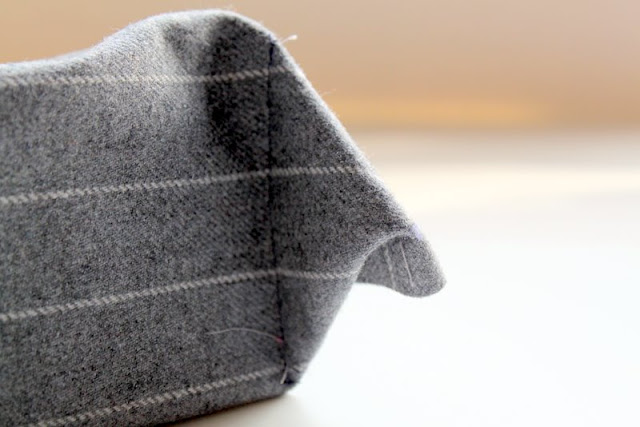
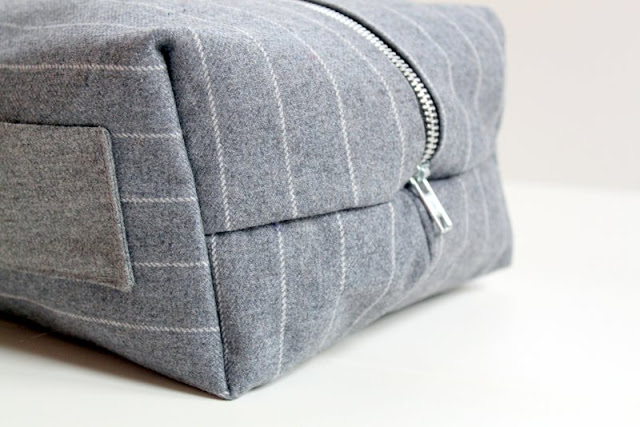
Now pinch your corners. This is going to give your bag its height. I originally pinched my corners 4″, but then went back and pinched them to 7″. I would recommend 7″ for the sizing I have listed.
Stitch the corners in place by using a straight-stitch.
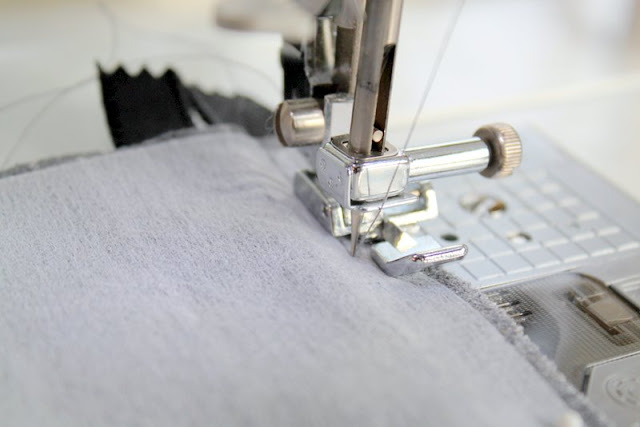
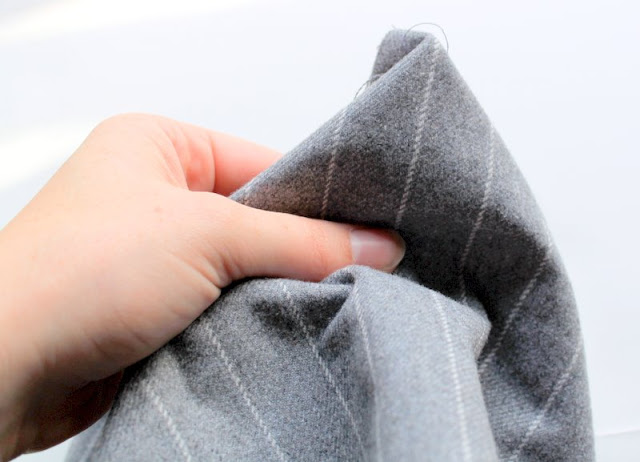
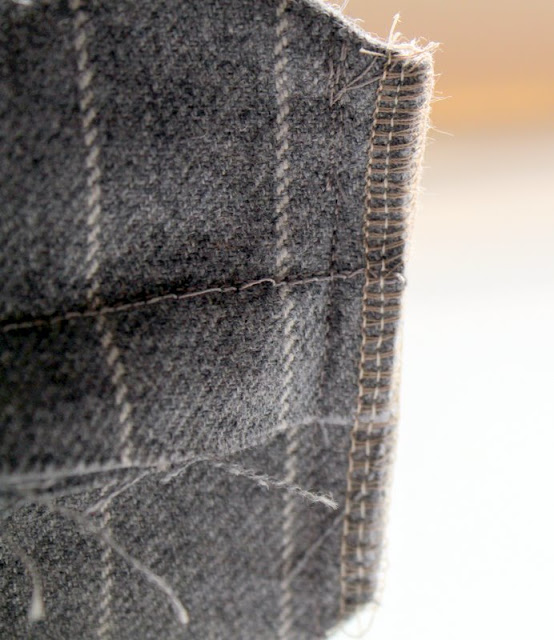
Cut off the excess material from each corner. I used my serger to finish the edge since the wool suiting tends to fray. Use a zig-zag stitch, if you prefer, or just cut away with pinking shears. In retrospect, I probably would have serged all my edges before starting this project. Just something to think about if you plan to use wool suiting.
This Dopp kit could be made in many different fabrics. If you decide to use a more basic cotton, then I would recommend using a heavier interfacing to make sure the bag holds its shape well.

























 Lindsay Wilkes is the owner and designer behind The Cottage Mama. She creates timeless, vintage inspired sewing patterns for children’s clothes. She is also a fabric designer for Riley Black Designers / Penny Rose Fabrics, author of the book ‘Sew Classic Clothes for Girls’ and can be seen teaching nationwide and online in her video series ‘Lessons with Lindsay’ sponsored by Baby Lock Sewing and Embroidery machines.


