
Refashioning seems to be a hot trend that is here to stay. With people trying to get back to basics, saving money and using what they have on hand, it’s no wonder it’s become so popular.
Now this isn’t exactly a tutorial for the following dress, since I got a little lazy with my picture taking, but I thought I would just give you a rough idea of what I did and you can make up your own version if you like.

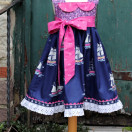
I got these button up shirts in the clearance section at Target. I thought they were a little bit much for a grown woman, but I thought these would make adorable shirt dresses for little girls.

I used my 6 month old mannequin to get the sizing for baby Eloise’s little dress. I have about four different sized mannequins that come in handy for children’s clothing.

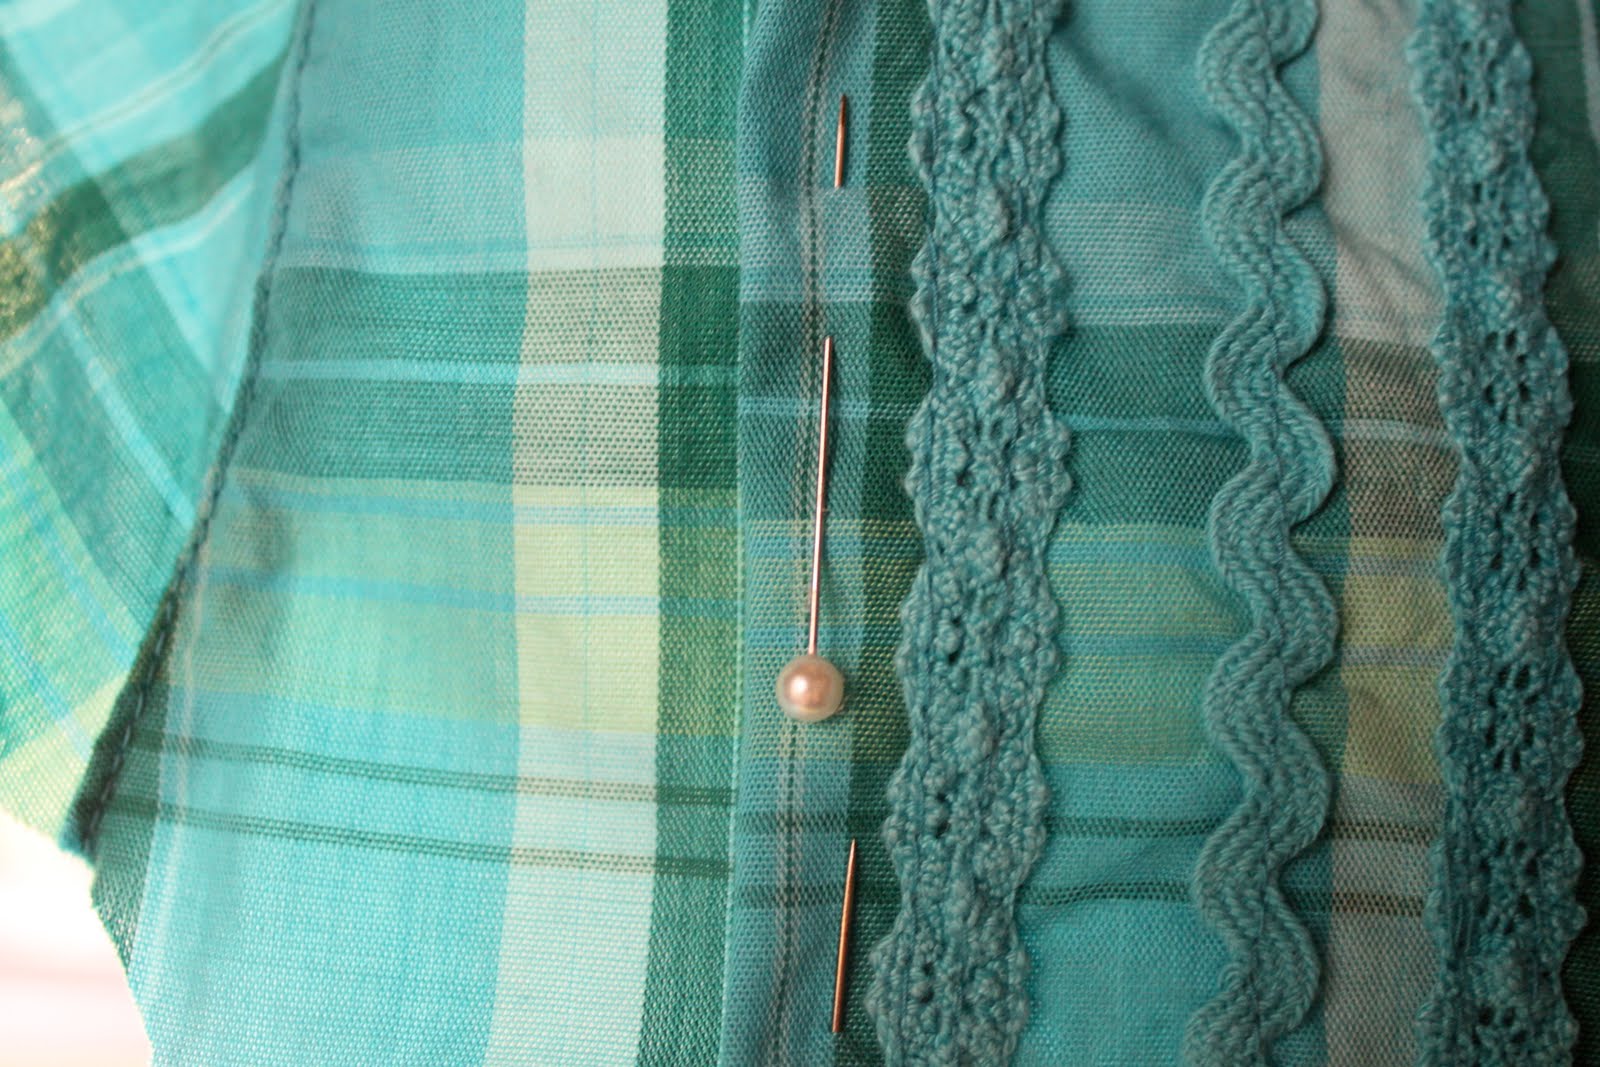
I pinned the garment inside out and then cut away the excess fabric that I didn’t need.

If you don’t have a mannequin to get your sizing, just take an a-line dress in a 6-month size and use that as your pattern.

To take in the shoulders, I simply created a little tuck. I tucked about an inch of the shoulder fabric underneath the fabric closer to the collar.

I continued the tuck all the way down to about the waistline in the front and the back of the dress. I tapered the amount of fabric that was tucked away as I got down to the waistline.

This is what the back looked like before it was sewn.

Then I stitched the side seams together – right-sides togethre. (Yes, that is crayon all over my dress-form – Savannah got a hold of this one when I wasn’t looking one day).

I stitched my little pin tucks into place with coordinating thread – one on each side of the shirt.

I took off some of the length from the shirt and sewed a basic hem.

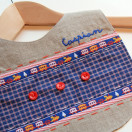
And here is the little shirt dress for baby Eloise! It looks a lot bigger in these pictures, but it really is 3-6 month size.


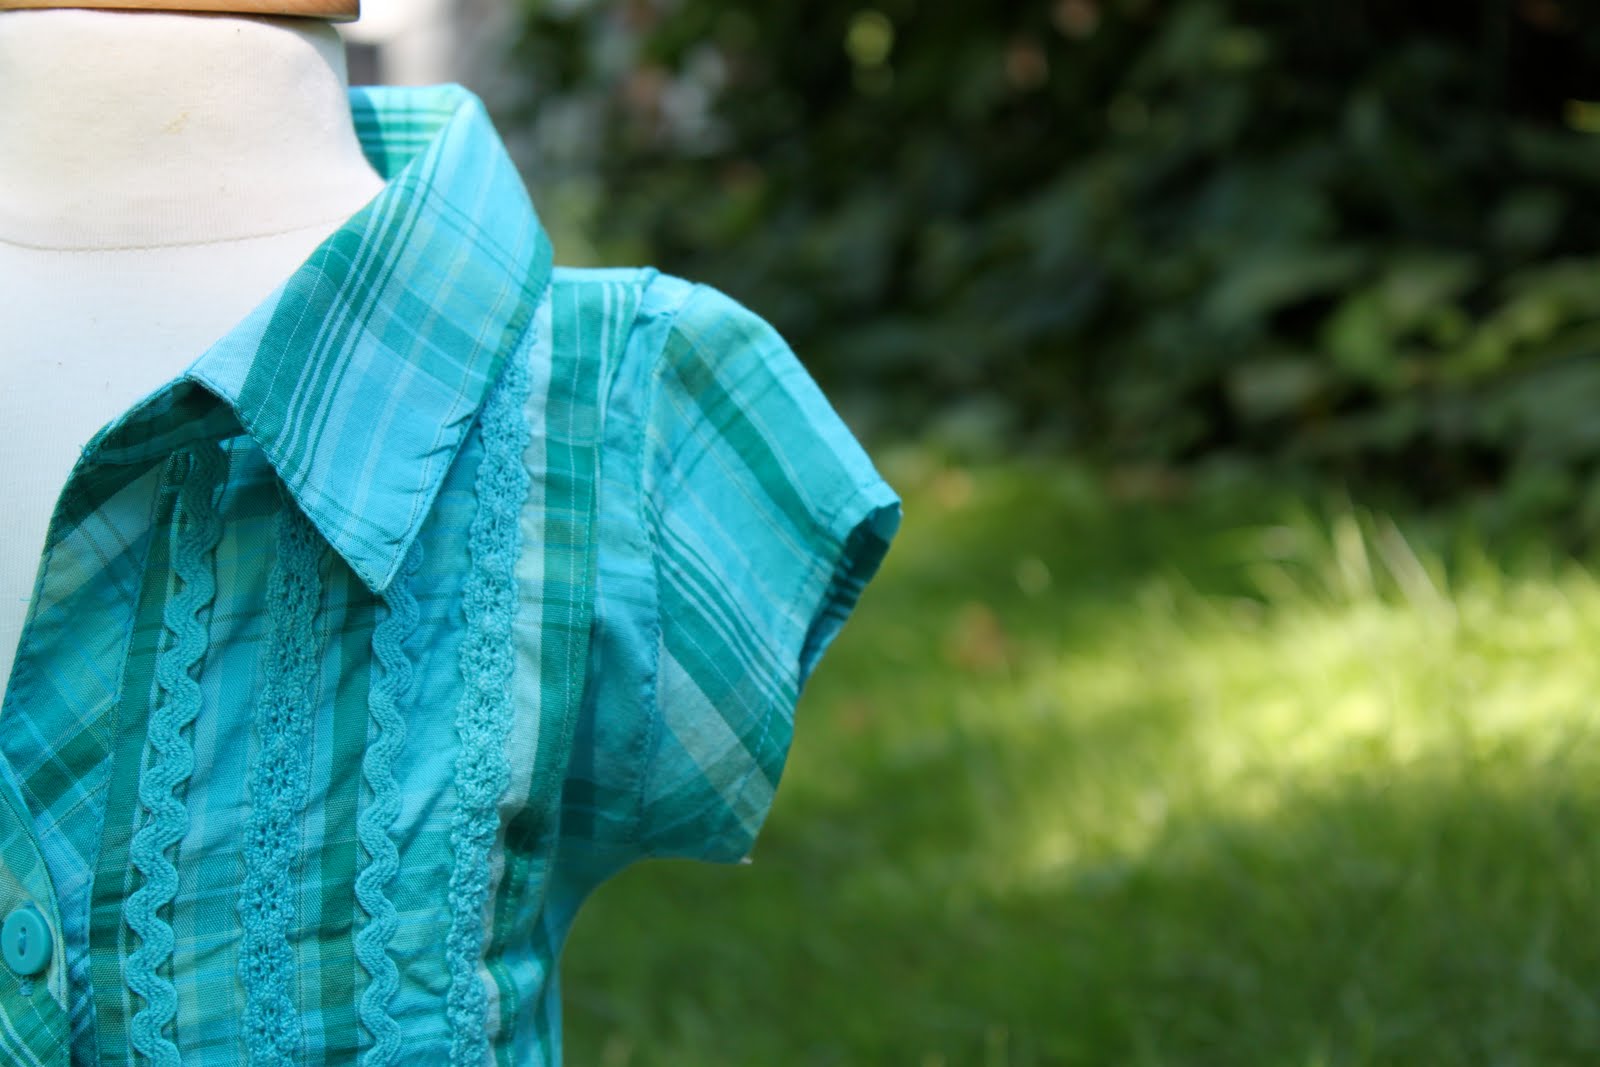
This shirt came with some great trim already on it – you know how I love rick-rack, so I just thought this was perfect!
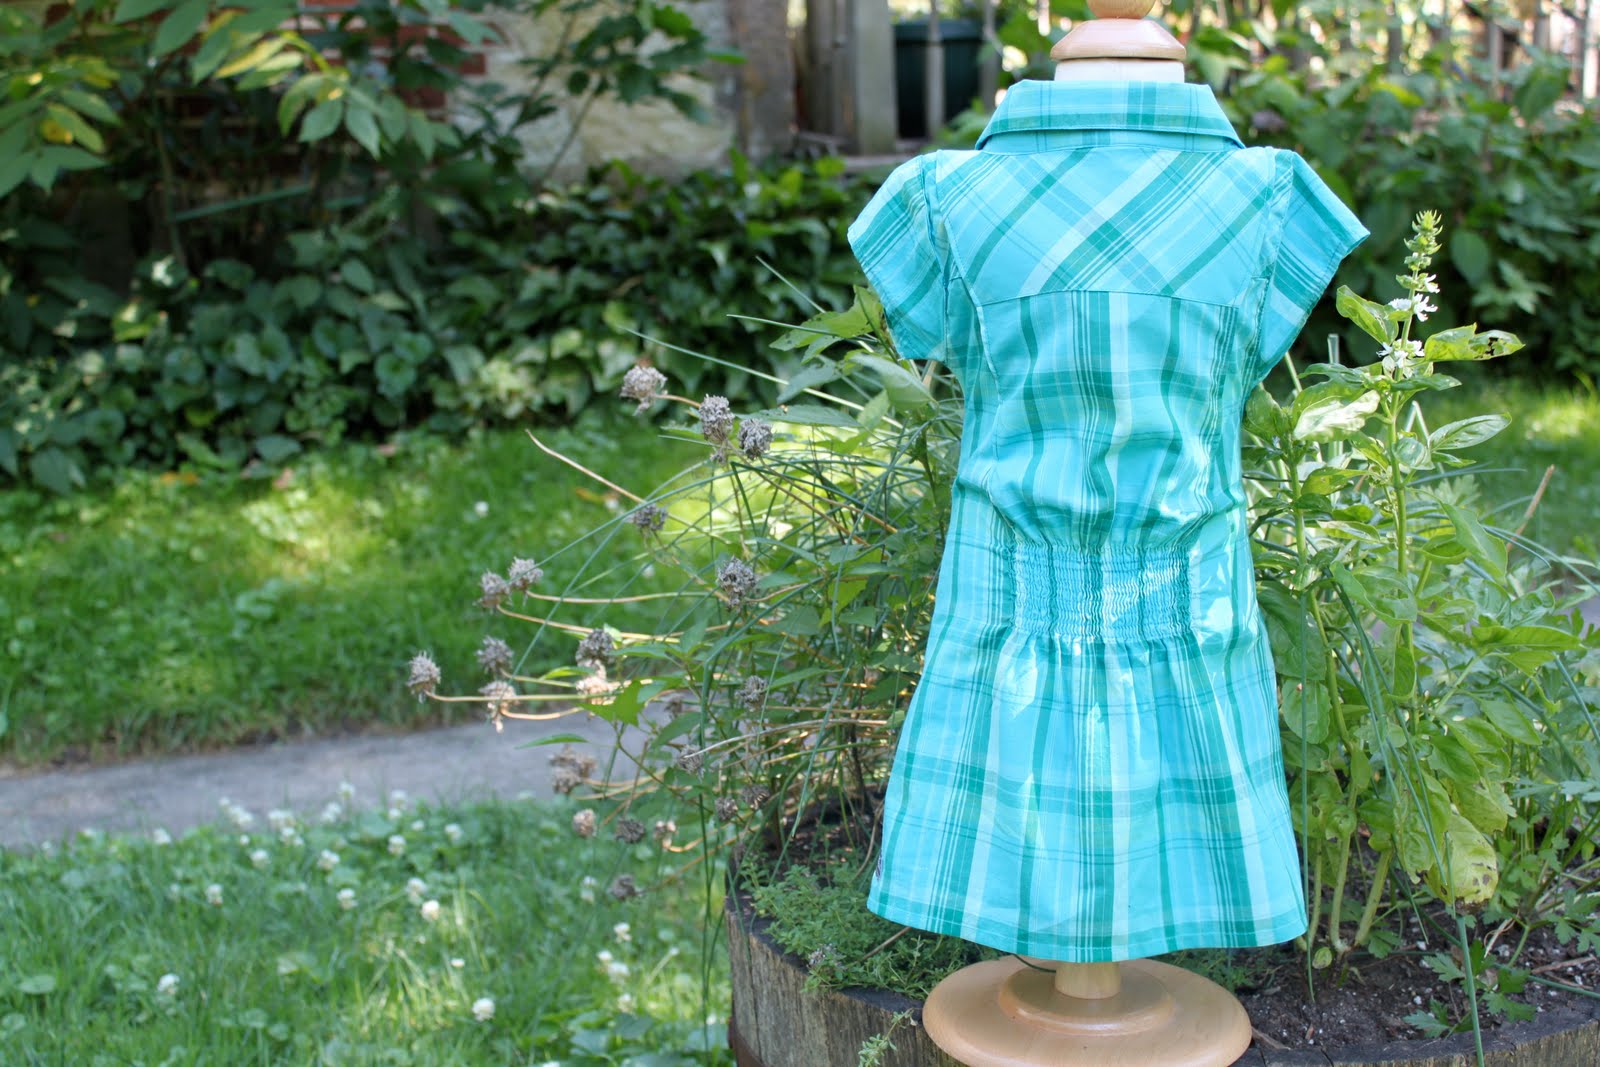


The back of the dress has some basic shirring with elastic thread. This is great for a little ones shirt dress, because it allows it to appear very fitted, but it still has a lot of give in the rear for playing.


Here are the pin tucks after they have been sewn into place. You hardly ever know that this shirt was super big before!
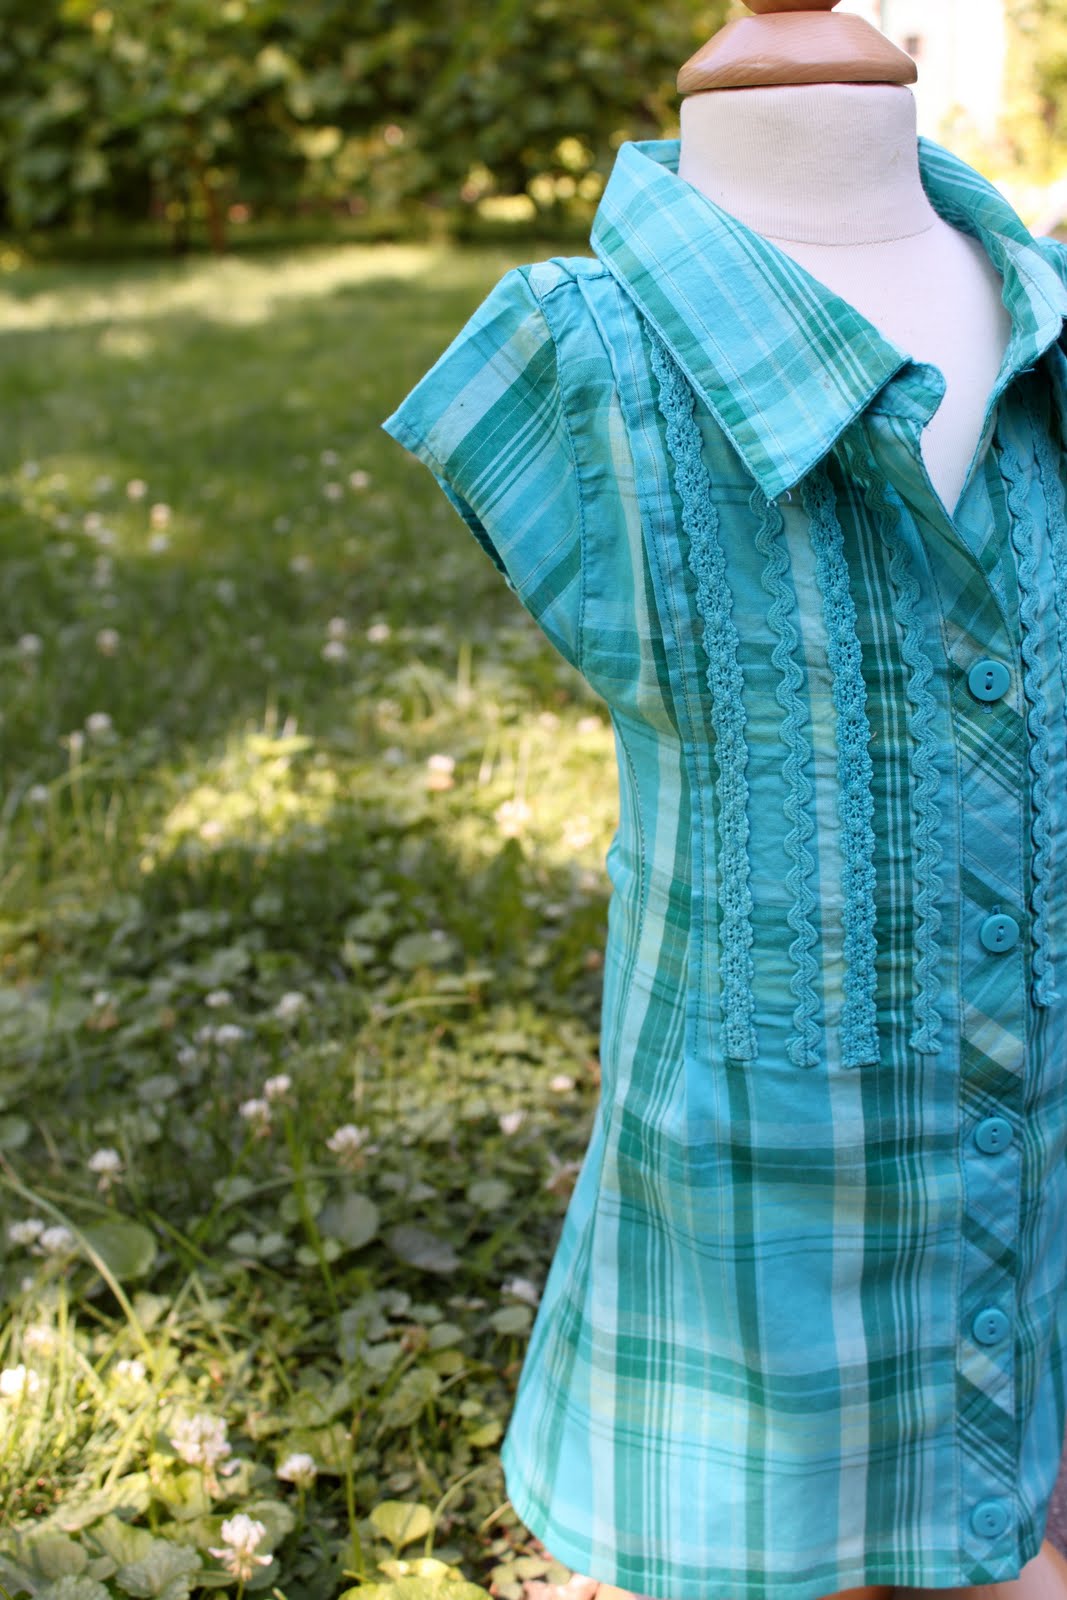
And there you have it, a simple shirt dress!


 Lindsay Wilkes is the owner and designer behind The Cottage Mama. She creates timeless, vintage inspired sewing patterns for children’s clothes. She is also a fabric designer for Riley Black Designers / Penny Rose Fabrics, author of the book ‘Sew Classic Clothes for Girls’ and can be seen teaching nationwide and online in her video series ‘Lessons with Lindsay’ sponsored by Baby Lock Sewing and Embroidery machines.


Love the ric rac detail@ Cute!
So cute!
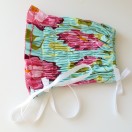
I LOVE the patchwork blanket!! You are very talented!!
Lindsay,
That little dress came out so cute – I am really loving the whole refashion trend. You’re lucky that you have someone you can gift refashioned things to. Also, I LOVE the colors in that patchwork blanket. Did you put terrycloth on the backside or where’s the fringe coming from? I love it!
Also, I’d like to cast my vote for tutorials in the knit department. 🙂
My goodness, you are such a TALENTED seamstress! What an adorable little dress that turned out to be. Love it : )
Hope you’re having a lovely week so far.
Love, Laura
Very clever! LOVE the patchwork baby blanket–such a gorgeous combination. I am stocking up on some fabric now to make one for my little expected. Hope it turns out!
I love the finished product! I think it is so cute. 🙂 Great job!
Adin B
Wonderful! I love the back…seriously adorable.
ok i love the baby’s name and how sweet of you to make dresses for the sisters! beautiful
I agree with you that the original is not something I as an adult would wear, but after your clever refashioning it’s perfect for a kid!
Linds!!!
Awww, I am just getting around to checking blogs…thank you so much for these LOVELY gifts!!!! I just love having something handmade from you for my little Eloise! You’re the best, love ya!
-Mags
I love it! What a lovely idea.
beautiful thank you