I love vintage – whether it be linens, kitchen tools, fabric, graphic prints, clothing, ect. There is something so comforting to me about things that have been around for awhile and things that have a history.
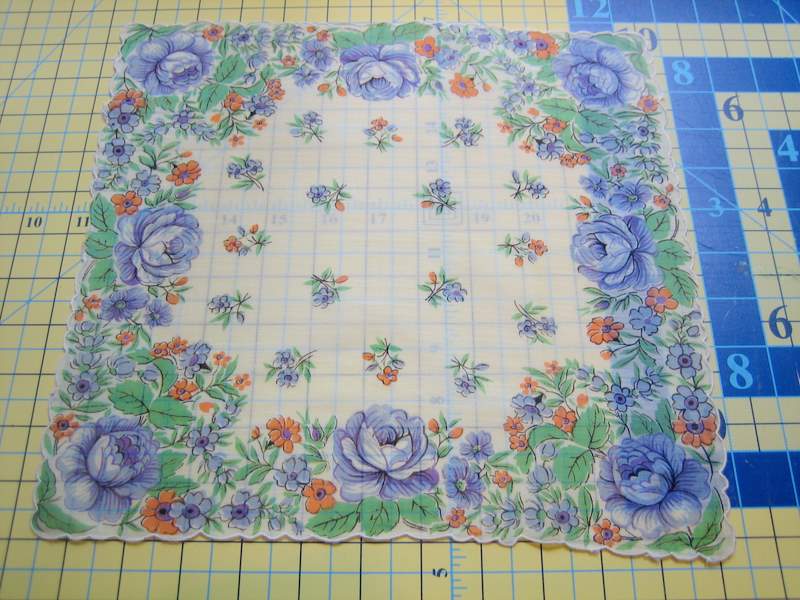
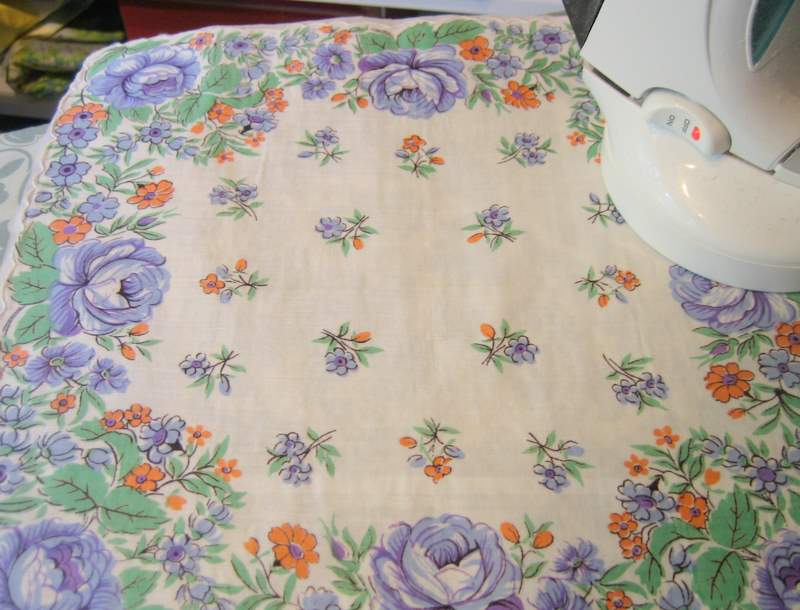
Several weeks back my family and I went to a local farmer’s market and stopped at a favorite antique store in the area on our way back. I picked up quite a few vintage hankies as well as some vintage pillowcases. I knew I wanted to turn the pillowcases into dresses, but wasn’t quite sure what I was going to do with the hankies.
My good friend, college roommate, and Savannah’s Godmother, Lara, just had her birthday this past week and I wanted to make a special gift for a VERY special friend. You know the saying, “Make new friends but keep the old, one is silver and the other’s gold?” Well Lara is one of my “old”, long-time friends and she is just that – pure gold. She is one of the few people in life that I can be 100% myself and never feel like there is any judgement – I feel as comfortable around her as I do my immediate family. She is very special to me and is without a doubt, what I like to call a “Forever Friend”.
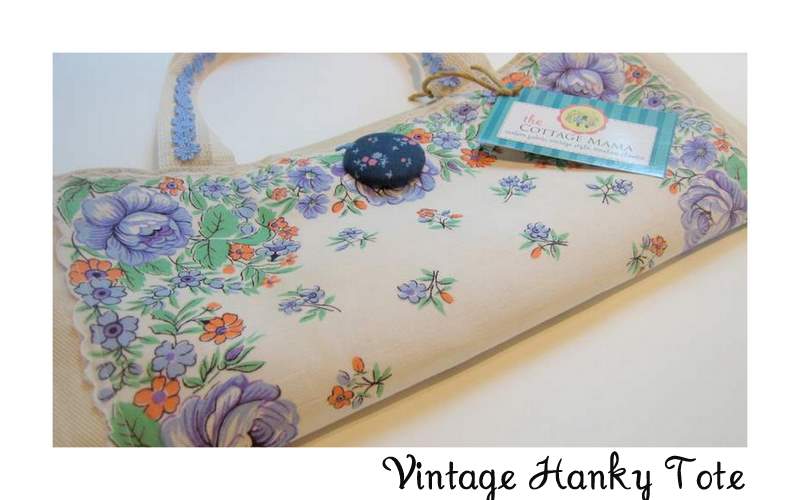
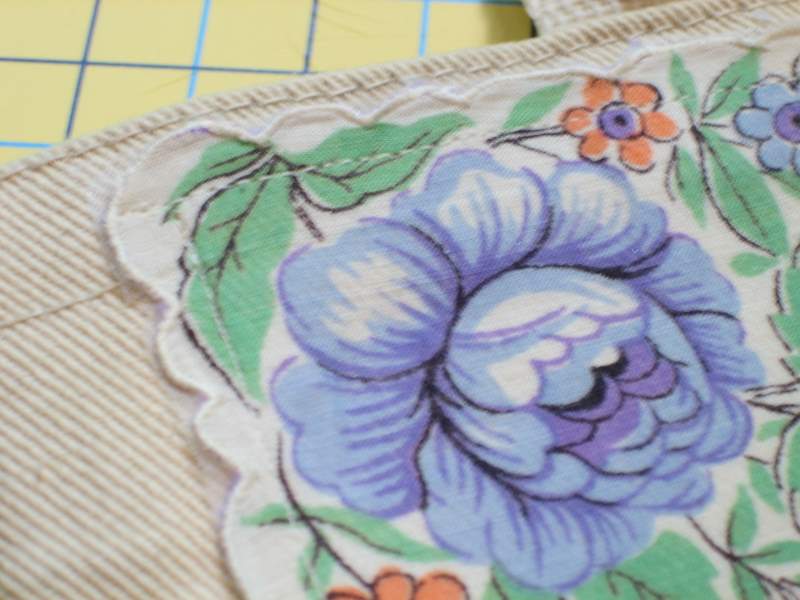
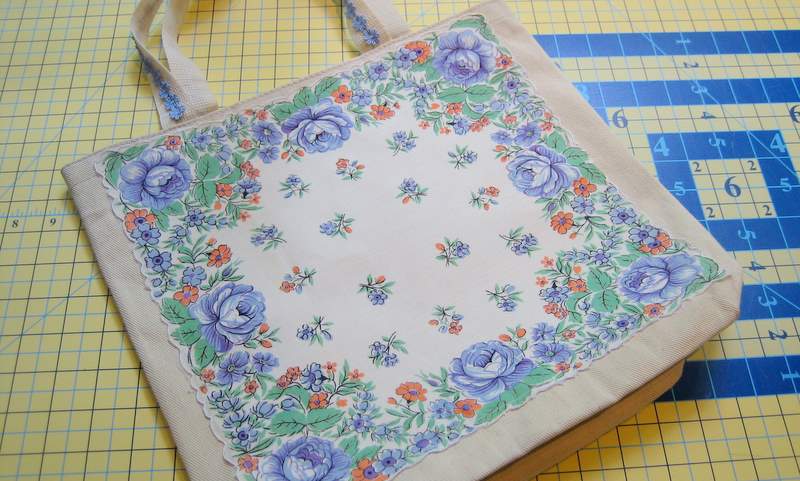
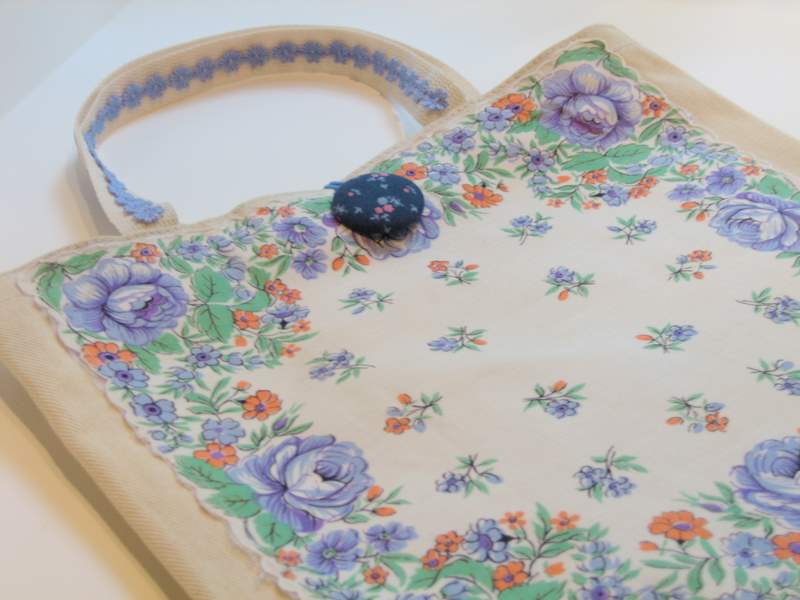
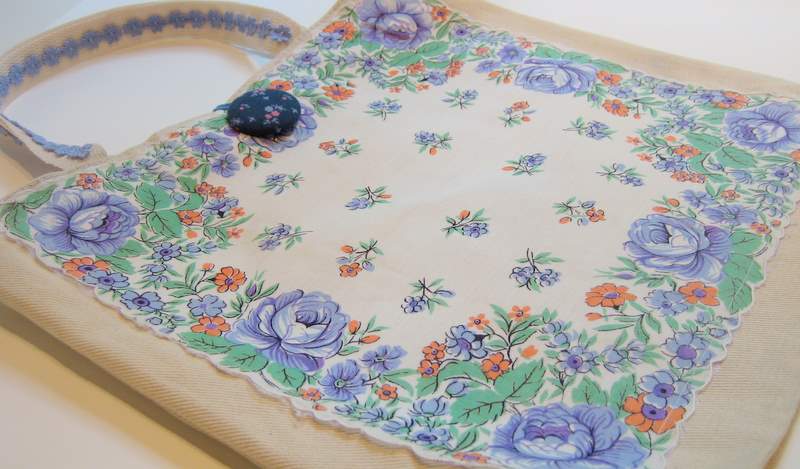
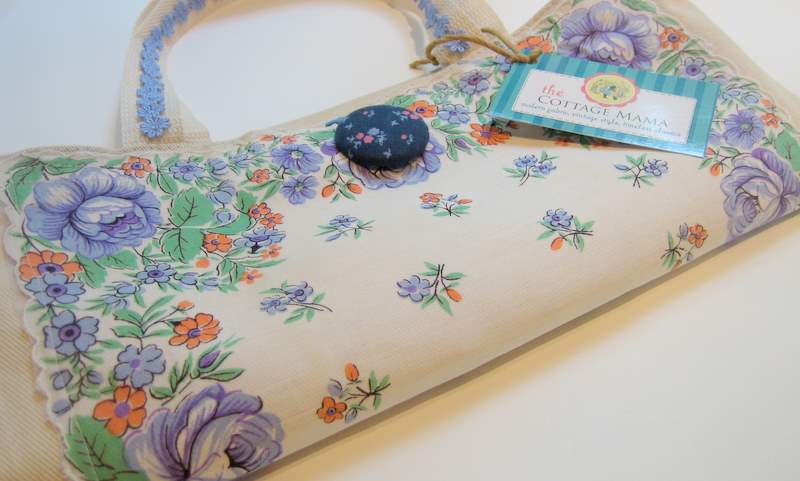
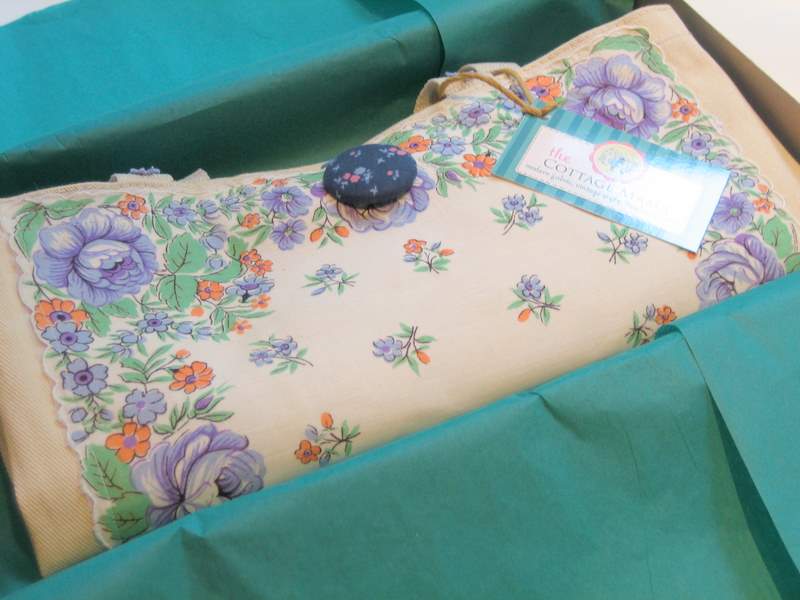
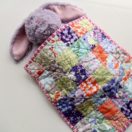
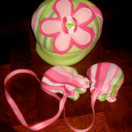
So this is what I came up with for Lara’s birthday – the Vintage Hanky Tote. Give it a try – make one for yourself or give this as a gift to that special forever friend in your life.


 Lindsay Wilkes is the owner and designer behind The Cottage Mama. She creates timeless, vintage inspired sewing patterns for children’s clothes. She is also a fabric designer for Riley Black Designers / Penny Rose Fabrics, author of the book ‘Sew Classic Clothes for Girls’ and can be seen teaching nationwide and online in her video series ‘Lessons with Lindsay’ sponsored by Baby Lock Sewing and Embroidery machines.


Lovely tutorial=0)
What a wonderful gift.
xoxo,
Carol
As the extremely lucky recipient of this beautiful gift, I have to say it is truly one of the most beautiful gifts I have ever received. I love that each time I use my one-of-a kind-tote, I will think of my one-of-a-kind-friend. As gifted as Lindsay is with her sewing, she is an even better friend. Always there when I need her, she really is the beautiful person you would expect her to be; a true reflection of all of the peace, happiness and gratitude she shares with us on her blog. Thanks for being MY forever friend, Linds. Love you.
What a great idea! I love vintage handkerchiefs and when my grandmother passed away last year my mom sent me a few of hers. I may have to use one and try this project!
I have a pretty handkerchief that was given to me by my mother, who always carried a clean one in her purse. She also carried spearment chewing gum sticks, so when we needed a handkerchief, she’d hand it to us, and it smelled like spearmint. Thanks for the “Tote-torial!”
You made a boring bag beautiful! How fun!
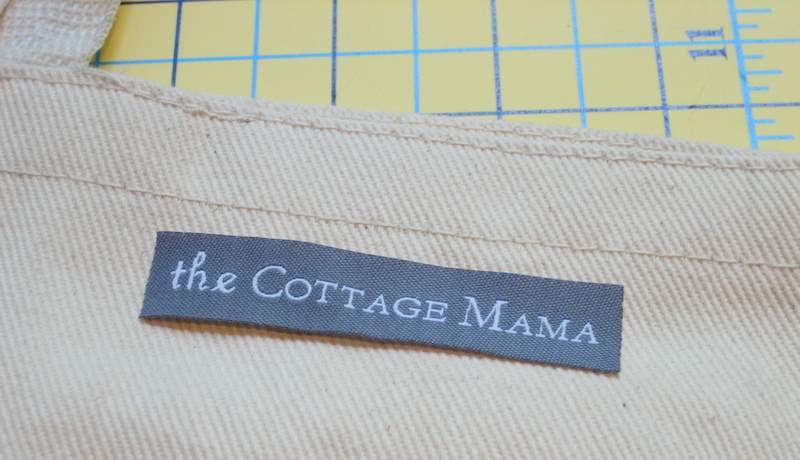
Where did you get your labels? I really like them!
I love this!!! I am planning to do the same with a t-shirt. Hope it turns out as good as yours :)) Have a wonderful day!!
Michella
beautiful…absolutely beautiful…
so pretty! love it!
you are a genius
This is just adorable!! Thanks for sharing!!
Nancy
I found this project with a “yahoo search” and just wanted to thank you for posting such a beautiful tutorial. I plan to make this for my BFF for her birthday next week. It will be the perfect holder for my “favorite things” I plan to give her! Thanks again!
whered u find such a cute hankie
I am someone who has sewn aliitle all my life but with being older I want to get back into it…your tutorials make evrything look so easy that you have definitely motivated me to sew once again!! Thank-u! Gloria. Happy baby boy!!!!
What a fabulous idea! i have piles of hankies I pick up at garage sales and flea markets–I will use some to do this. Thanks a heap for the tutorial!
–Toni in Milwaukee
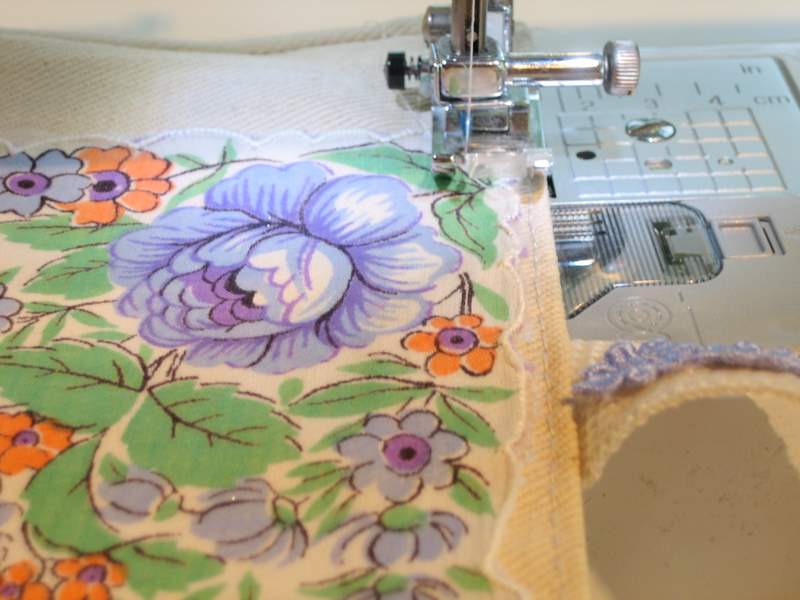
I’m curious on how you sew the hanky all the way around without sewing the bag shut?? Sorry I’m a beginner lol
That’s what I want to know too! Without actually sewing, I ran the bag around the presser foot and it would be very hard.
This is absolutely gorgeous! I just found your blog via another blog! I am now following you!
This is too cute!!!
That was an excellent tutorial.. I love the end result.. You have a lucky friend to own this.