Archives for April 2010

Avocado Enchilada Casserole Recipe

Avocado Enchilada Casserole from The Cottage Mama. www.thecottagemama.com
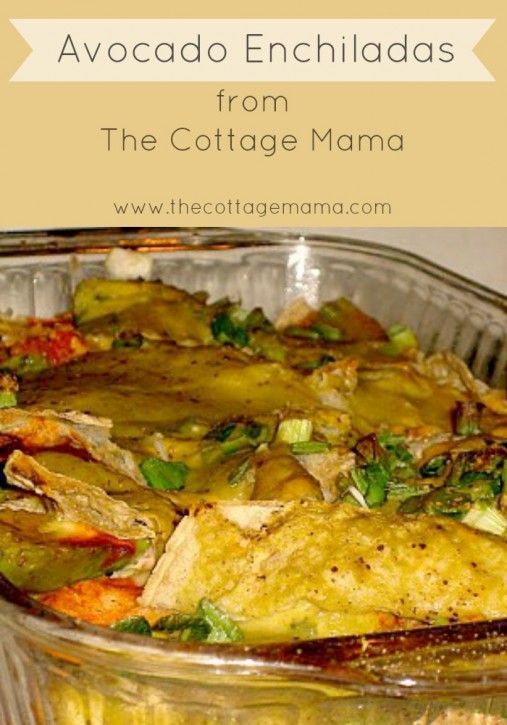
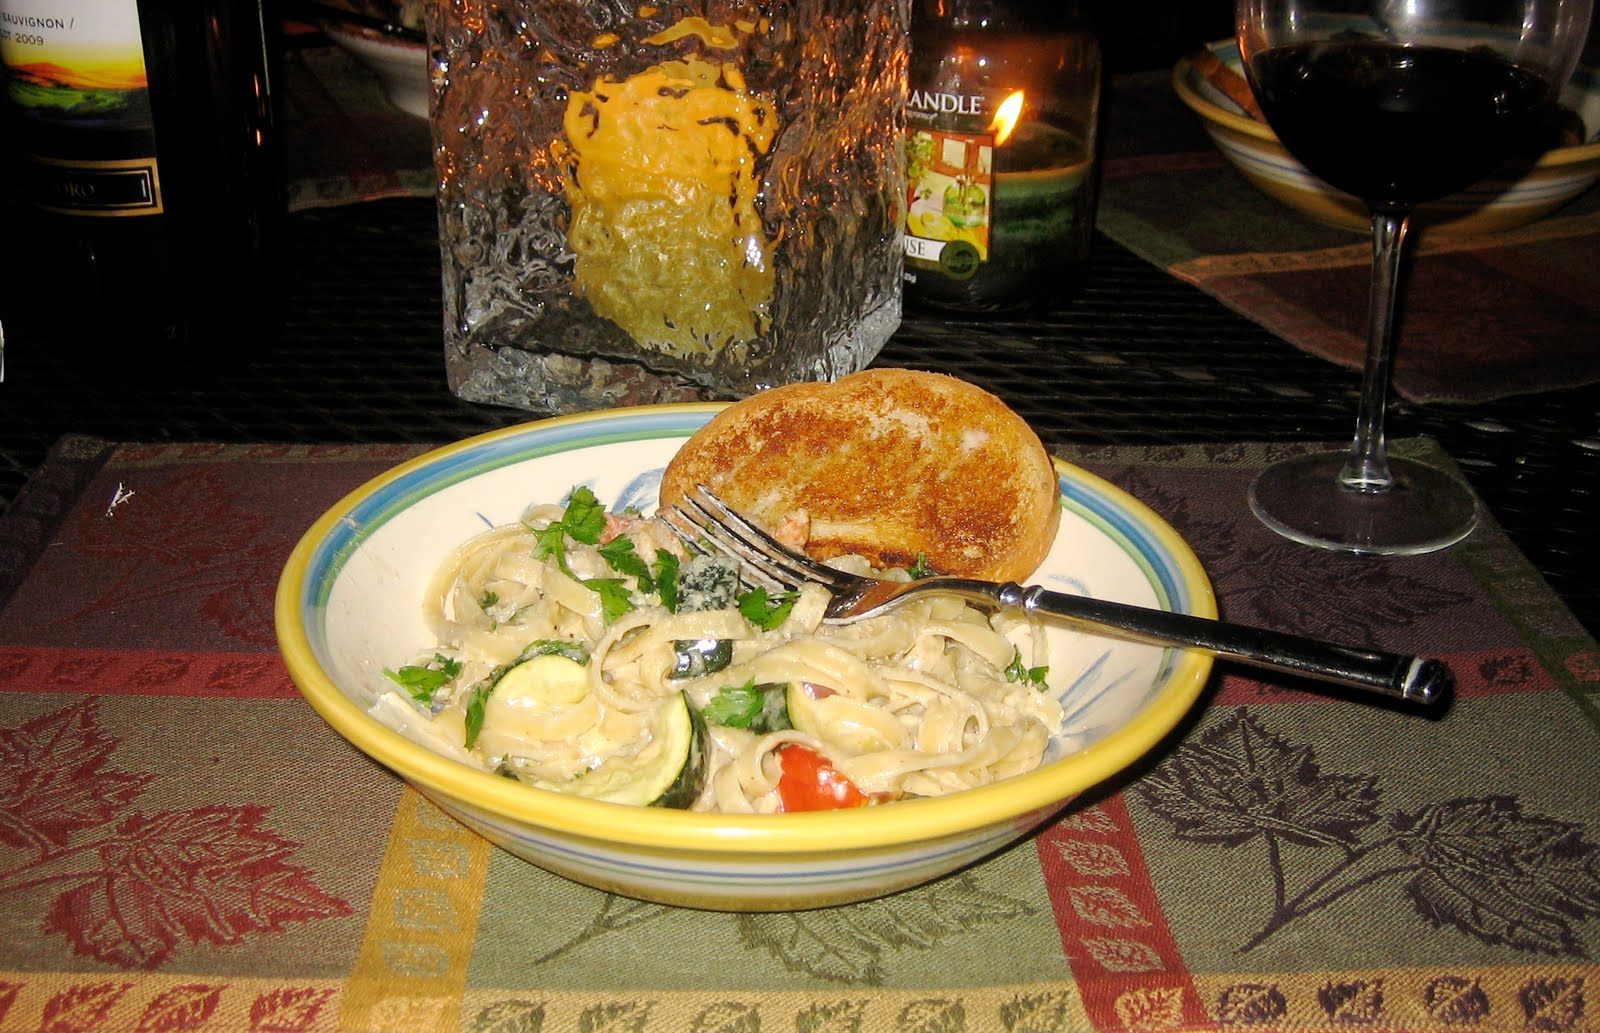
Avocado + cheesy enchiladas = HEAVEN
If you are an avocado lover, as I am, then you must try my new Avocado Enchilada Casserole recipe. I love casseroles because they can be made ahead of time and put in the oven when ready to bake.  This recipe is perfect to have the kids help you make dinner.  Even my 2-year old daughter Savannah helped me with this one.  She sprinkled the cheese between each layer and finished it off with the green onions – she felt so proud being Mommy’s big helper in the kitchen!
Now I am a HUGE fan of Green Chile Chicken Enchiladas, which apparently I haven’t given you my recipe for as I just noticed searching my own blog for it (oops – sorry)……..you must have that recipe too…..future blog post I guess.  Anyway these were so good that I think they might rival my fav.  Give them a try and let me know what you think!


Avocado Enchilada Casserole

Avocado Enchilada Casserole
Author: 
Recipe type: Entree
Cuisine: Mexican
Prep time: 
Cook time: 
Total time: 
Serves: 6 - 8
 
Ingredients
  • 3 large ripe avocados (4 if they are smaller)
  • 1 can red enchilada sauce
  • 1 can green enchilada sauce
  • 1 can "Rotel" tomatoes with green chiles
  • 1 package corn tortillas (10-12), sliced into strips
  • 1 lb. Monterey Jack cheese, shredded
  • 2 green onions, sliced
  • Salt and pepper, to taste
  • Garnish: Sour cream and fresh salsa
Instructions
  1. Preheat oven to 375 degrees.
  2. Drain, Rotel tomatoes with green chiles. In a mixing bowl, combine drained rotel, red enchilada sauce and green enchilada sauce. Cut avocados in half and then into strips.
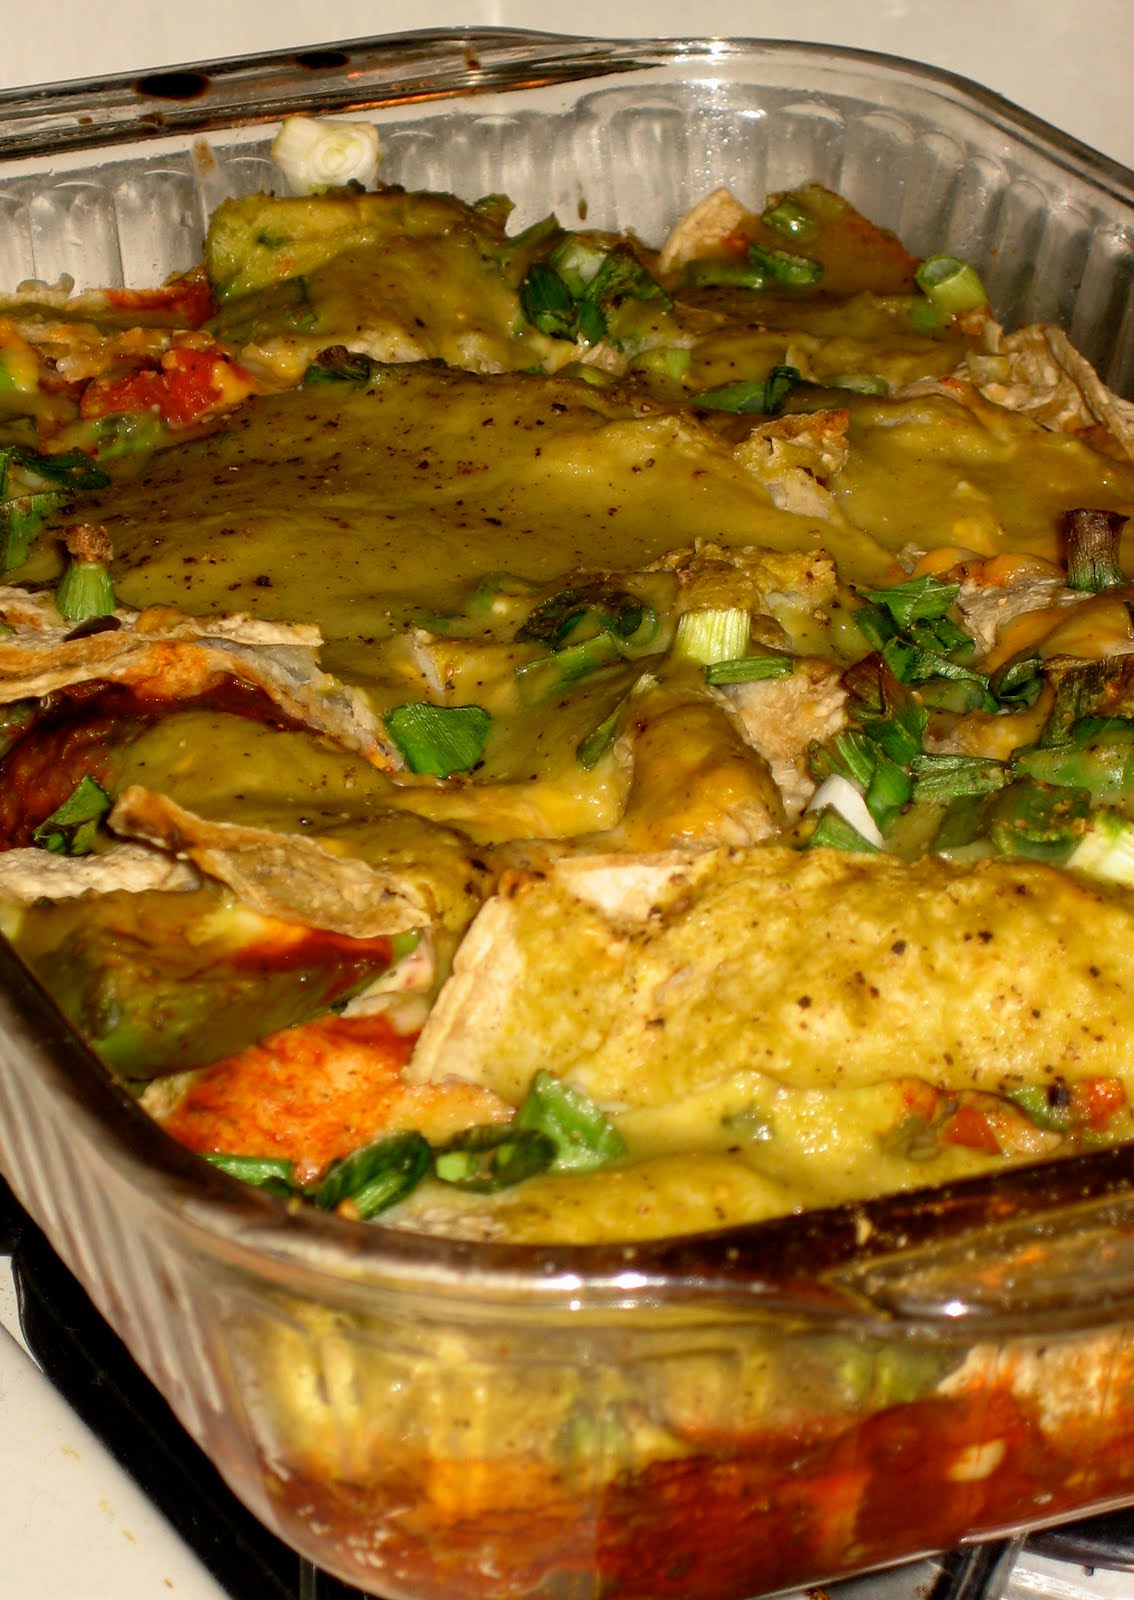
  3. Now begin layering your casserole in a 9 x13 glass baking dish. First layer ⅓ tortillas, then ½ of the avocado (spread out the avocado - it doesn't need to cover all the tortilla), then ⅓ of the sauce and tomato mixture, ⅓ of the cheese. Then layer all of these things again. Finally, finish the casserole with a final layer of tortillas, the rest of the cheese and the rest of the sauce. Sprinkle green onions on top and some salt and pepper, to taste.
  4. Bake for 20 - 25 mins. or until heated through and cheese is bubbling.
Directions:
Preheat oven to 375 degrees.
Drain, Rotel tomatoes with green chiles.  In a mixing bowl, combine drained rotel, red enchilada sauce and green enchilada sauce.  Cut avocados in half and then into strips.
Now begin layering your casserole in a 9 x13 glass baking dish.  First layer 1/3 tortillas, then 1/2 of the avocado (spread out the avocado – it doesn’t need to cover all the tortilla), then 1/3 of the sauce and tomato mixture, 1/3 of the cheese.  Then layer all of these things again.  Finally, finish the casserole with a final layer of tortillas, the rest of the cheese and the rest of the sauce.  Sprinkle green onions on top and some salt and pepper, to taste.
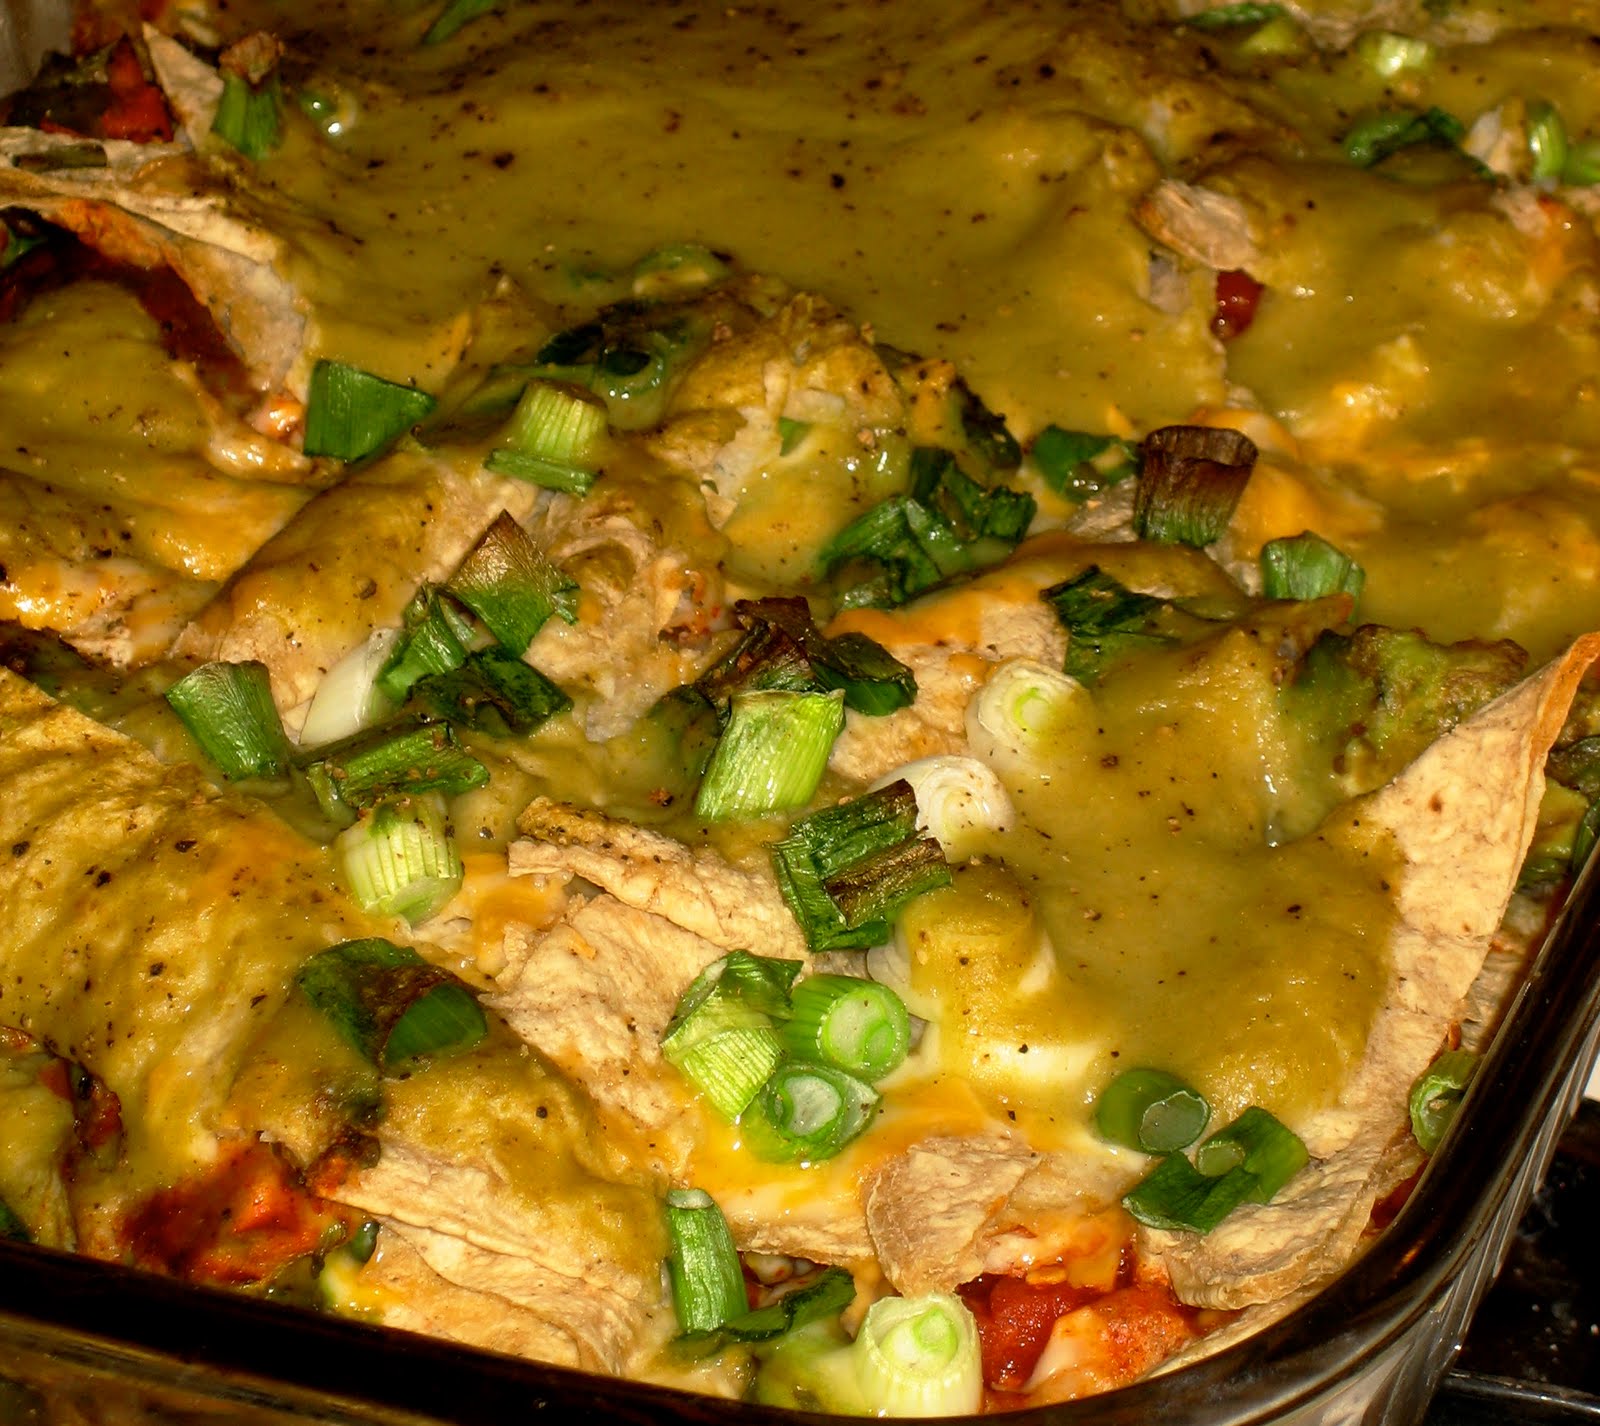
Place in oven and bake for 20 minutes or until heated through.
Serve with a dollop of sour cream, fresh salsa and good tortilla chips .

Yum!!

Waterproof Picnic Blanket Tutorial

In case you weren’t able to make it over to my guest post at “Someday Crafts” last week, I thought I would go ahead and share my tutorial for a Waterproof Picnic Blanket!  I thought this would be a really fun spring/summer tutorial to share with you that is super simple and VERY useful!

Have you ever been outside for a picnic only to lay your blanket down are realize the ground is damp?  Well, that is no fun and kind of ruins the picnic experience.  So, make yourself one of these waterproof picnic blankets and you will never have to worry about wet ground again!

Supplies:
1 Vinyl Tablecloth (52 x 90) or smaller if you prefer
1 Cloth Tablecloth (similar size to vinyl) or 2 yards of your favorite fabric
Scissors
Thread
Iron
Sewing Machine
Optional:
Ribbon or Rick Rack for trim

Directions:

You will need two tablecloths – 1 vinyl and 1 cloth.  If you don’t have a cloth tablecloth, feel free to use a couple yards of fabric.  I got both of these coordinating tablecloths at my local Joann’s.

You want to choose a top and bottom that will coordinate nicely with each other – I just thought these two prints shouted “Spring!!”.

Here is what the packaging for the vinyl tablecloth looked like.  It was $6.99 and I got it 50% off – wooohoo!

Lay out your vinyl tablecloth on a large surface.

Lay your other tablecloth or fabric on top of the vinyl cloth.  You need to do this so you can trim off any extra length or width you may have to make sure they are the same size.

Fold over your excess length or you can draw a line marking the excess length.

Cut off the excess length from the vinyl tablecloth.

Before stitching the two cloths together you want to prep the fabric.  ALWAYS iron your fabric before sewing – it is the only way to achieve professional looking results.  For the vinyl cloth turn it so the flannel side is up, set your iron on the lowest setting and press, smoothing out any creases.  Your vinyl will not melt as long as you move the iron quickly and make sure you set it to low.

Then stitch your two cloths together on three sides – 1/2″ seam allowance, leaving one of the shorter sides open.  I used my serger just because it makes it faster, but you can just as easily use your sewing machine – just make sure you use a needle designed for thicker fabrics, such as a denim needle.

You want to leave one side of the blanket open in order to insert the ties.  The ties should each be 20 inches long and 3 inches wide (I actually made mine too long in my original design….oops!).  You will need to cut four pieces (2 for each tie).

I used left over fabric I had from the cloth tablecloth – the stuff I had to cut off to make sure the top and bottom were the same size.  You could also use ribbon if you prefer.

Place right sides together and stitch the ties along both long sides and one short side (leave one of the shorter sides open).  Again, I used my serger, just for time-sake, but using the sewing machine will yield the exact same results.

Once you have stitched three sides, turn your ties right-side out and press.

Place your ties, pointing inward, in the middle of the fourth side (that you have yet to stitch).  Place the raw edge of the tie against the raw edges of the tablecloths.  Then stitch this side of the tablecloths 3/4 of the way closed.  You need to leave an opening to turn the blanket right-side out.

Turn the blanket right-side out and press lightly.

To close the little opening, I recommend top-stitching around the entire blanket – 1/4″ seam allowance.  Or you can just close the opening by hand-sewing – your choice.

And there you have it – your waterproof picnic blanket ready for a day out in the park!!

My tablecloth came with a border and some ribbon trim already on it, but if you are using fabric and would like to add some trim, make sure you do that before you sew the two tablecloths together.

To fold the picnic blanket, fold over one third of the blanket towards the middle.

Then fold over the other one-third towards the middle.

Then just roll it all the way up, starting from the end without the ties.  Once rolled, wrap your your ties around and tie a pretty bow.

Here is your blanket all wrapped up and ready for a fun day with family and friends!
Cottage Mama’s Note:  You can also use oilcloth for this project, but the vinyl tablecloth was the more inexpensive option.  This vinyl backed tablecloth would also be great as an actual tablecloth.  Just eliminate the ties and presto, you have a waterproof tablecloth that still looks classy, but will protect your table as well!!

Pattern Weights

I don’t know about you, but cutting fabric is one of my least favorite parts about sewing.  I love having a design idea in my head and I LOVE sewing it together, but the cutting……not so much.

I was reading my most recent issue of “Sew News” magazine and they had a great idea that I thought I would share with all of you.  Typically when you are working with a pattern, you will pin it to your fabric and then cut it out.  Well, their tip was to use washers (like the kind your find in the hardware store) to weight-down the pattern pieces.  Genius, I say!!  Why didn’t I think of this?!  This helps to stabilize the pattern pieces so that they don’t move during cutting.

So now I simply weight down my patterns onto my fabric and use my rotary cutter to cut them out.  And if you don’t use a rotary cutter to cut your patterns, you must!  As painful as I find cutting patterns to be, it makes it go 10x’s faster.

The next time you are sewing from a pattern or even if you are trying to simply trace something, grab some washers………it is a seriously good thing!!

DIY Pattern Weights from The Cottage Mama. www.thecottagemama.com

Spring Has Sprung!

Spring has sprung and fabric designer, Heather Bailey, has come out with some super-cute new sewing patterns!  I have always loved Heather’s fabrics (as I’m sure you’ve seen in my etsy shop), but I’m really thinking I just may have to get my hands on some of these patterns.

Check out some of her new pattern designs:

And are these adorable or what?  I’m loving the butterfly and the ladybug – imagine one of these little critters sitting next to you at your sewing machine?  These pincushions would make great gifts for all of the crafty people in your life.

And these…….well these are so ridiculously cute, I can’t even stand it!  I can just imagine my two little ladies playing pretend with these two adorable characters.

And finally, this beautiful bag!  If you have some extra time before Mother’s Day I think this would make a great gift for Mom!

Speaking of Mom………my Mom (The Cottage Mama’s Mama) has agreed to do a guest blog post reviewing a recent sewing pattern that we picked up at the Chicago Quilt Festival this last weekend (which was amazing, by the way).

The Sewing Workshop patterns claim they are “patterns that teach”……well, we’ll just have to put them to the test!  My Mom is an amazing sewer (though she is very humble and would never admit it), so I’m very excited for her to share some of her knowledge with all of you.

Here is the pattern she will be reviewing:

I would love to do more sewing pattern reviews and tutorials on The Cottage Home, so if you are interested in guest posting a pattern review, please leave me a comment or email me and we can work out the details – [email protected]

Happy Sewing!

Cottage Mama’s Note:  All patterns are scheduled to be in-stock tomorrow, April 23, in Heather Bailey’s store.

Roasted Vegetable Shrimp Pasta Primavera

So as I mentioned last week, my Mom came to town from Texas for a visit this past weekend.  While she was here I wanted to fix her something super yummy for dinner the first night she arrived.  I prepared a roasted vegetable shrimp pasta primavera with basil in a light cream sauce.  It was SO good, I could go for some right now!!  This is not the most figure flattering recipe (but I’m sure you’ve figured that’s the way with most of my recipes) but I do have some healthy ones coming, I promise!

Roasted Vegetable Shrimp Pasta Primavera

Ingredients:
2 zucchinis, cut in half lengthwise and cut into half inch chunks
1 large red onion, cut into 1 inch cubes
4 Roma tomatoes, diced
1 lb. fettuccine noodles, cooked according to package directions
2 cups heavy cream
2 garlic cloves, minced or a spoonful of jarred garlic
1/2 cup fresh basil
1/2 cup freshly grated Parmesan cheese, plus more for sprinkling
1 tablespoon butter (REAL butter)
1 – 2 tablespoons olive oil
Salt and pepper to taste
1 lb. frozen shrimp
Directions:
Preheat oven to 425 degrees.  Begin boiling water for pasta and cook according to package directions.
Cut all of your vegetables as mentioned above.
Spread vegetables out on a cookie sheet.  Drizzle with olive oil and sprinkle with salt and pepper.  Use your hands to mix vegetables in order to thoroughly coat with olive oil.  Place vegetables in preheated oven for 15 minutes or until cooked through.

Add 1 tablespoon olive oil to a large skillet on medium heat.  Add garlic, saute 1-2 minutes.  Add frozen shrimp and cook until warmed through.  Pour in 2 cups heavy cream and increase heat.  Once cream mixture starts bubbling, reduce heat to medium low – should become a simmer.  Allow to thicken for 10 minutes.  Add parmesan cheese and 1 tablespoon butter and simmer for 5 more minutes or until it reaches your desired consistency.

Once vegetables, pasta, and cream sauce are ready, combine everything in the same skillet where you cooked your cream sauce.  Here I added the vegetables, then pasta, then fresh basil.

Combine all of the ingredients with your pasta spoon until every noodle is coated with the delicious cream sauce.

Plate the pasta in a large pasta bowl, sprinkle with parmesan cheese and fresh basil or parsley.

Enjoy your pasta with a nice glass of wine, garlic bread, and good company!

Here’s my good company – my hubby (taking the picture) and The Cottage Mama’s Mama!  My Mom and I had such a great time together and we had a blast at the International Quilt Festival.  It’s always so hard to say goodbye, but I keep hoping and praying that some day we will live closer to one another.  
Miss you and love you Mom!

Simple Felt Hair Clip Tutorial

Have you seen all of the super-cute felt hair clips that are out there on the market?  Well, if you haven’t, just Google them and you will see this hair accessory craze!  There are some incredibly cute designs being sold, but I just can’t stomach paying $6-$10 for a hair clip that my daughter might wear (the operative word being…..might).

This afternoon I decided to make some little felt hair clips of my own for my daughter Savannah (Matilda doesn’t have any hair yet).  These were so simple and easy and there was NO sewing involved – I know I’m not the best about posting “non-sewing” tutorials.

Felt only costs 29 cents per sheet (or less if you get it on-sale) and a pack of hair clips is about $1.99 – so if you are on a budget (as most people are these days) this is the project for you!

Simple Felt Hair Clips

Supplies:
Craft Felt (whatever colors you like)
Strong Glue – I use fabri-tac
Hair clips (again, whatever kind you like)
Scissors
Optional Supplies – Fabric covered button maker & embroidery floss/hand-sewing needle

Before we start, I cannot say enough about this glue – it is amazing!  You can use it for all of your craft projects, you will never need any other type of glue.  The bond is incredibly strong, fast drying, and completely clear. 

Cut a rectangle of felt a little larger than the clip you are using.

You will need two pieces – one for the front and one for the back.

Cut a little slit in the felt rectangle.  Slide the bottom part of the clip through the slit.

Then cut a smaller slit on the other-side for the smaller latch to poke through.

Apply some strong glue adhesive to one side of your other piece of felt.  Place this felt piece (glue side down) on top of the other one.  Then I just took pinking sheers and cut around all four sides to give it a zig-zag look and glued (using my same, beloved, Fabri-tac) a fabric covered button on one side.

Here is my darling little lady wearing her cute new felt hair clip.

Fabric Covered Buttons
If you would like to use fabric covered buttons for this project you will need to purchase a covered button kit (available at the craft store or Joann’s). I used 7/8″ buttons for my daughter’s clips.
Here is what the underside of the uncovered button will look like when you remove it from the package.
You need to remove the shank from the button.  This comes out VERY easily with a pair of pliers.
You will need to cut a circle of your fabric to cover the button.  This fabric is from Amy Butler’s “Love” collection.
Then follow the instructions on the package to complete your covered buttons – this is VERY easy, trust me.
Here is the hair clip I made with the “Love” button.  I made this the same way as the other one, but I used straight scissors to round the edge.
 Two fabric covered button felt hair-clips!
Here are some more clips that I made for my little Miss Savannah:
Assortment of Hair Clips
For this clip, I used embroidery floss to spell out my daughter’s monogram.
This is a super-simple, basic clip design that I created that I thought would go with a lot of Savannah’s Spring/Summer clothes.
The actual clip that I used for this one is a little different than the other two.
I cut a long skinny piece of felt and wrapped it around the whole clip – inside and out.  
Once the clip was covered with the pink felt, I just added a thin strip of blue to the top for an accent color.
Cottage Mama’s Note:  You can get much more creative than I did with your hair clip designs.  Think about using stars, hearts, or any basic shape.  Also, think about other embelishments you could use, such as plain buttons or individual sequins…….gosh the options are endless…….if there were only more hours in the day!

Homemade Cranberry Granola

I’m a huge fan of granola or anything with oats for that matter, especially oatmeal cookies!!  This afternoon I decided to try my hand at making my own homemade granola from scratch.  I just put the ingredients together that I enjoy and luckily it turned out (you never know when you are making up your own recipe)!

So if you have an extra minutes one of these days, whip up a big batch of this yummy granola for you and your family.  First of all this recipe will make your house smell A-mazing! It’s also great for breakfast, served with milk or over yogurt, makes a healthy crunchy snaking food, and would be “oh so good” on top of some vanilla ice cream!

The Cottage Mama’s Homemade Granola
Ingredients:
3 cups traditional oats
1 cup shredded coconut (sweetened)
1/2 cup pecan pieces
1/4 cup walnut pieces
3/4 cup dried cranberries
1/2 cup honey (I used really good local honey)
1/3 cup vegetable oil
1 teaspoon cinnamon (I love cinnamon, so if you don’t, you may want to use less)
1/2 cup brown sugar
Directions:
Preheat oven to 325 degrees.  
In a medium sized mixing bowl combine the following; oats, coconut, pecan pieces, walnut pieces, honey, and vegetable oil.  Mix until thoroughly combined.
Once combined, spread mixture out onto a large baking sheet.  Place baking sheet in the oven for 30 minutes, stirring occasionally.  Oat mixture is ready to come out of the oven once it has reached a nice, toasted golden color.
Immediately after you remove the oat mixture from the oven add the brown sugar and stir to combine.  This will allow the sugar to melt into the granola.
After the granola has cooled add your dried cranberries.  Store granola in an air-tight container and enjoy!!


Cottage Mama’s Note:  You can change up the ingredients easily with this recipe.  Add any type of dried fruit you like (i.e. raisins, apricots, apples, cherries) and feel free to change up the type of nuts you use as well.

Easy Dinner Idea: Chili Cheese Baked Potatoes

We used to eat a lot of baked potatoes growing up.  My Mom would “doll” them up with all sorts of toppings and we would make an entire meal out of them.  So, a few weeks ago I was trying to come up with something yummy for dinner and remembered how much I loved my Mom’s “Chili Cheese Baked Potatoes” and realized I hadn’t made those in years.

I don’t know if I would call this a recipe (all you are really doing is assembling), but this is a very satisfying and inexpensive meal that is sure to please all of your family members.  So here you go………..

Chili Cheese Baked Potatoes
Serves 3-4
Ingredients:
4 Large Baking Potatoes
1 Can Chili (whatever kind you like) – if you have super-hungry adults use 2 cans chili
Shredded Mexican Cheese Blend
Sour Cream (Regular or Light)
Sliced Green Onions
Seasoned Salt, to taste
Freshly Ground Black Pepper, to taste
Directions:
Cook your potatoes.  If you are in a hurry, use your microwave.  If you have plenty of time, cook them in your oven at 400 degrees for 1 hour (or until they are pierced easily with a knife).
I LOVE this chili (I buy it at Costco in a 6-pack)
Meanwhile, heat your chili up on the stove.  While the chili is heating, slice your green onions.  Use all of the parts of the green onion – it all has great flavor.
Once the potatoes are ready, place them in a bowl and cut them down the center.  Scoop some chili on top, then shredded cheese, followed by sour cream, and then green onions.  Sprinkle a little seasoned salt (I like Lawry’s) and ground black pepper on top.
Serve and Enjoy!!

Cottage Mama’s Note:  I used red potatoes when I made this recently and they were very good.  Just use whatever type of potato you have on hand.  You could also make this entirely vegetarian by using veggie chili!  This is also a great way to use up leftover chili!

Happy Easter from The Cottage Home

 The Cottage Family
 Matilda Jane

Savannah Rose
Just wanted to wish you a happy and blessed Easter from 
The Cottage Home!