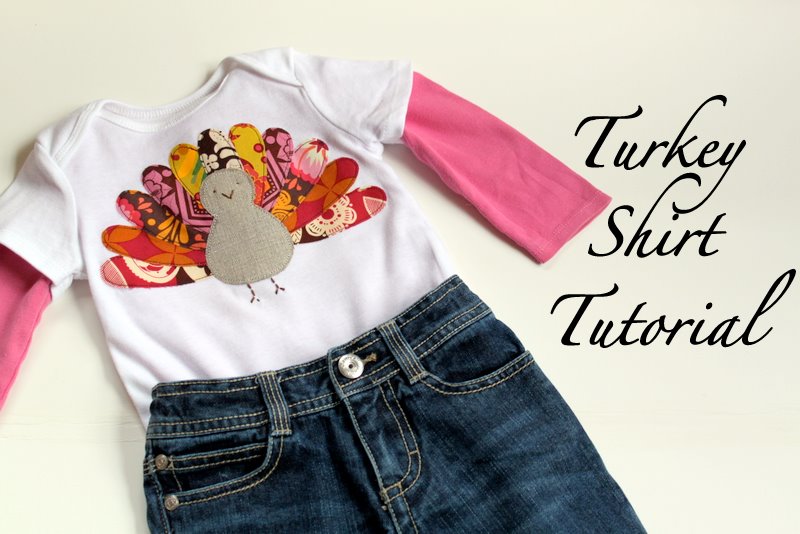
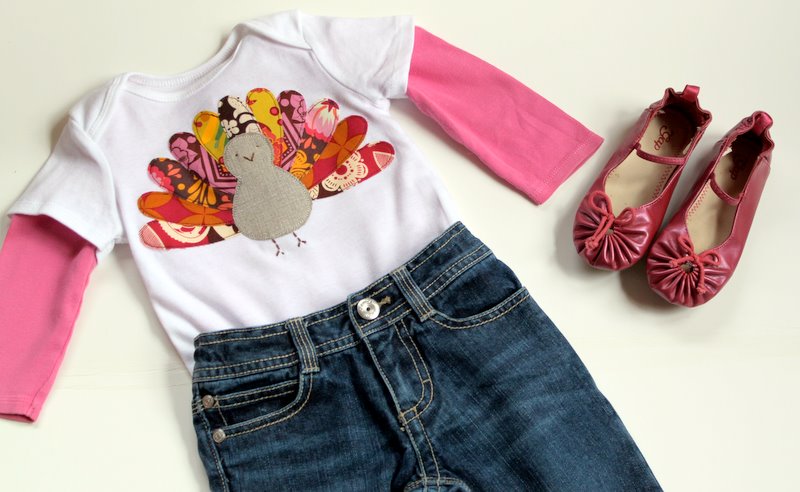
Thanksgiving is just around the corner and I wanted to make some shirts for my girls to celebrate one of my favorite holidays of the year. I love the fun and colorful nature of this turkey shirt. This is a wonderful way to use up those small scraps of fabric that you have lying around.
For this tutorial I have included a template for you to use for the turkey body and the feathers.
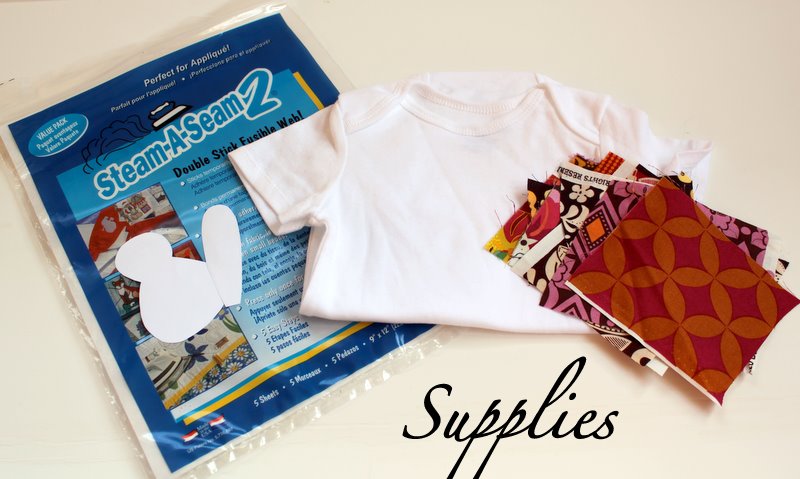
Gather your supplies. Print out the turkey template and cut out the body and feather.

Take out one sheet of fusible interfacing. You can use whatever type of fusible interfacing that you prefer. I don’t really have a preference, I tend to flip-flop between different brands.
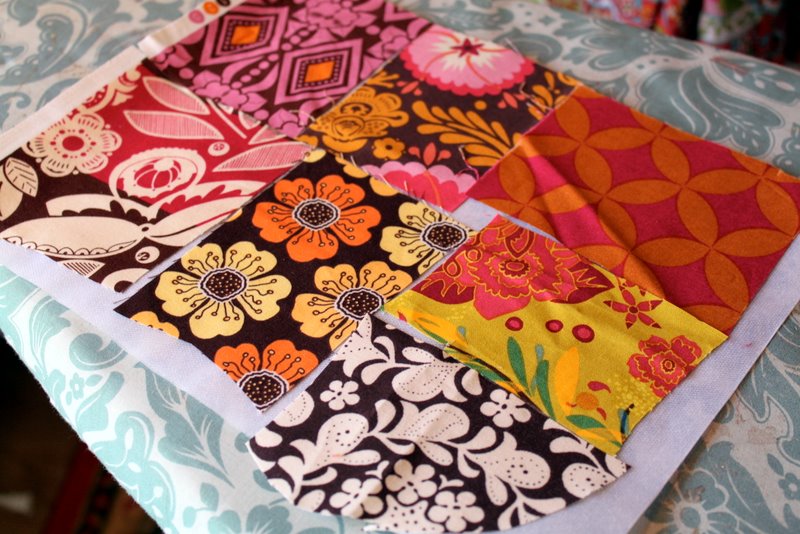
Peel off one side of the paper on the fusible interfacing. Place your fabric scraps on top of the side without the paper. Fabric should be right-side up. Press fabric to the interfacing. I like to press on both sides – fabric and paper. Make sure your iron doesn’t touch any of the exposed parts of the interfacing (that could get a little sticky)!
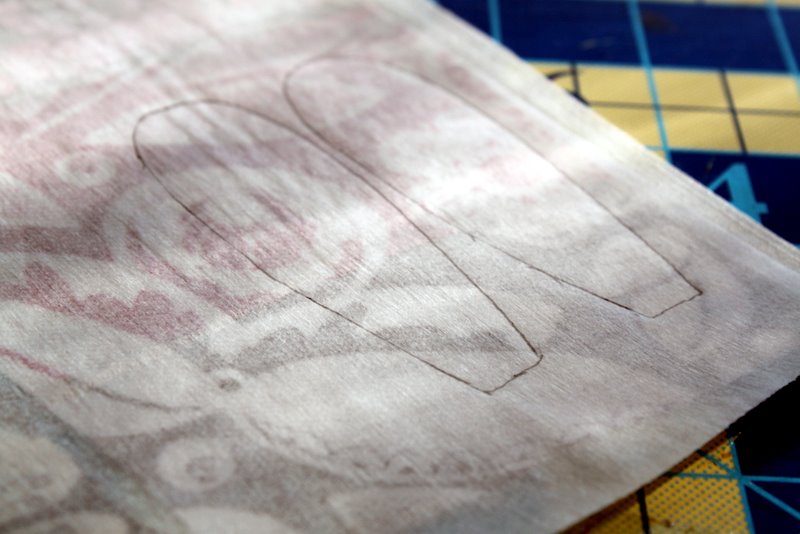
Trace the feathers onto the paper side of the interfacing. Trace about two feathers per scrap of fabric. Cut out feathers.
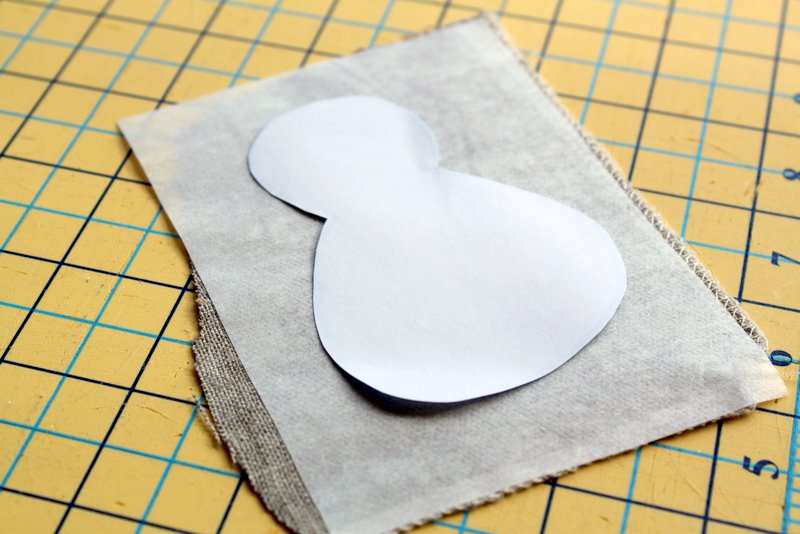
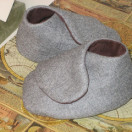
Apply interfacing to the fabric you are using for the body of the turkey. I chose to use a linen/cotton fabric for the body to add a little texture. Use whatever fabric you like (cotton, linen, felt, fleece, minky, chenille). Trace the turkey body from the turkey template. Cut out turkey body.

Peel the paper backing off all of the feathers. Start laying out your feathers. This is kind of trial and error until it looks the way you want it to and is somewhat centered. I started from the outside and worked inward, though you could do the opposite if you prefer. I used two feathers out of each fabric scrap except for the very middle feather. That was a total of 11 feathers (six different fabric prints).
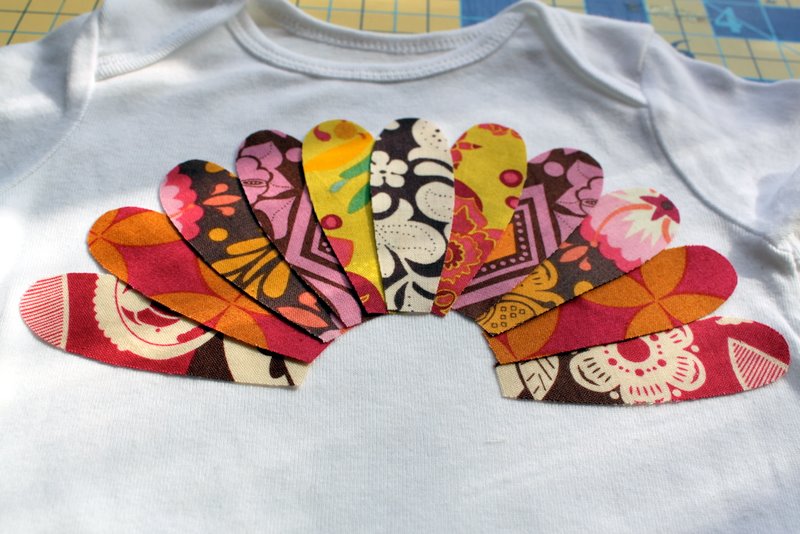
Once you have the feathers laid out the way you want them. Peel the paper backing off of the turkey body and place in the middle. Press the feathers and the body with a very hot iron to fuse the turkey to your shirt or onesie.
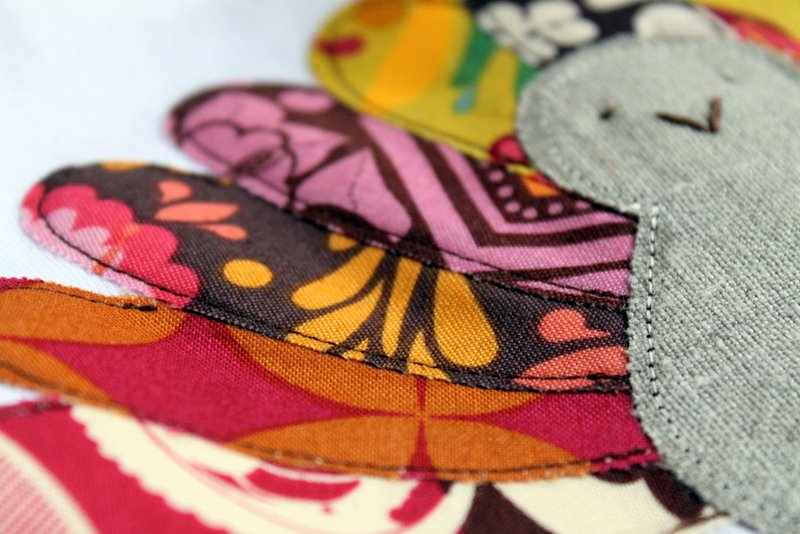
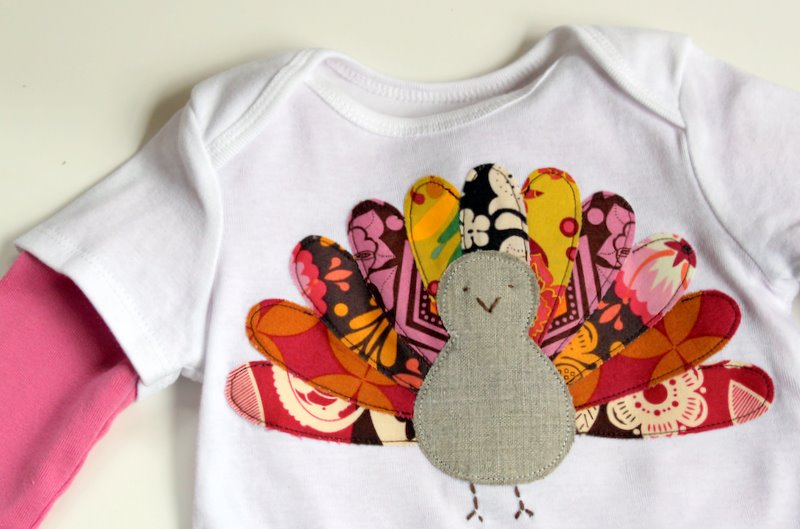
Once the turkey is fused to the shirt, stitch around the exterior of the feathers and the body. Normally I would prefer a zig-zag stitch, but I thought a little fraying might be nice since this is a bird – so I used a straight stitch. If you look closely in the picture above, you will see that I stitched around three-quarter of each feather and stopped when one feather overlapped with the other. I also stitched around the entire exterior of the body.
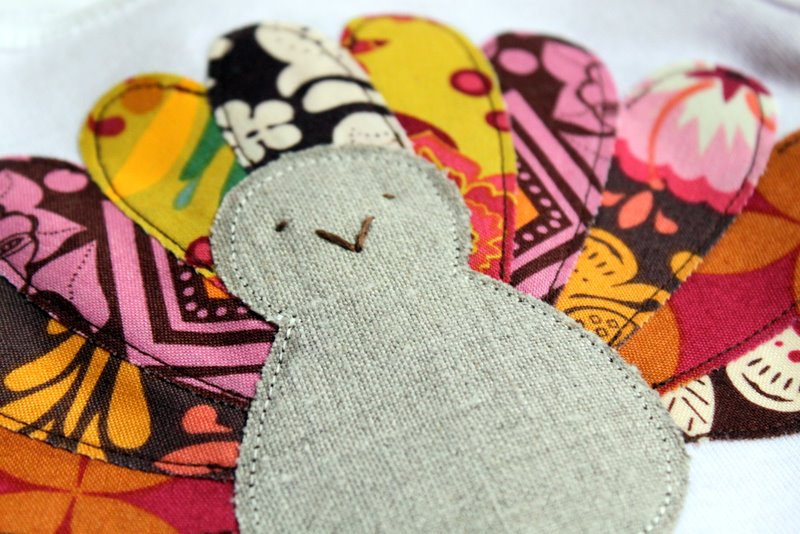

I added two eyes, a nose, and two little feet with some brown embroidery floss. You can do your own thing with this part of the shirt – make it as simple or elaborate as you choose! You could even cut these parts out of fabric and applique them on. I love little embroidered touches, so that’s why I opted for the embroidery floss. Either way will look adorable!

 Lindsay Wilkes is the owner and designer behind The Cottage Mama. She creates timeless, vintage inspired sewing patterns for children’s clothes. She is also a fabric designer for Riley Black Designers / Penny Rose Fabrics, author of the book ‘Sew Classic Clothes for Girls’ and can be seen teaching nationwide and online in her video series ‘Lessons with Lindsay’ sponsored by Baby Lock Sewing and Embroidery machines.


that is SO cute. I need to buy a top for my little girl to put it on 🙂 thanks for sharing
Super cute! Might want to try this on a pillow for the house 🙂
adoooorable! Thanks for sharing this great idea with us!
This is adorable!
Love all the fabrics you used. I make shirts that look just like this for my nephews and niece every year but the feathers are usually fatter, I love the idea of more feathers, you get to use more cute fabrics of course!
This is the cutest tutorial I’ve ever seen – plus so simple. I’ve recently discovered your blog (on a google search for Mary Jane’s Farm of all things) and I am really enjoying it – you are an inspiration!
So flippin’ adorable. I love it!! Thanks, Lindsay!
So so cute!! I wish I had kids to make this for!
super duper cute! I’m off to WM for Tshirts! LOL
This is so cute! Thanks for sharing your tutorial for it too! I can’t wait to make these up for my girls! I know they will LOVE it!
So very cute!! Adding this to my list of crafts to do this week!
So cute Lindsay, great idea! I might make one for Sophia for Thanksgiving!!
Wonderful! I love the colors you chose and the shoes are perfect with the sleeves and the jeans.
OH my gosh!! This is super cute. I hope I can manage to make this for my Granddaughter before Thanksgiving. Wish me lots of luck since I just hand double hand surgery on my dominant hand 2 days ago and am in a cast. This is just so cute though that I might have to give it a shot.
thats so cute!!!
So stinkin’ cute. I can’t wait to get started! Thanks for sharing. I am posting a link on our blog, ziggycrafts.blogspot.com Love it!
Love this, sharing on my blog today.
I tried this today and blogged about it here:
http://imakestuff4fun.blogspot.com/2010/11/turkey-girls-with-twirly-skirts.html
My girls absolutely LOVE their new turkey shirts! Thank you so much for sharing!
so adorable!
I love it!
Beautiful! I appreciate the template and hope I get a chance to make two for the girls and one for my lil guy too! I loved the idea to put it on a pillowcase!!!!
I am new to your blog and following. Again, thanks for your hard work!
This could make a cute peacock too.
I just came over from One Pretty Thing and had to comment. This is ADORABLE! I usually hesitate to make holiday things because of the amount of work required when it can only be worn for a short time – but this might have me changing my mind. 🙂
This is so cute! Never mind my kids, I’m thinking of making one of these for myself!
Love this so much, had to make some for my kids. They aren’t as cute b/c I went with what I had… but they love them which is all that matters. I linked back to you: http://acraftyescape.blogspot.com/2010/11/turkey-applique-t-shirts.html
I followed Jessica’s link from her blog (Balancing Everything) and I’m so happy I found you. Thanks for including the template, you rock!
Im super excited to make these. Got all my material and Im ready to cut! But when I try to see the template I get an IE error. Is it just me??
love it…i made one yesterday! 😉
I just love this! So cute! I’m going to link it up on my Links I Like post tomorrow!
love these! am in the process of making 5 (for my daughters and nieces and nephews). real quick, though, this is my first applique and i’m having trouble going around the tight and tiny curves of the feathers as beautifully as you did. do you have any advice? a particular foot that you used?
thanks so much!
What a beautiful tutorial! You are so creative and talented. I think I will just have to try this as my first applique. Thank you
This is so cute! Thanks for posting- you made it quite easy for me to whip this project up for my niece (my dd made her own with help).
Thanks so much!
Such a cute idea- Thanks for sharing! I would love for you to link up to my Thanksgiving Link Party!
http://www.kirstikoo.blogspot.com
Super cute. My daugther insists that it needs a waddle… any ideas how I could add this? melonie w a t g m a i l d o t c o m
Thanks!
Hi, Cottage Moma. I am a southern mama from KY and a novice on the sewing machine, but I had such fun learning some new techniques by making this shirt for my son. I have posted it on my blog – http://www.babywebbsite.com – with a link back to your tutorial. Thanks for giving me something cute to inspire me to pull out my machine and practice a bit. Happy Thanksgiving & God Bless:).
Lindsay,
Thank you for your comment on my site! I look forward to hearing that you’ve drafted a pattern in the future. 🙂 Keep your eyes peeled today and tomorrow, I am making this Gobble shirt as I type (okay, so I paused to type a response.) and am also blogging about it! When the shirt is done I am going to link to your tutorial. Thanks so much for the inspiration!!!
Best wishes and Happy Thanksgiving,
Jocelyn
This is cute. I want to try. Hope it will end up great.
Just wanted to say thanks for the tutorial. I’m finishing up one each for my niece and nephew and they turned out super adorable.
Too funny that you would repost this today – I just looked the tutorial up toshare with a friend this past friday! lol It’s adorable and she’s excited to try spplique now. Thank you!
that is too cute! i’ll have to save this idea for when i have kids one day!
Hi Lindsay
Just a suggestion…make sure the shirt and fabric is prewashed or the fusible product you use won’t stick well.
Happy Turkeyshirt making!
Emilee
My granddaughter, who will be 1 at the end of the month, will definitely be getting a shirt with this Turkey on it…….too cute! Thank you!
This is the cutest thing EVER! My niece, Camdyn will definitely be sporting this shirt when turkey day arrives!
I made a shirt from this tutorial last night. I used a turquoise shirt, and did orange and pink patterned feathers, and a pink body. I think it probably looks like a peacock instead of a turkey, but I still love it!
My daughter’s birthday is the day after Thanksgiving this year — I’m thinking turkey with party hat! Thanks for the great idea, pattern, and tutorial 😀
very nice tutorial there. such imagination can run wild and make a good outcome. your pretty good in making cheap tee shirts into into something new.
Linday, this is the cutest little shirt for Thanksgiving EVER! You and I were featured together over at The New Home Ec! I definitely want to make sure to embrace Thanksgiving before the rush to Christmas. Cultivating gratitude is a great way to start the holiday season 🙂
Very Cute and easy project. Made 3 for my grandkids. Cut into the edges to make them look more “feathery”, and added “googly” eyes to them. I know the kids will like them. Saw this on pinterest, thanks for posting.
Great idea thanks for the tutorial! This is what mine looks like. i used 9 feathers instead 0f 9, but kept pretty much everything else he same!
Thanks for the great tutorial. My daughter enjoyed making a shirt like this with me last weekend.
love it…i made one yesterday! 😉
Great post..a very nice t-shirt..Birthday t-shirt
I’m finally going to make this!
Thank you for posting this! My little girl will be sporting one this Thanksgiving.
Thinking of doing this on an Apron for Thanksgiving..
Thank you!
Congratulations THE COTTAGE MAMA! Thank you so much for taking the time to share this exciting information.
Mens Designer Dress shirts
Love this! It is so adorable. Am going to try to make a couple before Thanksgiving for my great granddaughters. Thanks so much!